We should all have a solid command of the ABCs of baking. Thankfully, Food52's Test Kitchen Manager Erin McDowell is here, with tips and tricks to help you master the most essential desserts and the simplest breads.
Today: We love custard pies as much as we fear them—but not for long. Erin shows us how to tackle this sensitive dessert, just in time for Thanksgiving.
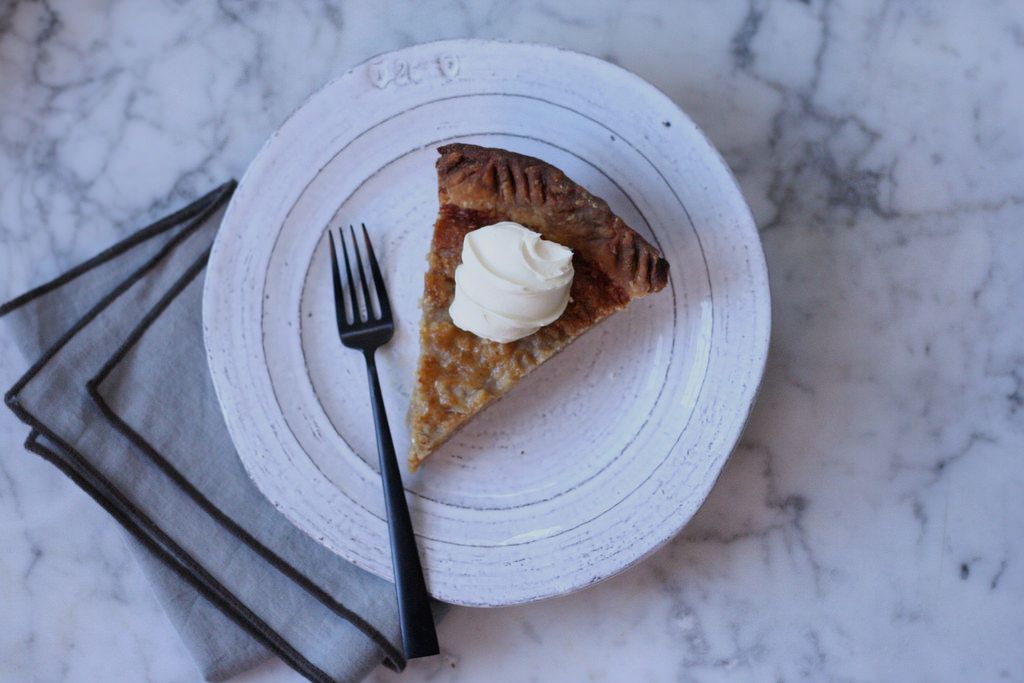
Custard pie is the elusive, creamy cousin of the fruit pie. And while these pies are some of the most beloved (I'm looking at you, pumpkin), they are also the most misunderstood. While they are more sensitive than other pies, they are no more laborious. In many cases, mixing the filling really just takes a whisk and a bowl -- there are no special ingredients or techniques.
The concept is simple, but it takes a deeper level of understanding to ace custard pies every time. In the end, success is about proper manipulation of the ingredients. With turkey day right around the corner, time to master it is a-wasting. Here’s what you need to know to make a better custard pie:
-
Start with the right dough. As usual, the right dough is crucial to the success of any pie. For pies with high levels of moisture in the filling, especially custard pies, it’s important to use what is referred to as a "mealy" crust. It doesn’t sound appetizing, but it's just a measure of how fully you incorporate the butter into the dough.
For a flaky crust, you mix the butter into the flour until it resembles the size of walnut halves. For a mealy crust, you mix until the butter pieces are the size of peas. With the butter in smaller pieces, fewer flaky layers form. While flakiness is often desirable for fruit pies, when it comes to custard or cream fillings, it allows too many nooks and crannies where moisture can seep in -- which results in pie's enemy number one: a soggy crust.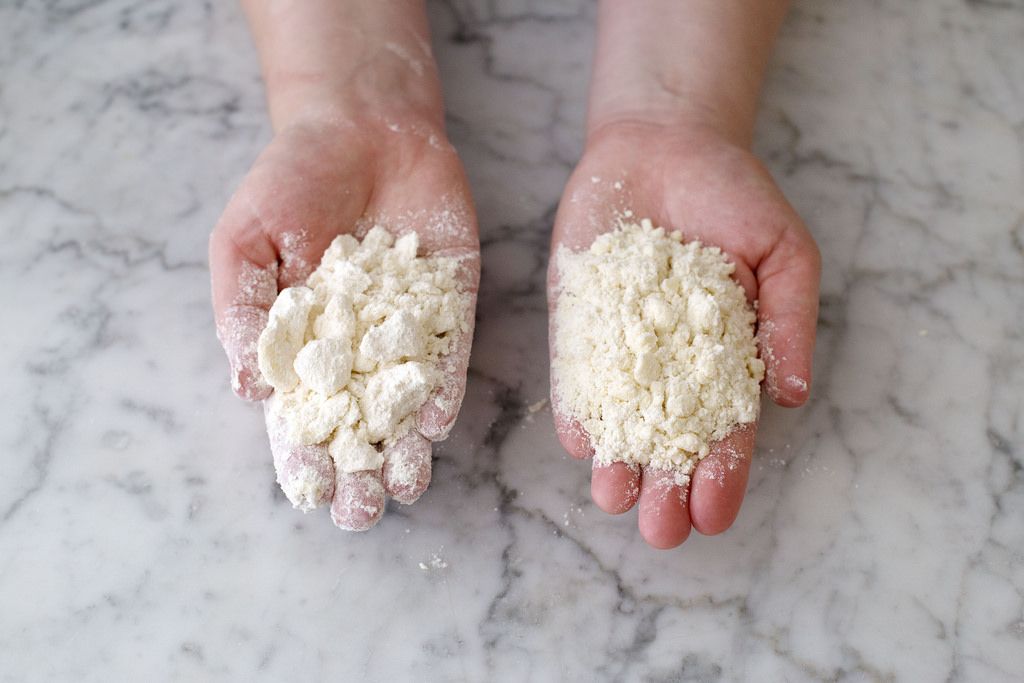
-
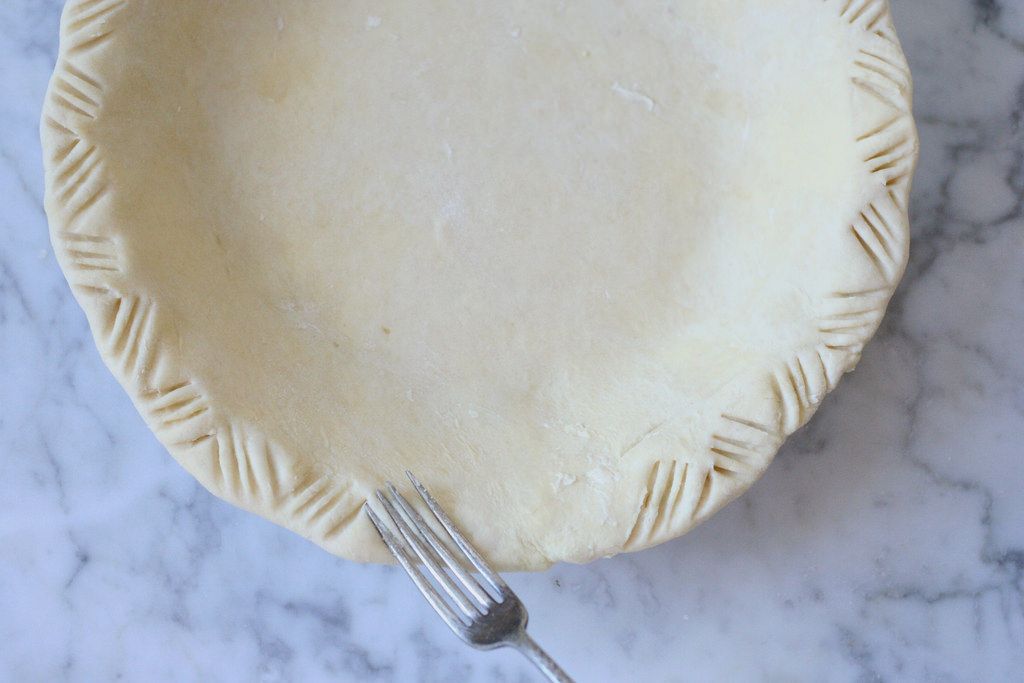
Avoid shrinkage! Have you ever made the most perfect pie crust—your prettiest ever!—only to have the dough retreat down the sides as soon as it hits the oven? This problem occurs even more often when you par bake the crust without filling inside -- and it happens for two primary reasons: the dough has been overworked or it’s not cold enough when it hits the oven.
Prevent both issues by handling your dough carefully and minimizing mixing once you begin to add the water. I like to use a "fluffing" motion when I first add the water to incorporate it: Toss the flour and butter mixture from the bottom with your hands, and then gently knead it a few times, just until the flour is moistened and the dough has come together.
More: Try one of these Thanksgiving pie recipes this year.
Then, chill the dough thoroughly before rolling it out, and again after you’ve lined the pie plate (before baking). A tender, chilled dough is much less likely to shrink. Don’t forget that chilling also gives the dough time to relax (before and after rolling). No matter how good you are at mixing crust, you’re going to develop some gluten in the process of mixing. Gluten develops in the form of strands of protein—when they have a chance to rest, they relax, which will also decrease the odds of shrinking.
-
Give par baking some love. One of the trickiest parts of baking custard pies is getting a crisp bottom crust. Some of my usual tips for ensuring crisp crusts won’t work here. It doesn’t help to bake the assembled pie (filling and all) at a really high temperature—this can negatively affect the custard in a myriad of ways. It can cause separation in the custard itself (fat may begin to melt before the eggs begin to coagulate), and it makes the whole pie more likely to overbake -- for a custard pie especially, this is a serious loss.
Overbaking is the number one source of issues for custard pies—and you can troubleshoot many problems by keeping a careful eye on baking time and temperature. The best way to prevent overbaking is by par baking your crust. It will ensure that you achieve a crispy, delicious bottom crust -- just follow the tips laid out here. A protective layer of egg wash can be extra helpful -- just brush a little on at the end of par baking, then toss the crust back in the oven for 2 to 3 minutes more.
-
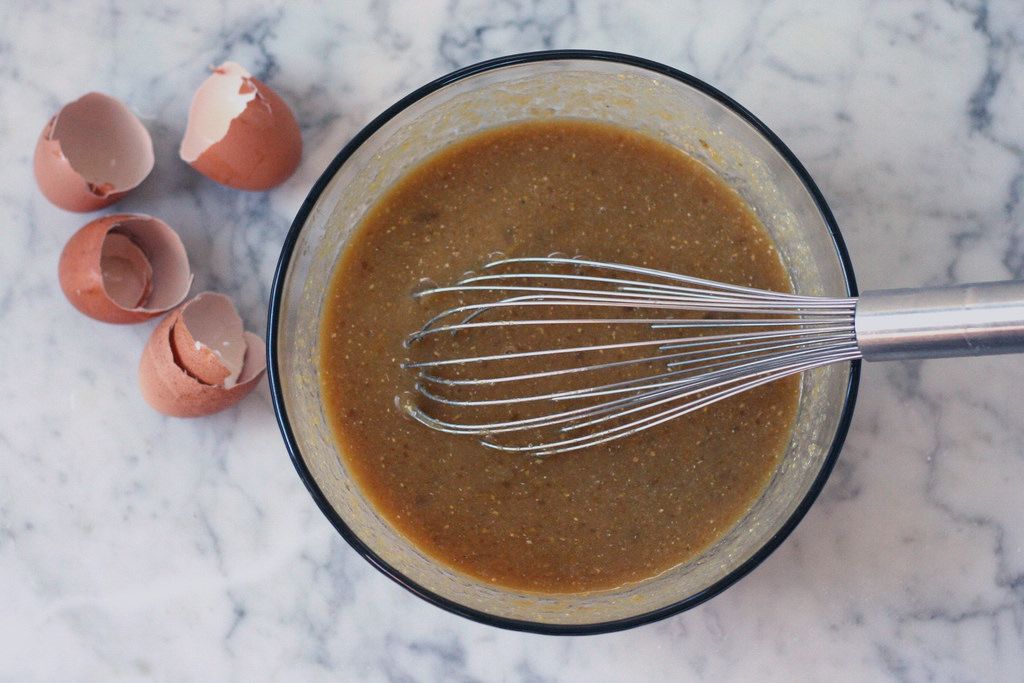
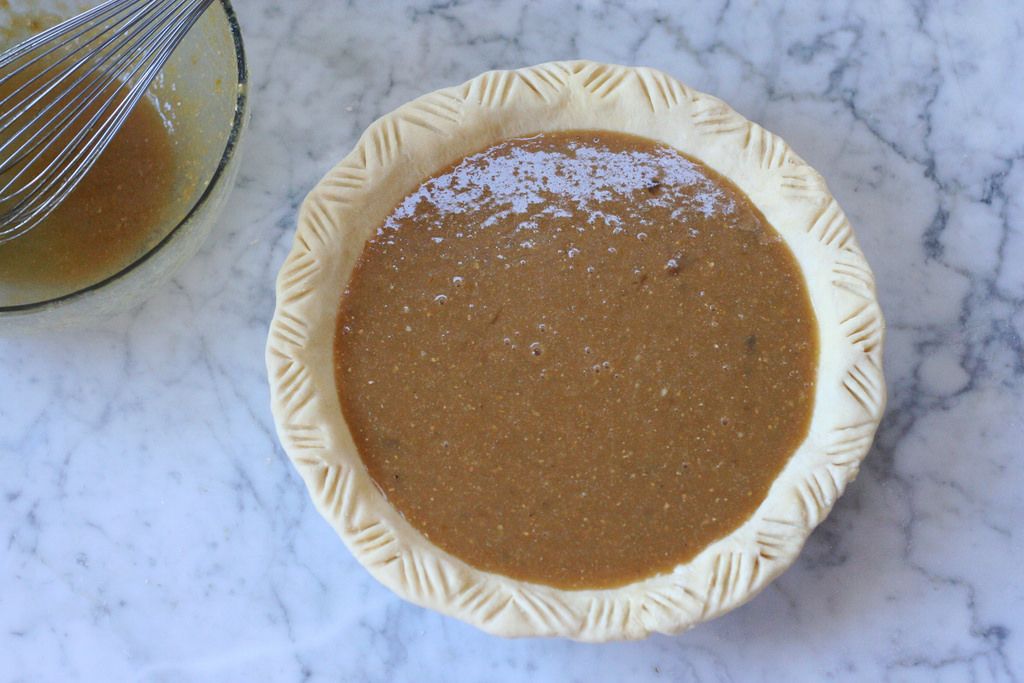
Prep your filling. Here’s where things start to get a little muddy. Custard fillings need to be mixed just before you’re ready to bake and shouldn’t hang around on your counter for too long. This means that you can't whip up the filling while you’re still futzing with the crust.
More: Make a gluten- and dairy-free pie crust and make all of your guests happy.
The crust is the easy, non-temperamental player here, not the filling. Why? Most custard pies have a relatively high ratio of eggs and sugar. Sugar is hygroscopic, meaning that it pulls moisture out of whatever is nearby. In the case of eggs, this can lead to a really interesting, but totally undesirable effect: The eggs practically "scramble" if they sit too long, resulting in big clumps of firm egg floating around in your custard—even without any heat applied! Don’t panic—it takes 15 to 20 minutes for this to happen, but it’s still best to have all your ducks in a row before you mix the filling together.
-
It’s all about temperature—and I’m not talking about the oven. There are a lot of factors at play here, but there is one general rule when it comes to custard pies: Stay away from drastic changes in temperature. This means that the filling ingredients should only be combined when they're at room temperature and poured into a room temperature crust; the pie should then be slowly baked, slowly cooled, and only refrigerated (if need be) once the pie is completely cooled. Don’t pour cold custard into a warm crust, and don’t stick a pie fresh from the oven into the refrigerator.
If you keep your temperature changes slight, calculated, and gradual, you have the best chance of success: The pie will bake evenly and set up nicely.
Note: The one exception to this rule is when you’re par baking the crust—a very cold (even frozen!) crust can go right into a very hot (425° F) oven without any problem.
- Speaking of temperature, keep the oven temperature on the lower side. I’ve long sung the praises of baking pies at a very high temperature—425° F is perfect for me. But when it comes to custard pies, it’s best to keep things at a lower heat (at least once the filling is involved). Recipes vary, but generally you’ll see a range between 350° to 375° F.
-
Perform the jiggle test to test if the pie is done. How do you tell if a custard pie is done? First, you should know what’s happening in the oven: As the pie bakes, the protein strands in the eggs start to coagulate and cause the custard to set. This is a complex process—and to a nerd like me, one of the most fascinating in the food world (there are over 40 different types of protein in eggs!). Egg whites thicken at about 145° F and become tenderly solid at 150° F, at which point the egg yolks begin to thicken, as well. Egg yolks set at about 158° F, and the whole egg is firm around 165° F.
Sugar plays an important role, too—not just for taste and flavor, but also because it helps to denature the egg proteins, ensuring that they break down (and eventually coagulate) properly. Without sugar, the custard is much more likely to curdle (it also wouldn’t taste great without it). Here’s what that nerdy stuff means for you when you look in the oven:
Most custard pies will soufflé up slightly. The key is to let your pie soufflé around the edges, but remove it from the oven before it puffs across the whole pie. In a properly baked custard pie, the filling will settle again as it cools, creating a flat surface. If the pie puffs up across its entire surface, it may crack when it settles (a big custard pie no-no, caused by overbaking and the over-coagulation of the egg proteins). If the pie soufflés around the edges, this indicates that the filling is beginning to set. The pie should continue to bake until the center jiggles slightly when nudged but is still somewhat "set"; this means that two-thirds of the pie should stay relatively still when jiggled (less than this will lead to an under-baked, loose filling).
Some recipes may reference a "knife test," which calls for inserting the blade of a sharp paring knife into the custard to test doneness. This may work on some pies, namely pecan, which contains large quantities of sugar (some of it inverted sugar from corn syrup, molasses, or honey) and caramelizes while it cooks, giving it a bit of a "crust" on the surface—this makes it easier to tell when it’s properly baked and firm. However, other pies may appear relatively liquid even when almost entirely baked (pumpkin pie included), meaning that the knife may not come out completely clean. On top of that, you're left with a gash in the middle of your pie, and you just spent all of that time and effort to make it perfect—why mar your masterpiece?
More: This Chai Masala Pumpkin Pie will spice up your Thanksgiving.
-
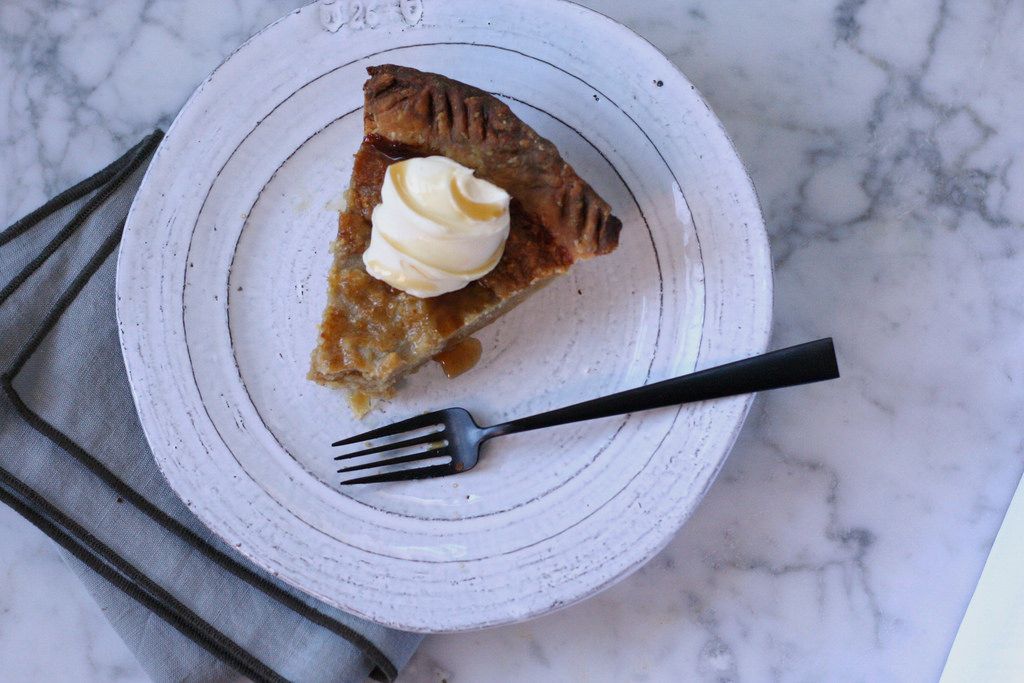
Cool gradually. Just like cheesecake, custard pies need to cool gradually. Some folks recommend turning off the oven and letting the pie cool to an ambient temperature inside. This has the advantage of being very gradual, meaning the pie will continue to bake in the residual heat of the oven—so it’s important to remember to shorten baking time by 10 minutes or so when you decide to go this route.
I prefer to just remove my pie when it’s done, and cool it completely at room temperature. I only refrigerate a custard pie when necessary; I’m not finicky about a custard pie sitting at room temperature for a few hours while my guests inch toward dessert. Refrigerating the pie doesn’t do any harm except, sometimes, to the bottom crust. I’ve found that refrigerating pie can soften the bottom crust, though this is largely due to the natural absorption of moisture over a certain length of holding time (meaning 8 hours or more). That being said, on a big pie day like Thanksgiving, I have to make the pies a full day ahead to free up the oven, and refrigeration needs to happen. Par baking and making sure that the crust is extra crisp will ensure that it doesn’t get too soggy with time.
Makes one 9-inch pie
1 prepared pie crust
1 cup brown sugar
1 tablespoon cornmeal
1/2 cup maple syrup
4 eggs
1/2 cup buttermilk
1/2 cup melted butter
1 tablespoon vanilla extract
1 cup mascarpone cheese
1/4 cup superfine sugar
Good maple syrup, for serving
See the full recipe (and save and print it) here.
Photos by Erin McDowell

Top-notch recipes, expert tips, and all the tools to pull off the year’s most memorable feast.
Check It Out
See what other Food52 readers are saying.