As satisfying as a well-written recipe, a smart and thoughtful DIY is our kind of lunch break reading. Bonus points if it's an easy project AND teaches us how to make something beautiful.
Today: No PAAS, no problem. Corynne Pless shares a handy recipe so that any inky vegetable can be used to dye Easter Eggs. Just check your crisper drawer to get started.
Whether you’re dedicated to the all-natural lifestyle or you merely forgot to pick up food dye from the store, using vegetables is an easy and inexpensive way of tackling the age-old tradition of dying Easter eggs. Using just vinegar, water, and vegetables, your eggs will soak up earthy jewel tones overnight. Purple cabbage—that often lone soldier of the crisper drawer—makes eggshells an especially gorgeous blue-green, and you can use Washi tape and lace scraps to create natural designs on them.
What You'll Need:
Purple cabbage, for blue eggs (or beets for pink eggs, or onion skins for orange eggs)
White vinegar, 1 Tbsp per cup of dye
Hard-boiled eggs
Scissors
Washi tape, or masking tape
Lace scaps
Panty hose
How to Dye Eggs Using Vegetables
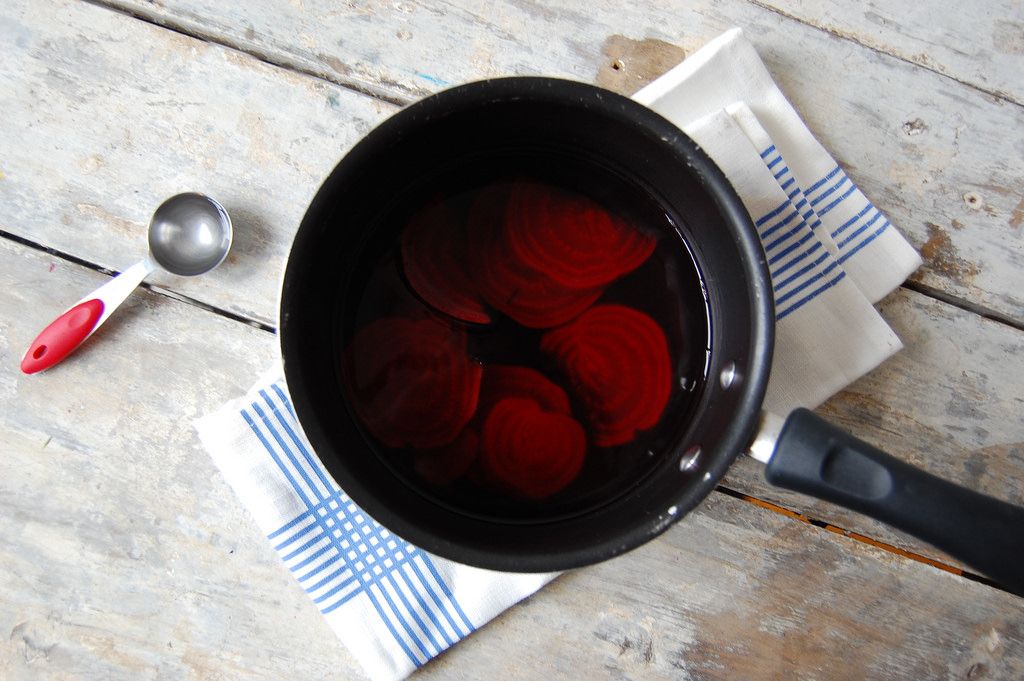
1. For blue eggs, chop the cabbage head loosely, add it to a large pot, and cover with about two cups of water. (For pink eggs, use two large beets instead of the cabbage, and for dusty orange eggs, use the skin of several large onions.) Bring to a boil, and then lower heat to a simmer for 20 minutes to a full hour; the longer you leave it on, the richer your dye will turn out. When it's fully steeped, turn off the heat and let cool.
2. While the dye simmers and then cools, plan the designs for your eggs.
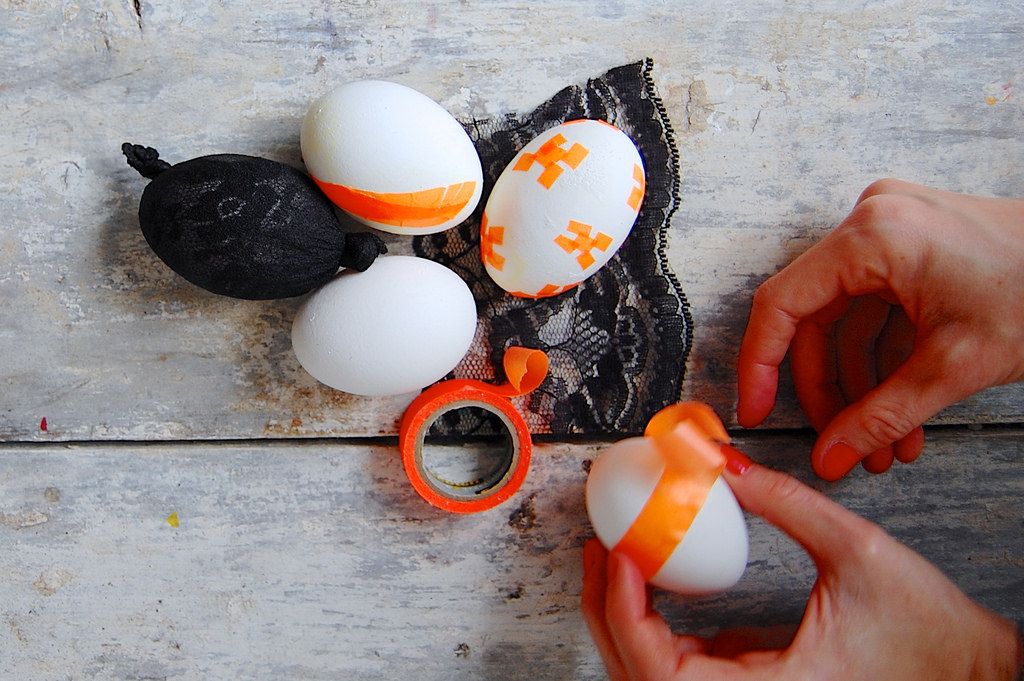
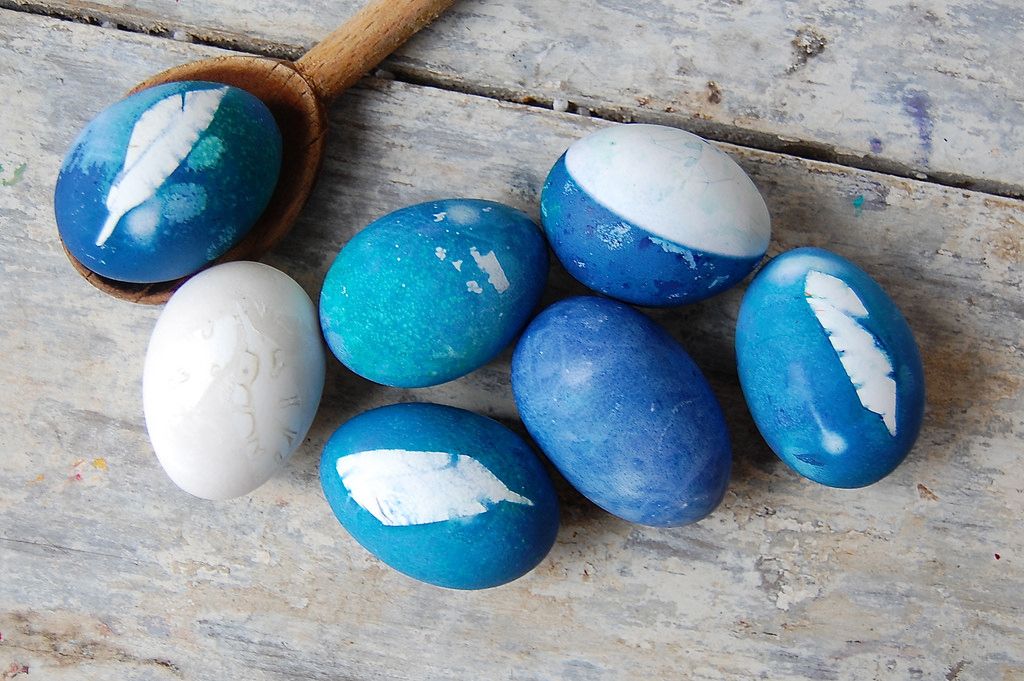
- Shapes and Stripes: Use sharp scissors to cut shapes and patterns out of the Washi tape (like the feather designs below), and stick them to your completely dry eggs, pressing firmly on the corners to seal the design. Expand the width of a shape by overlapping the edges of tape pieces, or make an interesting geometric pattern by wrapping the eggs haphazardly all the way around. Wherever the tape covers the egg, the shell will remain white (remember tie-dying?).
- Lace pattern: Measure a piece of lace around an egg and cut a piece that's large enough to wrap around it once, adding a few inches so the ends can overlap. Tightly wrap the lace around an egg and secure with a pair of panty hose, knotting the hose on each end of the egg to secure in place. Experiment with different styles of lace!
3. To avoid overcooking your eggs, make sure the dye is completely cool before moving on (20 minutes in the freezer or outside on a cold day will do the trick). Drain the cabbage, beets, or onion skins and add 1 tablespoon of vinegar to every cup of dye; stir. Portion the dyes into glass or plastic containers, and then carefully add the taped and lacey hard-boiled eggs to the dye.
If you have enough dye and containers, experiment with different strengths and blends—a little beet dye mixed with cabbage dye will make purple eggs, and adding a half cup of water to any batch of dye will make pastel hues. Refrigerate eggs in their dyes overnight.
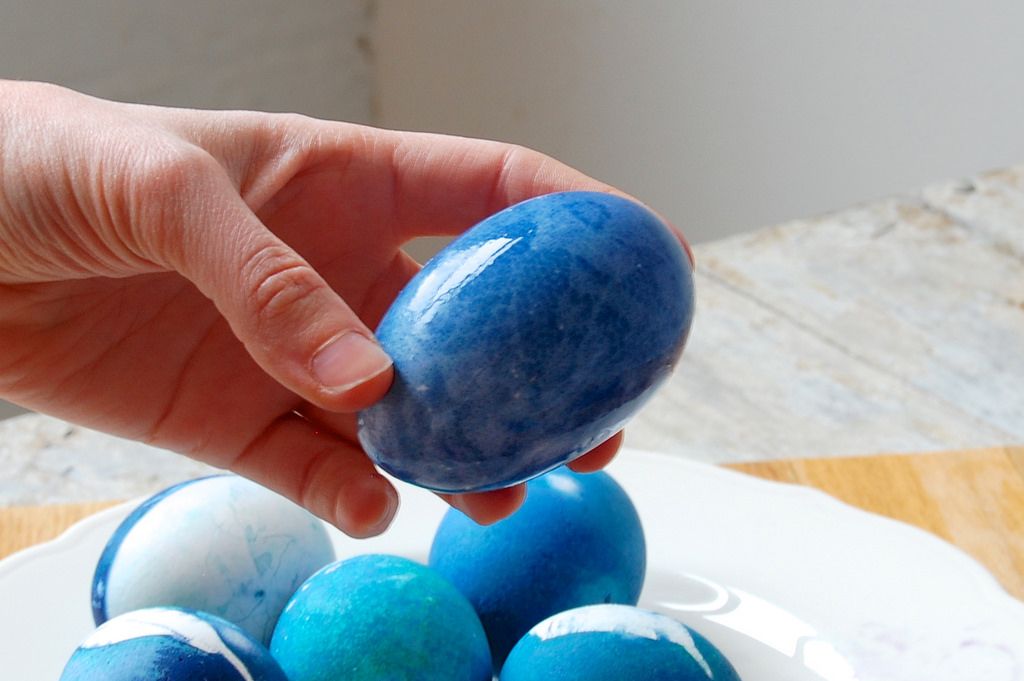
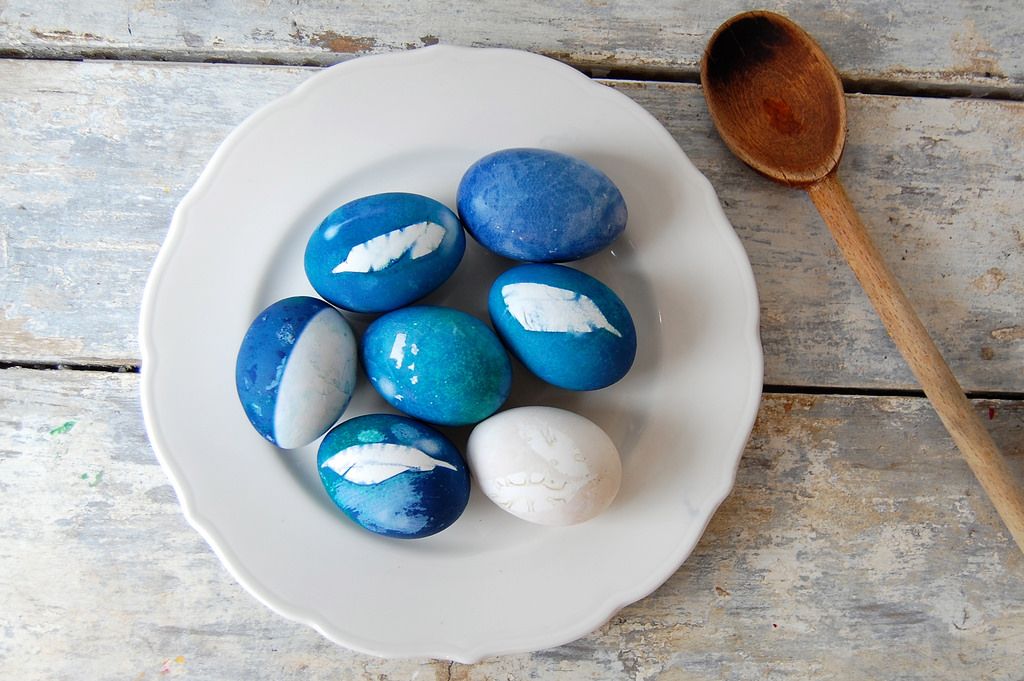
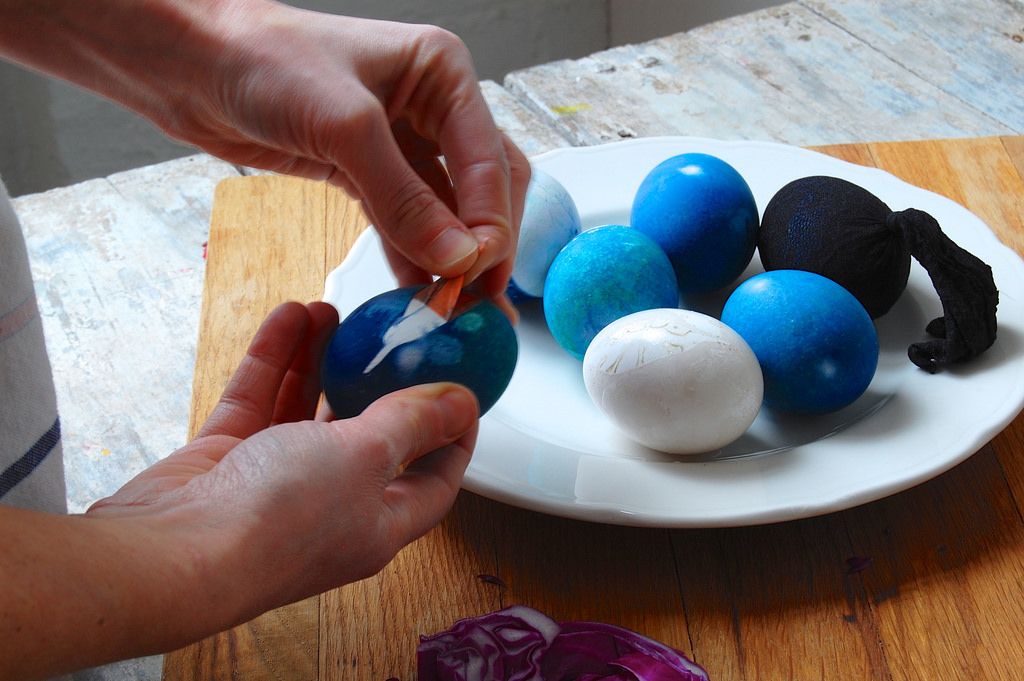
4. Remove eggs in the morning, snipping the ends of the panty hose and peeling off the Washi tape to reveal designs. Don't worry if some of them have floated to the top; my half-dyed egg above was a crowd favorite. The colors will fade slightly as they dry (the eggs below are fully dried).
The best thing about these eggs is that they're still safe to eat, since all of the dyes are natural and they're already hard-boiled: Chop into salads, use in sandwiches, or eat them plain with salt for breakfast.
What other DIY projects would you like to see us tackle? Let us know in the comments!
Photos by Corynne Pless
See what other Food52 readers are saying.