Hi, my name is Erin, and I am addicted to dough. It’s part of why I adore pie so much—the process of making the dough, the feel of it when I roll it out.
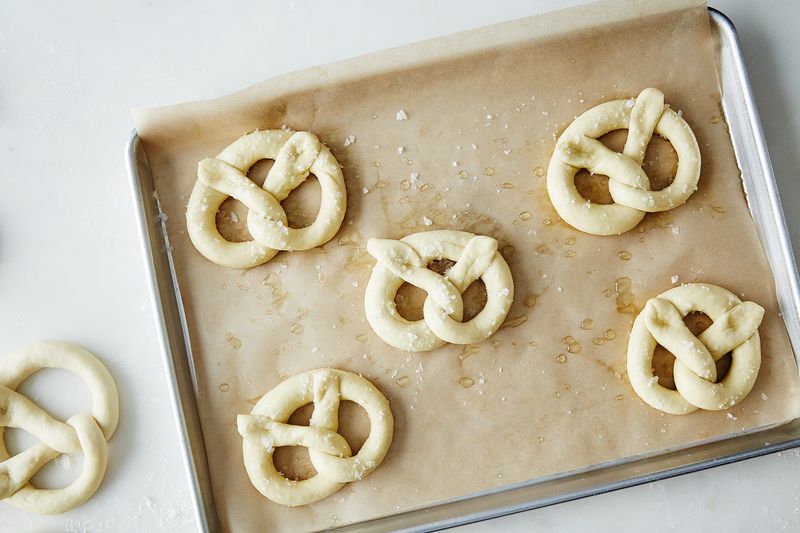
13 Seconds to Homemade PretzelsIf you've never shaped a pretzel before, it's super easy—just watch. (Photography by Bobbi Lin)
Posted by Food52 on Sunday, April 26, 2015
It’s definitely why I voluntarily woke up at midnight every Saturday of my college career, dragged myself from my dorm bed, and shaped baguettes until sunrise. There’s just something about dough—especially yeast raised-dough—that makes me absolutely, completely giddy.
I think it starts with making something out of almost nothing. So few ingredients are required to make something that turns out so special. But, if I’m being totally honest, it’s mostly about the way it feels. It’s squishy and fun—and I love taking a big blob of fermenting yeast and turning it into something else entirely.

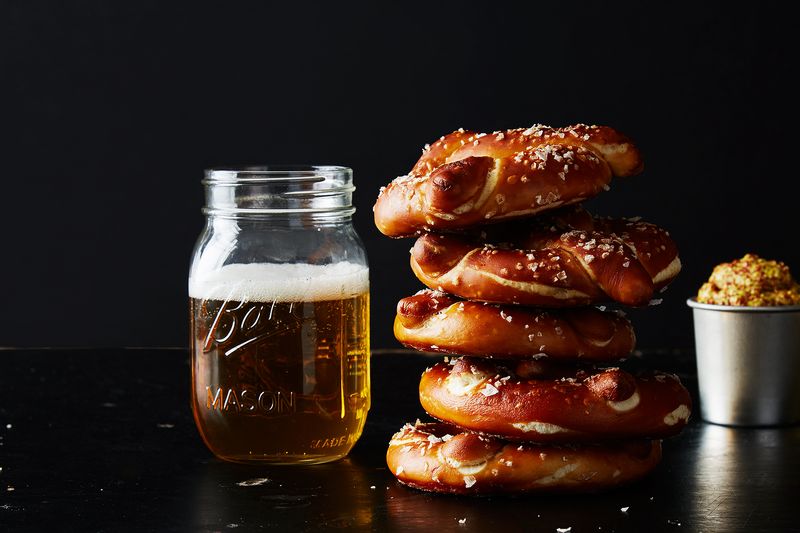
Which is why pretzels are high atop my list of most fun things to make—EVER. For reasons I’ll discuss, the dough is wonderfully pliable and springy. The process is time consuming, but not in a difficult way—more in a do-something-else-while-you-wait sort of way. Plus, the process of dipping them in lye is a little bit dangerous. And the taste—oh the taste. A warm soft pretzel, preferably with a hefty dollop of mustard and a particularly fine beer, is something that should be on everyone’s fall bucket list.
So let’s do this thing (or skip straight to the recipe!):
1. Plan ahead.
2. Ingredients.
3. Mixing method.
4. Rising.
5. Shaping.
6. Lye time.
7. Dip and salt.
8. Can you use baking soda?
9. Bake and eat.
1. Plan ahead.
To make pretzels the proper way, you’re going to need a few things you probably don’t have: food grade lye, for one, along with the appropriate tools to handle it safely. I’ll talk more about lye below, but you can order it with a click of a button at Amazon (it’s also often available at bakeries that sell soft pretzels and some gourmet food stores). It’s inexpensive and very shelf stable, so make the plunge and get some—then you’ll have it anytime you get the pretzel urge.
It’s also best to have a large non-reactive, heat-safe bowl to hold the lye solution when you’re working with it. Gloves (either disposable or the kind you wear to do the dishes) and protective eyewear (a pair of sunglasses will do in a pinch, goggles are best) are also required. I know this sounds serious—but it’s really much and much quicker than you can imagine. Read on!
Also, if you want real pretzel salt, you may want to order that too. I like any kind of coarse salt, and have taken to using Maldon—it looks so darn pretty, and I always have it on hand.
2. Ingredients.
Other than scary lye, the ingredient list for pretzels is short and sweet. My recipe uses bread flour.Pretzel dough undergoes a lengthy mixing time and the resulting dough is wonderfully elastic. A high-protein flour like bread flour is ideal for this type of dough, so don’t try to swap it.
Other than the flour, you’ve got the bread basics: water, yeast, and salt. And I throw in a little bit of butter for richness, tenderness, and overall good flavor.
3. Mixing method.
Like many other enriched dough (challah! brioche!), pretzels are mixed relatively intensely—a process known as the improved mixing method. Generally speaking, the mixing begins at low speed, to combine ingredients, hydrate the flour, and encourage the chains of gluten to begin forming.
After a period of time (about 3 to 5 minutes), the speed of the mixer is raised to medium, where mixing continues until the dough has reached full gluten development.
At this stage, the dough can be pulled to create a “window”—a piece of dough so thin that it becomes transparent. This level of elasticity can only be reached through intensive mixing, both in length and speed.
The result of this mixing method is bread with a very tight crumb structure and a soft, slightly chewy crust (like a pretzel).
4. Rising.
The best pretzels benefit from three stages of rising. I know, I know—this sounds tedious. But the amount of effort required by you is minimal: All that’s really needed here is time to let the yeast do its work. The more time you allow, the more the yeast is feeding, and the better the flavor that’s developing.
First, the dough will need to rise all together, just after mixing. This stage is called bulk fermentation and is largely for flavor development, though it also contributes to the texture of the final dough. This period will usually take 1 to 1 1/2 hours.

Then, you’ll cut the dough into even pieces (in the case of my recipe, 2 1/2 ounces each) and let it rise again. This stage is called bench rest, and is a much shorter period of time—usually about 15 to 20 minutes. This is primarily so the dough can relax before it’s shaped.
After the dough is shaped, it rises once more. This final rise is called proofing and is where the individual piece is rising. A dough that’s proofed successfully will have the best texture, and it is also a period where the final flavor develops. This stage takes anywhere from 30 minutes to 1 hour.
5. Shaping.
You’ll start out with even pieces (you weighed them just to be sure—and then let them bench rest). Lightly flour your work surface; I’m talking very light here. This dough is firm and not overly sticky, so you should have no trouble working with it. You’ll need a little bit of flour, sure, but if you use too much, you’ll actually struggle to shape the dough.
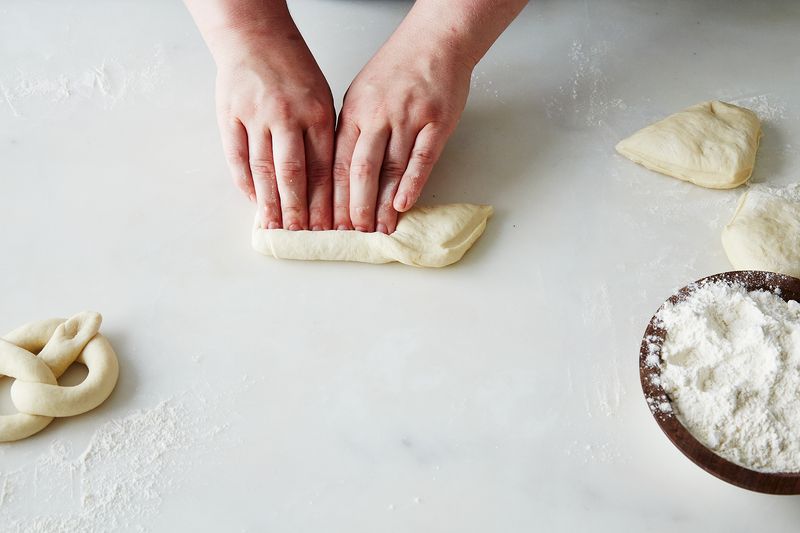
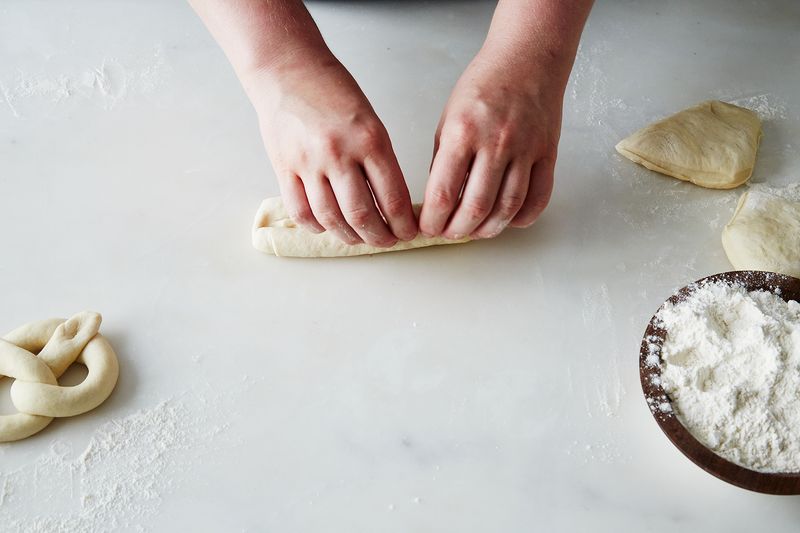
Work with one piece of dough at a time. Start by making the dough slightly oblong in shape, just by pushing it flat with your fingers. Start at the top of the dough (the edge farthest away from you), and fold one third of the piece of dough over onto itself. Press firmly with your fingertips or with the heel of your hand to "seal." Continue to fold the dough over and press to seal until it has formed a log shape.
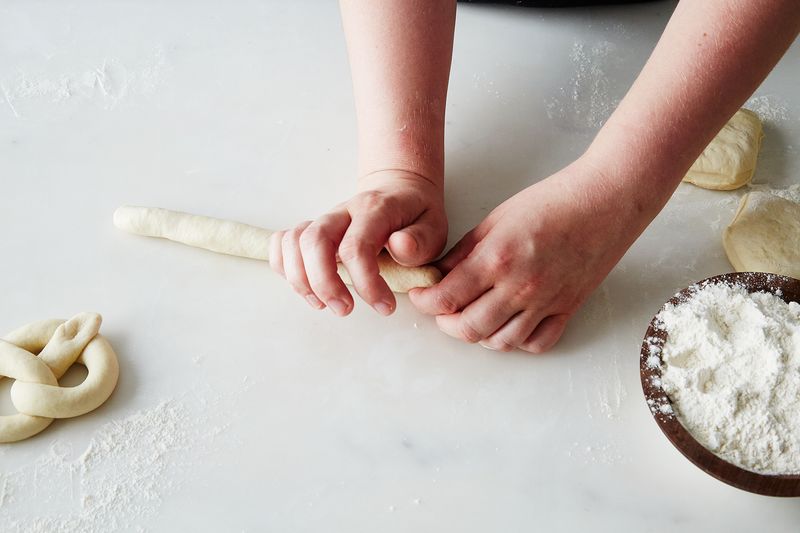
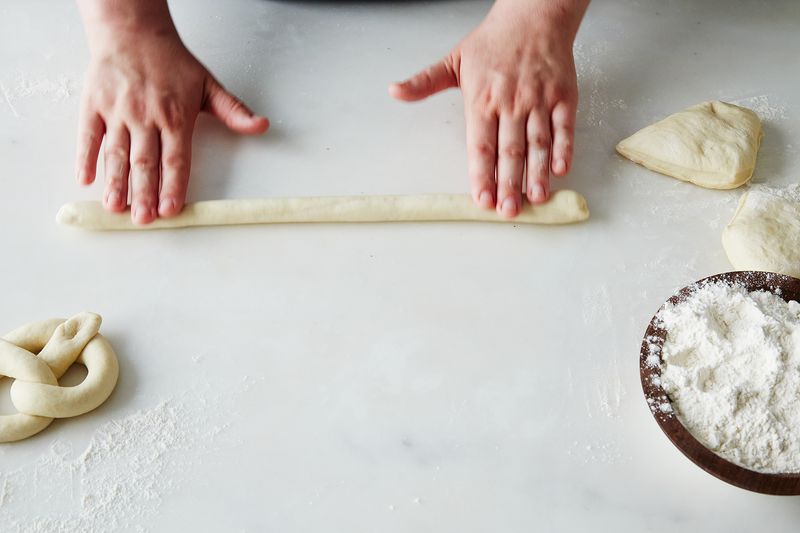
Starting with very light pressure in the center of the dough, roll the dough between your hands and the work surface, elongating the log. Roll until the dough is about 22 inches long, or the log is evenly about 1/3 inch in circumference.
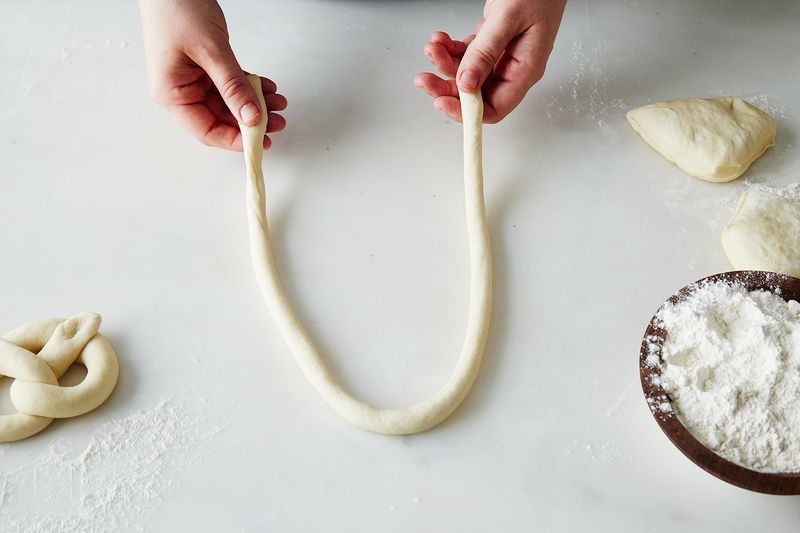
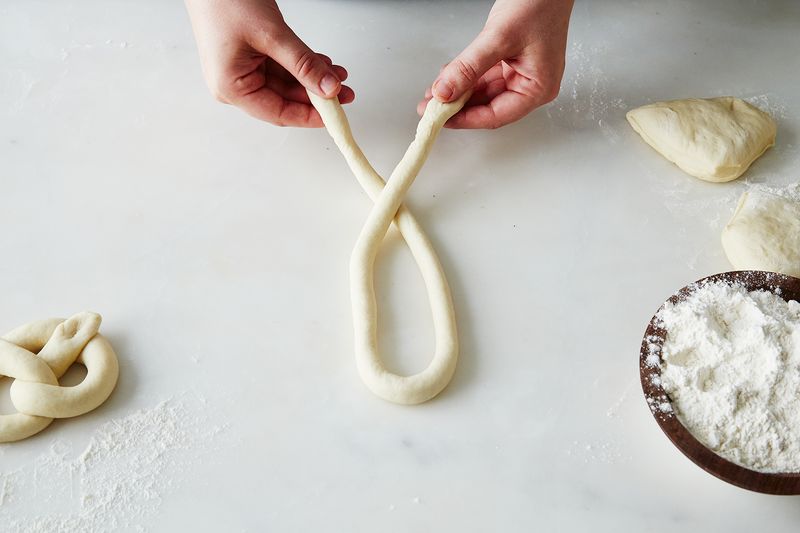
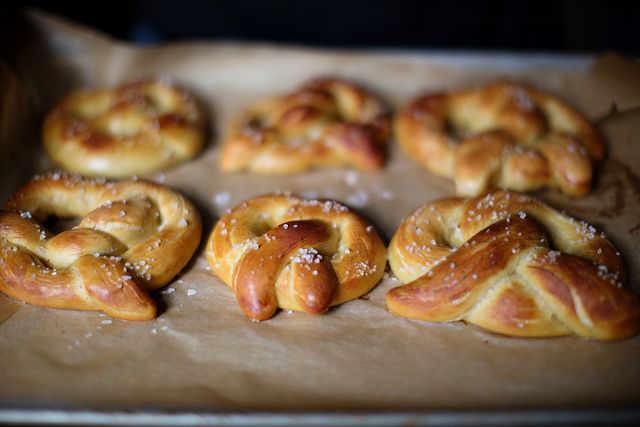
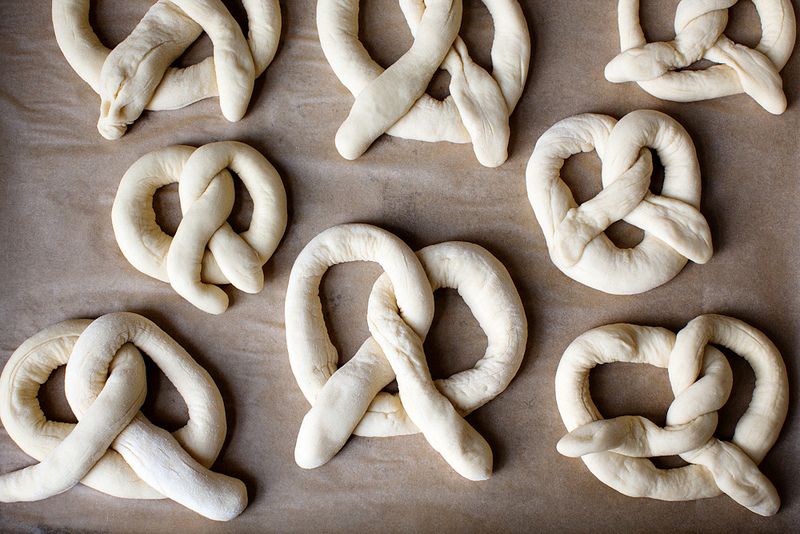
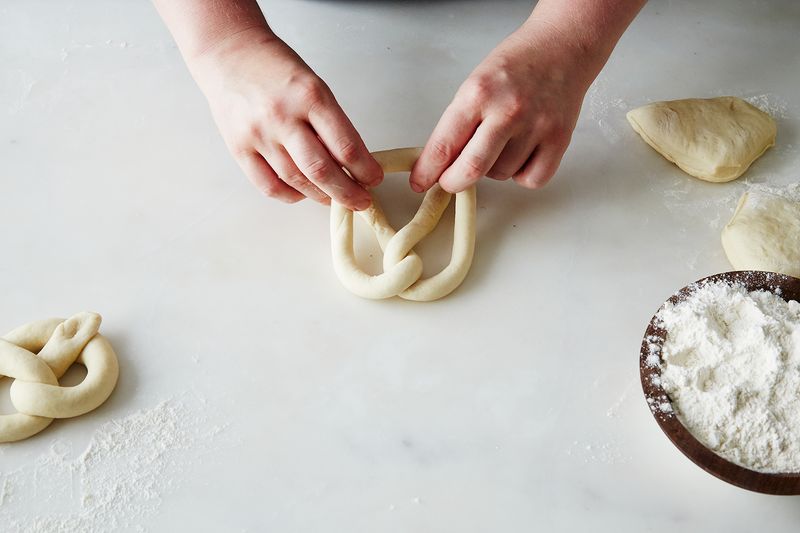
To shape the pretzel, hold the two ends in your hands. Twist the strands around each other once (still holding the ends), and then again so that you’ve made two twists in the dough.
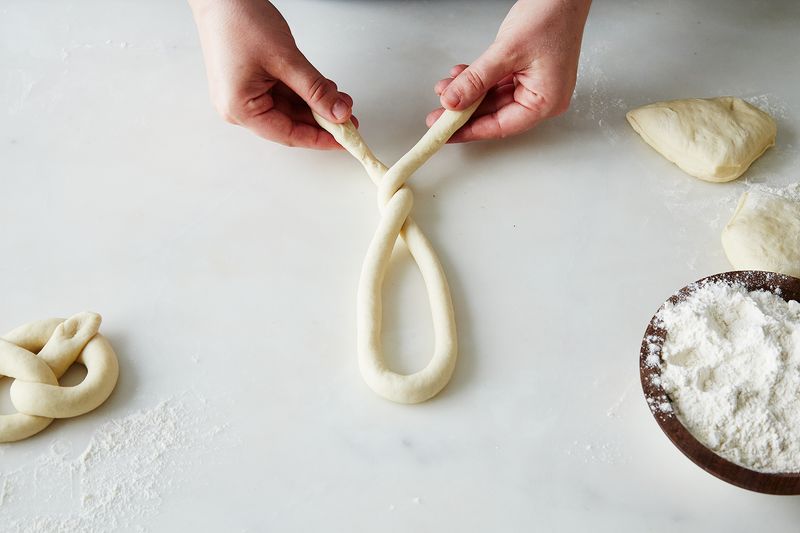
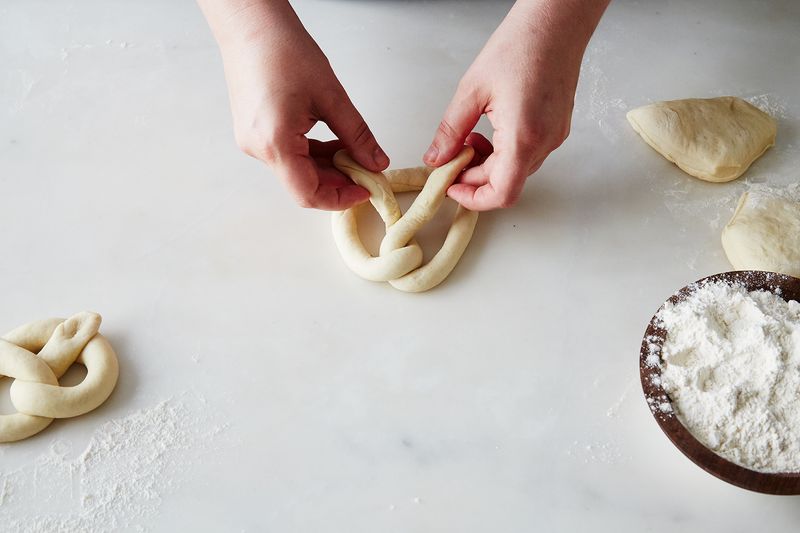
At this point, lift the rounded part of the dough at the top and bring it down below the two twists.
Bring the ends through the round and press down with your fingers to seal.
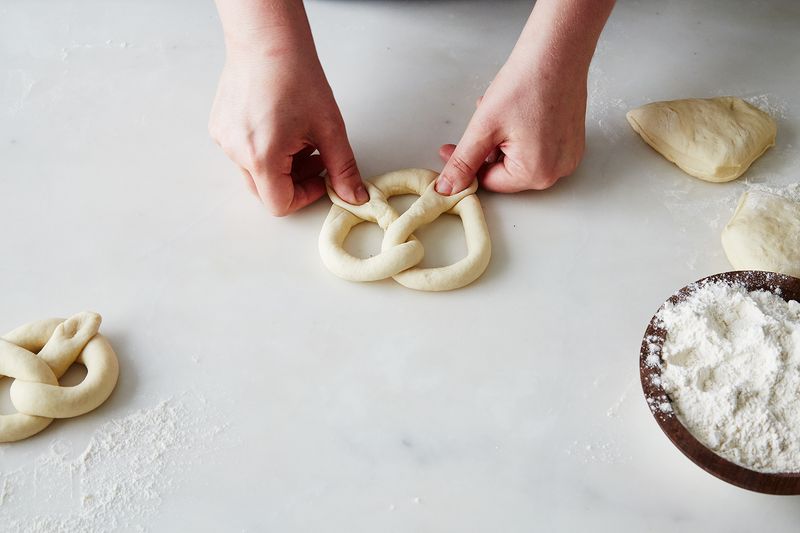
Boom! Repeat with the remaining pieces of dough. The finished shaped pretzels should be covered loosely and left to proof.

6. Lye time.
While your pretzels proof, you can make the lye solution. Lye, or sodium hydroxide, helps make the signature chewy skin on the outside of the pretzel.
In both its solid form and once it’s dissolved in water, lye is dangerous to have direct contact with, especially for the skin, and can result in a burn similar to a chemical burn and can leave behind an unpleasant, itchy rash.
It’s also bad for it to have direct contact with your eyes or to inhale the fumes that occur for a few seconds after it is dissolved (both of these can be avoided with care and wearing a little bit of protection). You should wear gloves the whole time you work with lye, and some sort of eye protection (see first bullet point).
Here are some ways to make sure you're using lye safely:
- Lye needs to be dissolved to make a solution. Measure the lye into a non-reactive, heat-safe bowl. Dissolve the lye by pouring boiling water over it. Stand away from the bowl and try not to face the steam that will rise; these fumes should not be inhaled, but they mostly disappear once the mixture begins to cool (about 30 seconds). Add some cold water to the solution to help bring the temperature down, and let it cool to room temperature.
- When not in use, cover the bowl with plastic wrap and label it clearly so no one mistakes it as just water. When you’re finished with the solution, discard it.
- Keep vinegar on hand when you’re working with lye: An acid applied to a burn spot will help reverse the effects immediately.
- Wash your tools fully when you’re finished with the lye (still wearing gloves), then remove your gloves and wash your hands thoroughly.
- It’s best to purchase lye marked “food grade.” While it isn’t any different in composition than other sodium hydroxide, this lye is produced and packaged in a place deemed “food safe.”
Lye isn’t dangerous to eat in this application. It is dangerous when not diluted (but in this application, it is very diluted and the pretzels are only submerged momentarily, then baked, so they are perfectly safe for consumption).
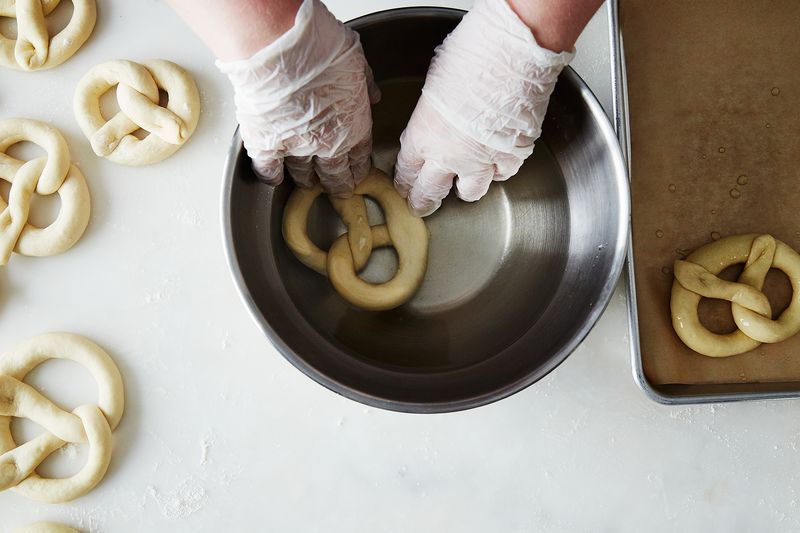
7. Dip and salt.
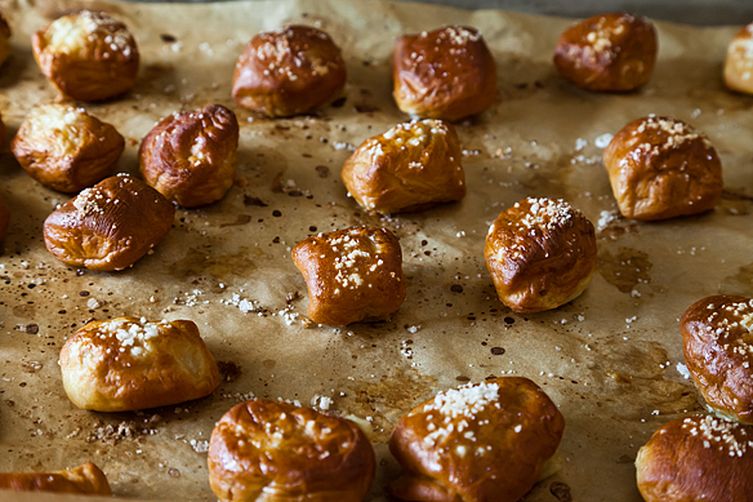
When the pretzels are proofed, carefully dip them in the lye (one at a time is best) for 20 to 25 seconds before transferring to a parchment-lined baking sheet. Be sure to cover your work surface with parchment or newspaper, as drips of lye can leave marks or stains behind. The lye reacts with the proteins on the dough’s surface, breaking them down slightly. The broken-down proteins now react differently with the sugars and amino acids in the dough and this produces a more intense version of the Maillard reaction and explains why pretzels are such a distinctly dark golden brown. While the pretzel is still moist, sprinkle it with coarse salt.
8. Can you use baking soda?
Yes—and I’ve tried both. Lye is so much better, but if you’re scared (or just don’t have any), a strong solution made of baking soda and water will produce similar effects. In my experience, make the solution slightly stronger than the recipe suggests for best results (I like about 2 ounces baking soda to 1 quart water).
9. Bake and eat. Pretzels bake at a high temperature to encourage a fast oven spring and a chewy, dark exterior. Recipes may vary, but generally pretzels bake between 400 to 450° F. Bake until they are very golden brown, between 12 to 16 minutes.
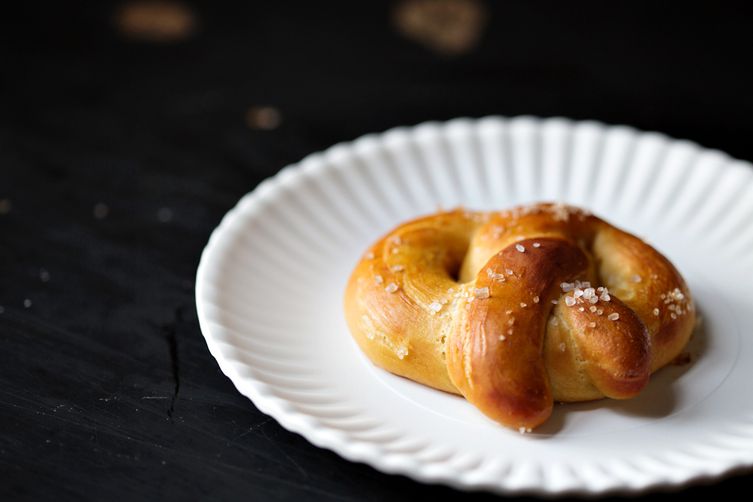
Fresh is best. Like most bread, fresh pretzels are best eaten the same day they are made (and like, 30 minutes after they come out of the oven is HEAVEN).
Makes 12 pretzels
For the dough:
22.80 ounces (5 1/2 cups) bread flour
23 grams (2 tablespoons) granulated sugar
9 grams (1 tablespoon) yeast
11 grams (2 1/2 teaspoons) kosher salt
12.30 ounces (1 1/4 cup plus 1 tablespoon) warm (95 to 100° F) water
2 ounces (4 tablespoons) unsalted butter
For finishing:
1.25 ounces lye
22 ounces (2 3/4 cup) boiling water
12 ounces (1 1/2 cup) cold water
Coarse salt, for finishing
Written by: Erin Jeanne McDowell
Popular on Food52
11 Comments
And thanks to Sam1148 for the baking soda lye alternative. The lye aspect has always kept me away from making pretzels.
Cheers,
Glenn K.
xoxoBella | http://xoxobella.com
See what other Food52 readers are saying.