Earlier this year, I moved from the fully-furnished apartment I was subletting into a totally empty rental unit up five very narrow stories.
Since it's likely not my lifetime home, I was hesitant about investing in an expensive table that, due to Murphy's Law, would surely not fit through the door of my next apartment.
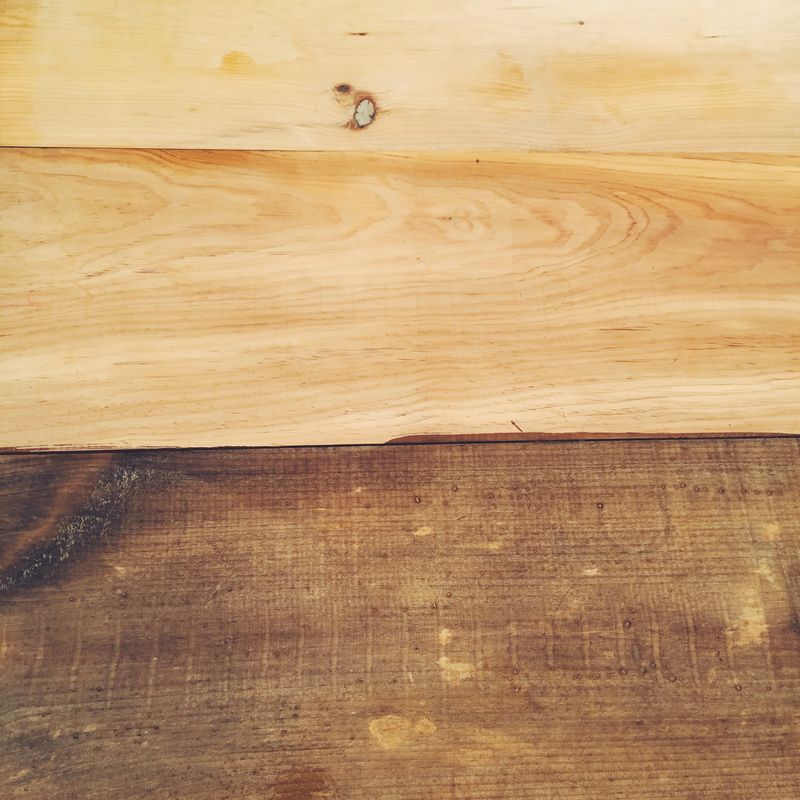
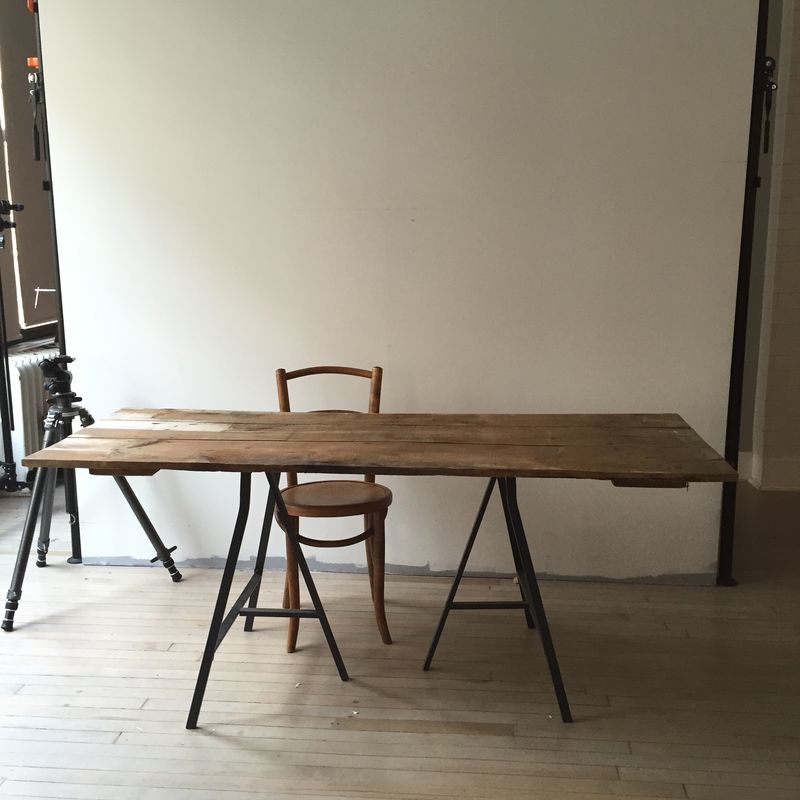 Our studio set-up. Don't you want to have a seat?
Instead, I took a little inspiration from our photo studio set-up, in which we rest our surfaces on trestle legs (these ones from Ikea, to be exact) to create makeshift, lightweight tables. While these aren't the sturdiest of furnishings, they're transportable, customizable, and—what was most important for me—cheap.
Kristen gave me some pine planks she'd been using as shelving in her apartment, I bought some two-by-fours to act as cross-bars, and I got a little help drilling the whole thing together.
Overwhelmed by too many choices of varnishes and stains and waxes, I applied some clear paste wax to protect the wood from water, then plopped it down on a pair of trestles in our living room. Easy enough.
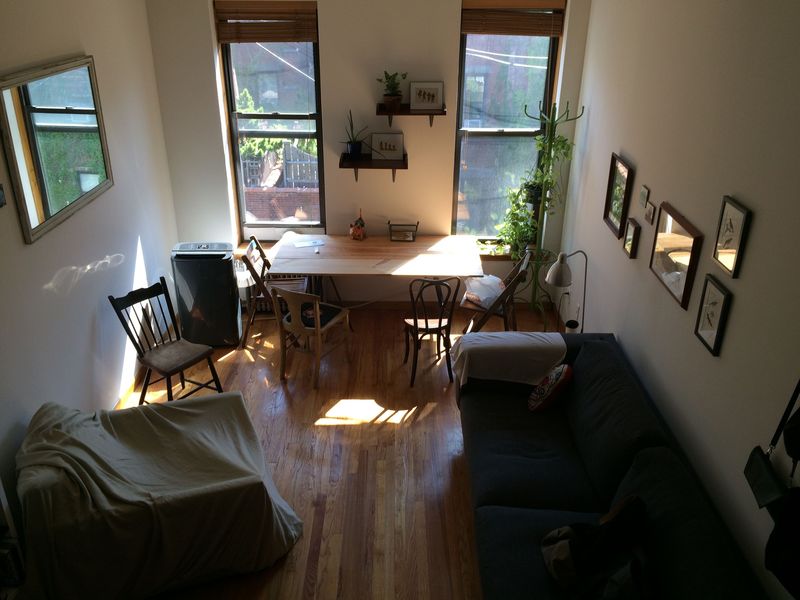
Please ignore the dish towel and sheet, which we use to stop the cat from scratching.
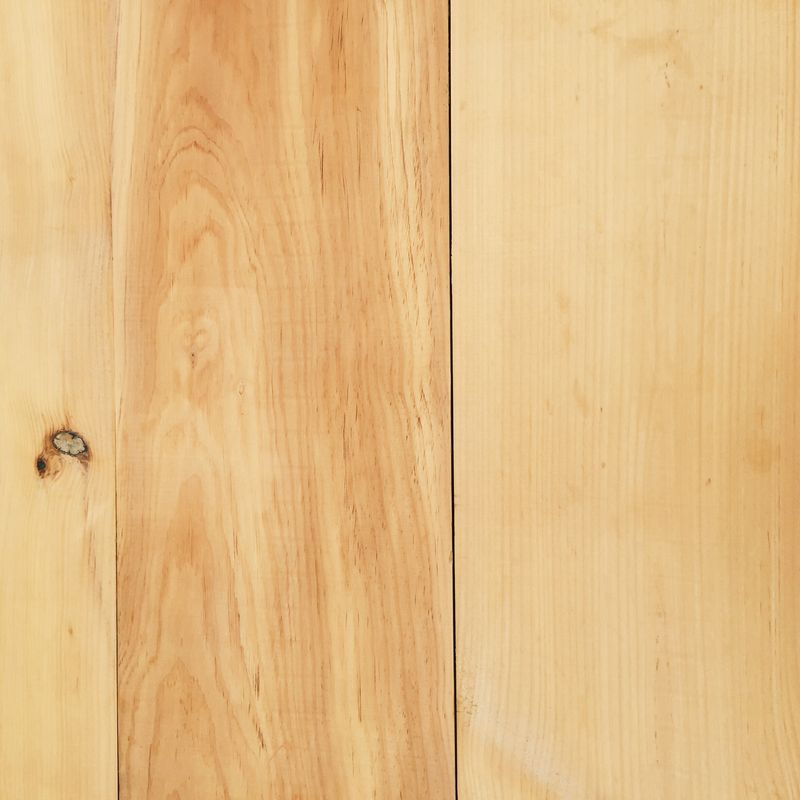
I didn't mind the look of the light pine wood in our apartment (I thought it made the room nice and bright), but when I heard from our Art Director Alexis that there was an easy way to antique wood with a mixture of vinegar and steel wool, I was excited to try.
I searched Pinterest, encyclopedia of all things DIY, and found a tutorial on Keeping it Cozy. Here's what I did:
- I bought steel wool, white vinegar, a cheap paintbrush, and two kinds of sand paper—120 (coarser) and 220 grit (finer)—from the hardware store.
- The bottle of vinegar went into into a mason jar with one lump of the steel wool. You can let the steel wool soak for 3 days or 3 weeks. I forgot about the project, so mine sat for about 2 1/2 weeks. (Note: My mason jar will never be the same; please use a vessel you do not care about.)
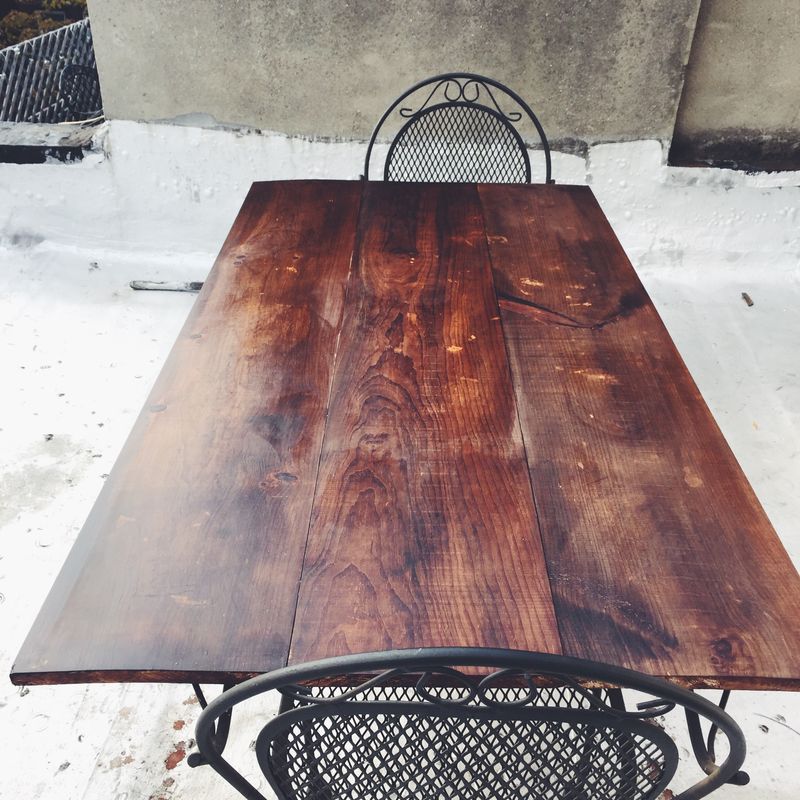
- When I could no longer ignore the graying jar on my counter, I took the table outside onto our terrace (as to not inhale the future fumes).
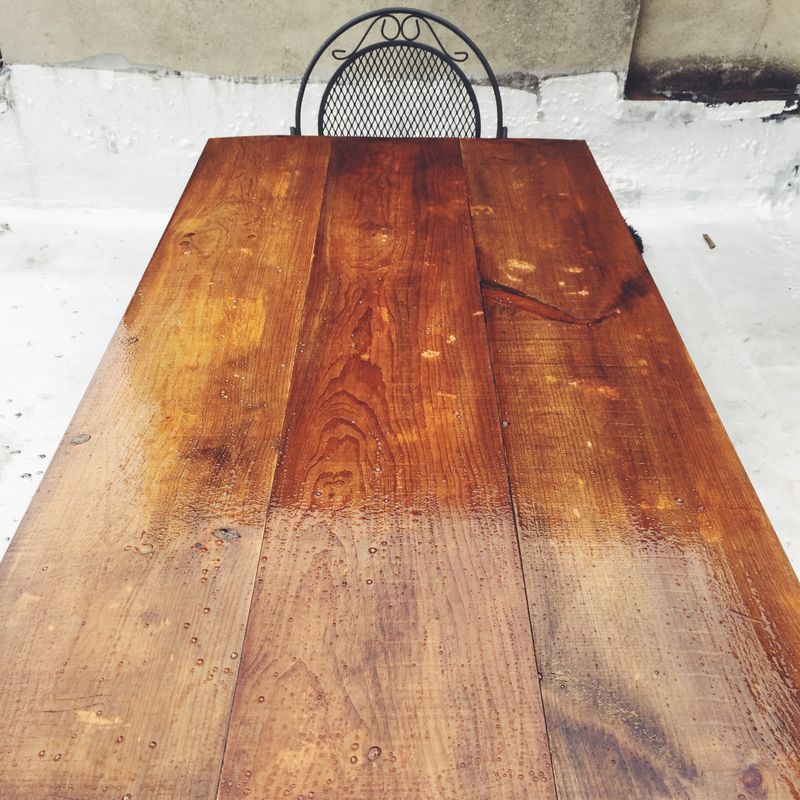
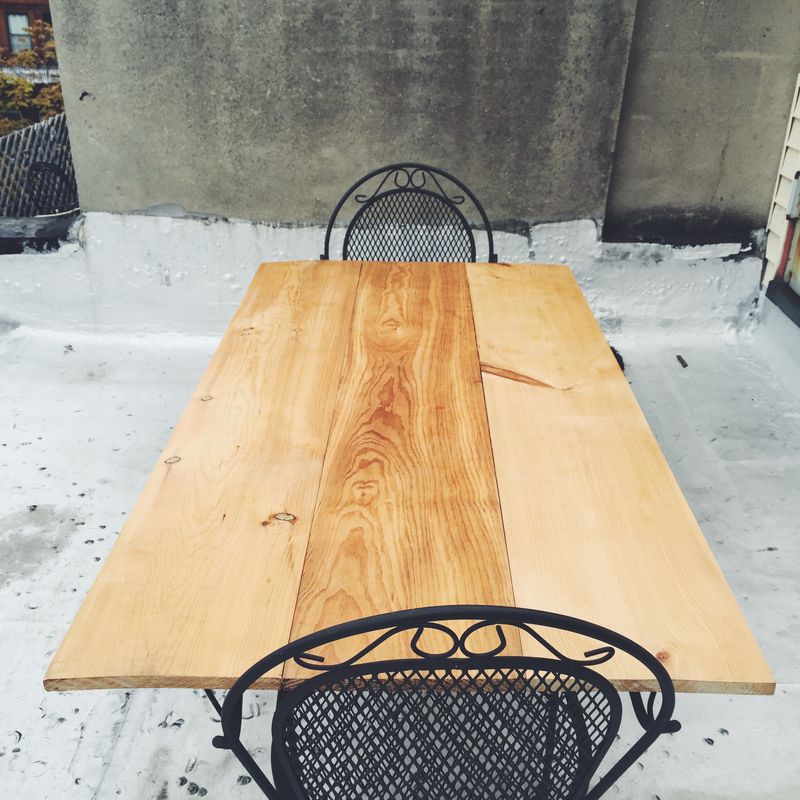 The virginal table, propped up on chairs.
- I made some very strong black tea, using 5 tea bags and about 3 cups of water, and let it steep for as long as I could tolerate before I got antsy (about 25 minutes; Keeping it Cozy recommends 1 hour).
- Meanwhile, I sanded the table with the 120-grit sandpaper and wiped it clean with a dry cloth.
- Then, I used the cheap paint brush to coat the table in the strong tea. It's the tannins in the tea that react with the steel wool and vinegar to stain the table. I made sure to do two coats, just in case I had missed some spots.
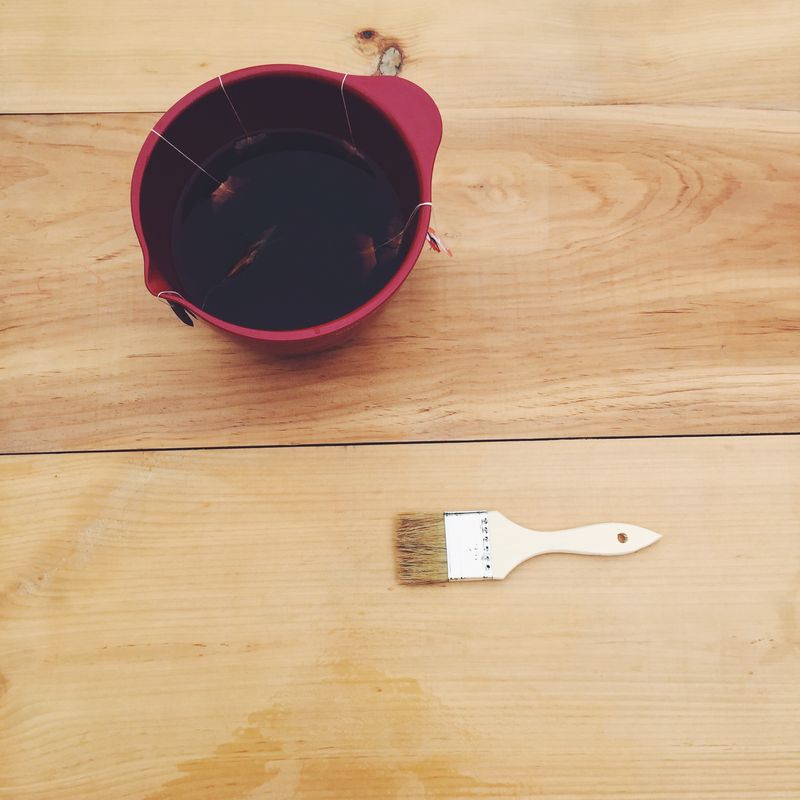
- Now, the excitement! I poured the vinegar that had been soaking with the steel wool through a fine-mesh sieve (very smelly!) and disposed of the steel wool.
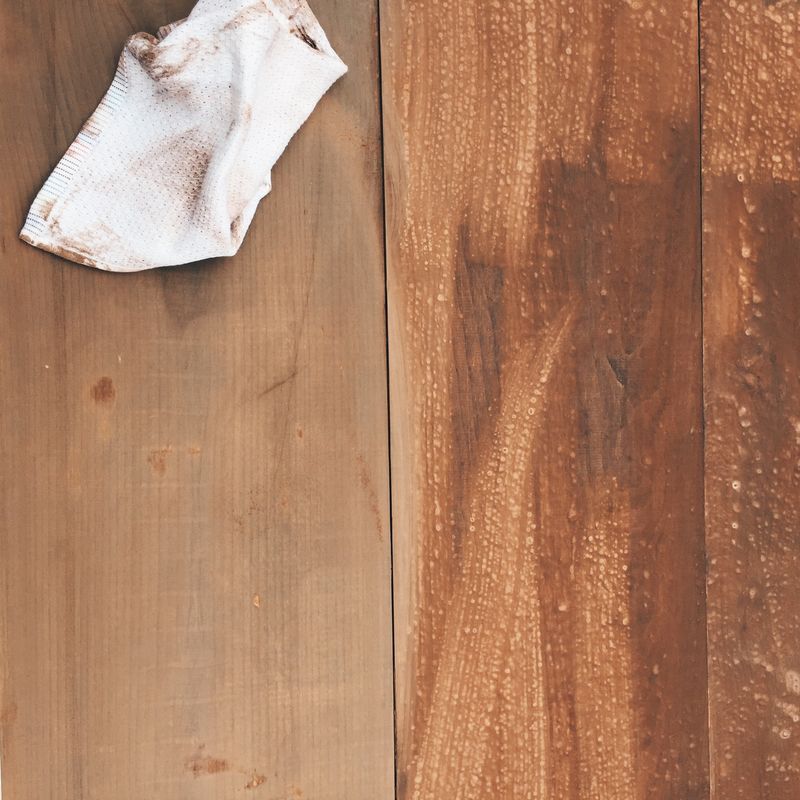
- Once the tea was completely dry, I used the paint brush to coat the planks with the vinegar. The wood got darker immediately, and I also noticed that a few particular spots (you can see them in the photo below) were not absorbing any of the color. These hydrophobic areas, I suppose, are remnants of the paste wax I used to originally protect the table.
- I soaked the wood thoroughly (go big or go home, you know?), making sure to get the sides of the surface, too.
- It looked beautiful and shiny before it dried and although I was alarmed by the dark color (change is scary), I was optimistic. (Note: This process was messy and splattery; take a lesson from me and do not wear your favorite Paul Frank pajama pants while you do this.)
- I took a break, made some cookies (duh), and returned to the table an hour later. Imagine my horror when I found that the smooth, shiny surface had gotten pimply.
- Miraculously, a dry cloth removed all the residue, which came off like fine brown dust. Phew!
- I dust-busted the schmutz off the table, then sanded with the coarser, 220-grit sandpaper, which smoothed out the uneven staining and made even the splotchy, uncolored areas less pronounced.
- The table was duller than I would have liked, and grayer than it had appeared when I first painted it. I decided to add a coat of paste wax with hopes of making the surface shinier and more durable (and because every time I touched it, brown grit was coating my hands).
 Before paste wax (left) and after paste wax (right).
- Finally, I buffed the paste wax with a clean cloth and got the table back into the apartment, where it lives now.
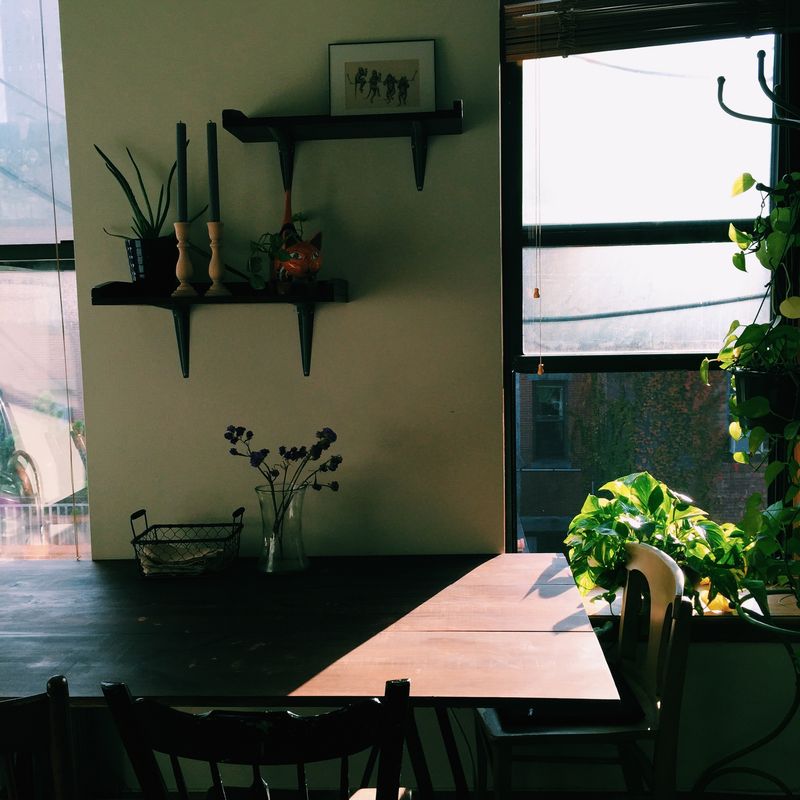
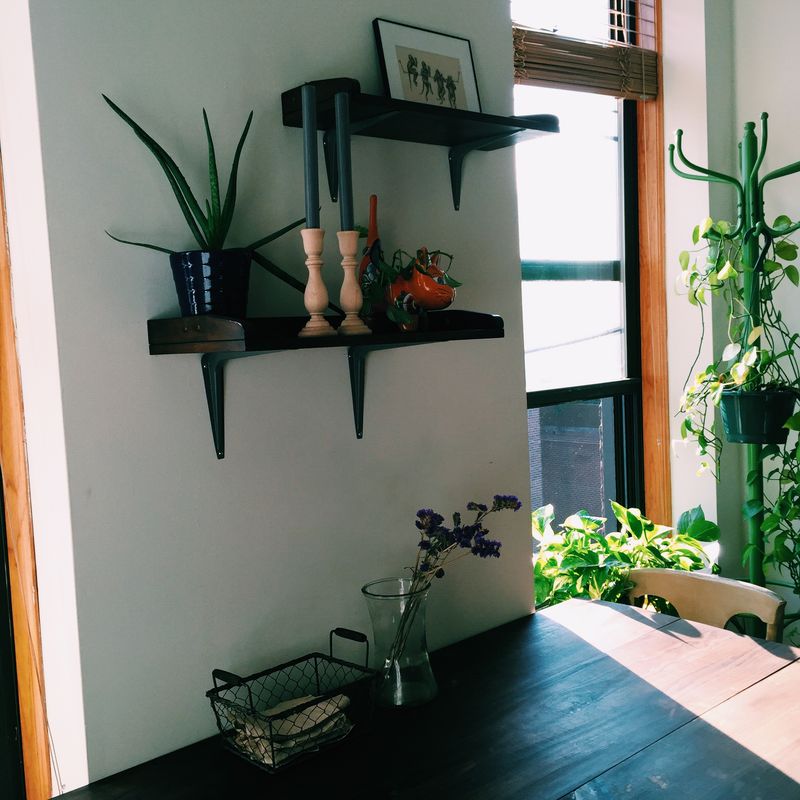
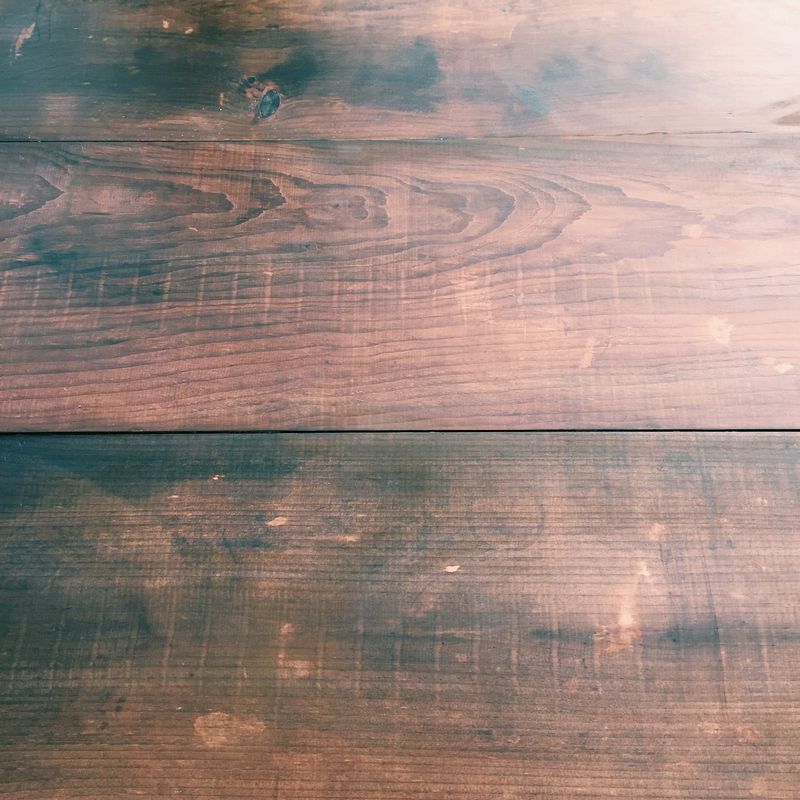
Two views of the table.
My roommates love the newly dark table, but I'm not entirely sure how I feel about it. While it's definitely more rustic and weathered than it was before, there was something lively and promising about its earlier state of rawness. It's wizened now, but I can't help but miss its more naïve days.
I guess the most important question is: Will it make for a better surface for Instagrams?
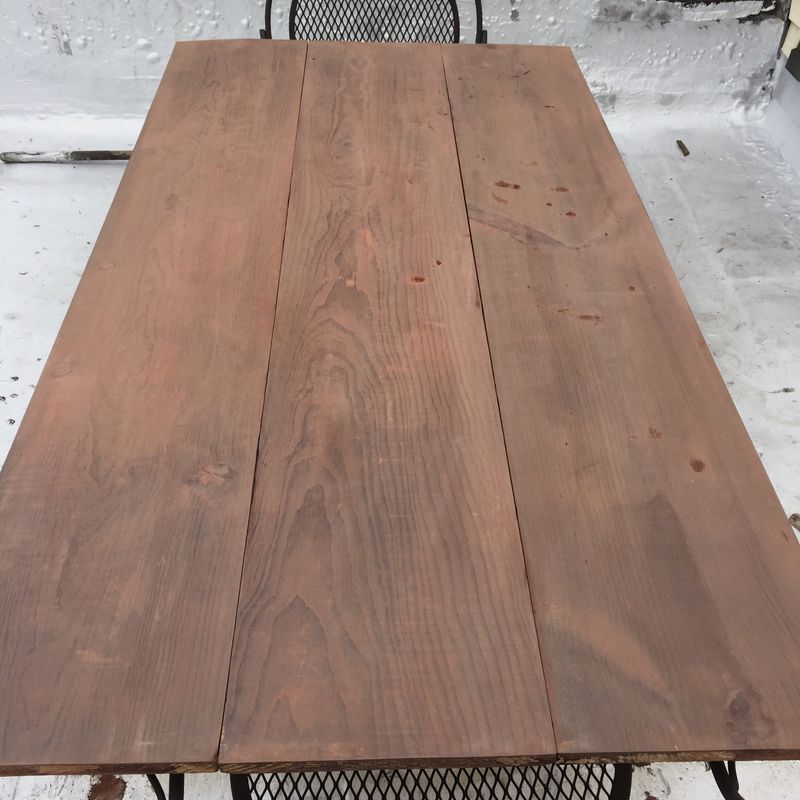
The final before and after:
Before the stain (left) and after the stain (right), but that should be obvious.
Have you ever been unsure about a DIY? Share your stories in the comments below. (It will make me feel better.)

It's here: Our game-changing guide to everyone's favorite room in the house. Your Do-Anything Kitchen gathers the smartest ideas and savviest tricks—from our community, test kitchen, and cooks we love—to help transform your space into its best self.
Grab your copy
See what other Food52 readers are saying.