We want you to throw big parties and win big (big!) prizes from Le Creuset. (Find out more here.)
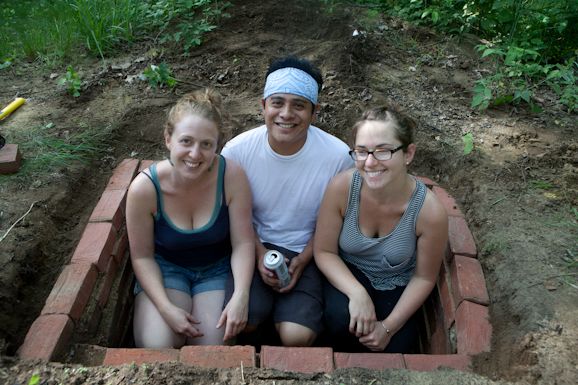
All week, we'll be featuring Sara Franklin, Neftali Duran, and Sally Ekus as they plan and throw a Oaxacan-style goat roast.
Today: How to build a fire pit in your backyard. Check out their previous post, The Year of the Goat, for the history and inspiration behind the feast.

When you send out an invitation to 60+ food-inclined friends and professional contacts and tell them pit cooking is involved, you’re bound to receive responses tinged with enthusiasm and envy. But some questions are inevitable as well.
1. Where is this pit you’re planning to use?
2. Who will tend the fire?
3. Doesn’t that take forever?
The answers, respectively:
1. In Nef’s backyard (as of spring 2011).
2. We will, of course (Nef makes fires for a living at his bread bakery, and his son, Emiliano, has inherited a love of anything related to flames).
3. Yes.
Cooking meat in the ground certainly isn’t unique to Mexican cooking, but it has been practiced there for a long, long time. And though the process may seem elaborate, in fact it allows for greater liberty in meal preparation. You dig yourself an oven (a one-time deal), line it with heat-holding bricks or stones, heat it up, put in your food, and forget about it while you go about your busy life or make merry.
In Nef’s case, The Pit has become the focal point of the convivial and oversized gatherings he likes to throw at least once a year. Usually there are whole animals involved. In the past, there have also been spits and grills, but there’s something particularly alluring about burying meat underground and just waiting and hoping that, when you uncover the thing many hours later, things will turns out as they should—succulent, moist, and falling off the bone.
Getting started
Before you get too excited and start sending out the invitations to your own pit roasting party, though, here are some instructions (and a few warnings as well).
First of all, you need a yard. Or a friend’s yard. You need space, in the ground. Unfortunately, pit-cooking isn’t particularly city-friendly, unless you happen to have access to an oversized yard or are brave enough to dig your pit in a vacant lot, guerilla style. But barring those exceptions, you need to find yourself some land in a more rural locale.
Once you’ve staked your spot, gather up a few shovels and lots of bricks.
(Note: for this next step, we recommend inviting some friends to come help you dig. Tip: offering food and maybe some libations helps entice joiners).
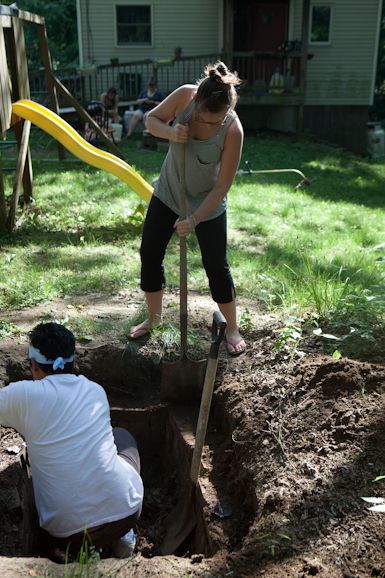
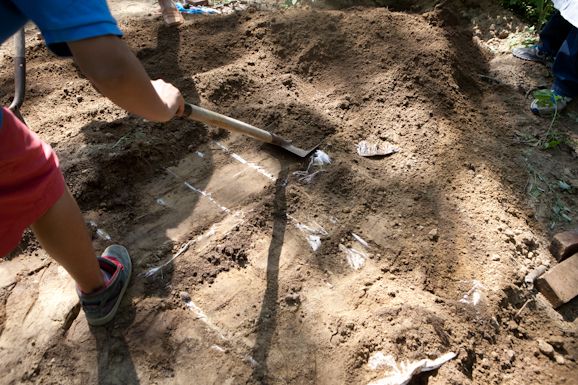
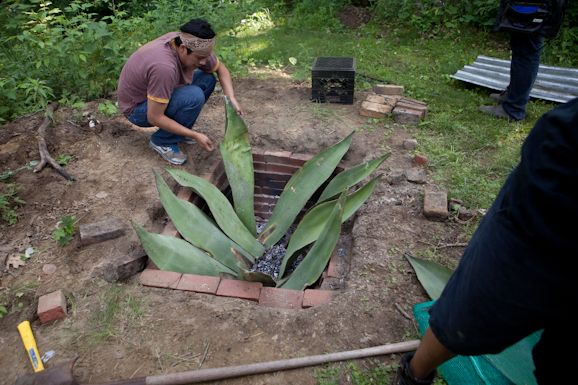
When you’re ready to start, dig in. Literally. You’re going to want to dig a pit at least 2 feet by 3 feet, but that’s cutting it close. Nef’s is more like 3 by 4, to accommodate larger animals, a big blazing fire, and pots of various accompanying vittles that might need to make their way into the ground as well.
You’re looking for a hole with straight edges—flat bottom, vertical sides. You may need to use a tamp to help achieve this.
Keep at least half of dirt you remove from the pit nearby—you’ll need it when it comes time to cook.
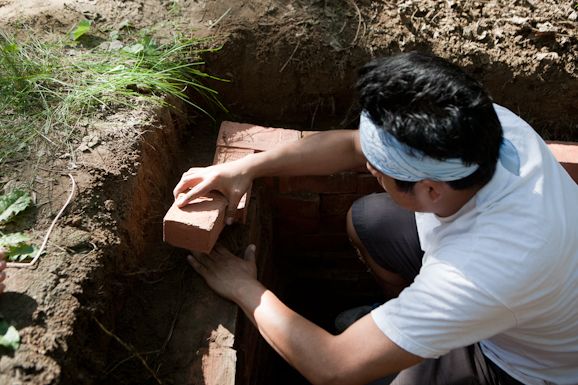
Once you’ve reached geometric perfection—or at least something sort-of close—you’ve got to line the whole thing with bricks. (If you can scavenge old bricks, you’ll save yourself a bunch of cash, which you can later spend on extravagant ingredients… like whole animals). You’re looking to pack the bricks as tightly as possible in order to keep heat contained.
If you can find them, get yourself a few river stones and scatter them in the bottom of the oven (What, you may ask, is a river stone? You’re looking for fresh water—NOT ocean—stones, preferably about the size of your head. They hold heat extraordinarily well, and help bring the oven’s temperature up. If you can’t find them, an all-brick pit will do, but it may take longer to heat up and will likely cook your food more slowly).
In addition to your masonry supplies, you’ll need to buy enough corrugated iron (the stuff used for cheap roofing and storage sheds) to cover the pit with at least a 6” lip on each side. Several strips overlapping one another will work fine if you can’t find one sheet large enough). You’ll also want some old blankets or sheets. And at least 1/8 of a cord of hardwood.
Now, to get going with the actual cooking process.
You’ll need to start the evening before your party (assuming it’s slotted for the afternoon or evening). Get a fire going in the base of the pit. Newspaper, thin twigs and dry cardboard all make for excellent starters (We recommend avoiding the use of artificial starters or lighter fluid, as your food will be cooking a long time in direct contact with whatever you use to heat your oven). Once you’ve got some hot flames, start adding some good, dry logs. Your goal is to build a very hot fire and keep it going for at least 8 hours before you begin cooking. If you plan to catch some shut-eye, make sure you (or someone else) sets an alarm to wake up around 2 or 3 o’clock in the morning to stoke the fire again.
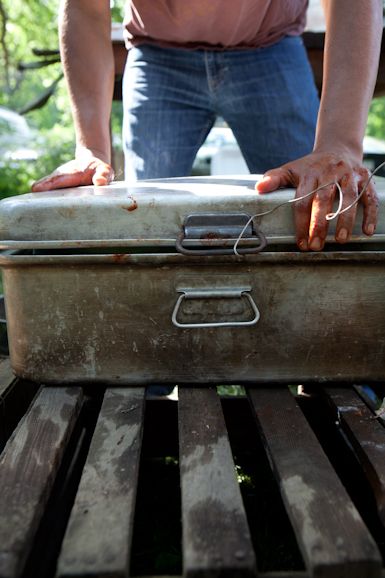
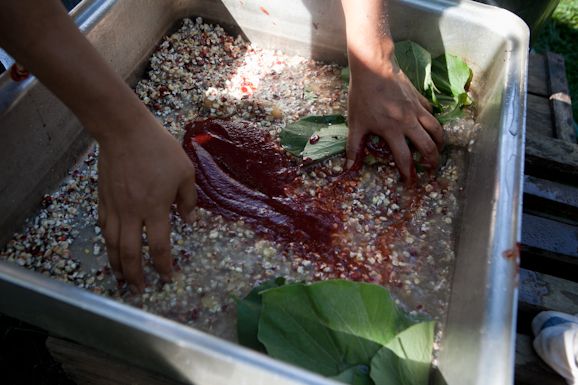
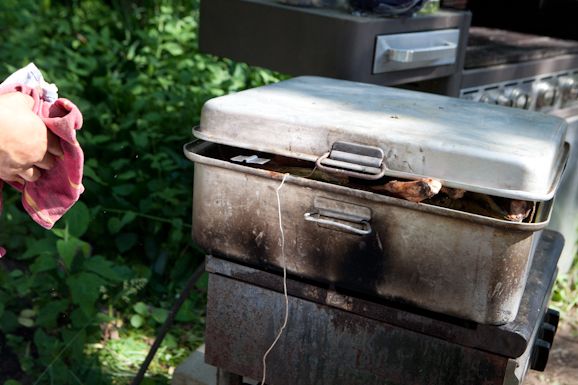
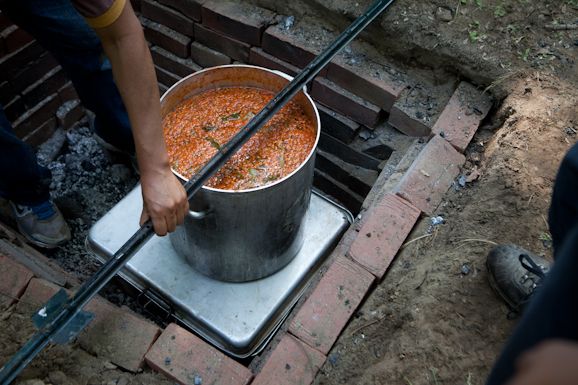
In the morning, you should have a bed of smoldering coals and a capsule of very hot bricks and/or stones. Now you’re ready to cook. Lower your meat (or whatever you’re cooking) into the pit very carefully (Notes: we recommend using strong cord around the pans or gardening stakes threaded through handles to lower your food into the ground. Also, be SURE you’re using very heavy duty cookware that can withstand high heat for prolonged periods of time. If you’re conscious of contamination, avoid aluminum).
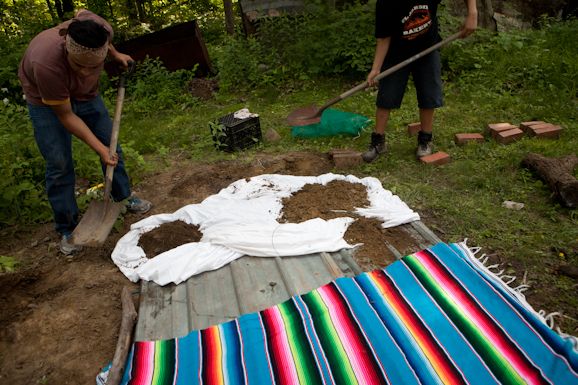
Once the food is in place, lay the corrugated iron across the top, cover it with your blankets or sheets, and then cover the entire thing with a few inches of dirt. The idea is to close the pit as thoroughly as possible to hold heat in.
Let your food cook for at least six hours, usually longer (at least eight is our rule of thumb). As you get to know the particulars of your own in-ground oven, as well as those of your stones, the wood you burn and the type of meat your cooking, you’ll have to play with cooking time. You’ll get the hang of it though, and before long you too will be wowing your posse with pit-roasting parties.
For more Big Feast DIY projects, check out How to Build a Tandoor Oven in Your Backyard.
Photos by Ilana Panich-Linsman
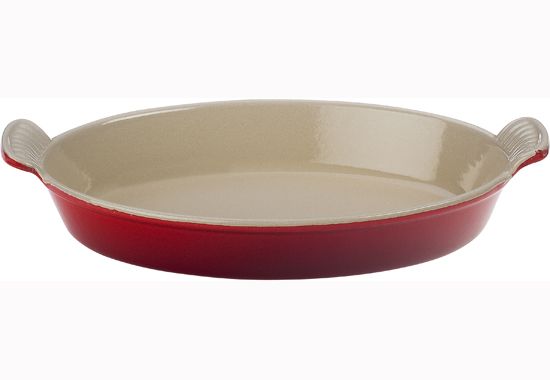
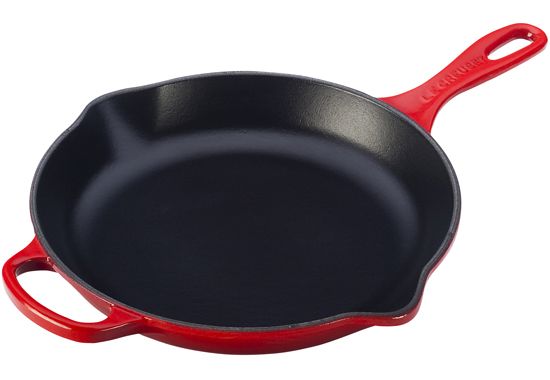
Le Creuset has generously offered to reward our Big Feasters for all their hard work, and as our fourth Big Feast, Sara, Neftali, and Sally will win, in the color of their choice (flame, cherry, cassis, fennel, Caribbean, dune, Dijon, or Marseille): an Oval au Gratin, a 10 1/4-inch skillet, and set of multi bowls. Pitch us your Big Feast at [email protected] for a chance to win up to $500 in Le Creuset booty.
See what other Food52 readers are saying.