
A New Way to Dinner, co-authored by Food52's founders Amanda Hesser and Merrill Stubbs, is an indispensable playbook for stress-free meal-planning (hint: cook foundational dishes on the weekend and mix and match ‘em through the week).
Order nowPopular on Food52
102 Comments
Yogita S.
April 21, 2021
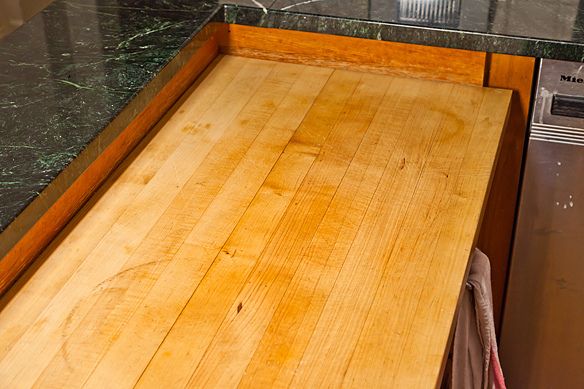
I love the kitchen and love that it was done on a budget. We follow you on instagram and by 'we', I mean my 12 & 10-year-old and I. I would love to put in a small butcher block counter and do away with the cutting boards i am constantly having to replace. my question is how do you keep it clean and bacteria-free?
Kristen
March 23, 2014
Hi Amanda,
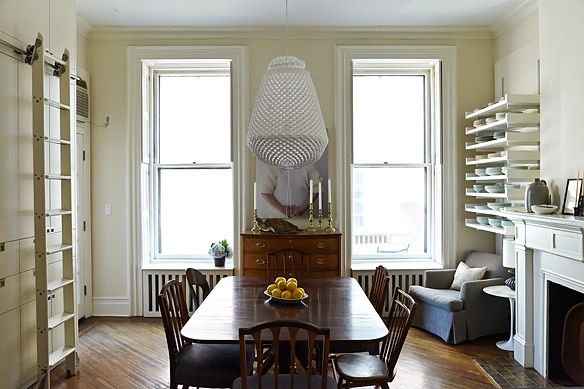
What an inspiring post... I know this is from a while ago, but I'm wondering what color you painted the dining room walls. I'm searching for the perfect just-barely-off white. The one in your dining room is warm, but not too yellow. If you can recall what it's called, please let me know!
What an inspiring post... I know this is from a while ago, but I'm wondering what color you painted the dining room walls. I'm searching for the perfect just-barely-off white. The one in your dining room is warm, but not too yellow. If you can recall what it's called, please let me know!
Amanda H.
March 23, 2014
They're Benjamin Moore Linen White with Dove White trim (although it may be the other way around!). Hope this helps!
kelly D.
March 1, 2014
All you did was attractive and useful but the one thing I want to incorporate in my kitchen remodel is the woodblock counter with pull-out garbage drawer. Never heard of a pull-out kitchen drawer but I want one now! Seems like the perfect replacement for the prep sink I've been told I can't have. Can you give me any other info about the drawer – Is it lined with anything so the moisture from the veggies doesn't seep into the wood cabinet? Is there a garbage can under the drawer somehow? Can't imagine how it works but think it's gonna help me achieve a 2nd prep area in my kitchen. Thanks for your help.
Amanda H.
March 2, 2014
Hi Kelly, the garbage drawer holds two standard size (30-gallon) rectangular rubber garbage cans. We use the one in the back for recycling, and the one in the front for regular garbage like vegetable trimmings, egg shells, etc. When I'm chopping on the wood block, I just keep the garbage drawer open a few inches so I can scrape things into it as needed. Because we change our garbage often (daily or once every other day), we haven't found any issue with moisture affecting the wood block. It's more that we need to oil the wood block on top because it dries out if wiped clean a lot. There's a great oil and wax product from Butcher Block Co that we use - and we apply it every couple of weeks, and the wood has remained in beautiful condition. Good luck!
Miranda H.
July 12, 2013
Hi Amanda - This is so inspiring. I'm an old friend of Tad's and stumbled upon this by chance, while looking for ideas to dig me out of a revolting 90s cherry kitchen... two questions: what is the pale gray used on the exterior cabinets? And did they have to spray to get the paint to stick, or did they use oil? I'm trying to figure out how to paint mine to look like yours. Thanks.
AntoniaJames
July 12, 2013
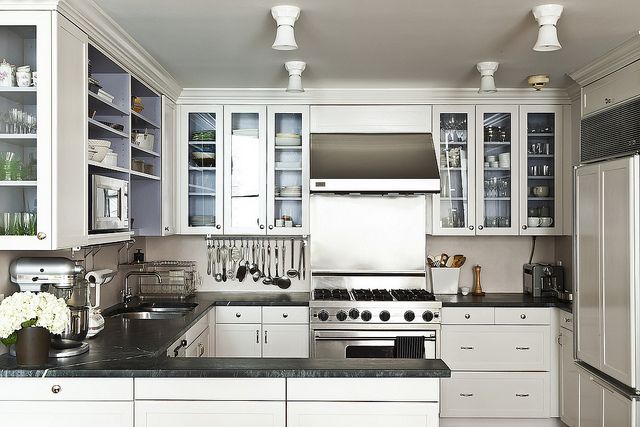
I've been really curious about what the white "thing" on the glass cabinet face in the new kitchen photos is (or maybe it's just a reflection). Is it a long to-do list taped up? It's been driving me crazy since this was first posted.
Amanda H.
July 12, 2013
AJ, that's just a reflection of one of the windows on the opposite side of the kitchen!
Amanda H.
July 12, 2013
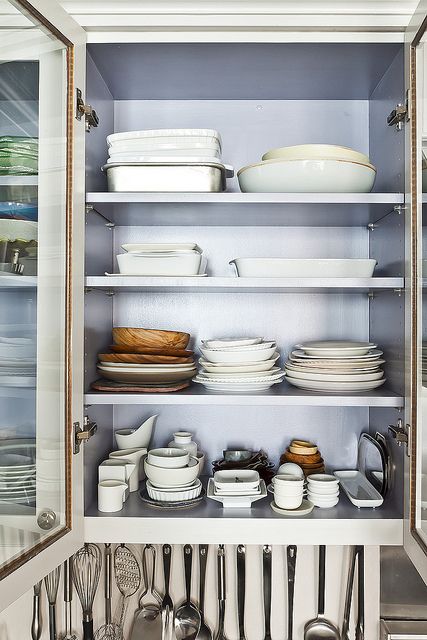
Hi Miranda, Great to meet you! Our contractor used a custom color that he mixed (and I'm now thinking that this wasn't such a good idea because how will I fix things beyond small chips, for which he gave me a spare can?) It's just a super pale grey. I don't think it's oil. And everything was sanded and painted. Spray would have been better but it wasn't possible. The paint chips a little but I've only had trouble with one area really. I knew this was part of the bargain and I was willing to deal with future chips because I was THAT desperate to get rid of the cherry wood!
AntoniaJames
July 12, 2013
Thanks! Can you see how it might look like a long to-do list? (And I wouldn't have held it against you for having one in the photo . . . it would be proof of what we all know, which is that your kitchen is used, a lot!)
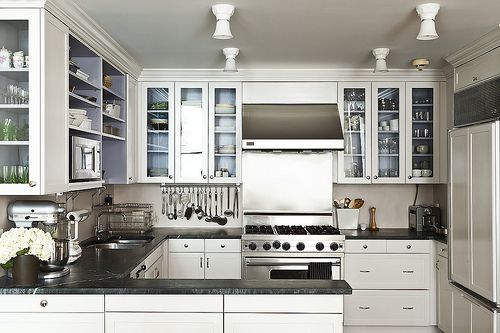
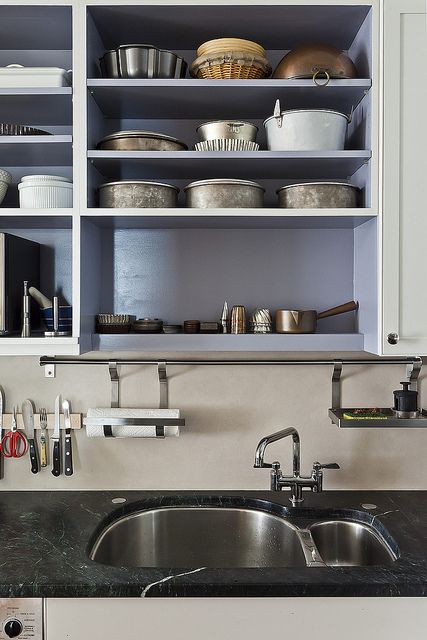
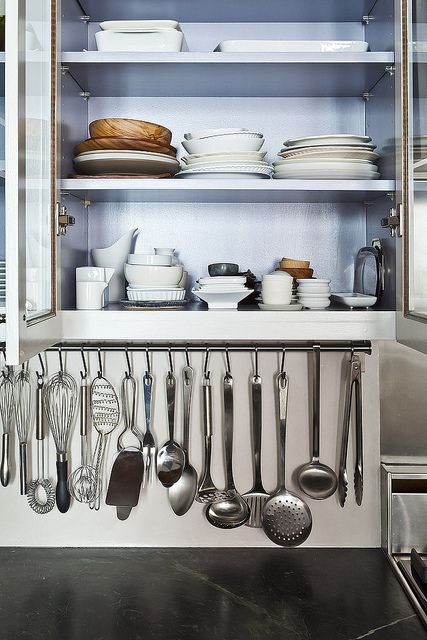
By the way, sfter nine months, do you still like the hooks for the utensils? When I've been in kitchens that have them, I've found myself fighting to lift the utensils off the hooks, or at least, it seems to require a different motion for every utensil, depending on its weight and length, so it's seemed inconvenient. I don't have enough clearance under the counters in the 1920's "maid's kitchen" to do that anyway, but I'm curious about your experience, for reference when I do my next kitchen. Thank you! ;o)
By the way, sfter nine months, do you still like the hooks for the utensils? When I've been in kitchens that have them, I've found myself fighting to lift the utensils off the hooks, or at least, it seems to require a different motion for every utensil, depending on its weight and length, so it's seemed inconvenient. I don't have enough clearance under the counters in the 1920's "maid's kitchen" to do that anyway, but I'm curious about your experience, for reference when I do my next kitchen. Thank you! ;o)
Amanda H.
July 12, 2013
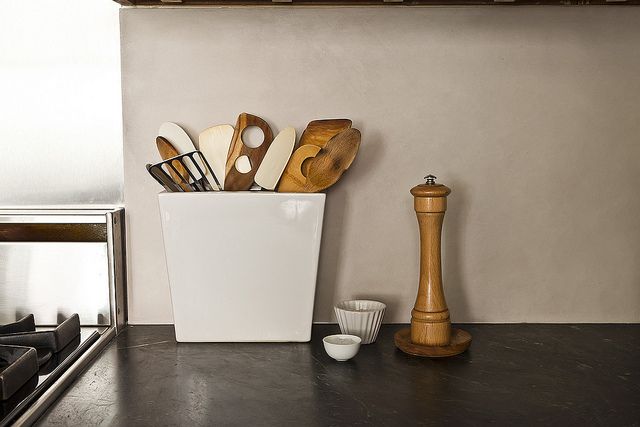
Yes, it does look like a long list! Also, I do like the utensil hooks, but I'd had them in my first NY kitchen so I'm used to them. I understand what you mean about lifting utensils off the hook not always being easy, but I've also found utensil jars frustrating in that they get jammed up -- although they work well for wood utensils -- and I always wonder what's lurking at the bottom of them!
AntoniaJames
July 12, 2013
Amanda, you can usually take a can of paint to a good paint store - the Benjamin Moore dealer, Mark's Paint Mart, is the best for this out here - where they can reproduce colors quite accurately, for just the situation you describe. The technology has improved dramatically over the years. But the lesson is an important one . . . . for something that needs touch ups (and kitchen cabinets are one area in every home that need them, a lot), make sure that the "custom" is recorded in a formula that you can take to the paint store. In the meantime, save that spare can for the front facing dings in more obvious spots, and have a back up made for less-noticeable touch-ups, typically below counter level and near the floor. ;o)
awbauer
September 18, 2012
any news on inside cabinet color?
Amanda H.
October 14, 2012
awbauer, I know we discussed this via message but in case anyone else wants to know, the inside paint color is Benjamin Moore BM 2118-50. Also, my contractor was Keith McAlpine. He can be reached at [email protected] and on his site: keithmcalpinedesign.com
VIB
August 21, 2012
this is so lovely. do you mind sharing the source for the rolling ladder? we are looking for something like this for our kitchen renovation. and also the recessed pulls on the pantry? thank you!
Lorenza
August 24, 2012
I would bet that the ladder is a Putnam Rolling Ladder. We have one in our family room and it is a beautiful and functional element for our bookshelves that go up to the ridge of our vaulted ceiling. I say, Go for it!
Amanda H.
August 24, 2012
Lorenza, you're right on the money -- was Putnam Rolling Latter. VIB, I believe they are the oldest ladder company in the US, and are located in SoHo: http://www.putnamrollingladder.com/
Irmavep
August 21, 2012
Really beautiful renovation. When everyone (architects, contractors, stone guys) tried to dissuade me from honed carrerra counters 10 years ago, telling be that "no one has these for a reason" I would tell them that just about every kitchen in Greece, Turkey, and Italy did indeed have these counters, and that their accumulated patinas were lovely.
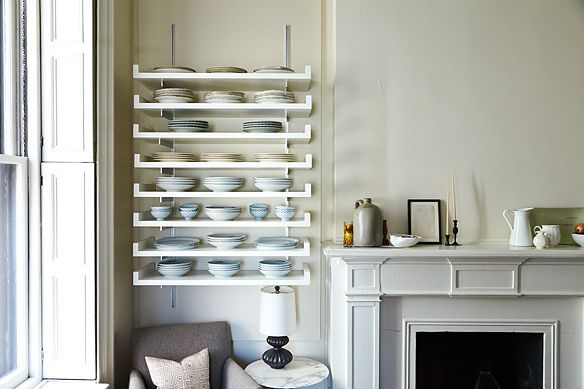
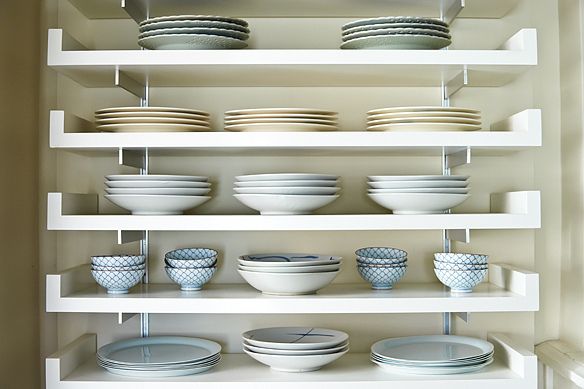
One burning question: where did you get the upturned shelves in your dining room (the ones on the Rakks standards, holding the plates?) Or are they custom? We have been desparately looking for a budget version of Atlas and are using Rakks standards too, but haven't been able to find the shelves themselves. Many thanks!
One burning question: where did you get the upturned shelves in your dining room (the ones on the Rakks standards, holding the plates?) Or are they custom? We have been desparately looking for a budget version of Atlas and are using Rakks standards too, but haven't been able to find the shelves themselves. Many thanks!
Amanda H.
September 17, 2012
Sorry for the delay -- fell behind! The shelves were designed and made by Platt Dana Architects during a renovation we did 10 years ago: http://plattdana.com/ -- I don't remember the brand of shelf braces we used, but they're built so you can put the shelves at any height you want. You create the "slots" for each shelf.
phyllis S.
August 20, 2012
Where to you put your pots, etc.? Do you have to bend down every time you need something? I find the rack with the hooks holding the utensils on the wall bothersome since every time I need something the hook comes with it. Are those hooks attached?
MsDivinaLoca
August 20, 2012
Great job! I love the open shelving in the dining room. Alas, living in California it's not a wise choice so I'll just have to admire it from afar. I don't hate cherry in general, but I do hate the way it's finished and used in kitchens but your transformation is wonderful. Enjoy!
Yogita S.
April 21, 2021
Yikes, I am in CA and I put in open shelves. I have cups, plates, and a few bowls on there. Your comment makes me want to reconsider even further.
ALOW
August 20, 2012
Striking redesign! May I ask where you found the shelves to the left of your dining room fireplace? And the light fixtures in your kitchen?
the M.
August 20, 2012
Perfect and functional-really nice! You must tell the long tripe story sometime.
SusanRubinsky
August 19, 2012
Bravo! (I can't stand cherry either). I redid my kitchen in the late 1990's for about $15K and it included new cabinets and new appliances -- took 18 months but everything was done frugally (including pale birch semi-custom cabinets that were super tall to take advantage of the high ceilings : ). I love what you did; I love upcycling whenever possible.
Sarag
August 19, 2012
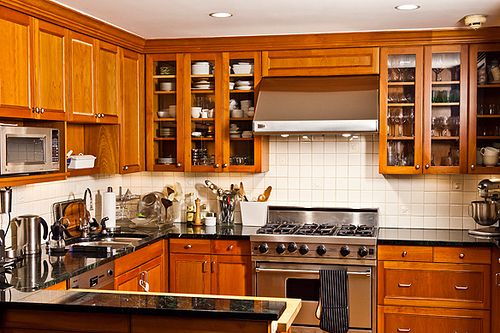
I love what you did to the marble! It is so much warmer and "real." And now that I look at your before and afters, I can so see a Bonnie Bedelia (thinking Die Hard character) easing out of the big-shouldered blazer, putting her big hair up with a scrunchy and pouring herself a glass of Chardonnay in that glossy black and brightly orange kitchen.
GregoryBPortland
August 19, 2012
Bravo to you Amanda, for insisting on a renovation and not a gut job. Everyone today seems to want a shiny new $50K kitchen, when a little imagination, some smart planning, a good designer/contractor can give you an affordable new space. I suppose I'll renovate at some point, and I hope I can find a contractor who will give me what I want.
After living in a cramped kitchen in New York for so many years, I fell in love with a house when I moved to Portland. It had a spacious, updated kitchen with granite (not my favorite surface) counter tops. I bought the house and in retrospect, I should have demanded more from my kitchen than what I ended up with. The side-by-side refrigerator and the old dishwasher were the first things that went. The counter tops are dark, shiny, and show every streak. I've come to hate them (replacing them would mean ripping two large cupboards with appliance barns). The cupboard space is limited for all the equipment I have, and the design of the dishwasher is utterly dumb--it's way over on the other side of the counter from the sink, so stacking dishes means, my lovely oak floors always get dripped on. Counter and wall space is limited and it always looks cluttered. But what I really miss having and could kick myself for not noticing, is a pantry. Hindsight! This may be the last house I buy, and I've made my peace with this kitchen.
So it's even more wonderful to see how much recycling your kitchen has gone through. I'm not a fan of light colored kitchens, and yours isn't quite white. I like the pale gray. Kitchens should be functional, attractive. We live our lives in them more than any other room. Because my kitchen overlooks the dining area, all the entertaining happens here as well. I hope Food52 will feature more stories on kitchen renovations. Lots of good ideas can be generated around this.
Homemade H.
August 19, 2012
This is such a great update! Just curious if you could tell me the dimensions of your kitchen? I'm thinking of remodeling but am having a hard time figuring out what is a good working size kitchen. Thank you!
Cybele P.
August 19, 2012
Too funny! I'm wrestling with an almost identical 90s kitchen, dark green shiny marble counters, and walnut cabinets with the same type of superfluous molding. I also have a John Boos rolling table, but I mostly use it for pastry, since I can't bring myself to truly break it in and cut on it. I love what you've done here. I've been hoping painting my walls some shade of cook's blue or Chinese blue would help me love my kitchen more, but I see now, it's a larger job than that. I love how you stripped the cabinets, love the colors you've chosen, they're so soothing, almost Scandinavian, which I adore, and you've really opened the space up. And the dulled counters are an inspiration! Thanks! BTW, I'm an old friend of Nancy Baker's. Hi!
daryn
August 19, 2012
Looks beautiful, and great cost-saving tips. Congrats Amanda!
By the way, we put in honed Carrera marble for our kitchen island. It has lots of water rings, and some stains, but I agree, it just gives it character - especially in our 100+ year old house!
By the way, we put in honed Carrera marble for our kitchen island. It has lots of water rings, and some stains, but I agree, it just gives it character - especially in our 100+ year old house!
tsp
August 19, 2012
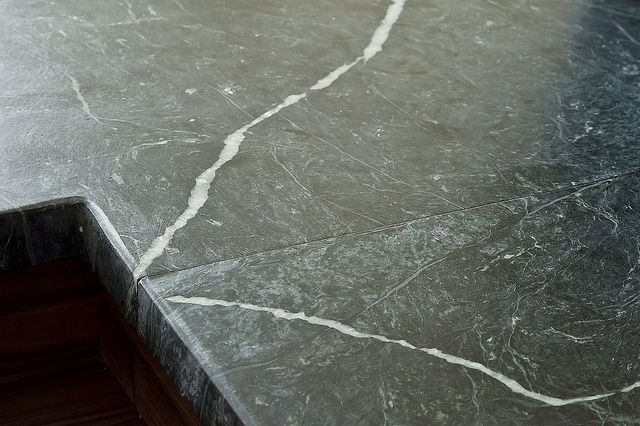
Nice job. The honed marble looks like soapstone-- if you are going for this look from scratch, that would be the way to go. Soapstone is a soft stone, that takes an oil finish much like the butcher block, and stains can be easily sanded and then oiled away. I love the butcher block space here. Did you do anything to the floors? Would be nice to know where the bulk of the budget went, considering you did not replace appliances. I did a similar redo-- painted everything myself, used old cabinets, only bought one new appliance. But the bulk of the cost went to carpentry work for removing a wall and building a pantry/ laundry room. Spent about half this much, although we are not in NYC. Still, most of the $ went to the carpentry.
AJID10
August 19, 2012
As a designer myself, I love the ingenuity of working in a space under a tight budget. Bravo to your designer for helping you making the wonderful and wise decisions. I wish all audiences would understand the power in hiring an interior designer.
-Allison Jaffe Interior Design, allisonjaffe.com
-Allison Jaffe Interior Design, allisonjaffe.com
barr
August 19, 2012
Beautiful job and I agree with you about Cherry cabinets! Thanks for the information about honing. I am a granite hater and would love to hone the beast in my kitchen. Just need to find someone here in Boulder to do it!
Lori L.
August 19, 2012
Inspiring. I inherited my husband's dark bachelor-pad kitchen and have often wondered if I could just paint the cabinets. Now I know I can and will. Thank you for once again leading the way!
MrsWheelbarrow
August 19, 2012
Wonderful renovation, Amanda and such remarkable attention to detail in Lithe's design work. We adore our fixtures from Schoolhouse Electric. Great company with a wonderful backstory.
Amity
August 18, 2012
Beautiful job!
Where did you get the rack that holds your sink sponge & soap?
Thanks
Where did you get the rack that holds your sink sponge & soap?
Thanks
off2cook
August 18, 2012
Terrific inspiration as I rip into my kitchen. Like the colors (esp gray/blue which the French say deters flies due to color) and the honed marble. A mason told me to use industrial exterior caulk where the board meets the sink. He said it is what is used when replacing windows for a good seal. Hope it lasts longer than DIY caulk. If you receive expert advice on this, plz post, thanks. Good work!
Amanda H.
August 17, 2012
Thanks everyone for your nice comments -- we're so glad you like the new Food52 kitchen! Will try to answer all of your questions now.
Summer O.
August 16, 2012
I realize there are a lot of requests here, but I am curious to know how you maintain your honed surfaces. Is there a way to minimize water (and wine) stains? Thanks for sharing your beautiful renovation.
Amanda H.
August 17, 2012
It may be that this is a dark surface, but I haven't had to do anything. Some dark areas have formed, and there are light areas and some small stains, but I find that it all makes the marble more handsome and aged looking. All I do is clean it with soap and water.
saragrad
August 16, 2012
Hi Amanda,
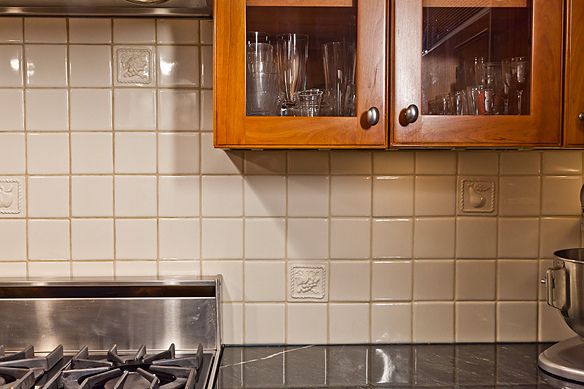
Are the concrete-covered boards you used to cover your tile backsplash easy to maintain? Do food stains come right off just by wiping with a damp cloth?
Are the concrete-covered boards you used to cover your tile backsplash easy to maintain? Do food stains come right off just by wiping with a damp cloth?
Amanda H.
August 17, 2012
Yes, so far. Everything just wipes off -- wine, grease, you name it. I find the most difficult thing to maintain is silicone caulking around the sink and behind the sink where the counter meets the wall. If it gets wet it inevitably begins to mold. If anyone has a magic solution, please let me know. On our photo shoot days, I put a towel down at the counter/wall seam so that dish water doesn't seep into the caulking. Not exactly an elegant solution.
Nikki S.
August 16, 2012
What a gorgeous and practical looking new kitchen. I am sure you will enjoy many a happy time cooking in your new space.
Lorenza
August 16, 2012
Brava Amanda! I noticed in the comments posted above that you provided "blueprints" of your project. Did you provide actual blueprints or was the comment alluding to the level of detail you include in the article? I, too, am about to embark on a kitchen renovation and your article has provided many inspirations to consider for my project. Grazie!
Amanda H.
August 17, 2012
Yes, I was referring to the details in the article. But happy to answer any questions you might have. Good luck with your renovation!
ATG117
August 16, 2012
I'm with you on the cherry wood (and the no-clutter allowed countertops), love the way the painted interiors of the cabinets look, and think the transformation as a whole is just fantastic. Enjoy the space!
Amanda H.
August 17, 2012
Thank you so much -- I like change in general, so it's been very exciting to be able to see this kitchen that we've worked so much in evolve and improve. Glad you like it!
drbabs
August 15, 2012
My daughter in law has been wanting to do her kitchen, so I sent her this--it's inspiring! (If I were still in my house with the cherry cabinets, I would definitely be looking to paint them right about now...) Thanks for sharing this.
Greenstuff
August 15, 2012
Good for you. This piece deserves a follow up with more detail on the budget and the methods. And uh-oh!! I had not noticed that the 1990s were passé, nor that recessed lighting gave us all nose triangles. Shoot.
lorigoldsby
August 15, 2012
Inspired and inspiring! LOVE how you were able to remove the look of clutter and still have your items at hand! I have looked at those utensil bars at IKEA and wondered if it would be too much "extra stuff"...but I love what it did for your kitchen! And while the color is "cool"...there is a warmth to the kitchen..no easy feat to achieve!
Amanda H.
August 18, 2012
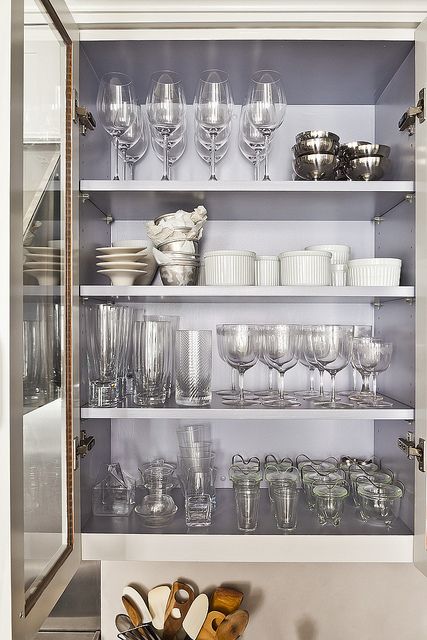
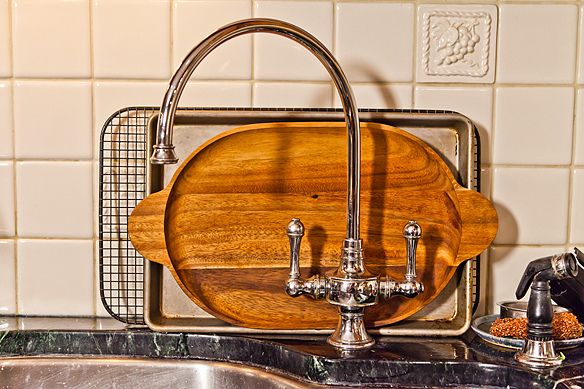
Thanks Lori -- the sink faucet is also from IKEA. They make a lot of good kitchen products these days. Some people don't like open shelving because of the dust but my cookware gets so much use that there's no time for dust to accumulate!
AntoniaJames
August 15, 2012
We did a similar facelift renovation a few years ago, but were our own contractor and designer (with help from a brilliant color consultant who is an artist from The Netherlands, i.e., a Dutch painter). We were working with a 1950's kitchen, and had to replace the 6" square tile counters, as well as the linoleum floor. Had similar constraints, but also had to deal with CA codes, which require 50% fluorescent lighting and receptables 2 feet apart along counter -- and about 1/5 or less the amount of cabinet/drawer space and 1/2 the counter space in A's kitchen. And then, living in a 80+ -year old house 2 miles from a major fault line means that there's not a right angle or level surface anywhere in the house, which made the tile work on the floor and the backsplash (subway tiles, glass and onyx accents) that much more difficult. The project was far more complex than I ever imagined it could be, but was commensurately satisfying. Every day presented brand-new-to-us problems that needed to be solved! I loved hearing your story. Your designer added a lot of value -- that's clear. And I'm quite sure that you increased the value of your property by far more than the $15K you put into the project. ;o)
smslaw
August 15, 2012
Although I'm partial to cherry (and why do people call it "cherry wood". They don't call it "walnut wood" or "ash wood", but I digress) I really like what you did. I'm amazed you did it, in NYC no less, for 15K.
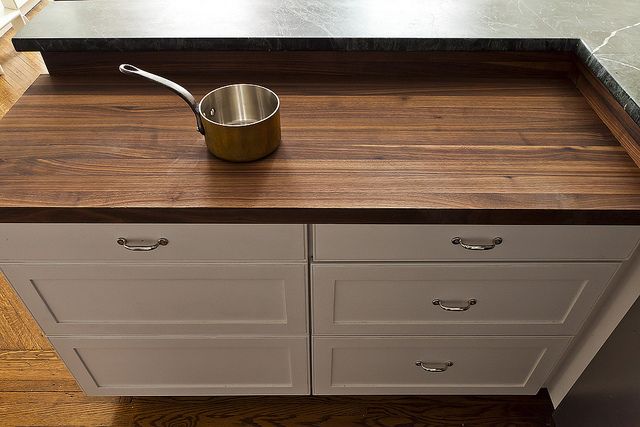
The walnut cutting surface won't hold up as well as maple, but once the first gouge/stain appears, we'll call it patina. The honed marble was an inspired idea. How did you do it?
The walnut cutting surface won't hold up as well as maple, but once the first gouge/stain appears, we'll call it patina. The honed marble was an inspired idea. How did you do it?
Amanda H.
August 18, 2012
Good point about cherry -- no idea why we all feel compelled to add "wood"! Thanks for your comment. I wasn't sure about the walnut's durability but liked the color so much I felt like it was worth it. It's also not that expensive, so I figure i can always replace it if needed. But hoping that it will get worn looking -- at least a bit. Walnut, interestingly, dries out. I find that I do need to treat it regularly with a mixture of oil and beeswax. The honing was Lithe's idea and the company that did it used the normal grinding pads they would if they were refinishing the surface. We just skipped the sealing and polishing steps. It took just a few hours and made very little dust because they use water in the process and this tamps down the dust.
Waverly
August 15, 2012
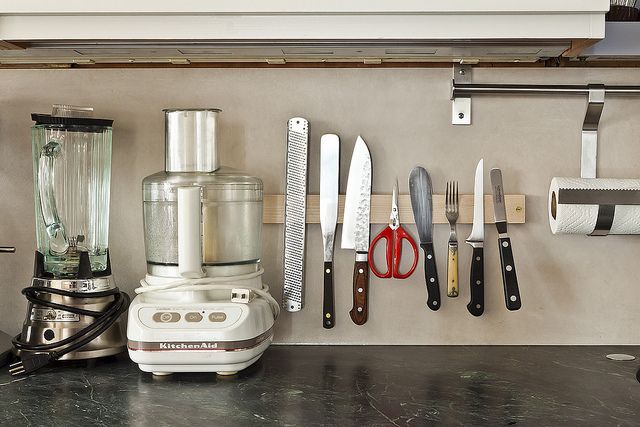
Now that is inspirational - your kitchen is beautiful and functional. I am now going to pin some of your photos as we are working on a redo as well. School House Electric Supply Co. is already on my radar screen as well as, of course, Ikea. The magnetic knife strips are a great idea. By the way, don't listen to those nay-sayers about your honed marble. Those stains and rings?.....the fancy word for that is PATINA, and it is a GOOD thing.
sara.mccracken.
August 15, 2012
Fantastic job!. How do you dull the countertop? Is it just using a sander or grinder? This looks SO much nicer.
Amanda H.
September 17, 2012
Sara, the company we used is called Stone Guard, 718.301.9500. They did the same thing as if they were polishing the marble, only they didn't seal it. Not sure whether they call it sanding or grinding but the machines they use removed the polish (and it's a wet process so the dust is minimal) and we just left the marble as is.
fiveandspice
August 15, 2012
Fantastic job! Thank you for sharing all these details. I think you'll definitely have a whole bunch of us borrowing an idea or 7 from your renovation.
CentralCoastContessa
August 15, 2012
Are you really going to cut on the walnut? It is so beautiful! Too beautiful???
chefrockyrd
August 15, 2012
Both of the kitchens are great. But I understand why you wanted changes.
I would like to know how the new back splash is holding up with water splashed behind the sink etc. Is it hard to clean?
I was considering putting a tile back splash up in mine but need a lot of tile and its costly.
And so permanent.
Can't wait to see you cook in the new one.
I would like to know how the new back splash is holding up with water splashed behind the sink etc. Is it hard to clean?
I was considering putting a tile back splash up in mine but need a lot of tile and its costly.
And so permanent.
Can't wait to see you cook in the new one.
vivanat
August 15, 2012
I just left my Ruhlman magnetic knife strip behind in my old place - I am super duper bummed that neither colors of his strip work in my new kitchen. Thank you for sharing, and I too am inspired and heartened to know how your kitchen got to be so lovely. :)
vivanat
August 15, 2012
I just left my Ruhlman magnetic knife strip behind in my old place - I am super duper bummed that neither colors of his strip work in my new kitchen. Thank you for sharing, and I too am inspired and heartened to know how your kitchen got to be so lovely. :)
BetteratHome
August 15, 2012
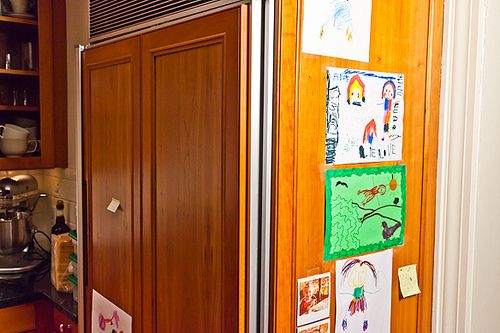
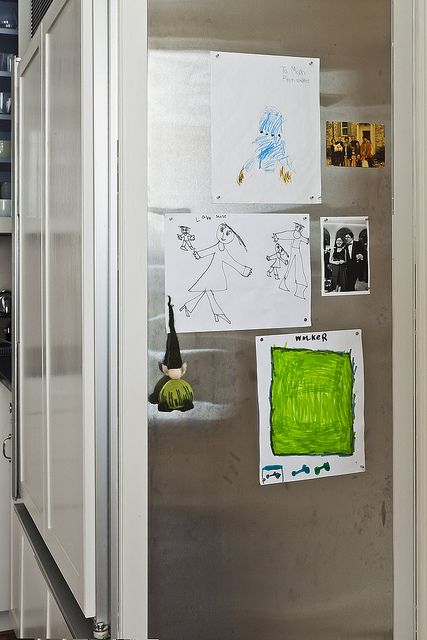
What an impressive renovation! Looks beautiful (actually, drool-worthy) and completely changed, all on a reasonable budget. I especially love the chairs, open shelving, and white-painted fridge with the steel strip, because while painted fridge fronts are my favorite, I need to slap stuff onto them with a magnet. Thanks for sharing!
laura @.
August 15, 2012
This is amazing! As someone about to embark on a (gulp) kitchen reno on a similar budget I appreciate the work you did, and thank you for the very detailed blueprint. May I ask who makes the porcelain lights? I'm with you on recessed lights. My kitchen is currently very light on lighting, and I need to do something...love your solution.
Shoshanadh
August 15, 2012
Stunning renovation and great that you did it on a budget. I love the white utensil holder to the right of your oven. Where did you get it? The round ones that are commonplace take up too much room!
Sadassa_Ulna
August 15, 2012
Beautiful! Kudos to you and your designer for making such elegant decisions. Not only budget friendly, strategies like repainting cabinets and honing existing countertops are environmentally sustainable, win-win! Thank you for sharing all these tricks!
emily.ortmann.5
August 15, 2012
This is fantastic! Could you please go into more detail on the repainting of the cabinets? what paint brand/type did you use, did you get them sprayed or did you roll the paint on?
thanks!
thanks!
jenniebgood
August 15, 2012
I love the before and after pictures Amanda! It's inspiring to know that even a co-founder of F52 does budget renovations! You're new kitchen looks beautiful. Someday I'd love to learn more about the woman-with-the-tripe-arms!


See what other Food52 readers are saying.