It's always more fun to DIY. Every week, we'll spare you a trip to the grocery store and show you how to make small batches of great foods at home.
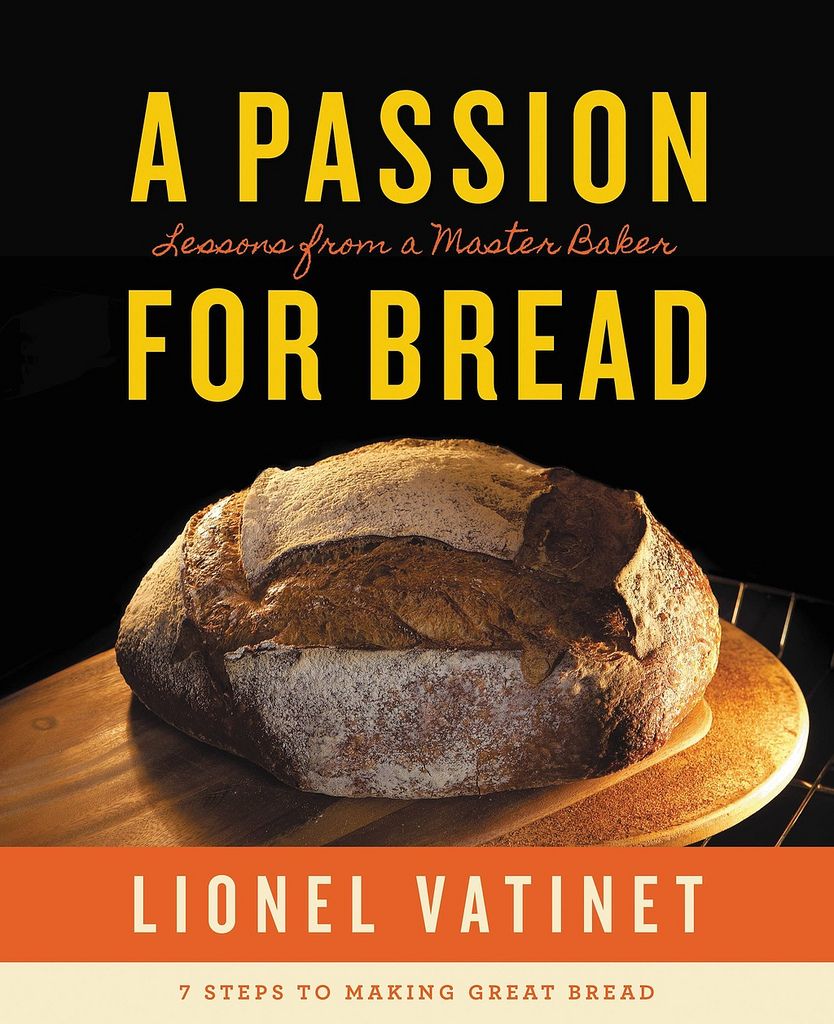
Today: Lionel Vatinet, author of A Passion for Bread and baker at La Farm Bakery, shows us that as long as you have a stainless steel bowl and a little bit of patience, it's possible to make artisanal ciabatta at home.
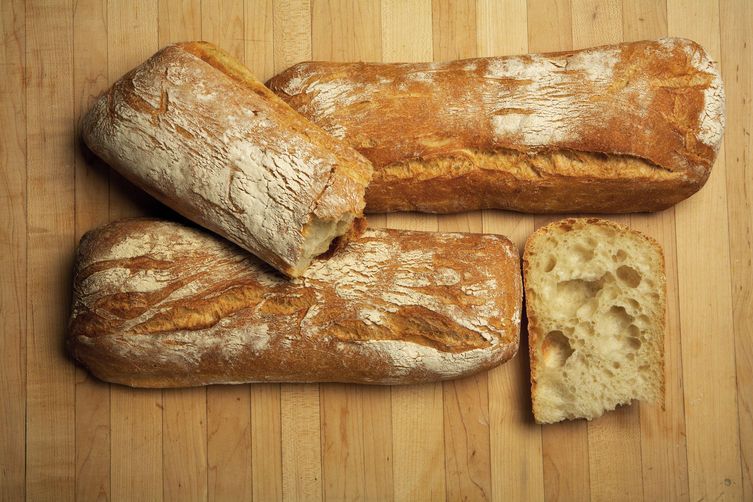
I recently learned that ciabatta was first introduced in Italy in the 1980s, which is remarkable considering that ciabattas and focaccias are now common throughout the world. Ciabatta means “slipper” in Italian, a name that describes the flat, wide, and relatively long, free-form shape of the traditional bread.
I love to cut ciabatta loaves in half horizontally, build a sandwich with the ingredients piled high, and then slice it crosswise into individual sandwiches. You can also cut holes in the top and fill them with different dips.

Ciabatta is most often used to make small sandwiches called panini. Throughout Italy, ciabatta comes in many forms, all depending upon the region in which it is made. It can be slightly crisp with a very soft, moist crumb; very crisp with a dense crumb; or extremely crisp with an open crumb. It can be flavored with herbs and olive oil, with milk, with salt, or with bits of savory ingredients.
This is my version of the classic.
Makes 2 small loaves or 1 large loaf
3 1/2 cups (16 ounces) unbleached, unbromated white bread flour
1 1⁄2 teaspoons (.31 ounces) fine sea salt
1 teaspoon (.12 ounces) instant dry yeast
1 1⁄2 cups (13.76 ounces) water, plus 2 teaspoons water
1 tablespoon (.32 ounces) extra virgin olive oil, plus about 2 tablespoons to coat the bowl
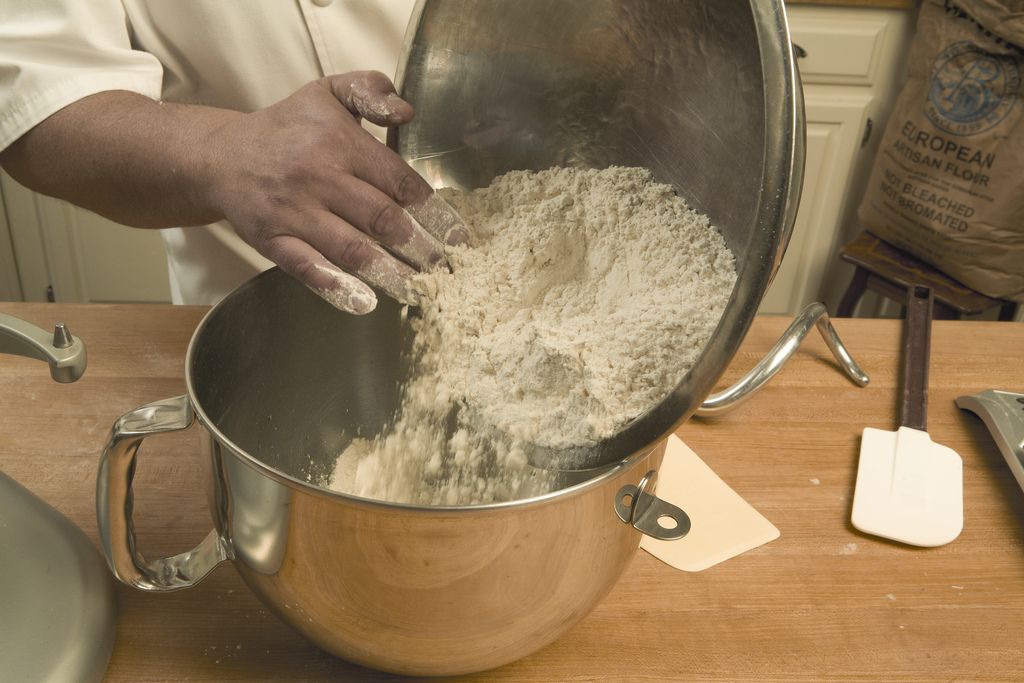
First, measure or weigh all of the ingredients. Place the flour in a large bowl and add the salt and yeast, making sure they do not touch each other.
Take the temperature of the water -- it should be 65° F to 70° F -- then pour half of it into the bowl of the mixer. Add the dry ingredients and begin mixing on low speed. Quickly add enough of the remaining water in a slow, steady stream to make a soft, moist dough that slightly sticks to the sides of the bowl.
When all of the water has been added, set a timer and mix for 5 minutes. Your dough should be soft and pliable. Increase the speed to medium-low and mix for 4 minutes, gradually adding 1 tablespoon olive oil. Continue to mix until the oil is thoroughly incorporated, about 1 more minute. The dough should be soft and smooth, with a moist, tacky surface.
More: Everything you need to bake bread like a pro.
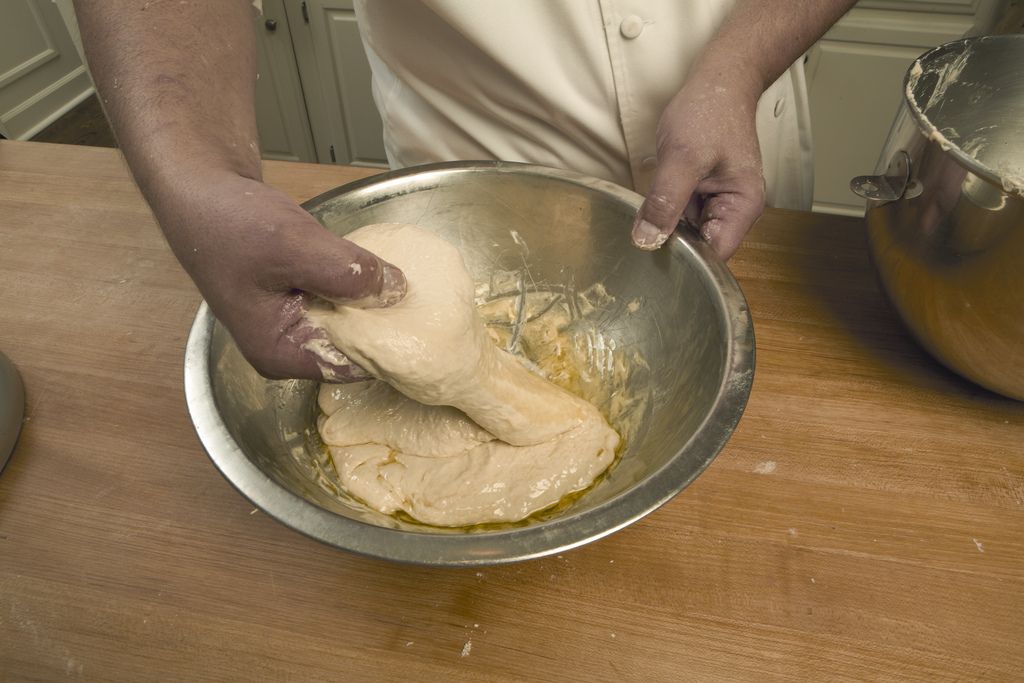
Coat the inside of a large bowl with the remaining 2 tablespoons olive oil, then scrape in the dough. Use your hands to pull one edge of the dough and fold it into the center. Press down slightly, then give the bowl a quarter turn and continue to fold the dough in and press for 4 additional turns.
The dough should begin to form a ball. Roll the ball around in the bowl to coat all sides with olive oil, turning it so that the smooth side is up. Place the dough, uncovered, in a warm (75° F to 80° F), draft-free place for 3 hours, folding as above after the first and second hour.

Flour the top of the dough and scrape it onto a generously floured work surface. Lightly dust the exterior of the dough with flour, then allow the dough to rest for 30 seconds. Add more flour to the work surface if the dough is very sticky.
Taking care to not pull or stretch the dough, lightly press it down with a flat hand to form a square. To make two small loaves, use a dough scraper to cut the dough into two rectangles. For one large loaf, use your hand to lightly press the dough into a large rectangle.
More: A sophisticated panini that's worthy of your homemade bread.
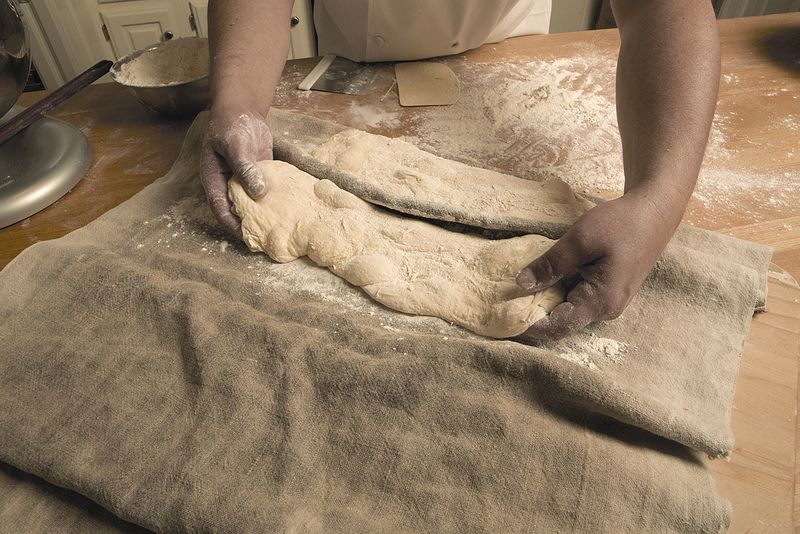
Place the dough in a lightly floured couche (or a strong linen towel). If making 2 loaves, make a second ridge in the couche to separate them. Fold the remaining couche over the top and place it in a warm (75° F to 80° F), draft-free place for 45 minutes to 1 hour. The dough is ready to be baked when a small indentation in the center disappears slowly and evenly.
About 30 minutes before you are ready to bake, move one oven rack to the lowest rung and remove the other. Place a large baking stone on the rack and preheat the oven to 450° F.
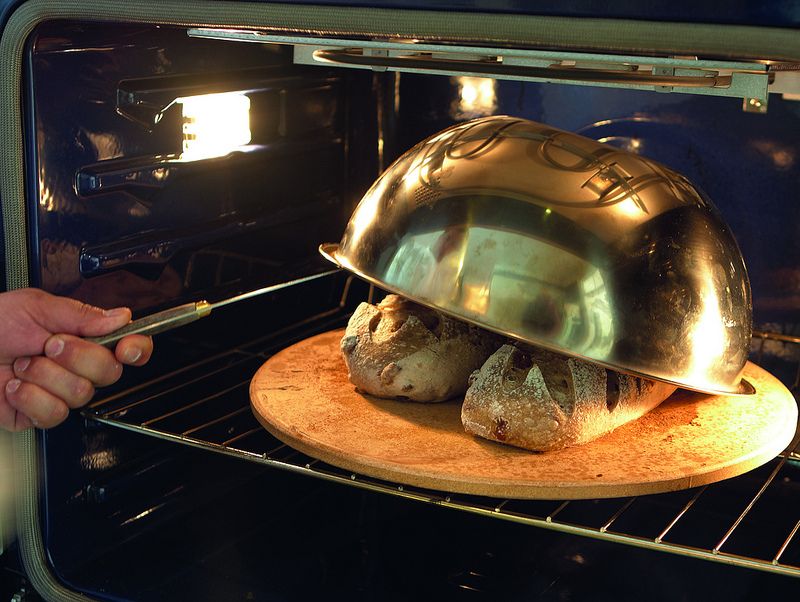
Use a bread peel (or a couple of sturdy spatulas) to transfer your loaves and a piece of parchment paper to the hot stone. Quickly cover the loaf with a large stainless-steel mixing bowl (as shown above with cinnamon raisin bread) and immediately close the oven door.
Bake for 10 minutes, then carefully remove the hot bowl.
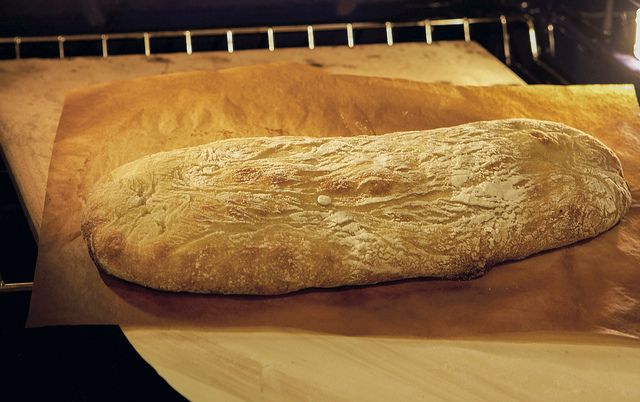
Continue to bake until the bread is a pale golden brown with a lightly floured crust, about 15 minutes more. The bread is done when the internal temperature is between 185 °F to 210 °F. Transfer the loaf to a cooling rack and let it cool for at least 1 hour before cutting with a serrated knife or wrapping for storage.
See the full recipe (and save and print it) here.
Photos by Gordon Monroe

Join The Sandwich Universe co-hosts (and longtime BFFs) Molly Baz and Declan Bond as they dive deep into beloved, iconic sandwiches.
Listen NowWritten by: Lionel Vatinet
Popular on Food52
8 Comments
Vicky
See what other Food52 readers are saying.