DIY Food
How to Make Traditional Cantonese Mooncakes at Home
They're surprisingly simple and very satisfying.
Today: Cynthia of Two Red Bowls is bringing traditional Cantonese mooncakes stateside, so you can get prepped up for the upcoming Chinese Mid-Autumn festival.
There’s a lot to love about the Mid-Autumn Festival, one of my favorite holidays of the year. Its date is based on the lunar cycle, and so it has no fixed date on the calendar, but traditionally falls on the 15th day of the eighth month of the lunar year (coinciding with a full moon). In 2019, we'll celebrate it on September 13.

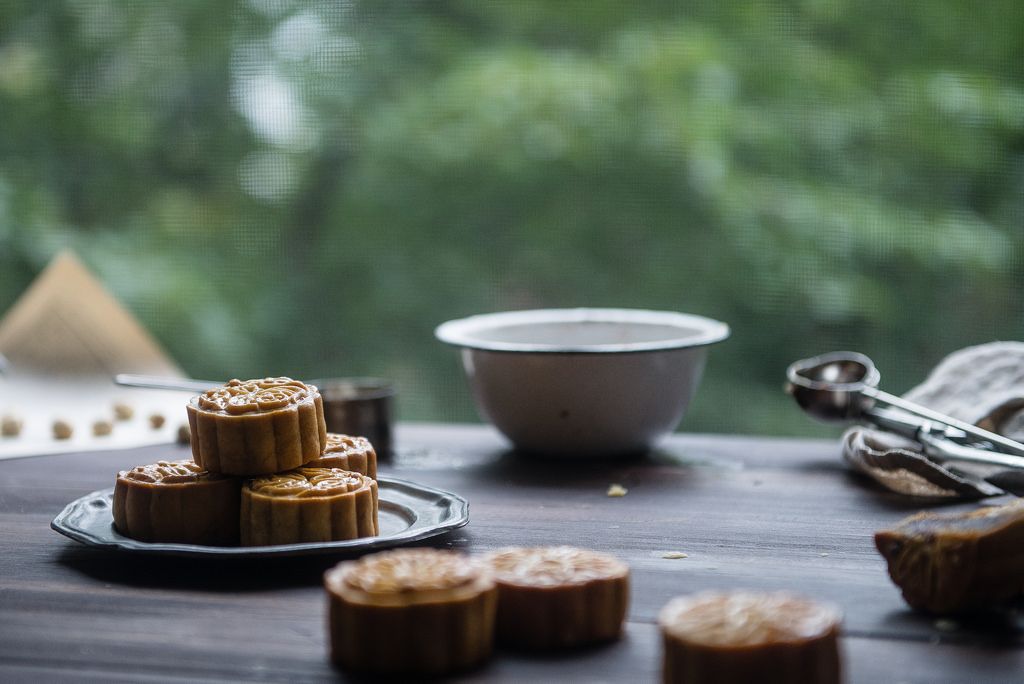
The celebration is something like a Chinese Thanksgiving—a time for family, celebration, and a whole lot of good food. It’s also the time when we eat one of the treats I love best in all the world: mooncakes. These goodies get their name from the full moon that marks the date of the festival, and they’re about as rich and decadent as Chinese desserts get.
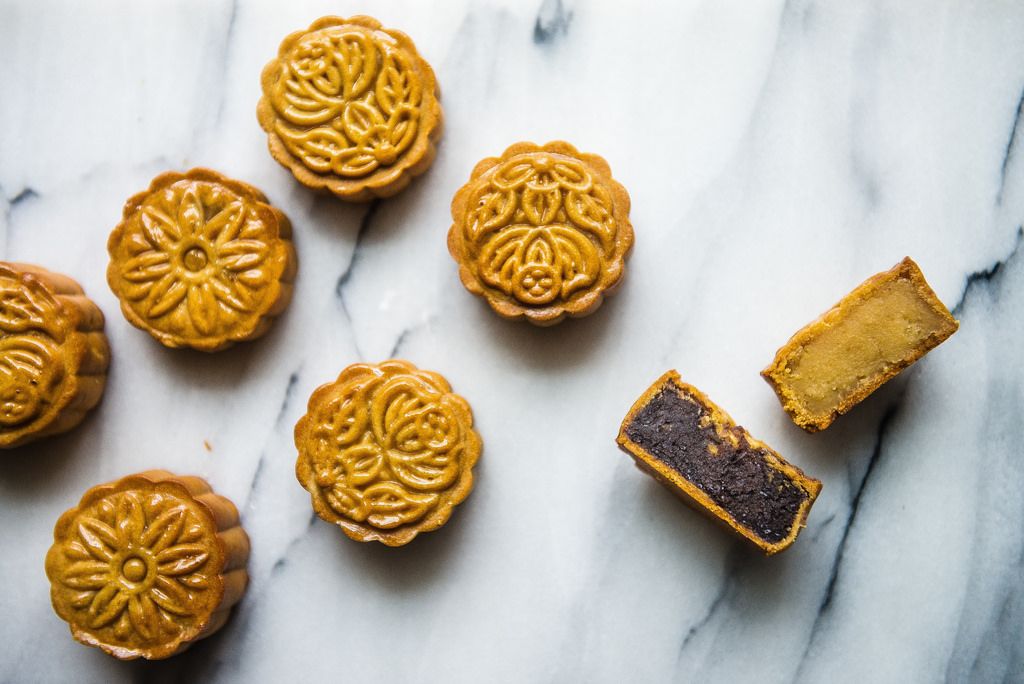
A supple, golden-brown crust (made of a simple dough comprising all-purpose flour, vegetable oil, and a bit of golden syrup) hides impossibly smooth, dense fillings like white lotus paste or deliciously sweet red bean, and my favorite varieties have a salty, savory duck yolk (or two, or more!) nestled in the center. They’re so satisfying that my family used to cut just one into eight tiny slivers and share them between the four of us.
In Hong Kong and mainland China, mooncakes can be found everywhere in early September. Stateside, they’re a little less plentiful, so one year, I decided to try my hand at making my own. As it turns out, making these gems was surprisingly easy, a ton of fun, and yielded a very exciting reward.
To make a traditional Chinese mooncake, you do need a few specialty items—namely, the mold—but an Asian market or quick click to Amazon can always help. After that, the process is straightforward, resulting in a mooncake that is incomparably lighter and kinder on your stomach, but still just as (if not more) delicious as the store-bought versions. The homemade paste in particular is a dream; commercial lotus paste can sometimes be cloying, but when it’s homemade, it's guaranteed to be fragrant, delicate, and floral.
Many store-bought fillings incorporate lard for a richer mouthfeel, but most homemade recipes I found call for regular vegetable oil instead. As a result, many of the people who followed these recipes noted problems with overly soft fillings. I sought to avoid that by using another fat that, like lard, stays solid at room temperature. Thus, I opted for coconut oil, which lent the fillings a nice, nuanced coconut undertone. Otherwise, vegetable shortening may be another substitute.

Finally, the recipe here is designed for miniature mooncakes, which are about 1.75 to 2 inches in diameter. For traditional-sized mooncakes (around 4 inches in diameter), you may need to play around with the sizes of the fillings and the wrapper doughs to get the right shape.
Makes 2 cups
1 cup dried lotus seeds, or two 12-ounce cans cooked lotus seeds in water
2/3 to 3/4 cup sugar (to taste)
Pinch salt (optional)
6 tablespoons coconut oil
Traditional Cantonese Mooncakes
Makes 12 to 14 miniature mooncakes
1/4 cup golden syrup (like Lyle's)
1/2 teaspoon alkaline water (also called kansui, or potassium carbonate and sodium bicarbonate solution)
2 tablespoons vegetable oil
1/2 cup all-purpose flour
1/2 cup cake flour (alternatively, omit cake flour and use 1 cup of all-purpose flour)
2 cups of lotus paste (you can also use red bean paste)
1 miniature (50 gram) mooncake mold
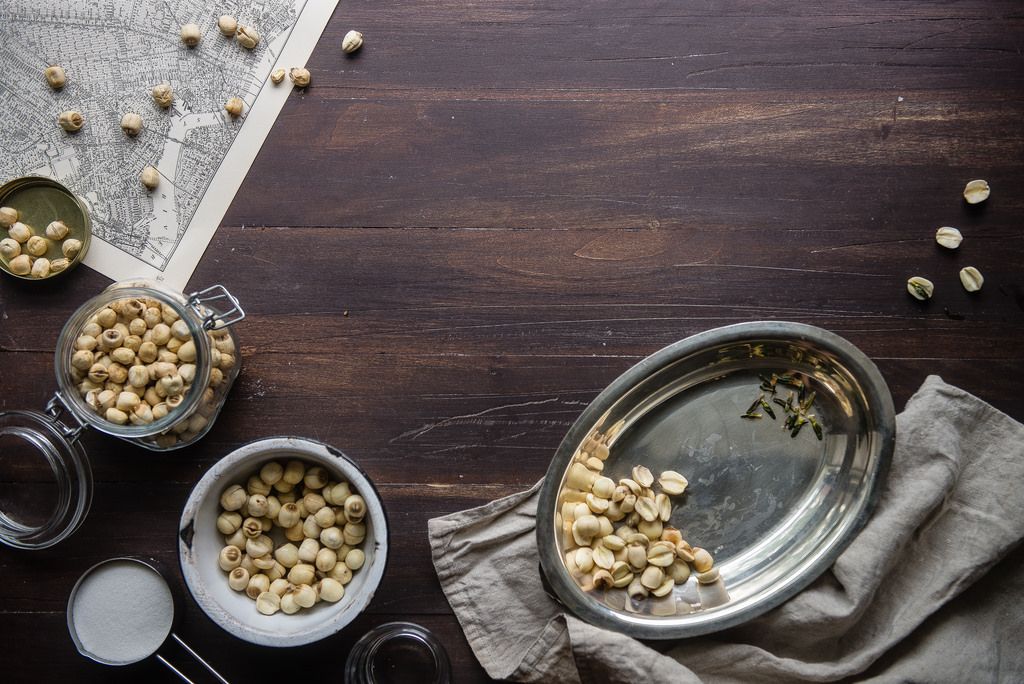
First, make the mooncake filling. If you’re using dried lotus seeds, soak them in plenty of water for at least 6 to 8 hours, or overnight. The seeds should soften and plump up considerably. The next morning or when you’re ready to use, rinse the seeds, then split them in half and remove the green sprout in the center (the sprouts are bitter, and will affect the taste if they’re left in).
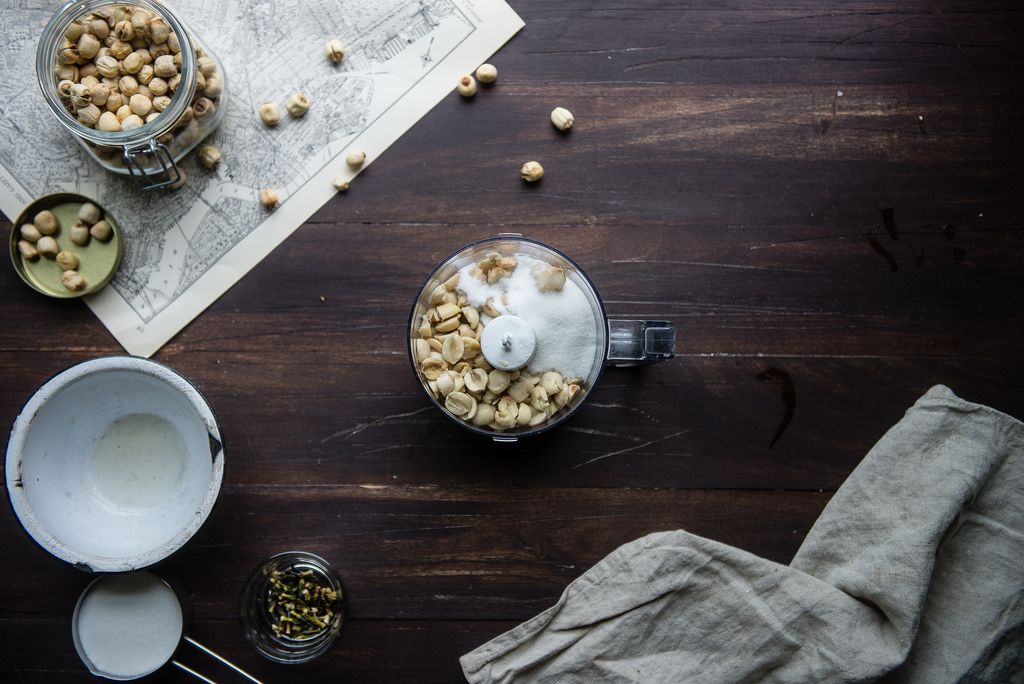
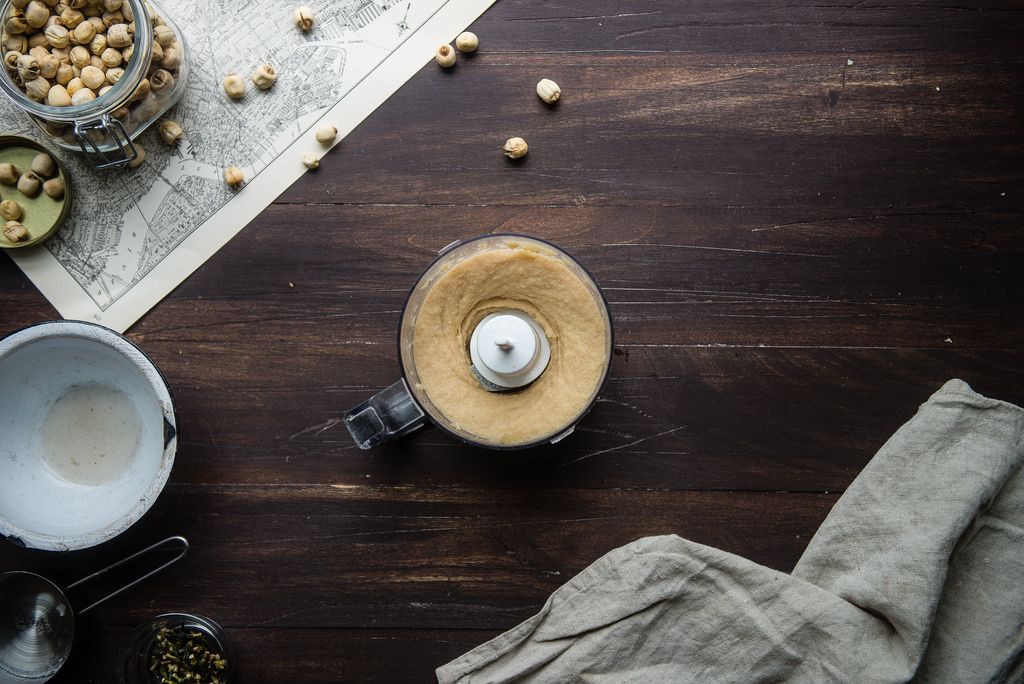
Place the seeds in a pot with plenty of water and bring it to a simmer over medium-low heat. Let the seeds cook for 1 1/2 to 2 hours, or until they are soft enough that you can mash them with a fork. Drain the cooked seeds, then place them in a food processor with the sugar and blend until smooth. (If you're using canned lotus seeds, skip straight to this step.) You may need to add 2 or 3 tablespoons of water in this step to achieve a smooth texture.
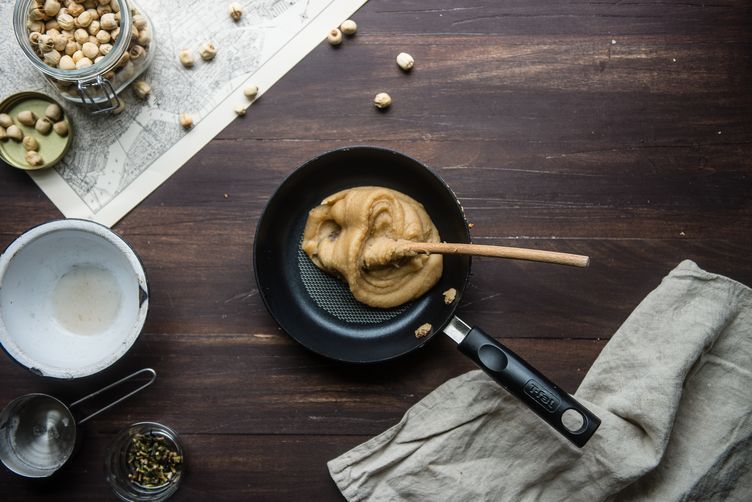
Next, pour the purée into a medium saucepan or skillet and cook over medium heat, stirring continuously, until much of the water has been cooked away and the purée has thickened to a consistency similar to hummus. At this point, if the purée isn’t as smooth as you like, you can blend it again.
When your purée is the consistency of your liking, add the fat of your choice. Most any fat that is solid at room temperature (excluding butter) should work for this. I used coconut oil because I thought it would be fun to add a touch of coconut flavor to the filling, but lard is most traditional here, and shortening would work as well. Stir the mixture until the fat is fully incorporated, then continue to cook over medium heat until the purée becomes glossy and forms a dough that sticks to the spoon in one mass, about 4 to 5 minutes. The consistency should be similar to soft cookie dough at this point. Remove from heat and chill until ready to use.
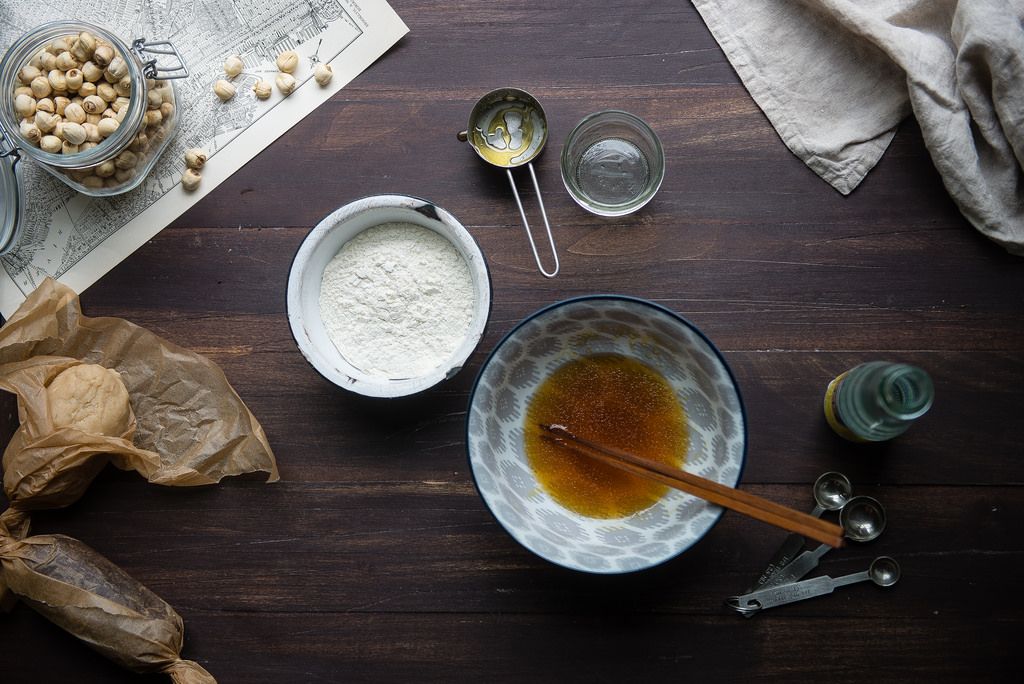
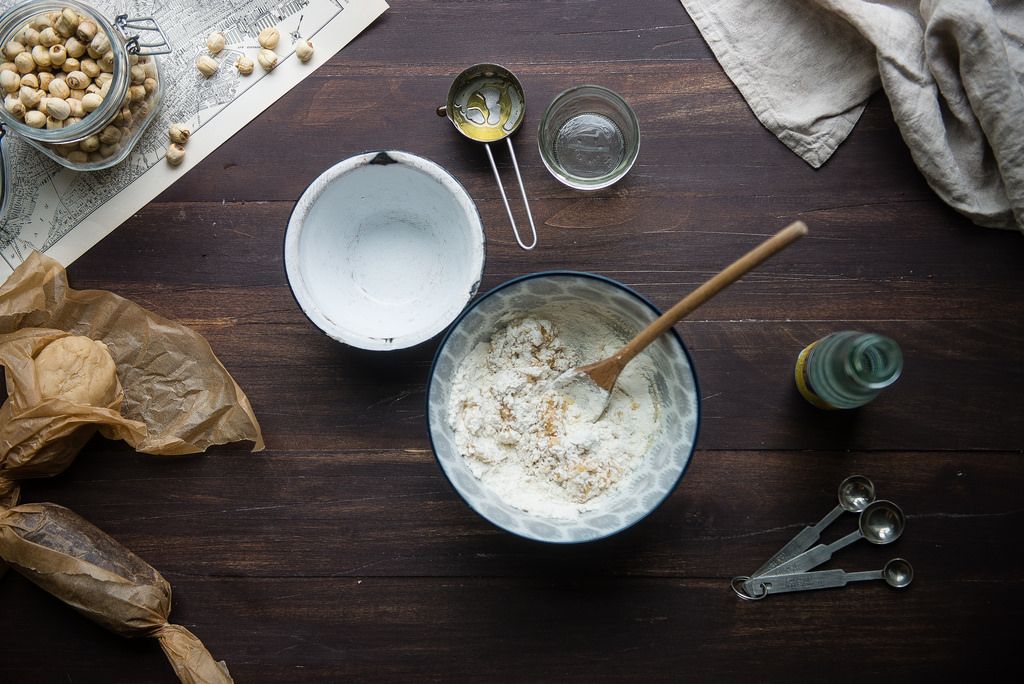
Now it's time to get started on the dough. In a large bowl, whisk together the golden syrup, alkaline water, and vegetable oil until blended. (The mixture will likely not fully combine, but do the best you can to emulsify it.) Next, add in the two flours and use a wooden spoon to stir until it forms a pebbly dough.
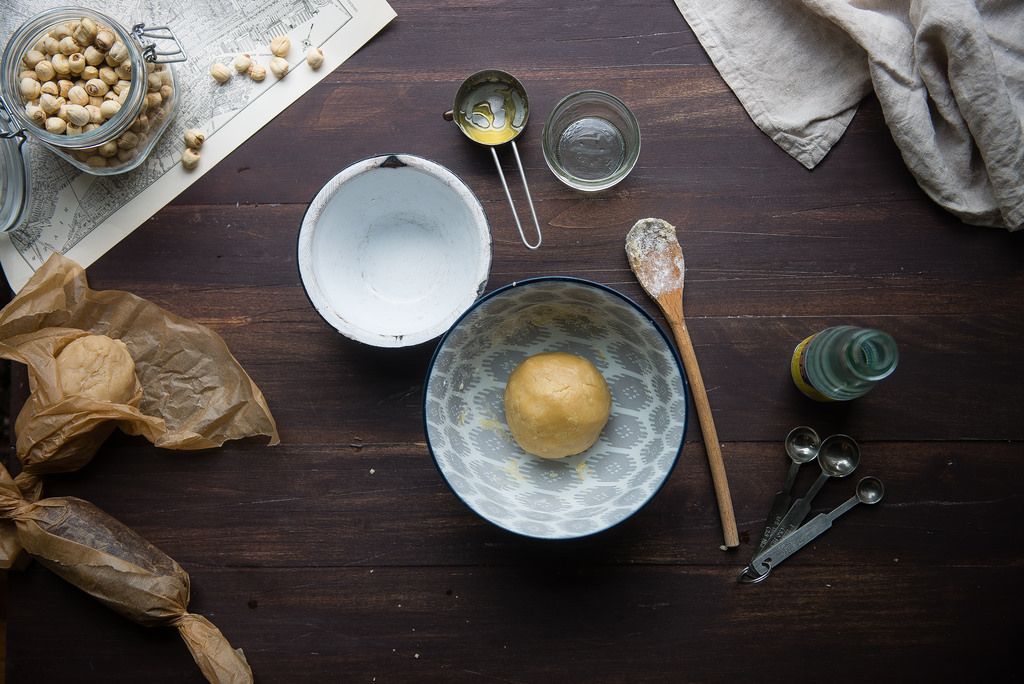
Gather the mixture together and gently knead it just until it comes together into one mass—take care not to knead vigorously. Cover with plastic wrap and let rest for 45 minutes to an hour.
Preheat your oven to 350° F. Divide the filling into 12 equal pieces and shape each of them into a ball. Each ball of filling should be about 2 tablespoons to 2 1/2 tablespoons—roughly the size of a golf ball. If you have a kitchen scale, each ball should weigh about 33 to 34 grams.
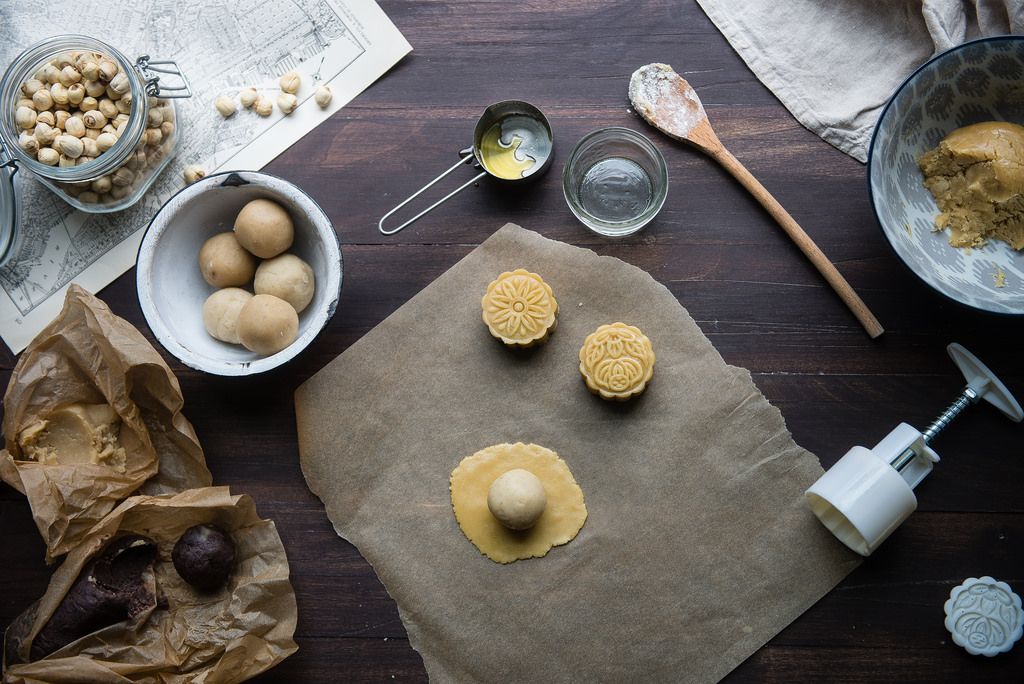
For each mooncake, scoop about a tablespoon of dough and roll it out between two pieces of parchment so that it’s about 3 to 3 1/2 inches in diameter.

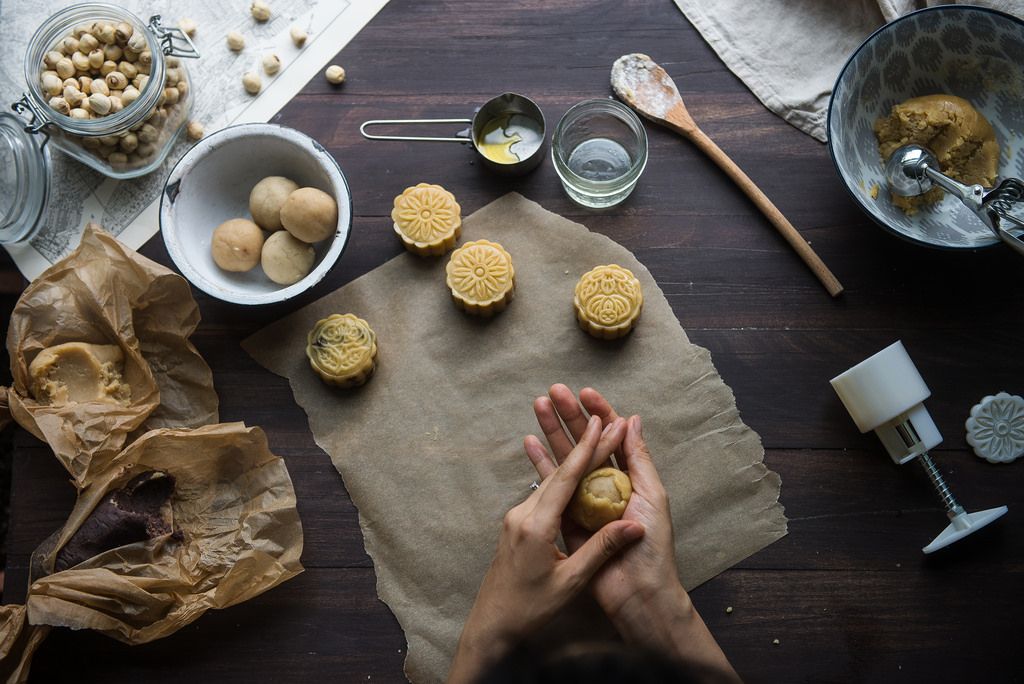
For this next step, you may want to flour your hands lightly, though I didn’t and it was generally fine. Place a ball of filling in the center and fold up the dough around the ball. It likely will not cover the whole ball at once, nor should it. Gently push, press, and squeeze the dough, holding the ball securely in your palm, until the dough gradually covers the filling ball. The firmer your filling, the easier this will be. If it really won’t squeeze over the filling, don’t worry—just pinch off another small piece of dough, roll it out, and use it to patch the ball. I did this a few times and the results were just as good.
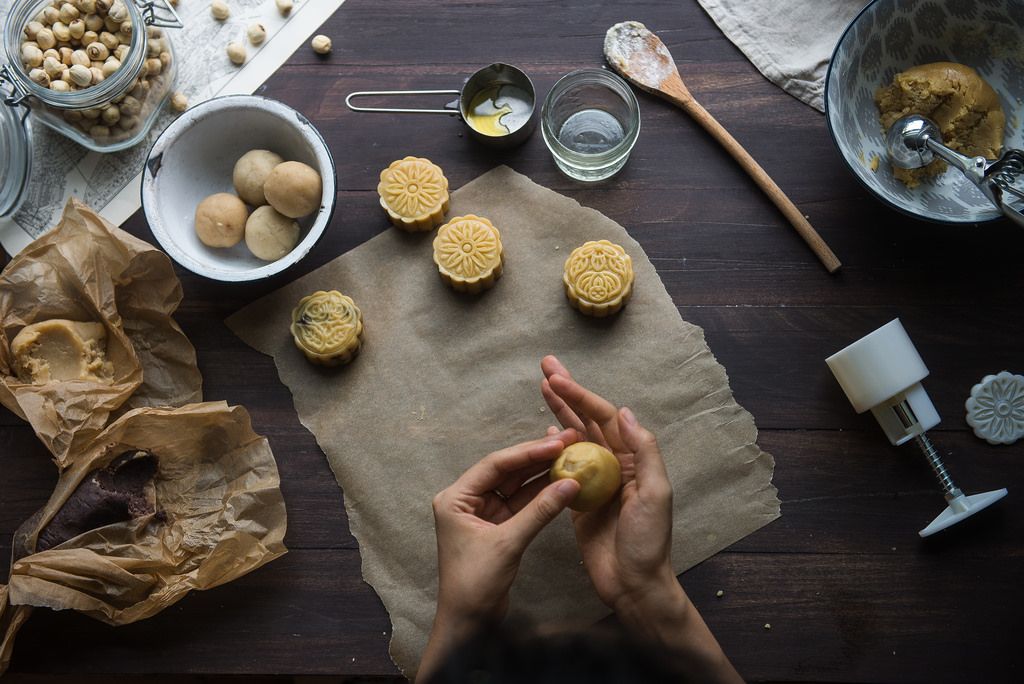
To make things even easier, you can even just roll out two small balls of dough (about a teaspoon each) and fold one around each end of the filling so that you cover all of the lotus paste without needing to stretch or squeeze.
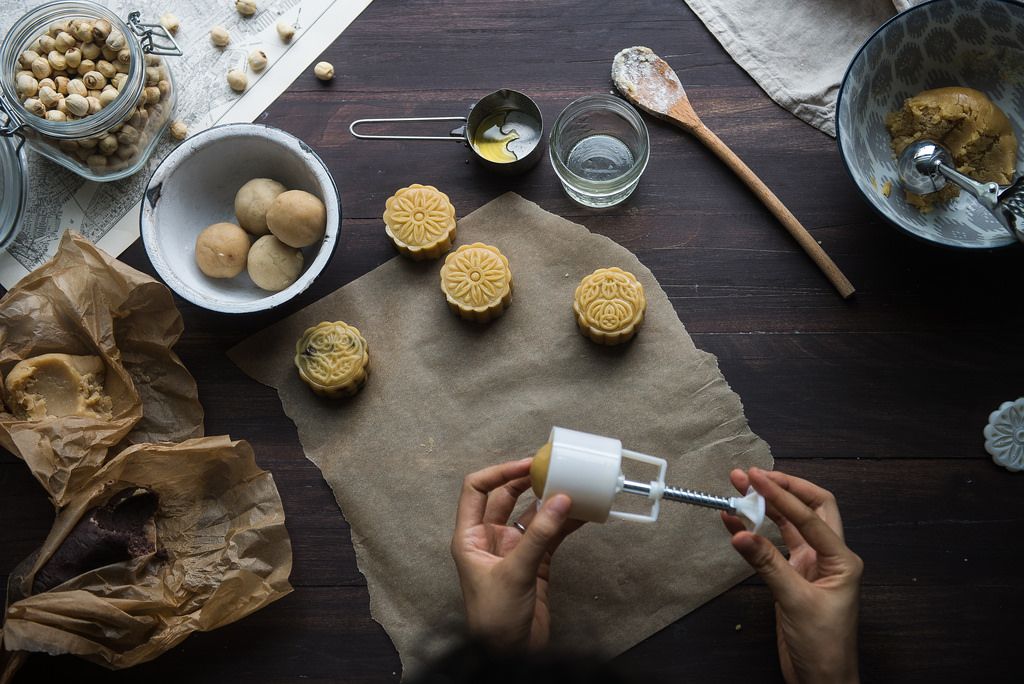
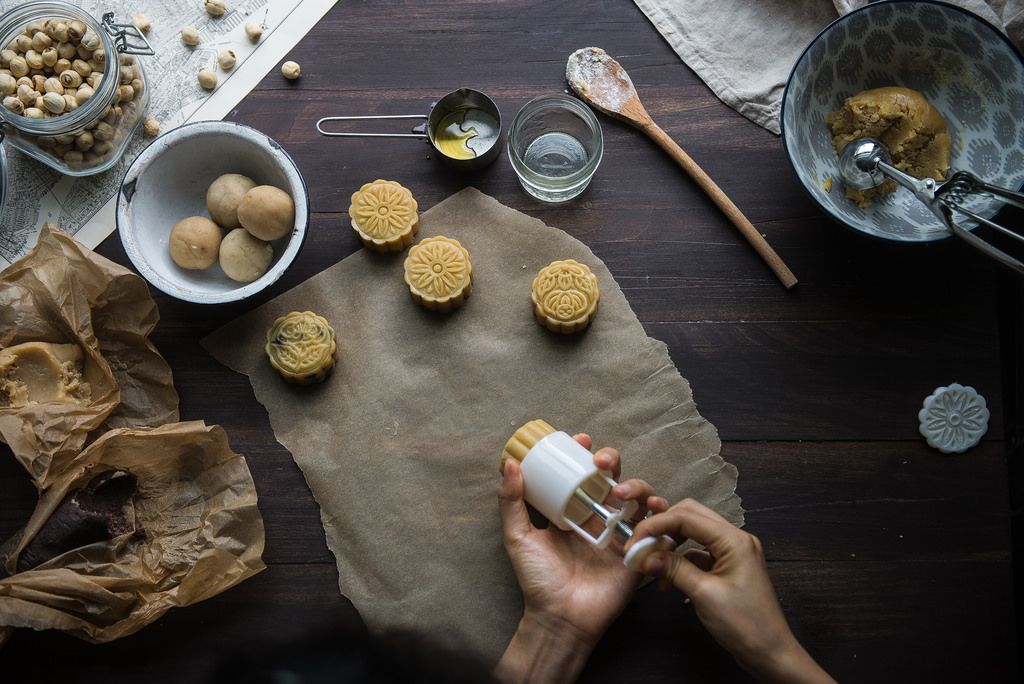
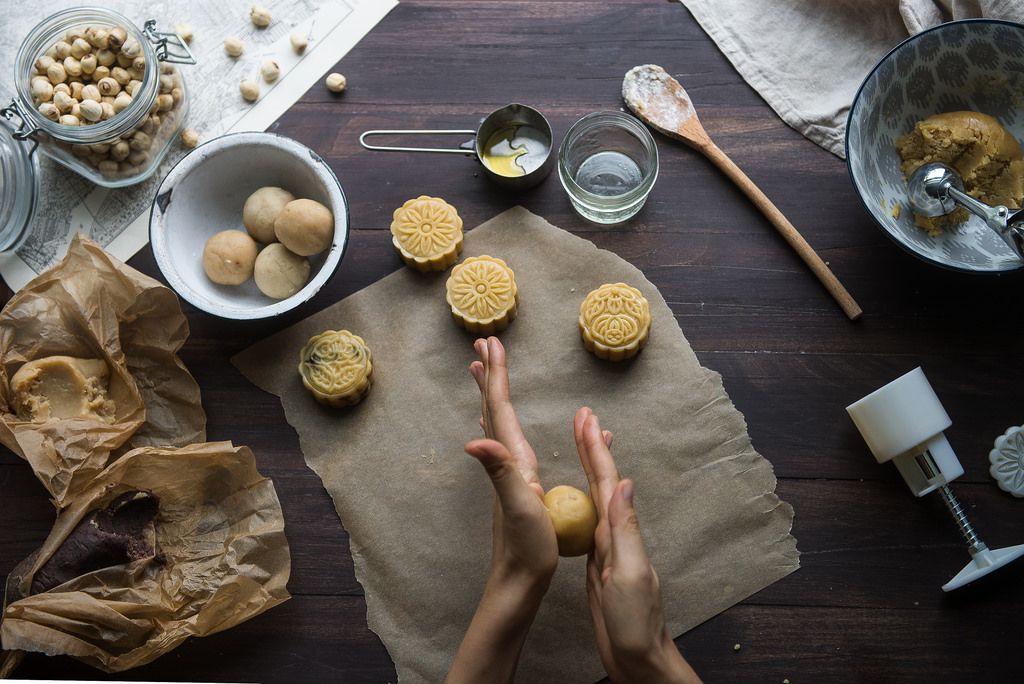
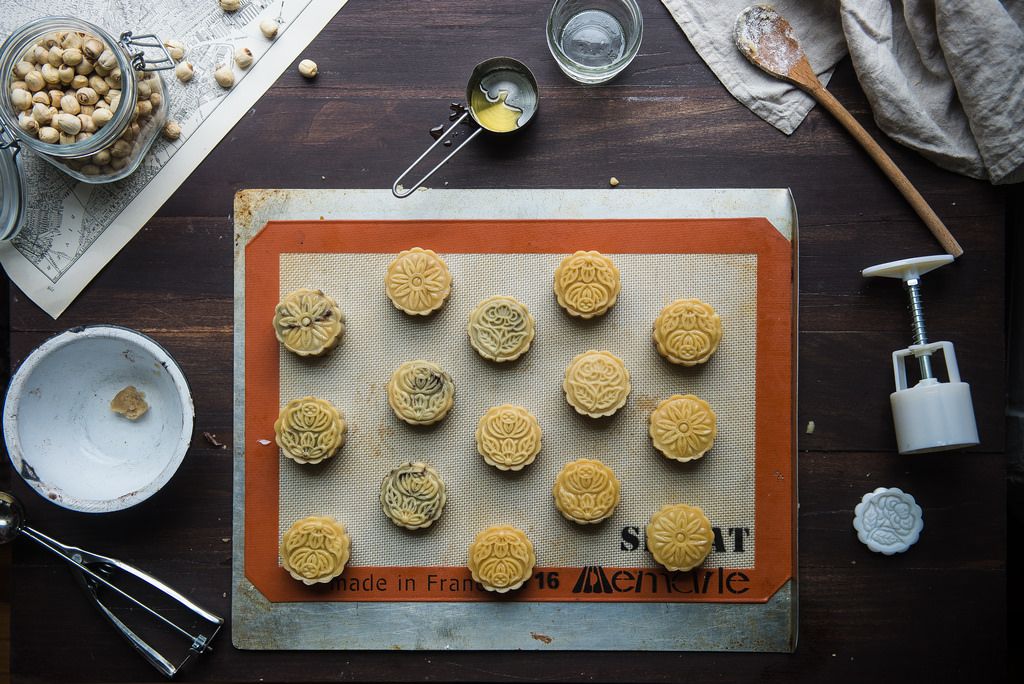
Place the mooncake ball into your mold and turn it upright on your surface. Press the plunger down until you feel resistance. Lift the mooncake mold off the table and use the plunger to push the mooncake out. Place on a Silpat- or parchment-lined baking sheet while you make the rest of the cakes. If it’s a hot day, you may want to place these in the fridge to keep their form while you finish folding.
When you’re finished forming the mooncakes, bake them at 350° F for 8 minutes. Meanwhile, whisk an egg with a splash of water until smooth.
Remove the mooncakes from the oven and let cool for about 10 minutes. Brush on the egg wash, then bake the cakes for another 10 to 15 minutes, or until golden brown on top and fragrant.
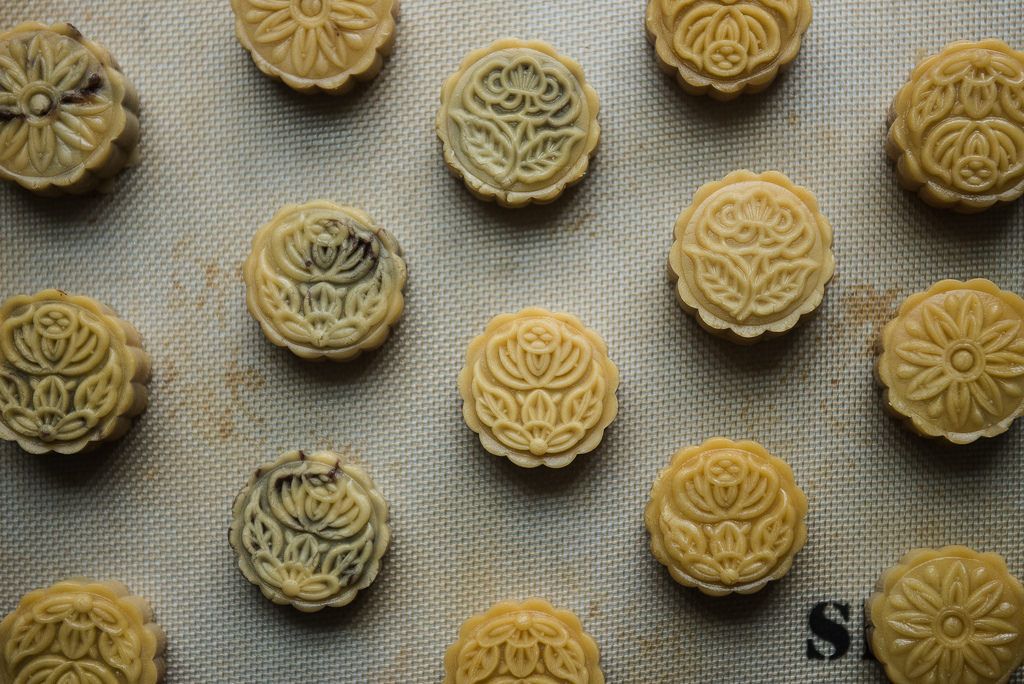

Let cool completely. Store the mooncakes in an airtight container for 2 days to “release oil”—the mooncake skins will become shiny, soft, and supple, and it’s at this point that they’re meant to be enjoyed. (But I won’t tell if you sneak one fresh.) Gift them to friends, or enjoy at home yourself!
See the full recipe (and save and print it) here.
Photos by Cynthia of Two Red Bowls
This article was originally published in 2014, but has since been updated so you can make the best mooncakes at home.
Written by: Cynthia Chen McTernan
Popular on Food52
25 Comments
It was a lot messier than your beautiful pictures, haha. How do you take the pictures when you have both hands in the shot? Auto timer? Or are those someone else's hands?
See what other Food52 readers are saying.