We should all have a solid command of the ABCs of baking. Thankfully, Food52's Test Kitchen Manager Erin McDowell -- alongside photographer Sarah Stone, who both blog at The Shutter Oven -- is here, with tips and tricks to help you master the most essential desserts and the simplest breads.
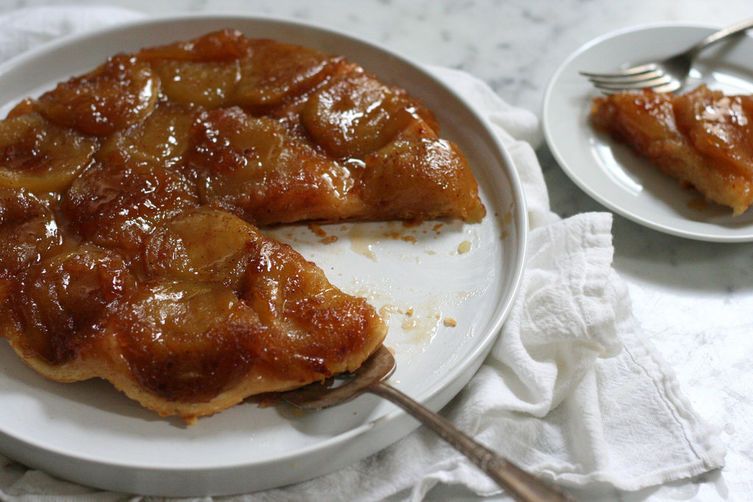
Today: An impressive, classic, and cozy dessert for fall -- that's made entirely in the oven.
I may have clung a little too hard to summer this year. I was not ready for my last tomato salad or peach galette. But last week, the smell of apple pies baking (and apple butter simmering on the stovetop) finally got me excited for fall.
When fall arrives, there’s one dessert I especially love to make: tarte tatin. It’s beyond easy: Heat the butter and sugar in a skillet (it will turn into a gooey caramel in the oven), then add some apples and a slab of dough to hold it all together. In the grand tradition of so many simple desserts, it’s assembled upside-down, which makes it easy to prepare -- and creates an extravagant presentation when it’s turned out. Plus, unlike some tarte tatin recipes, everything happens in the oven -- so you don't have to worry about making caramel on the stovetop.
By nature, tarte tatin is a basic dessert. While most recipes call for store-bough puff pastry, my unending desire to make everything homemade leads me to another option: pie crust. So I make a super-flaky pie crust and treat it like puff pastry, folding it a few times to create layers. Then, I roll it out and use it as the base for the tarte tatin. It’s not as flaky as puff pastry, but it’s a fabulous substitute -- crisp, buttery, and easy to pull off (especially at the last minute).
Here's my advice for a no-fail tarte tatin:
-
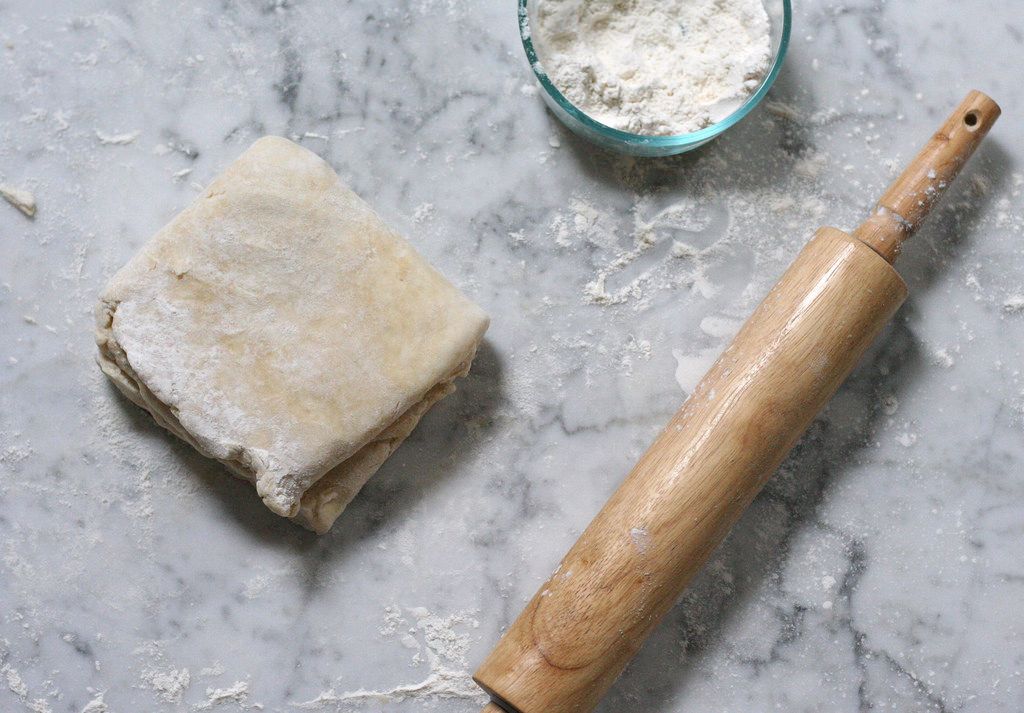
Make a super-flaky pie crust (you know how now, right?). In order to achieve a result similar to puff pastry, it’s important to leave the butter in especially large pieces (we’re talking the size of walnut halves here). Plus, this actually means less mixing!
More: An apple recipe a day keeps the doctor away.
At first, these large pieces will seem a little unwieldy. However, since we’ll be folding the dough, the butter will eventually get rolled thin. It’s important to have large pieces of butter to effectively create flaky layers; if the pieces of butter are too small, they will get fully incorporated into the dough each time it is rolled and folded over, which will create a mealy dough -- still tasty, but not flaky.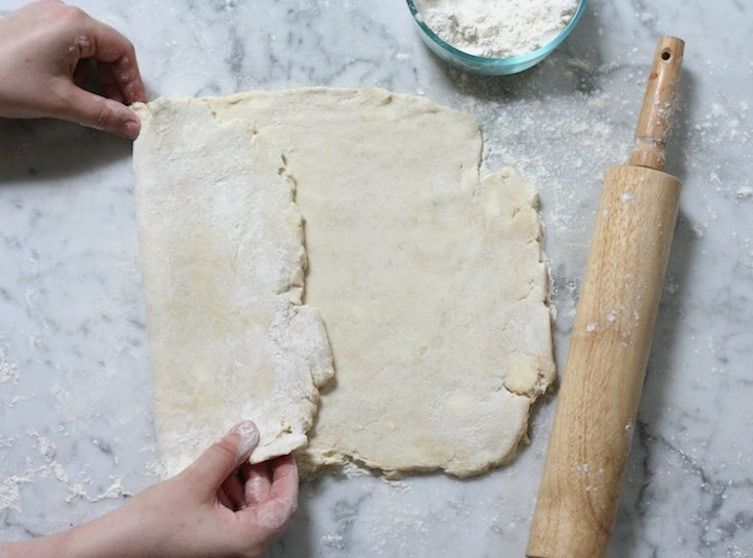
-
Always work cold. It’s super important that the dough is well-chilled -- but still malleable -- during this process. In addition to making the dough easier to work with, the cold temperature ensures that the butter is handled properly, and means that you're more likely to get those ultra-flaky layers.
-
When you're rolling out your dough, don’t over-flour. Just a light dusting of flour will do. Every time you add flour to the surface or to the dough, that flour will get incorporated into the dough -- adding too much can make the dough tough and mealy. If the dough is sticking to the surface or to the rolling pin, it likely means that it is not chilled enough. Toss it back into the refrigerator or freezer to firm up, and try again.
-
Master the fold. Roll the dough out on a lightly floured surface into a rectangle about 1/2 inch thick. The size of the rectangle isn’t important, but the thickness is. Essentially, you want to roll the dough thin enough to shingle the butter into thin pieces throughout the dough, but thick enough that it doesn’t get overworked in this process.
More: Perfect your pastry dough technique.
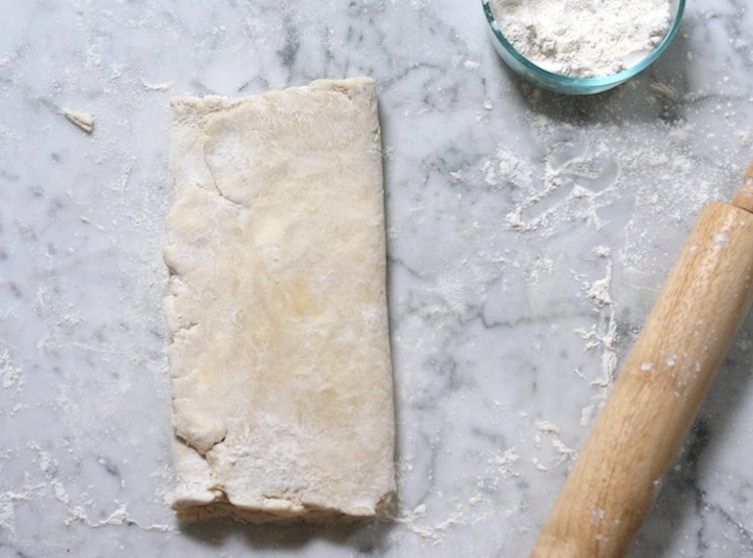
Once the dough is rolled out, visually divide it into thirds. Fold the first third of the dough (on the left) toward the center. Then fold the second third of dough over the first piece, as you would a letter. Fold the "letter" in half to create a square. Chill the dough well (about 30 minutes), then repeat the folding process a second time.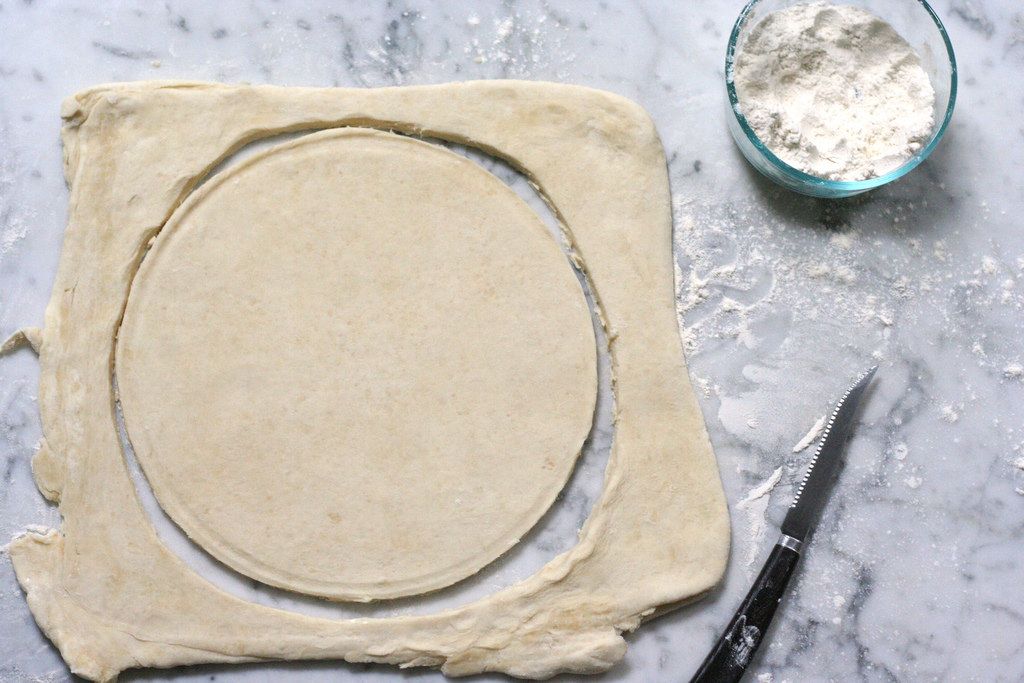
-
Go thicker than usual. After the second fold, roll the dough out to 3/4 inch thick. This is much thicker than standard pie crust, but tarte tatin benefits from a slightly sturdier base (also, a thicker crust means more chances for buttery, flaky layers -- the stars of this show). Use a plate or a cake pan to cut the dough into a 9-inch circle, then transfer the circle to a parchment-lined baking sheet and chill for at least 20 minutes.

-
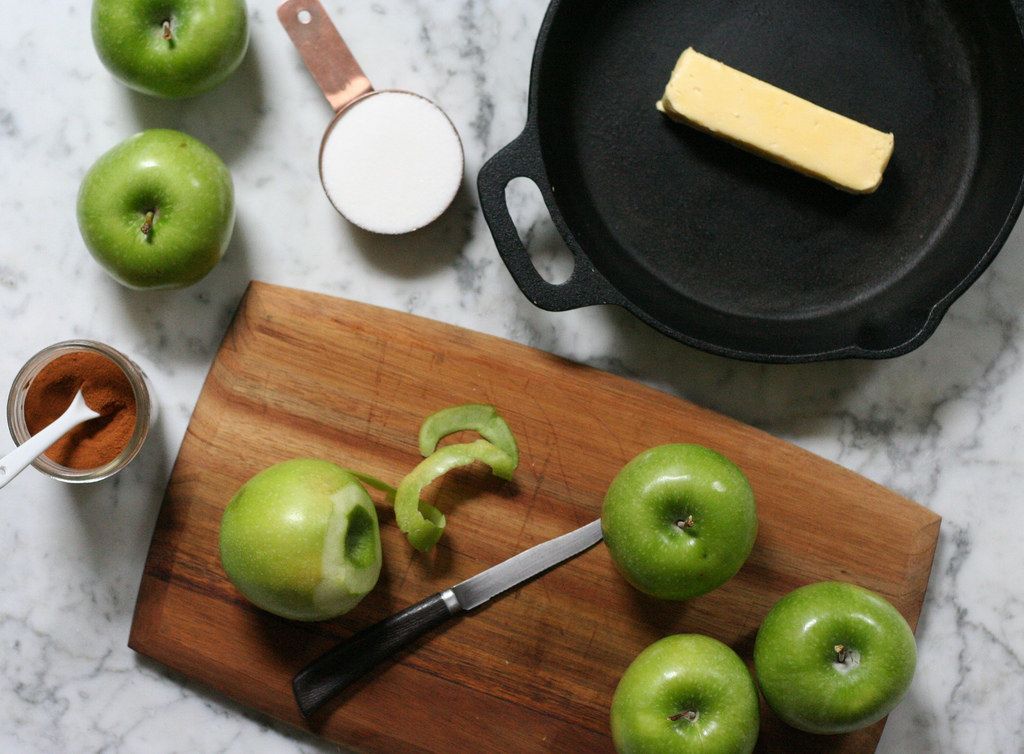
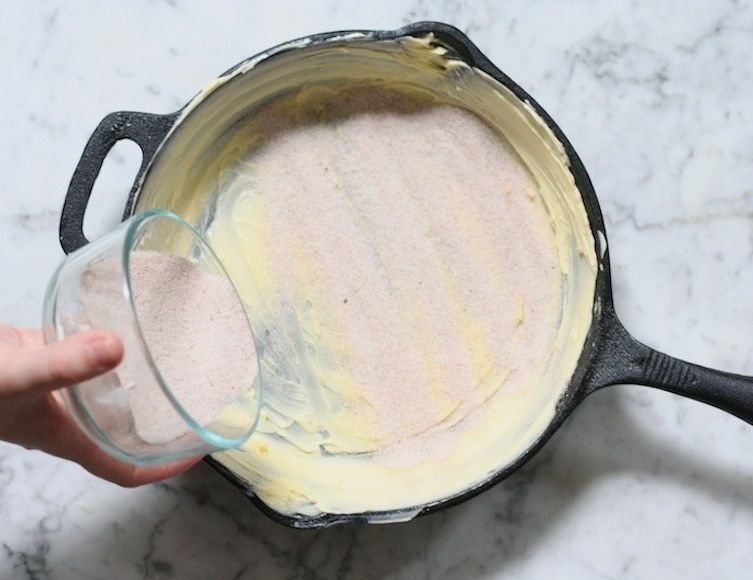
Build on butter. Start with an oven-safe 9-inch skillet (I like cast iron best). This recipe calls for 3/4 stick (6 tablespoons or 3 ounces) of butter. It might seem like too much, but just remember that we’re doing a lot with a little here -- just four ingredients in the base of the pan will make a luxurious caramel sauce to coat the apples and build tons of flavor. Just accept the buttery goodness, and smear it evenly all over your skillet. In a small bowl, mix together the sugar, cinnamon, and flaky salt, and sprinkle that into an even layer in the base of the pan.

-
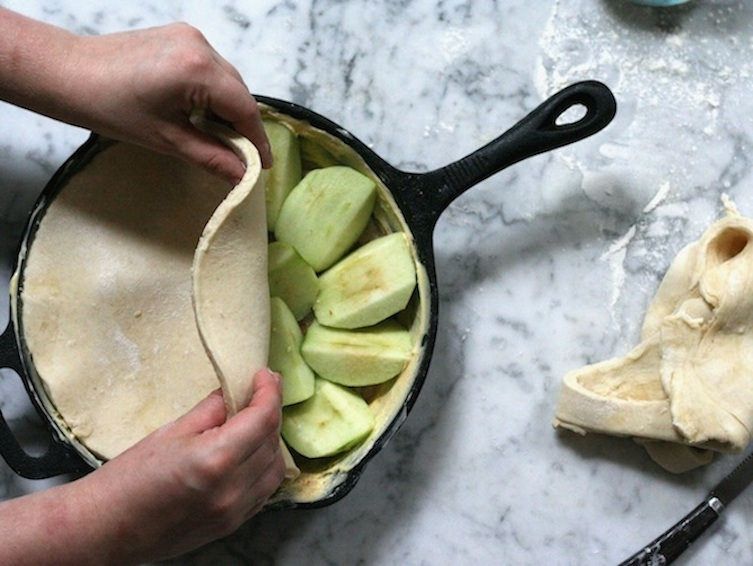
Take a tip from apple prep school. Peel and cut your apples into quarters. To remove the core, place your apple on its side with the core facing your dominant (knife-wielding) hand. Hold the knife at the same angle as the apple side and cut the core out by slicing down in one smooth motion. Removing the core this way gives the apples a flat “base”, which is ideal for creating an even surface to place the crust on. (Bonus: the flat base also makes it easier to slice the apples, which will come in handy this holiday season when you’re slicing dozens for pies!)
-
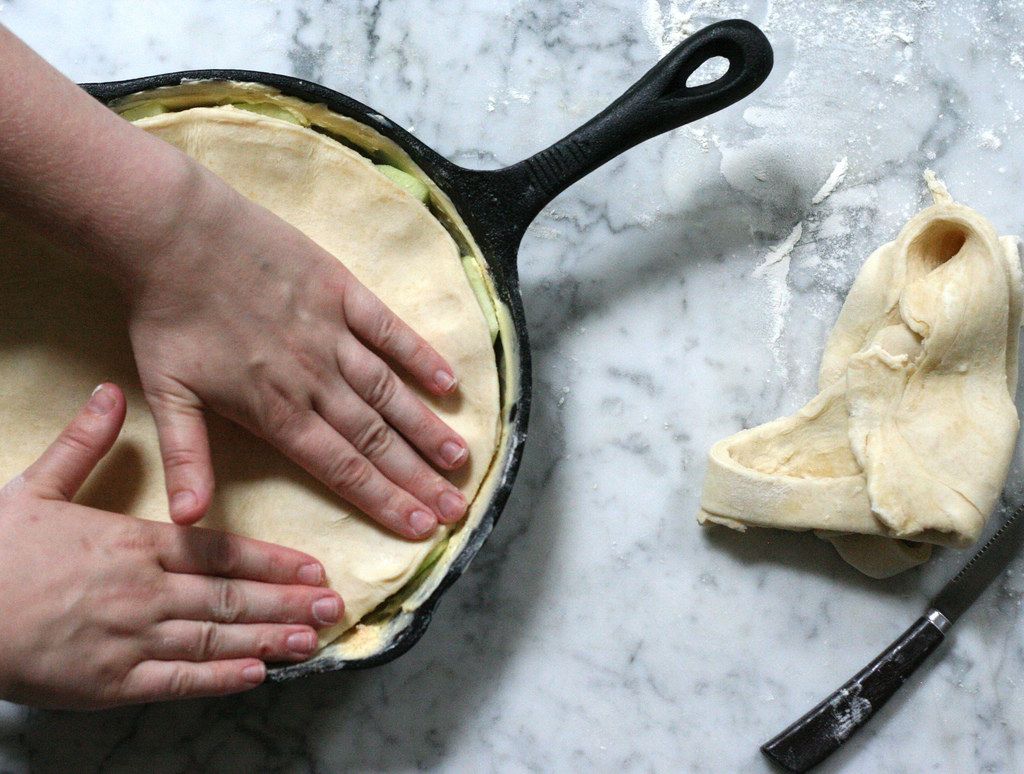
Assemble with care, but don’t be fussy. Arrange the apples tightly in the base of the pan with the rounded side down (since the tarte tatin will get turned over for serving, you'll want the apples' pretty, round sides on top). It’s okay to have spaces between the apples -- this is where the butter and sugar will turn into caramel and infuse the apples with their flavor while they bake. Transfer the chilled dough round on top of the apples, and press around the edges to seal in the caramel when the tarte bakes.
-
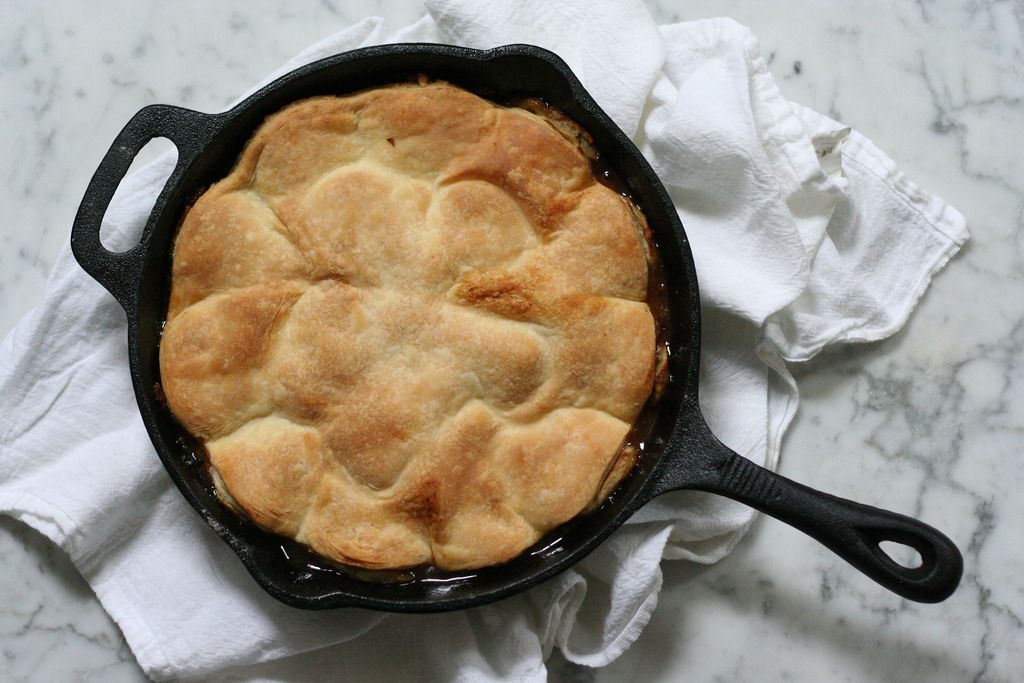
Don’t be afraid of baking time. You're baking this at a high temperature (425° F), but it’s essential that you allow your tarte tatin enough time in the oven. The sugar and butter need to turn into a golden caramel, the apples need to become soft and tender, and the crust needs to become crispy. It's done baking when the crust is very golden brown and caramel is bubbling up on the sides of the pan.
-
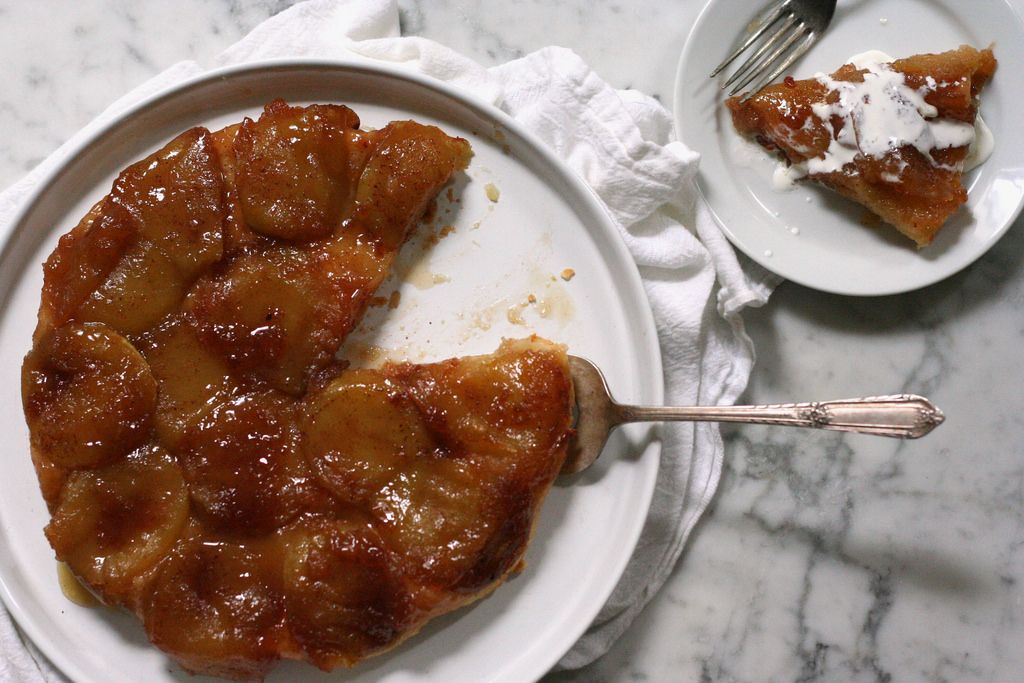
Cool it for a minute (or five). When the tarte tatin first comes out of the oven, let it cool for 5 minutes before unmolding. It’s important to unmold the tarte tatin while it is warm, or else the caramel will begin to cool and the whole thing will stick inside the pan. Giving the tarte a 5 minute rest allows the caramel to cool slightly, so that you don’t have a flood of hot sugar when you turn the whole thing over.
Makes one 9-inch tarte
For the pie crust:
2 1/2 cups (12 ounces) all-purpose flour
Pinch of salt
2 sticks (8 ounces) cold unsalted butter, cubed
6 to 8 tablespoons (2 to 3 fluid ounces) ice water, or more as needed
For the Tarte Tatin:
6 tablespoons (3 ounces) unsalted butter, at room temperature
1/2 cup (3 ounces) granulated sugar (bonus points for vanilla sugar!)
1 tablespoon ground cinnamon
2 teaspoons fleur de sel
4 large baking apples (like Honeycrisp, Braeburn, or Granny Smith), peeled, cored, and quartered
1 tablespoon lemon juice
See the full recipe (and save and print it) here.
A note to all of the readers: Thanks for your comments about providing weights in Baking Basics recipes. Because Food52 is a website for home cooks, I initially developed all of the recipes to be made with volume measurements. However, thanks to your comments, I now know avid home bakers care about precision as much as any professional, and have gone back and added weight measurements to past Baking Basics recipes. I will continue to provide weight measurements (when applicable) from here on out. Thanks so much for the feedback!
Photos by Erin McDowell
Written by: Erin Jeanne McDowell
Popular on Food52
14 Comments
Turned out beautifully and very good.But we took notes!
-CUT the cinnamon to a pinch (I wondered why that ingredient was there...not very French :-/ )
-use radiant oven setting instead of convection (takes out the burnt caramel taste)
-continue using my bigger skillet and the food52 method to cut apples :-)
See what other Food52 readers are saying.