It's always more fun to DIY. Every week, we'll spare you a trip to the grocery store and show you how to make small batches of great foods at home.
Today: Thanks to Lindsey S. Love of Dolly and Oatmeal, gluten- and dairy-free eaters can enjoy flaky pie crust this holiday season.
There’s nothing more divisive in my family than making homemade pie crust. Some of us use specific ingredients, others use hand-me-down recipes; there are various techniques and sometimes prayers, chants, and happy dances. All in all, the pie crust game is sometimes tricky and almost always subjective. Add to that the gluten- and dairy-free element and the situation is sure to get even more delicate.
What can be so tricky about a gluten-free pie crust, you ask? Simply put, there’s no gluten to keep everything sticking together, hence the delicate nature of it all -- lifting, rolling, and trimming are things that need to be carefully addressed when dealing with dough that has zero elasticity. But just like anything, the more you practice, the easier it will be, and I’m sure you will even develop your own technique to pass on to others.

Gluten- and Dairy-Free Pie Crust
Makes one 9-inch round pie crust
1/2
cup sorghum flour
1/4
cup brown rice flour
1/4
cup gluten-free oat flour
1/4
cup arrowroot powder
1
teaspoon psyllium husk powder (or xanthan gum)
1
teaspoon natural cane sugar
1/2
teaspoon fine sea salt
1/2
cup unrefined coconut oil, cold, plus more for the pan
3 to 6
tablespoons ice water
1
egg, for brushing (or 1 teaspoon plant-based milk if you are vegan)

In a large bowl, whisk together the dry ingredients.
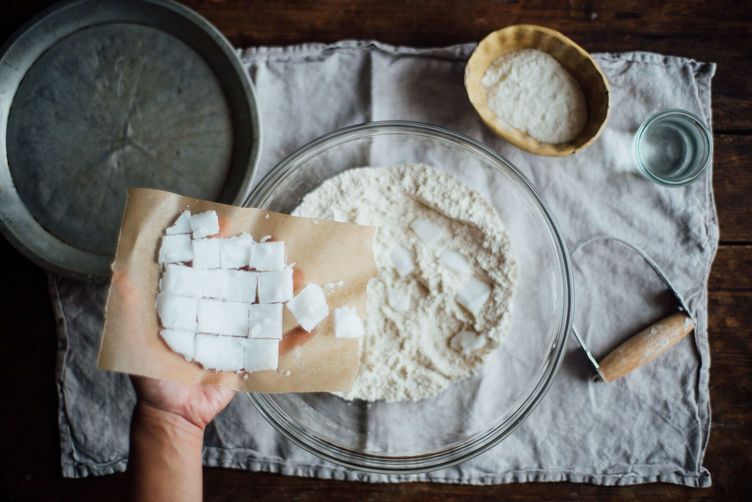

Cut the coconut oil into chunks, then add it to the dry ingredients. Using a pastry cutter, cut the oil into the flours until you have a mixture resembling coarse crumbs.
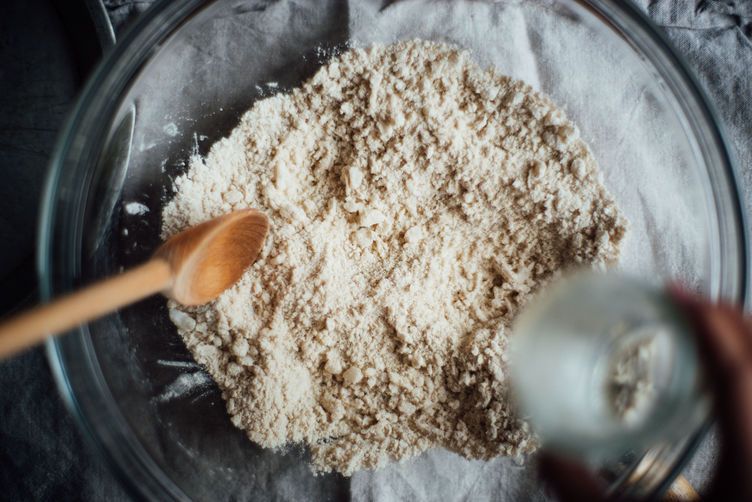
Drizzle in the ice water a tablespoon at a time. Use a wooden spoon to stir gently.
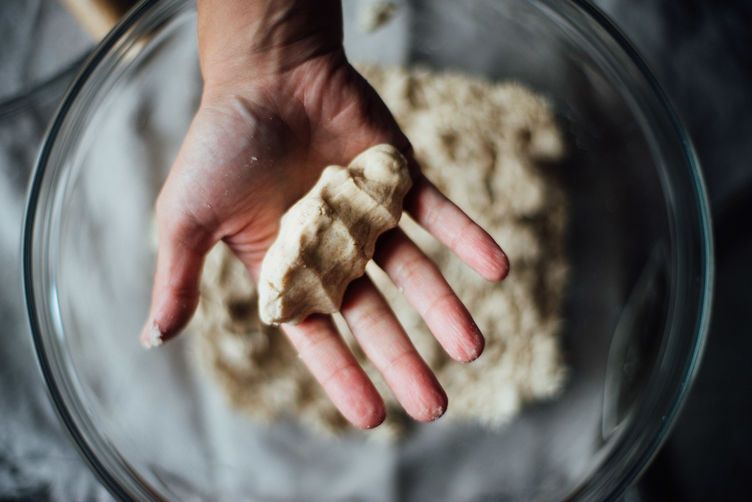
Squeeze the dough together: If it crumbles, you need to add more water, a little bit at a time, until the dough holds together.
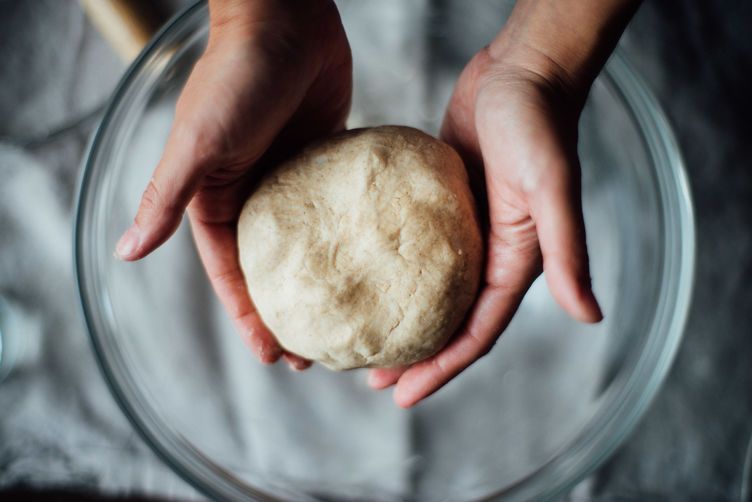
Gather the dough together with your hands and shape it into a flat disk (if you are noticing a lot of cracks and the dough looks dry, you can always break the dough back up and add more water -- you can't overwork gluten-free pie dough, which makes it very forgiving in that way).
Loosely wrap the dough with plastic wrap and refrigerate it for 30 minutes.
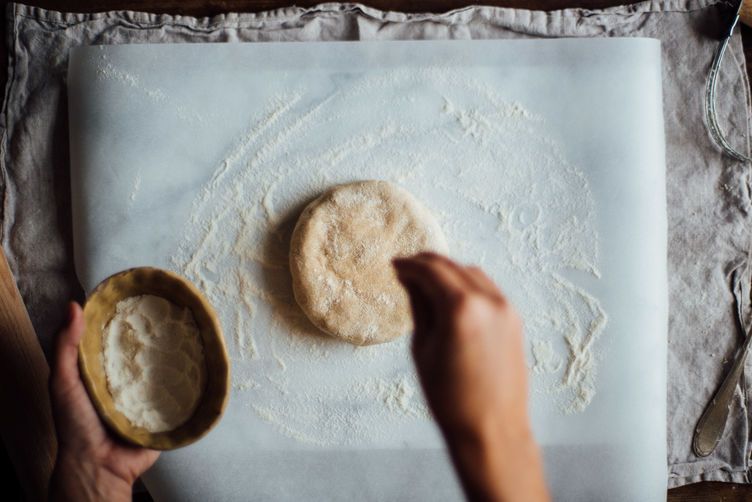
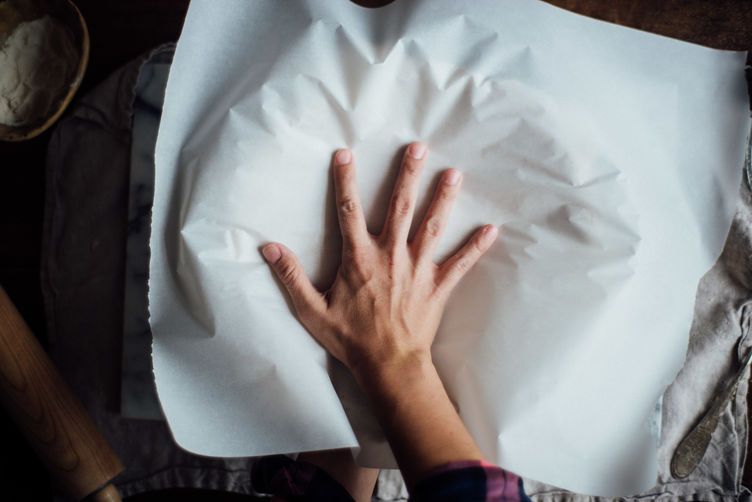
Grease a 9-inch pie pan with coconut oil and set it aside. Remove your dough from the fridge and line a work surface with a large piece of parchment paper. Flour the parchment, place the dough on top, and let it rest for 5 to 10 minutes.
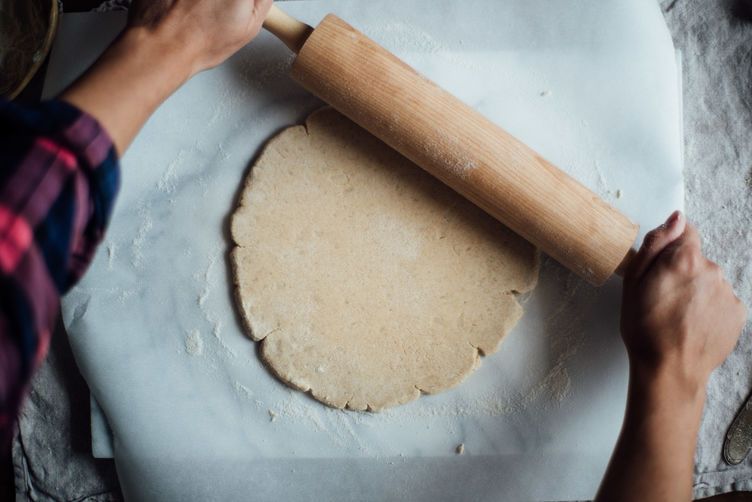
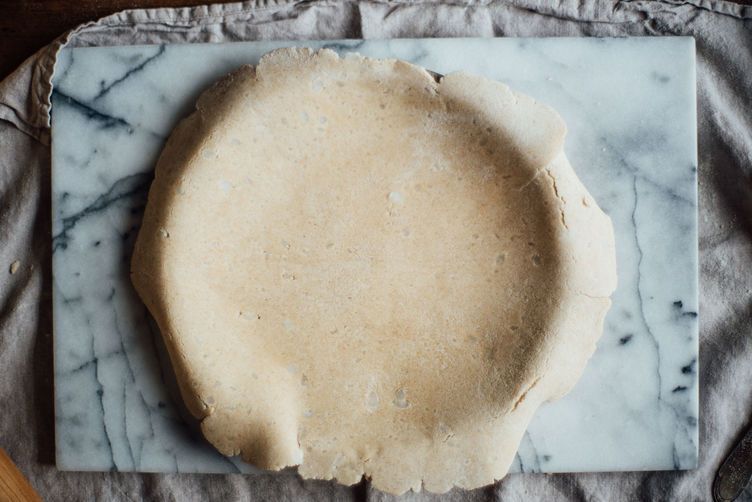
Using a rolling pin, roll out the dough to an 11-inch round, gently turning it and sprinkling it with flour to prevent sticking.
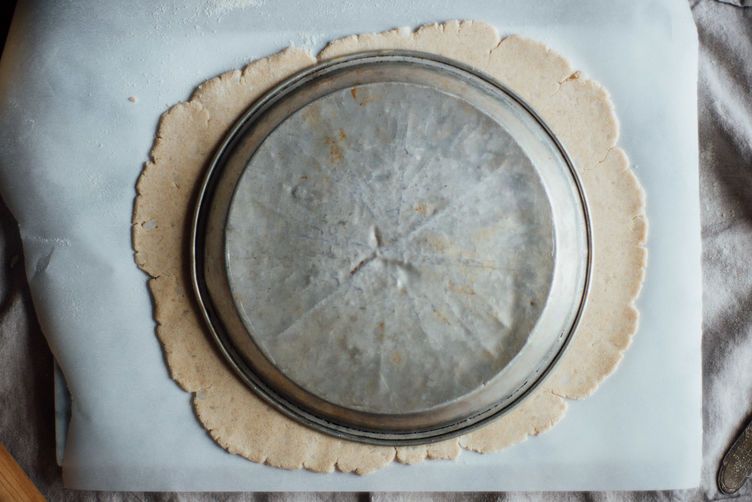
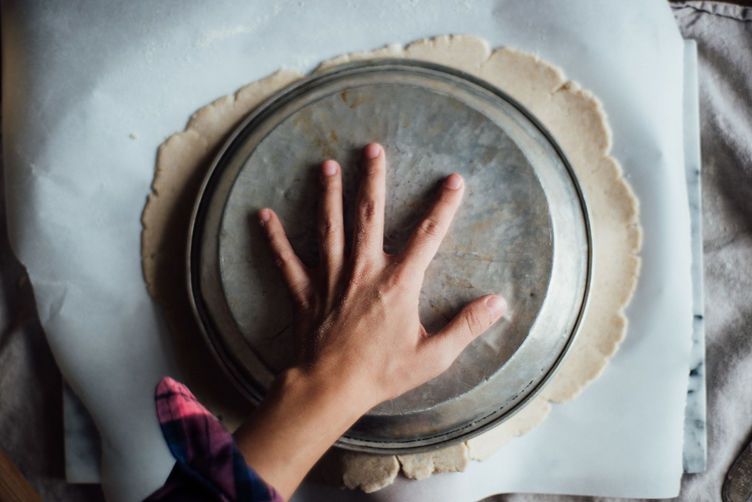
Place a pie pan on top of the dough, then gently slide one hand between the work surface and the parchment paper. Hold the top of the pie pan with your other hand and, working swiftly and carefully, flip the paper and invert the dough into the pan; gently peel back the parchment if it sticks.
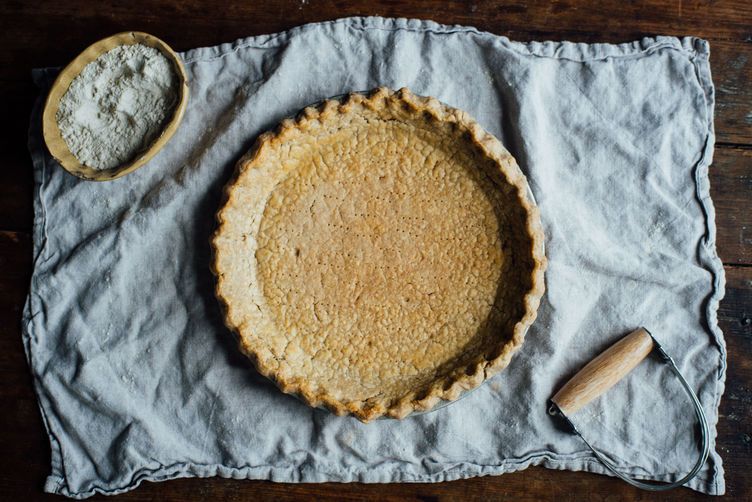
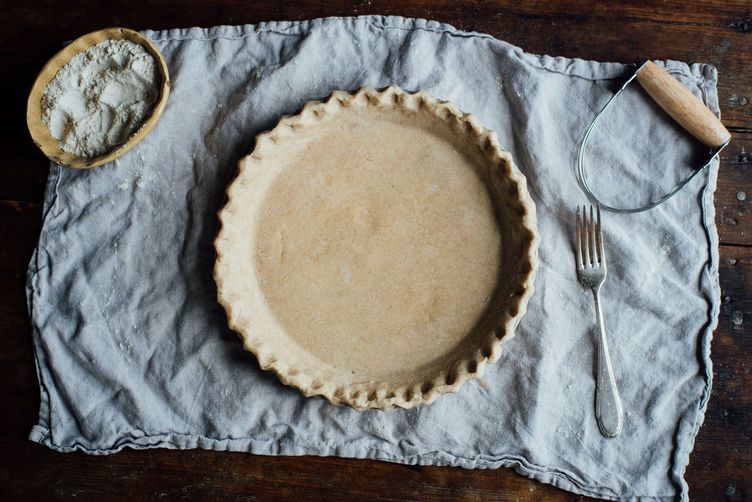
Press the dough into the pan and trim the edges. If there are any tears, press the dough back together or patch them with the excess trimmed dough. Shape the crust as desired, then fill and bake as your recipe directs.
See the full recipe (and save and print it) here.
Photos by Lindsey S. Love | Dolly and Oatmeal

Choose your holiday adventure! Our Automagic Menu Maker is here to help.
View Maker
See what other Food52 readers are saying.