We're all in favor of recreating our favorite flavors in the kitchen, and the same goes for home goods: There's no better feeling than making something yourself instead of buying it from a store.
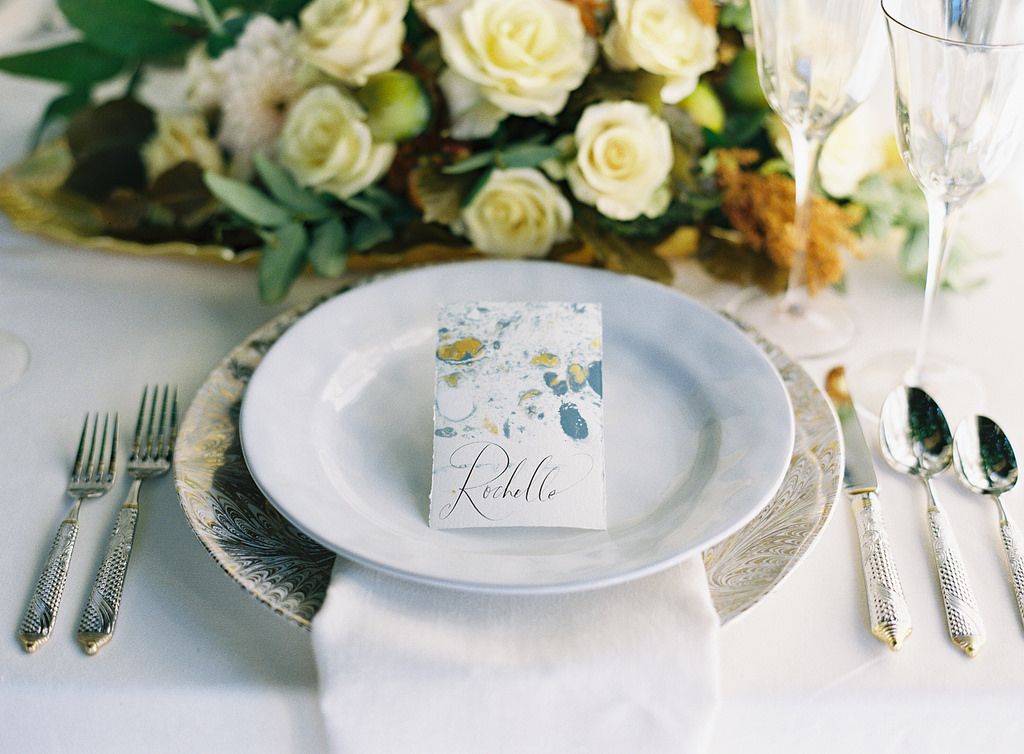
Today: Illustrator and calligrapher Stephanie Fishwick demonstrates a refined version of our favorite childhood craft. Read on for her tutorial on making glamorous marbled paper place cards at home.
There's no doubt you've encountered marbled paper at some point, whether in a childhood crafting class or as a piece of artwork. Marbleizing, or marbling, goes back to Suminagashi paper in 12th-century Japan. Since then, marbling has gone in and out of fashion for centuries and spanned the globe, its high point being in the late-19th century during the Art Nouveau movement. I love marbling because each piece is a monotype, always one-of-a-kind.
Marbling is a method of decorating paper using “floating colors” or aqueous surface patterning. The colors are not applied directly to the paper as with a painting, but rather colors are added to a liquid called the marbleizing "size.” The patterns created on the surface of the size are removed by laying a piece of paper on top.
Classic marbling (what you are likely the most familiar with) is done with water-based colors mixed with ox gall in a viscous solution. What I've done with these place cards is much easier (read: good for instant-gratification types), less time-intensive, and requires fewer materials (no ox gall!).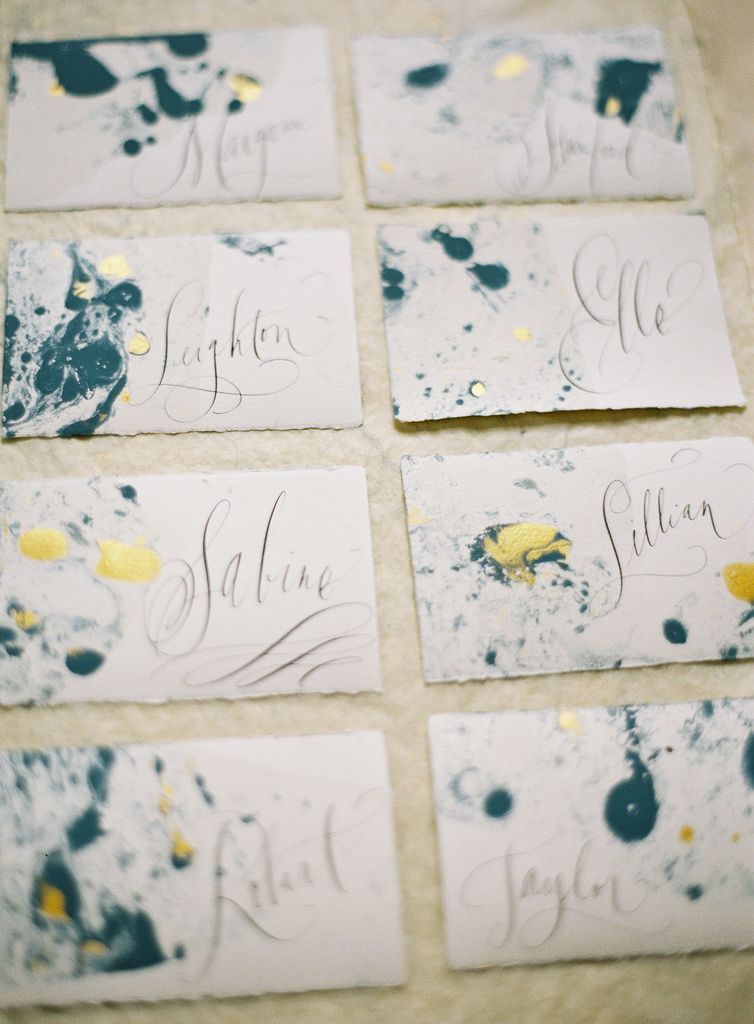
To achieve this oil-color marbling look, the methods are similar. I like oil marbling because the preparation is super simple. The only downside is that the control over the patterning is pretty limited: You will almost always see a similar galaxy-type design. It's very abstract and subject to the ebb and flow of the water and oils.
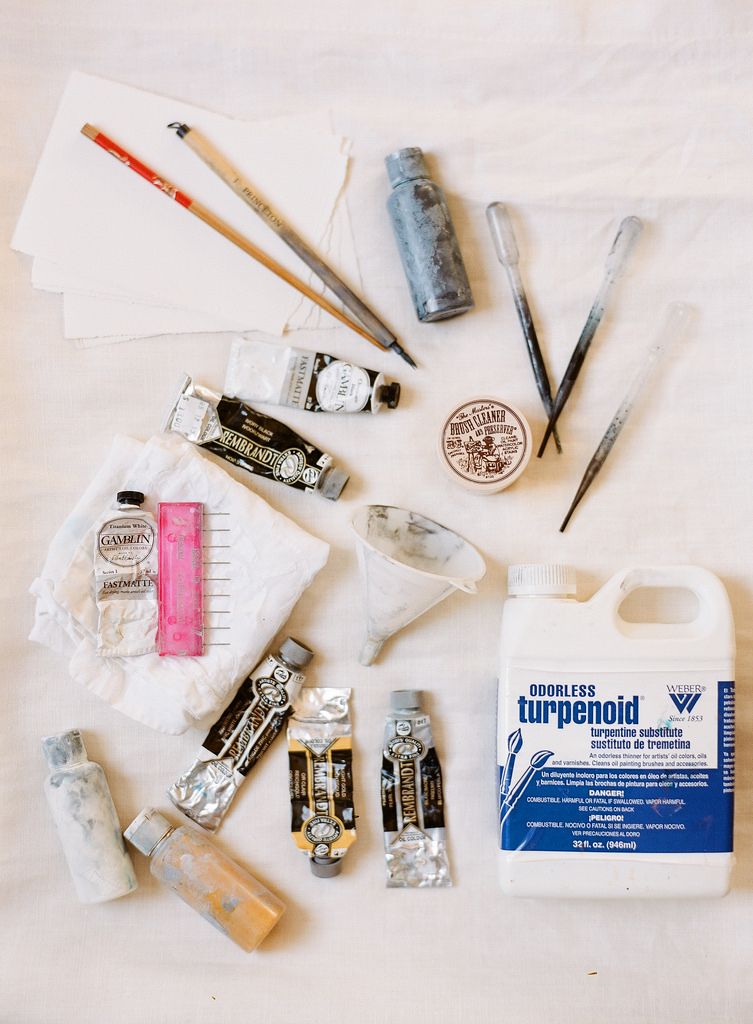
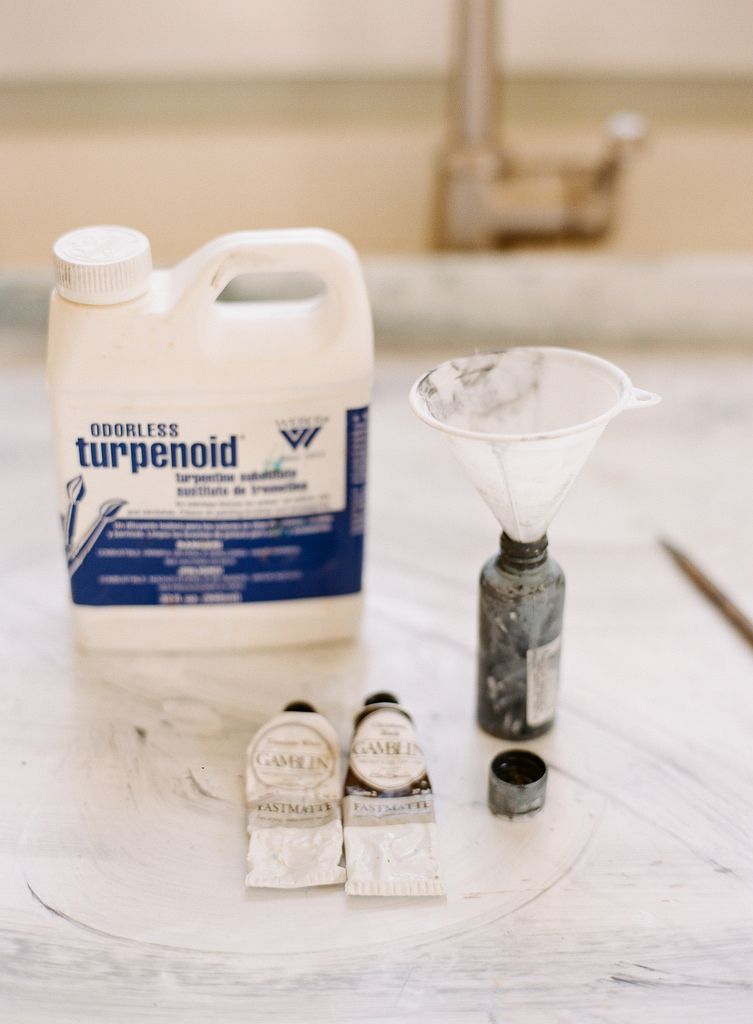
To create the colors you see on these pieces, I diluted oil paints with turpentine and added them to a size of pure tap water. Test your oils by applying drops to the size -- if the color sinks, add a bit more turpentine to the paint bottle. If it spreads too thin and way out towards the edges, add more paint. The floating colors will look very transparent on the size, but once you lay your paper down, they almost magically adhere to the paper and stay put.
Funnel
Oil paints
Turpentine
Small jars or bottles
Shallow tray (larger than your paper)
Stain droppers, paint brushes, or straws
Chopstick, paintbrush, or marbling comb
Paper (cardstock or thicker, to prevent curling)
How to Marble Your Paper:
1. With the help of a funnel, mix oil paints with turpentine in small jars or bottles, using a different containter for every color. Aim for 1 part oil paint for every 3 parts turpentine. Stir or shake well to combine.
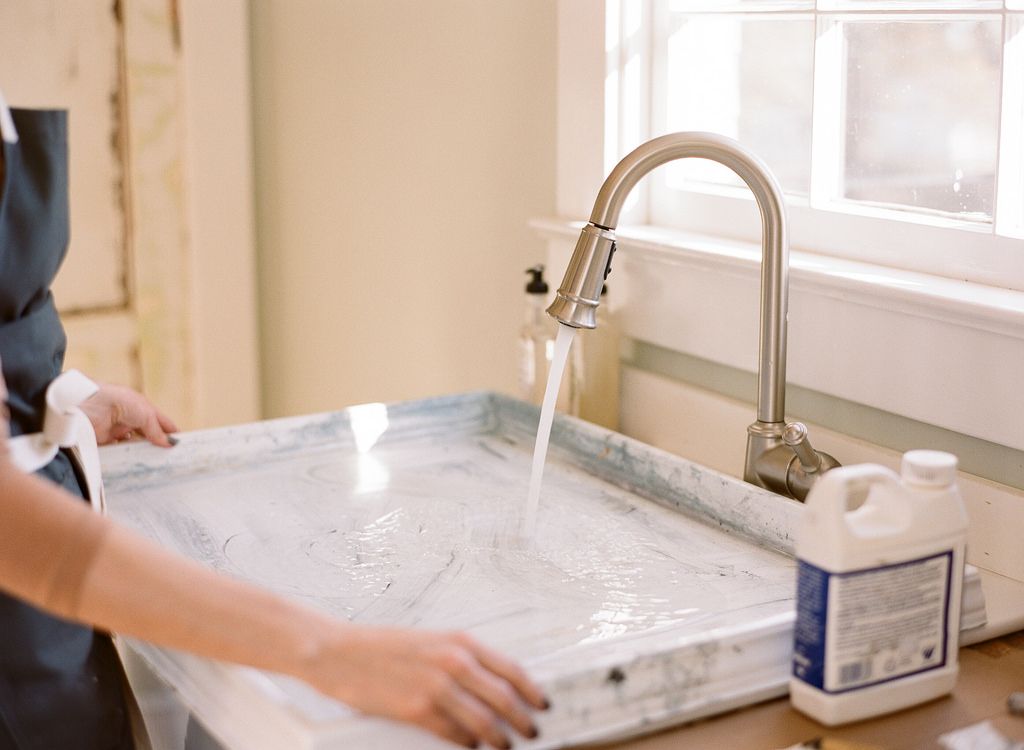
2. Prepare your size: Fill a shallow tray or pan with tap water on an even surface.
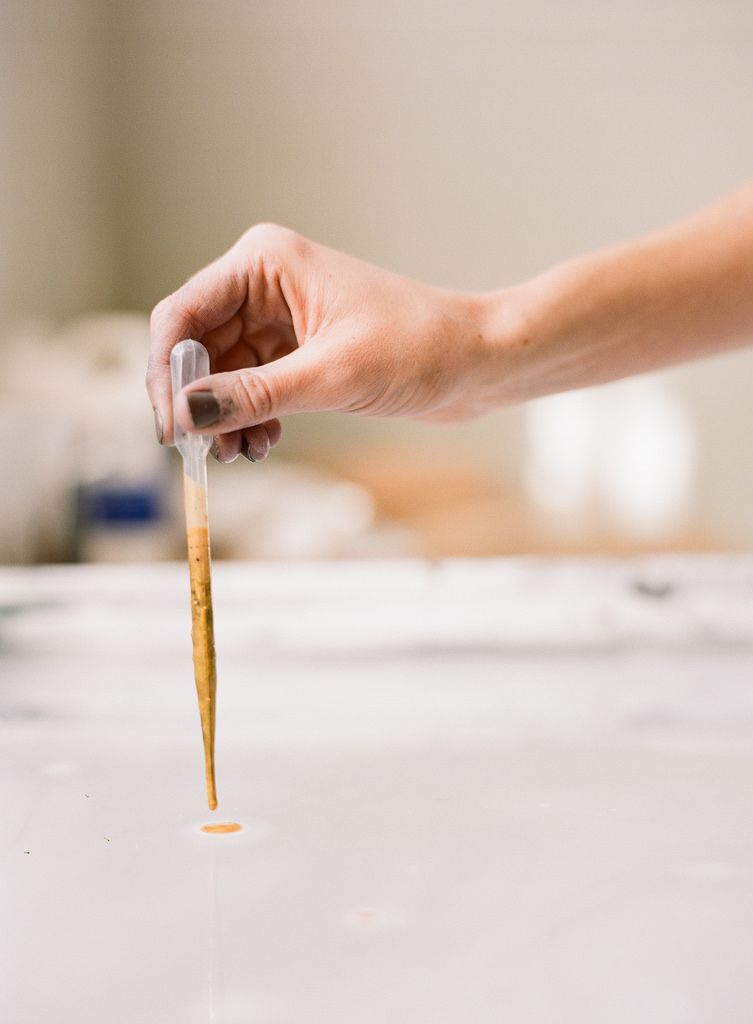
3. Drop the paint on the surface of the water using small bottles (if yours has a dropper on it), stain droppers, paint brushes, or tubes (such as straws).
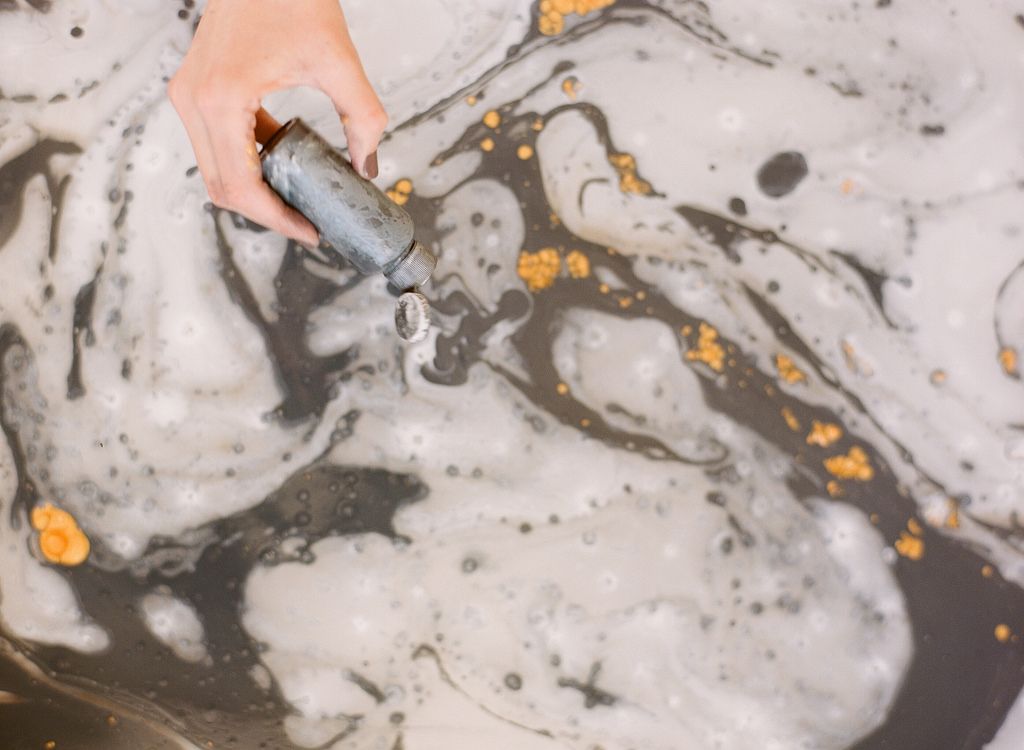
4. Next, manipulate the surface (meaning move the water and paint droplets around) to create patterns you like. A variety of tools will work for this; I used a chopstick, a paintbrush, and a marbling comb. Beware: Oil paint can stain, so just don't use anything too precious and make sure to wash it well after the project.

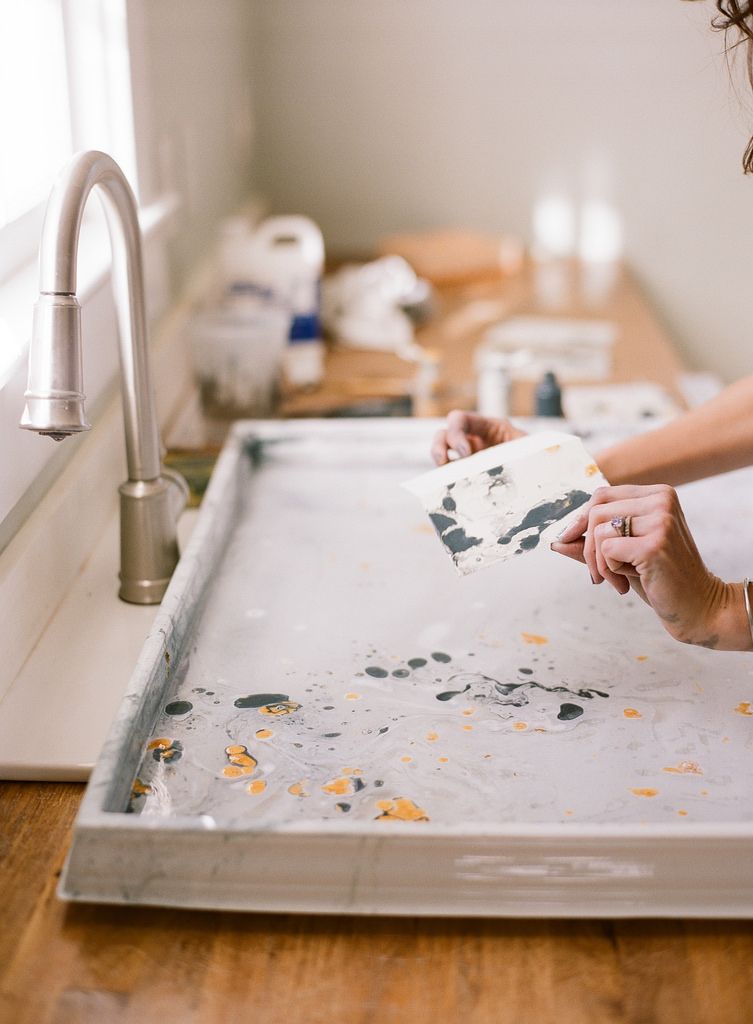
5. Lay a piece of paper on top of the surface for a few seconds; just enough time for the paint to adhere. Lift up the paper quickly and lay flat to dry. Practice patience: Oil paints take 24 to 48 hours to fully dry.
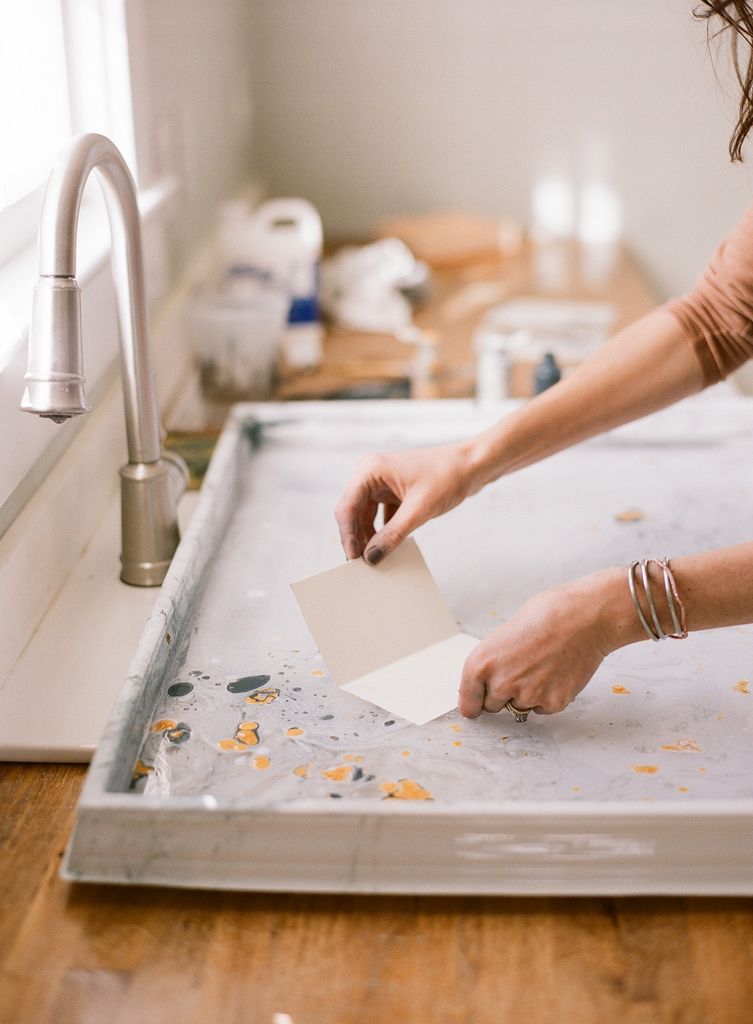
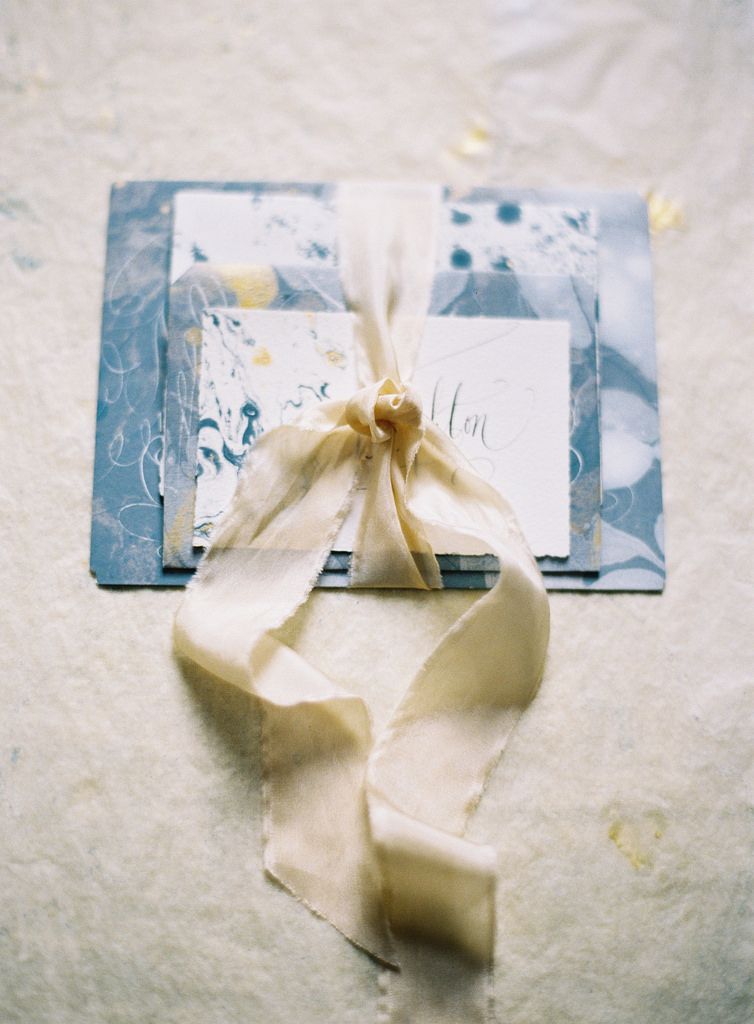
6. Once dry, write your guests' names on them to use as place cards, or just leave blank to use as stationery!
Do you have ideas for clever place settings? Or for crafts you'd like to see here? Tell us in the comments and tag your favorites on instagram with #F52home.
Final photos by Joey Kennedy; all process photos by Eric Kelley; flowers and styling by Mallory Joyce
Written by: Stephanie Fishwick
Popular on Food52
6 Comments
I am glad to see this DYI, Congratulations! Can we see monotypes with the new Jelly plate?
See what other Food52 readers are saying.