We should all have a solid command of the ABCs of baking. Thankfully, Food52's Test Kitchen Manager Erin McDowell is here, with tips and tricks to help you master the most essential desserts and the simplest breads.
Today: Something so sweet shouldn't be scary. Erin has your back with guidelines and helpful tips -- plus, an easy recipe just in time for Valentine's Day.
People seem to fear caramel, or any kind of cooked sugar, really. And I see why -- for certain kinds, you stir it, and it’s ruined. For other types, you don’t stir it enough, and it’s ruined. You cook it too long, it’s ruined. You don’t cook it long enough, it’s ruined. Put your anxieties to rest: With the following guide, you can master just about any caramel recipe.
First, it's important to understand the basic types of caramels:
- Dry caramel is made by adding granulated sugar to a hot pan in small batches. When the sugar melts under the heat, a little more sugar is added. That melts, more is added, and so on. This continues until all of the sugar is added and the caramel is the desired color. This process is used to make the caramel layer in a flan or a crème caramel.
- Wet caramel is made by mixing sugar (either granulated sugar, sugar syrups like corn syrup, or a combination) with a small amount of water. The idea is to have the granulated sugar achieve the texture of "wet sand." Basically, this entails boiling a sugar syrup to the proper temperature and adding enrichments like butter or cream at the beginning or end. This process can be used to make anything from chewy caramel candies to creamy caramel sauces to hard caramel layers in toffee.
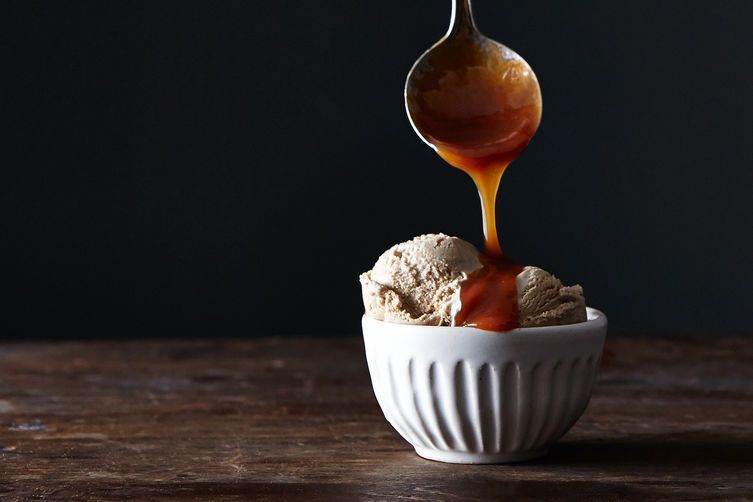
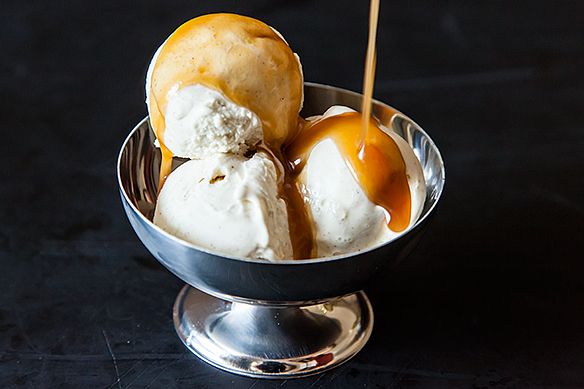
- Caramel sauce combines caramel with enrichments (added either at the beginning or end) to produce a thick, smooth sauce. This process is used to make the caramel base of a tarte tatin or for any variety of caramel sauces.
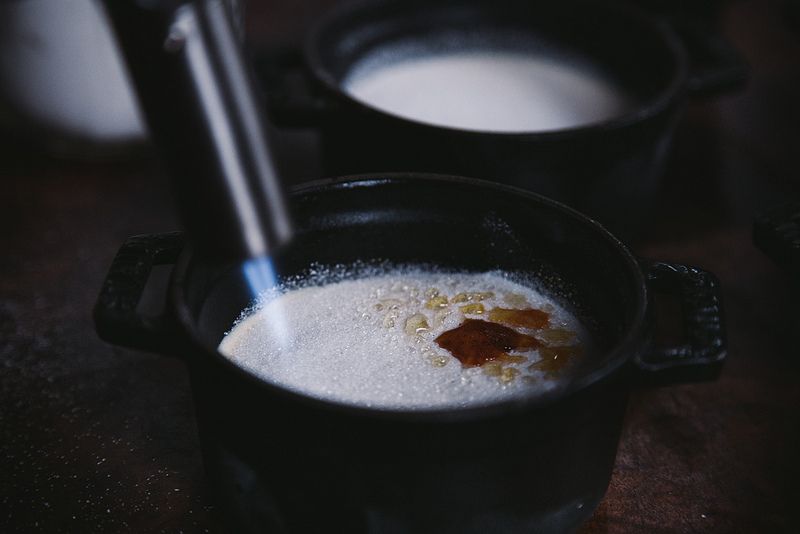
- For caramelized sugar, sugar is melted by applying direct heat. This is most generally done with a torch, as is the case for the beloved crème brûlée.
More: Invest in a torch, then learn to make crème brûlée at home.
Now, let's break down some dos and don'ts:
Play it safe.
While I strongly advocate that making caramel is a simple process that can easily be accomplished at home, let’s be real for a second: This is hot stuff, and you should take care to prevent injury. One common way that people get hurt when cooking sugar is from hot steam, so be careful when adding ingredients to the pot of cooking sugar.
Additionally, remember to keep a safe distance -- use a candy thermometer (not a handheld one), to reduce the chance of burning yourself. Don’t touch the sugar directly, and handle the pot with oven mitts at all times. Use heat-safe utensils like wooden spoons or wooden-handled silicone spatulas. If pouring the caramel while it's hot, try to place the pot very close to the container you’re pouring into -- splattering sugar will still burn!
Check the ingredient list (and don’t totally hate on corn syrup).
All caramels contain sugar -- but what kind? The caramel you buy in grocery stores and from some professional confectioners is not made with standard granulated sugar, but actually with a variety of sugar syrups that are less susceptible to crystallization during production and storage. These include dextrose, sucrose, and glucose syrups, all of which are "invert" sugars processed in a way that helps keep them stable. (These syrups can also alter the discernible sweetness of a product, which should be noted.)
At home, your best bet at recreating these more stable syrups is to use corn syrup. I know, I know: You're thinking about all the articles about how terrible corn syrup is and all the corn syrup-laden foods you’ve crossed off your "To Eat" list. But hear me out:
- The corn syrup you buy in the store is not high-fructose corn syrup, which goes through additional processing to make it sweeter.
- Corn syrup is still sugar and works similarly in recipes and nutritionally. The key is moderation, and while you are making a batch of candy, you’re not anticipating eating the entire thing in one sitting (I hope).
- Naturally syrupy sweeteners like agave, honey, and maple syrup do not act the same way as invert sugars -- they will crystallize. So, if a recipe calls for corn syrup, it may not be a good idea to replace it with the sweetener of your choice.
However, if you’re super anti-corn syrup, there are lots of recipes out there that use granulated sugar exclusively. Just take extra precautions against crystallizing. Enrichments like butter, milk, or cream should be warmed to room temperature for ease of incorporation. Flavoring components like extracts, chocolate, spices, etc. can be added at any stage, but you should refer to specific recipes for guidelines to prevent issues.
More: Alice Medrich's caramel sauce uses a combination of honey and corn syrup.
Have the right equipment at the ready.
Read the recipe all the way through and take out every piece of equipment you will need. Have a landing spot ready if you have to move with the hot pot. Have your thermometer on hand and calibrated. And my most common piece of advice (which may seem obvious, but vexes many a first time caramel maker): Use a bigger pot than you think you need in order to account for vigorous boiling and bubbling up.
Have a pastry brush at the ready.
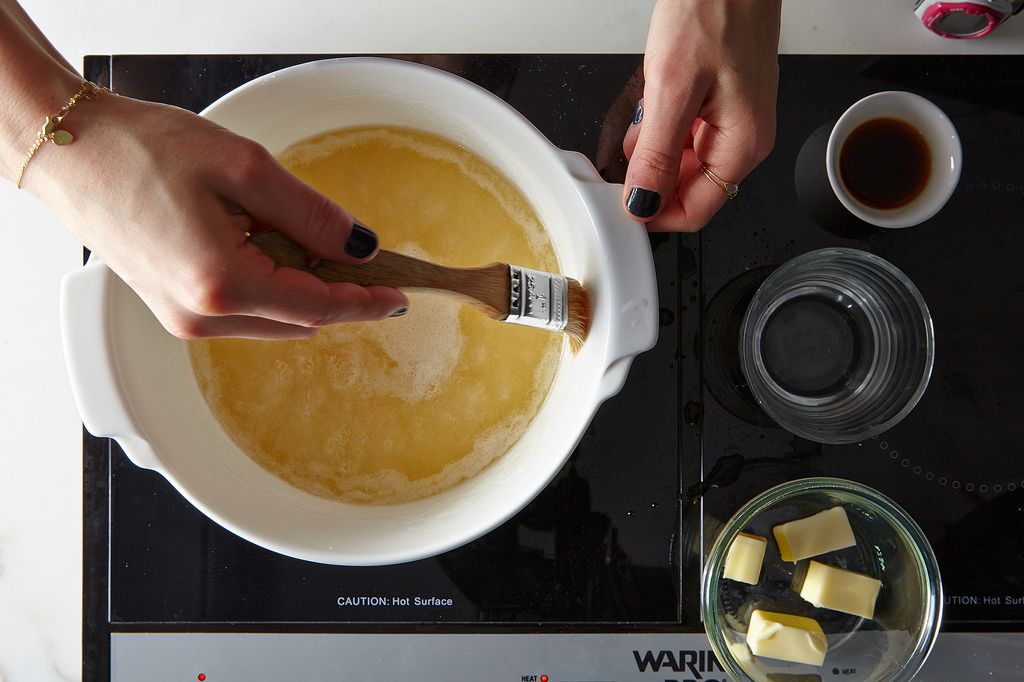
When cooking sugar syrups, you bring the mixture to a boil during which moisture begins to evaporate. This means that any sugar syrup that sloshed onto the sides of the pan will quickly turn into small crystals or granules of sugar. If any of these granules come in contact with the remaining syrup, it can cause the whole mixture to crystallize. This is why nearly all recipes remind you to brush down the sides of the pot with tepid water as needed to ensure that no sugar crystals ruin the mixture. However, every time you do this, you’re introducing more water into the syrup, which just means it will need to boil longer for it to evaporate away, and that will eventually caramelize the sugar. So brush away, but don’t go too crazy.
To stir or not to stir -- that is the question.
One of my favorite instructors in pastry school had a series of sugar sayings and when it comes to caramel, one reigns supreme: "Agitation, even the most vigorous stirring, promotes crystallization." Stirring is important at the beginning of certain recipes to encourage the sugar to dissolve. However, once the mixture comes to a boil, there's no stirring allowed. For other recipes, you must stir constantly, mainly to ensure that the mixture doesn’t stick to the bottom of the pan and/or burn.
The difference between these types of recipes? Invert sugar and/or enrichments. Higher levels of fat or the use of invert sugars helps prevent crystallization, which means that recipes for soft caramel or caramel sauce that include large quantities of invert sugar or high levels of milk (including evaporated or sweetened condensed milk), butter, or cream can and should be stirred throughout cooking to prevent burning or sticking. Recipes that say never to stir during cooking will often have instructions to "stir in butter" at the end. In short: Always refer to specific recipes for instructions about stirring.
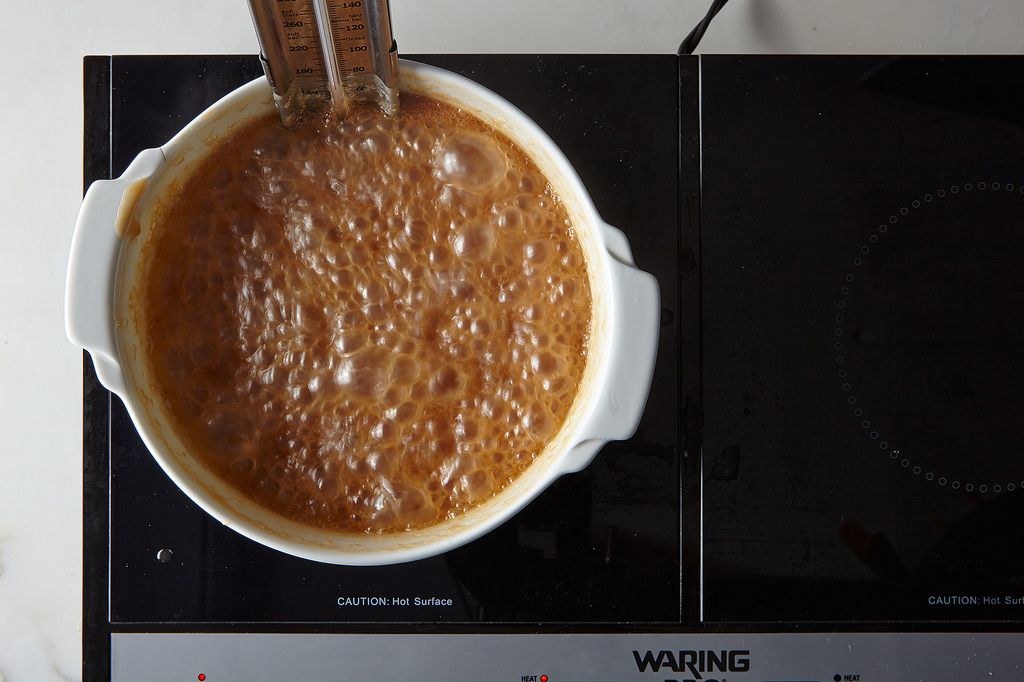
It’s about temperature, not time.
There are two ways to determine proper doneness for your caramels: a really good eye or a really good thermometer. Since the good eye only comes after lots and lots of candy making (and even then, it can fail you), it’s best to rely on a good working thermometer. Candy thermometers are ideal because they clip to the side of the pot and don’t need to be touched or moved during cooking. However, laser infrared thermometers, which were once astronomically expensive but are now super reasonable, are great for making candy. (Just note that they only detect surface temperature, so they aren’t ideal for all kinds of cooking or baking.) Make sure your thermometer is calibrated, or the temperature reading won’t be accurate. Just a few degrees can mean a world of difference. It’s very important to refer to specific recipes for the temperature you need to acquire: Additional ingredients can change the temperature to which a caramel needs to be cooked. For example, the addition of fat can make a caramel softer, so it may need to be cooked to a slightly higher temperature than a standard caramel.

While it’s important to rely on the recipe, here are some basic guidelines:
Soft ball stage: 235 to 240° F
Firm ball stage: 245 to 250° F (this is the ideal range for soft caramels)
Hard ball stage: 250 to 265° F
Soft crack stage: 270 to 290° F
Hard crack stage: 300 to 310° F
Clear liquid stage: 320° F
Brown liquid stage: 338° F
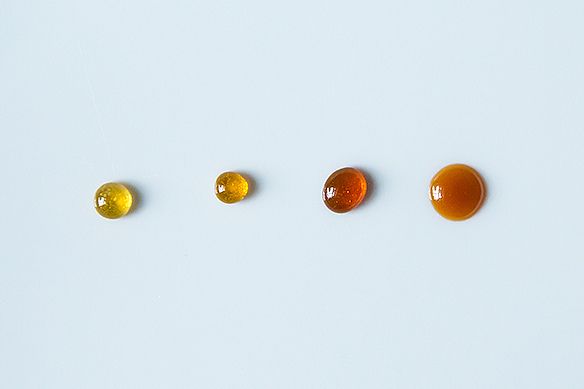
Light amber caramel: around 340° F
Medium amber caramel: around 345° F
Dark amber caramel: around 348° F
Burnt sugar: around 350° F (this is pleasantly burnt, like crème brûlée; any higher than this, the caramel will be nearly black and very bitter and brittle)
It is important to remember that the color of caramel denotes flavor as well as texture. The darker the caramel, the more bitter it will taste and the firmer it will be. The lighter the color, the chewier the caramel -- and this includes unpleasantly chewy, like when undercooked caramels stick to your teeth.
Chill out...but at room temperature.
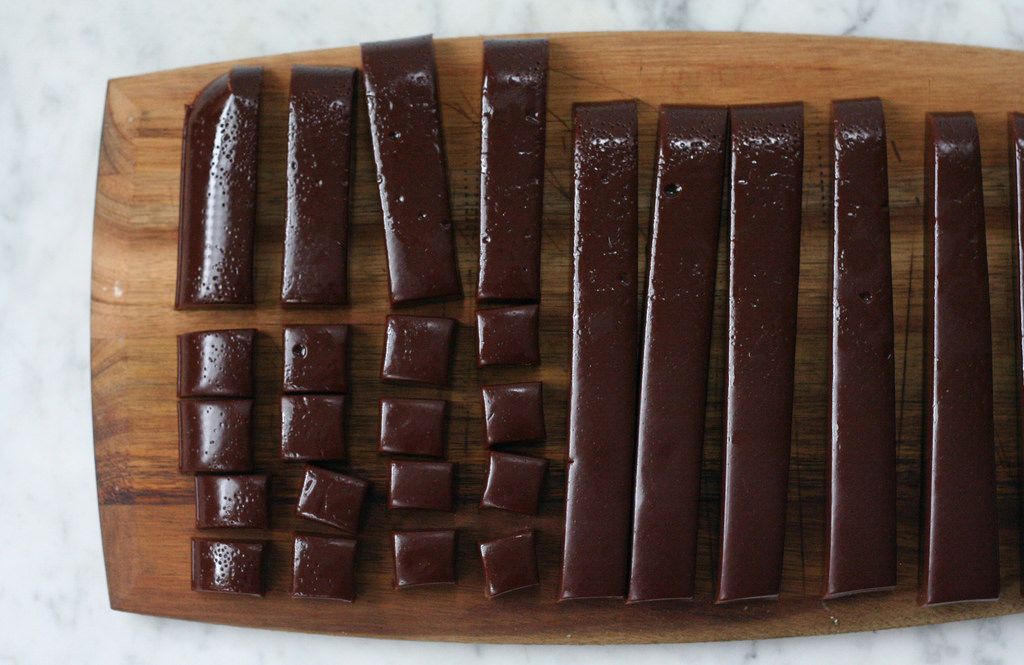
Caramel candies should be cooled completely before cutting and/or serving. A minimum of 16 hours in a cool, dry place is ideal (and 24 is even better). Cooling the candies thoroughly is crucial to being able to cut them easily, so don’t skip this step. And don’t try to take a shortcut with the refrigerator. -- candies (caramels included) don’t hold well in humid environments. If preparing a caramel sauce or something that should be served warm, make sure to cool it slightly before serving to prevent burning your mouth (or melting your ice cream).
Love your nonstick spray.
Caramel is sticky, so don’t be afraid to be generous with the nonstick spray (or oil, if you prefer). Spray the storage container, spray the cutting board, spray the knife, spray it all! It will also make things easier to clean up.
Don’t drop the storage ball.
In my opinion, when you make candy, it’s worth it to make a big batch, because it can be stored for a long time. However, take care when you store your caramels that they are in a cool, dry place. Moisture or humidity can cause them to crystallize or separate. Heat can cause them to melt or otherwise deteriorate. I wrap my caramel candies in wax paper, then store them in a sealed glass jar at room temperature.
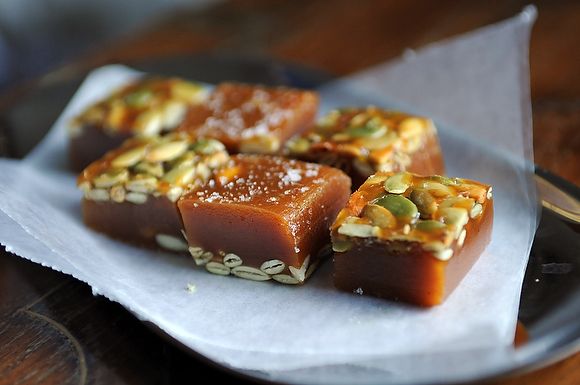
Please Note: The recipe included in this article is for chocolate caramels (perfect for your Valentine). The article is comprehensive, and discusses multiple techniques of sugar cookery, while the recipe only deals with some of these points. Please refer to specific recipes to determine which technique is right for the end result you are looking for. But what we’re talking about here is a super simple technique prepared with a relatively simple (and short) ingredient list.
Adapted from Martha Stewart
Makes a TON of caramels (about 100)
4 cups heavy cream, divided
2 1/2 cups light corn syrup
4 1/2 cups granulated sugar
1 teaspoon salt, plus more for finishing (if desired)
10 ounces high quality bittersweet chocolate (30 to 40%)
8 ounces high quality very dark chocolate (around 70 to 80%)
8 ounces (2 sticks) unsalted butter, cut into cubes
2 teaspoons vanilla extract
See the full recipe (and save and print it here).
First photo by Sarah Shatz; second photo by Emma Jane Kepley; third to last photo by James Ransom; last 2 photos by Erin McDowell; all others by Bobbi Lin

Join The Sandwich Universe co-hosts (and longtime BFFs) Molly Baz and Declan Bond as they dive deep into beloved, iconic sandwiches.
Listen Now
See what other Food52 readers are saying.