Here at Food52, we love recipes—but do we always use them? Of course not. Because once you realize you don't always need a recipe, you'll make your favorite dishes a lot more often.
Today: Melina Hammer from Licking the Plate shows us how to make cheese straws worthy of the title "The Ultimate Finger Food."
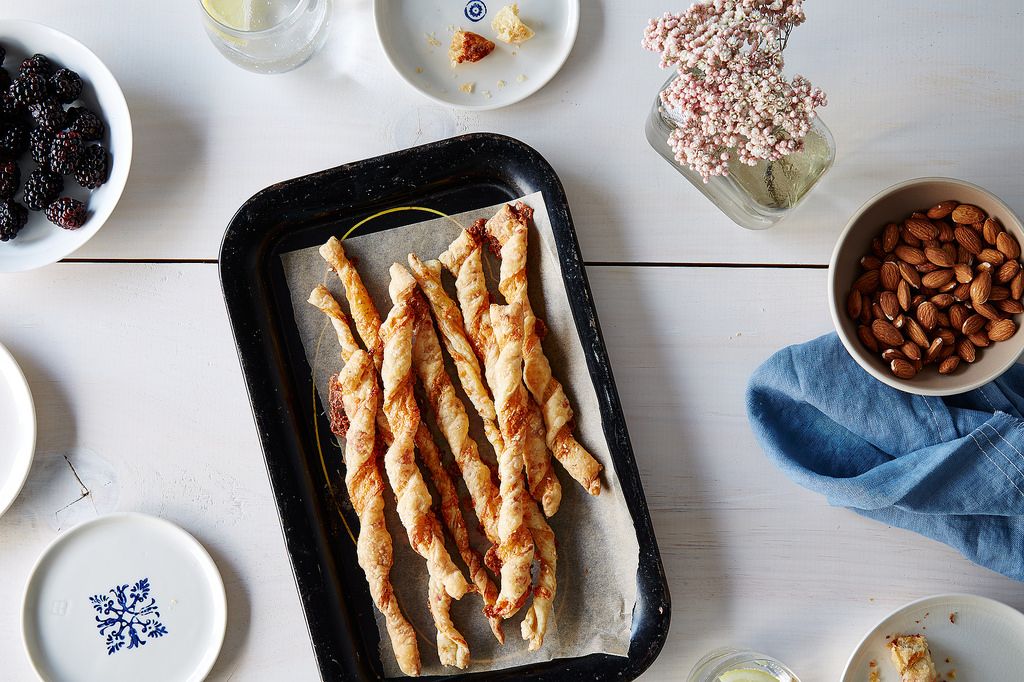
First, a disclosure: Being ignorant to the fact that cheese straws are originally Southern (by way of England!), I made my own version. These crispy and flaky hors d'oeuvres are not only easy to put together, but they'll also earn you the admiration of your guests.
Cheese straws are a lovely marriage of snacks of two opposing varieties: the most sophisticated—puff pastry (fancy, right?)—and the most casual—cheese. At their best, they are the ideal buttery, crunchy accompaniment to a cocktail. Yet when cheese straws are not done justice, they can be a soggy and flavorless disappointment. Luckily, you only have to remember a few key principles to make praise-worthy, cocktail party-ready cheese straws: Use good ingredients; finely shred your own cheese; and chill the dough.
The last point is perhaps the most important: As you season, fold, and twist, the dough can become flabby, and that makes it a lot harder to work with it without distortion. I recommend working the dough on a lightly floured sheet of parchment paper. That way, you’ll be able to easily slide it onto a baking sheet and into the refrigerator at any point in the process. Give it 10 to 20 minutes to chill; then, you can return where you left off without pleading for it to cooperate.
With those tips in mind, you're ready to make cheese straws:
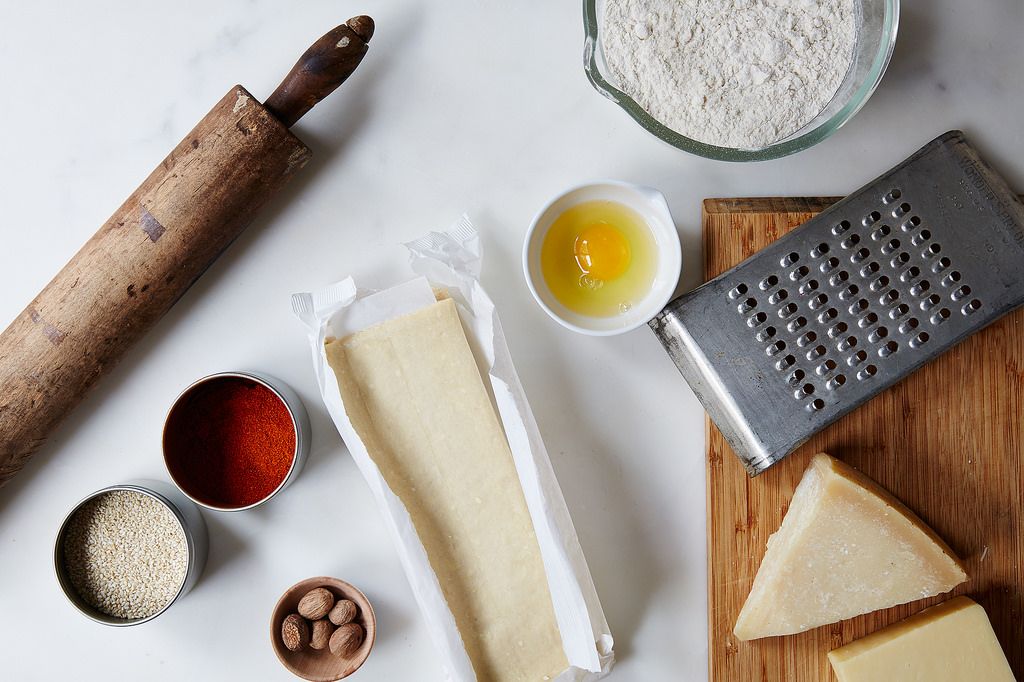
1. Gather your tools and ingredients. Happily, only a few tools are required, which means just about anyone can make these. You’ll need a rolling pin (a wine bottle works fine, too), a cheese grater or Microplane, two baking sheets, parchment paper, and a sharp knife.
It's important to use high-quality ingredients: Choose a good store-bought puff pastry (unless you’re in to making your own). I always have a box of Dufour in my freezer for occasions just like this. There are cheese straw recipes that use all-purpose flour instead of puff pastry, which I'm sure are delicious, but when I have good puff pastry, that's what I go with.
Pick up a wedge of Parmigiano-Reggiano: It is a good foundation for the various other flavors you may choose to add into the mix (though cheddar is a perfectly good cheese to use, too). You'll also need spices to flavor the cheese straws, as well as an egg, which you'll brush over the pastry for sheen and crunch.
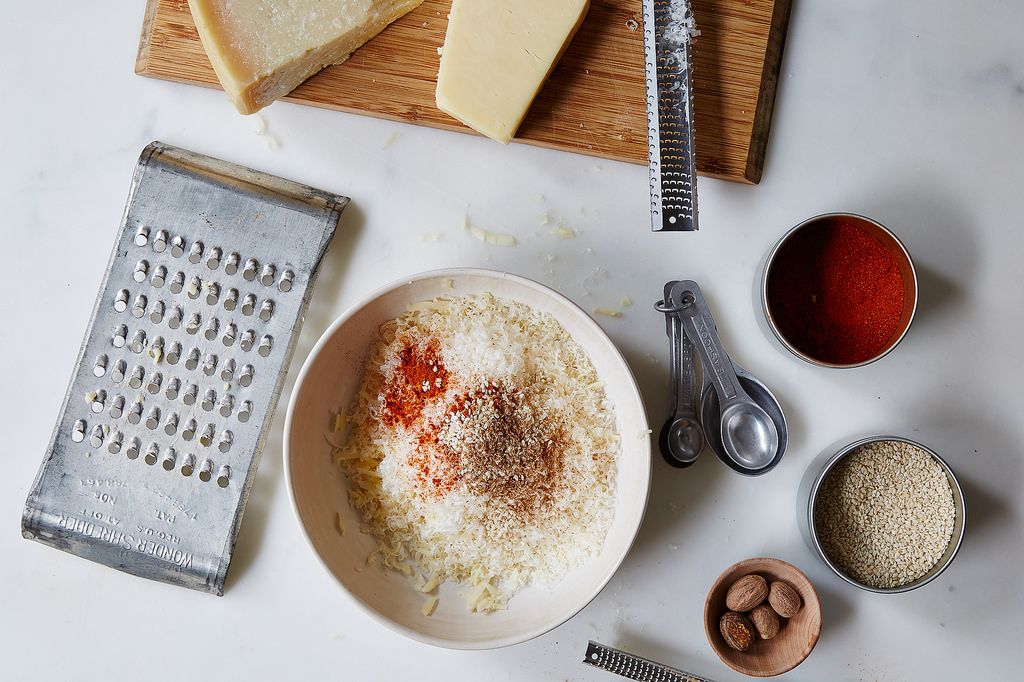
2. Finely grate your cheese, then season it as you like. Use a Microplane or box grater to shred a large pile of cheese (here, I used cheddar and Parmigiano-Reggiano); with just a little elbow grease, you'll have soft, lace-like cheese to sprinkle all over the puff pastry.
Then mix the cheese with the seasonings of your choice. When it comes to spices and mix-ins, the sky’s the limit: My favorite combination is freshly grated nutmeg, cayenne, and freshly cracked pepper. I find that it's just the right amount of surprisingly delicious flavor.
Of course, I encourage you to do mix it up with sesame seeds, poppy, or caraway seeds, smoked paprika, sea salt, and/or dried or fresh rosemary. Keep the big picture in mind when you’re choosing flavors: You might want to amp up your finished cheese straws with a dipping sauce, like harissa-mayonnaise or a lemony herb-yogurt sauce.
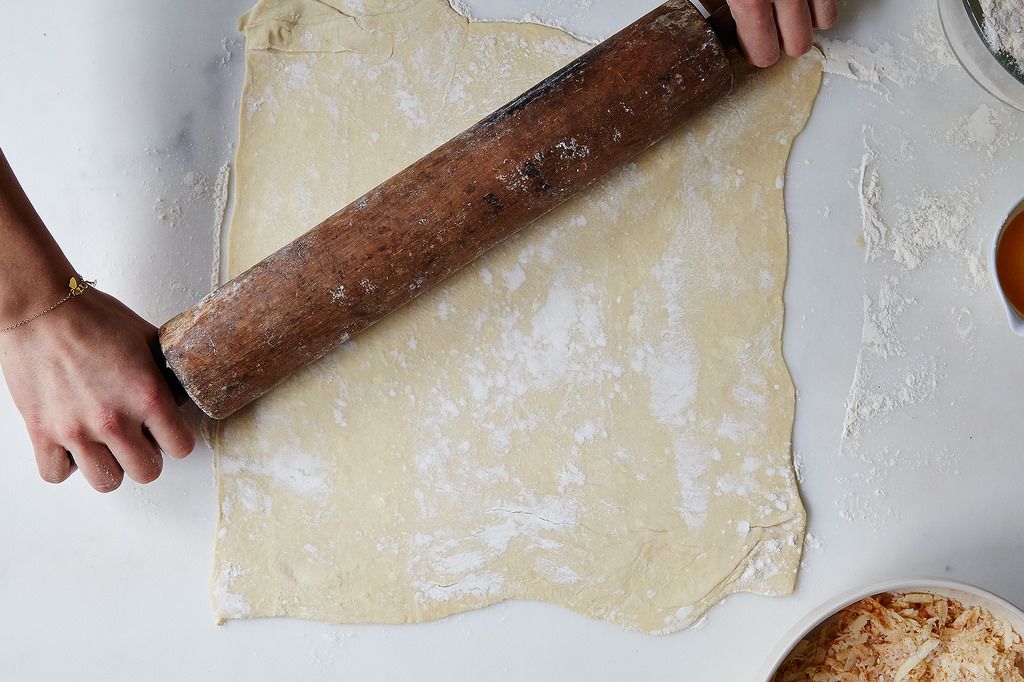
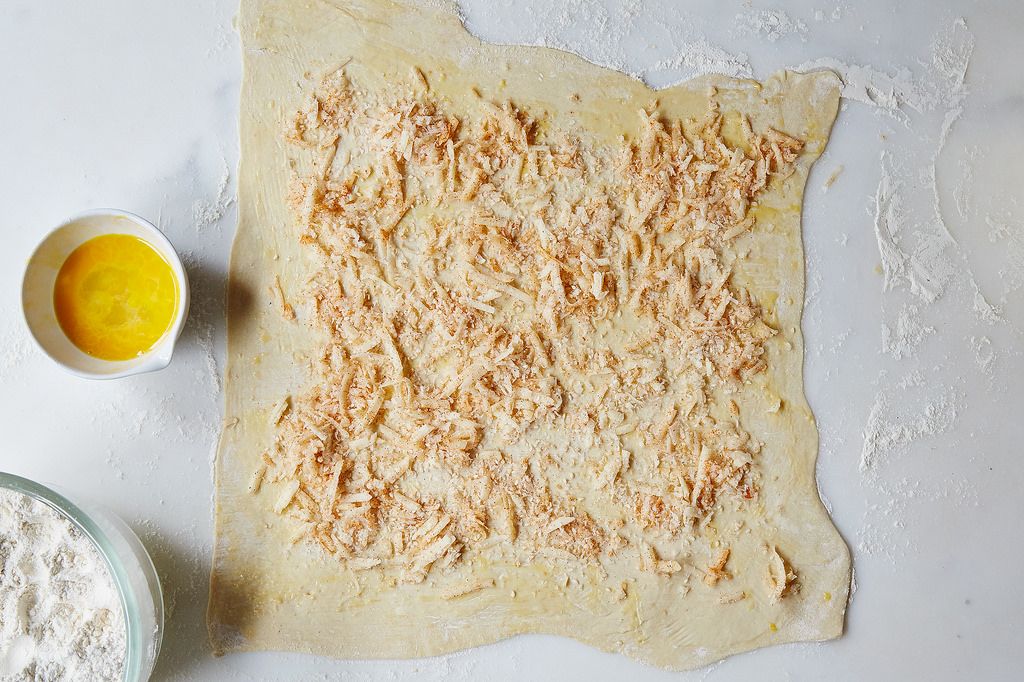
3. Roll and sprinkle. On a lightly floured surface, roll out the puff pastry to a rectangle about 1/8-inch thick. Dust any excess flour off the pastry, then paint the surface with egg wash.
Sprinkle two-thirds of the cheese mixture onto the bottom half of the pastry.
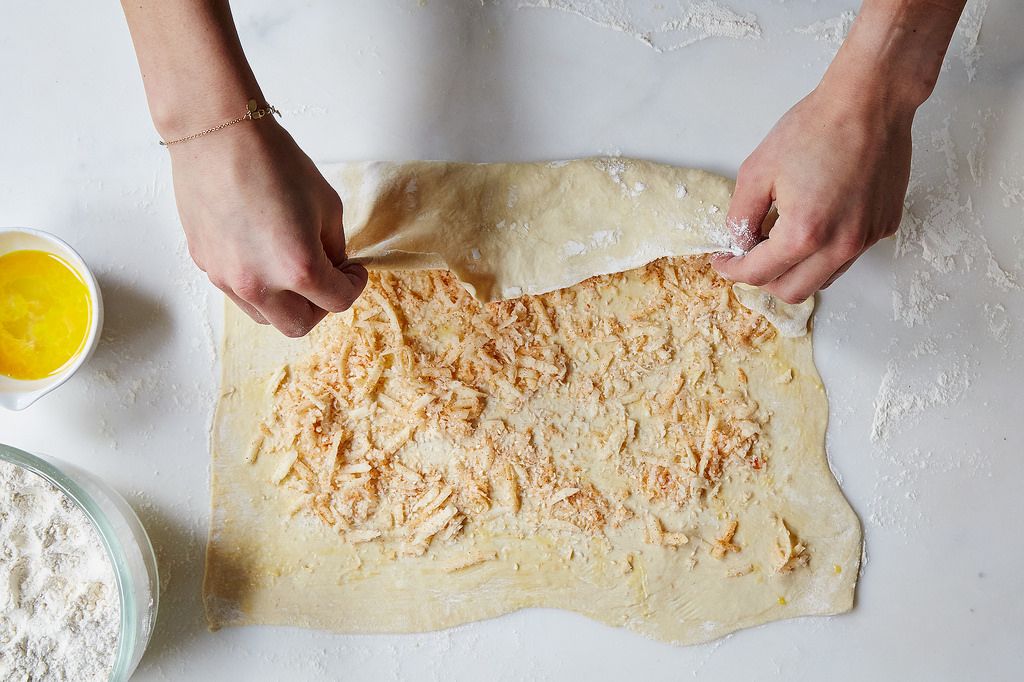
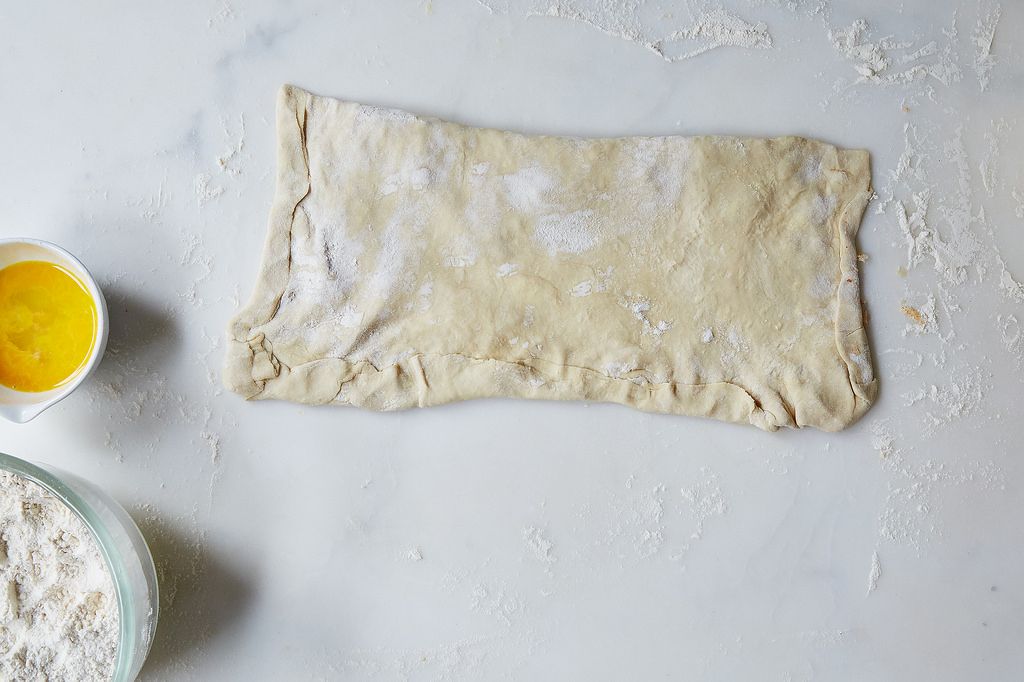
4. Seal and refrigerate. Fold the top half of the puff pastry over the cheese and press gently with the flat of your hands to seal the entire surface. Transfer to a parchment-lined rimmed baking sheet and refrigerate for 20 minutes.
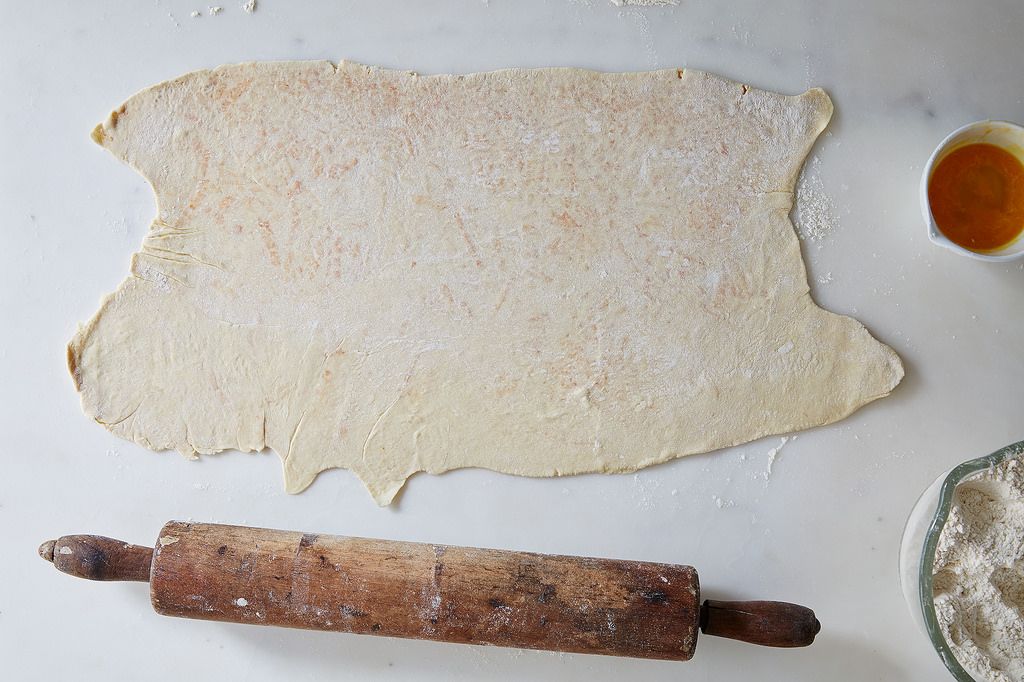
5. Roll dough to 1/8-inch thick, again into a long-ish rectangle.
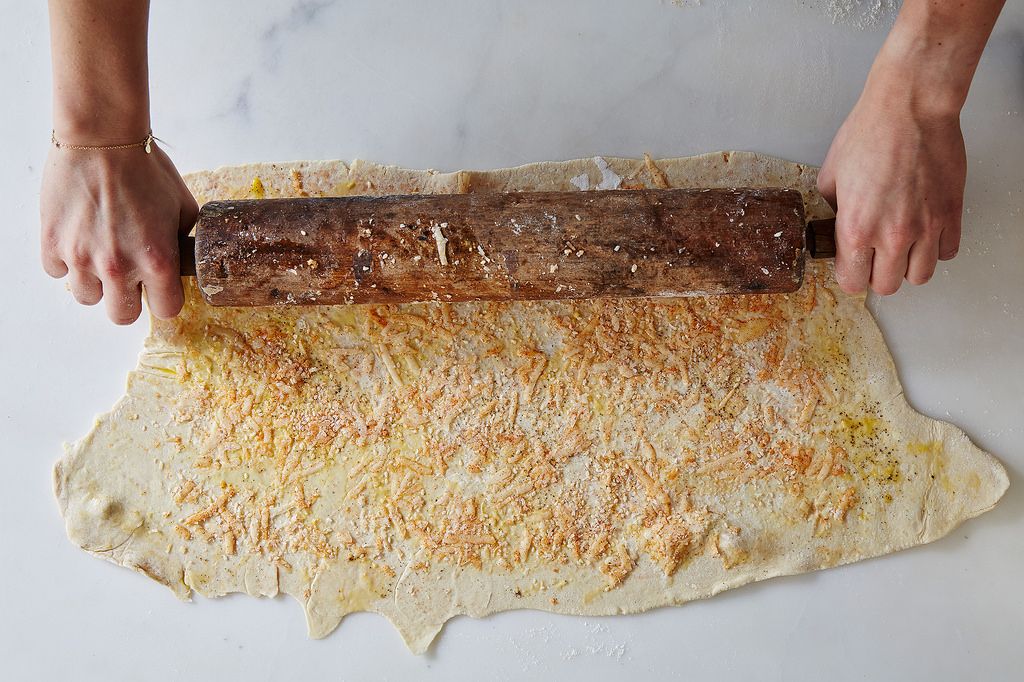
6. Sprinkle and press. Brush pastry with the egg wash and sprinkle remaining cheese on top. Add freshly cracked pepper and sea salt to taste. Gently and evenly press the rolling pin along dough to push in the toppings.
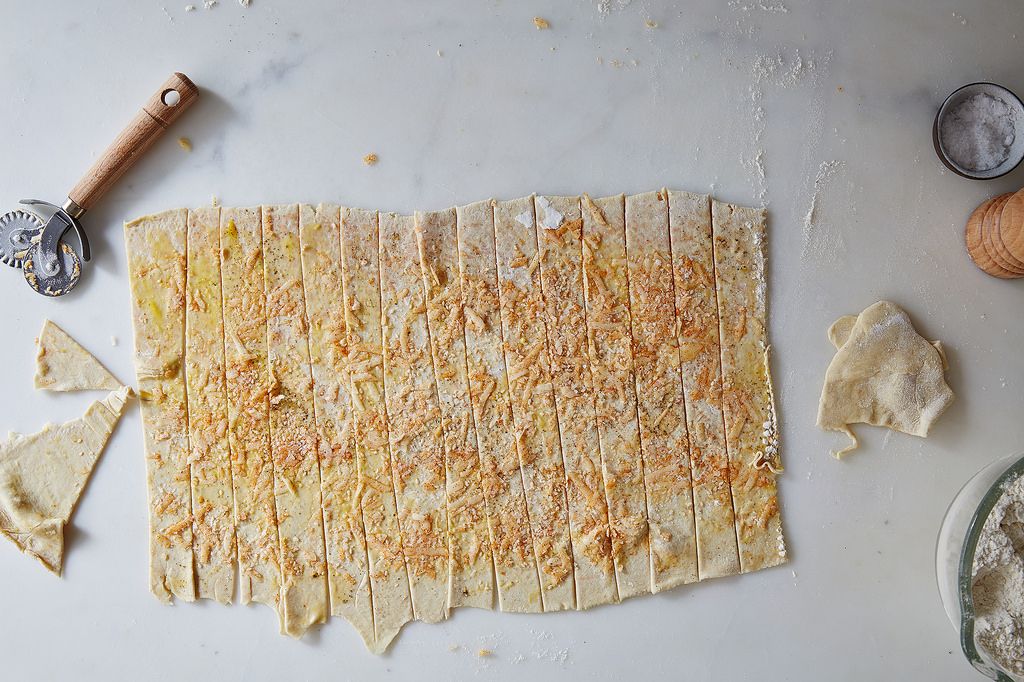
7. Slice into strips. Use a sharp knife to cut the dough into 1/2 inch-wide strips. Transfer to a parchment-lined baking sheet and chill the dough for 10 to 20 minutes so that you'll be able to cut and twist it easily.
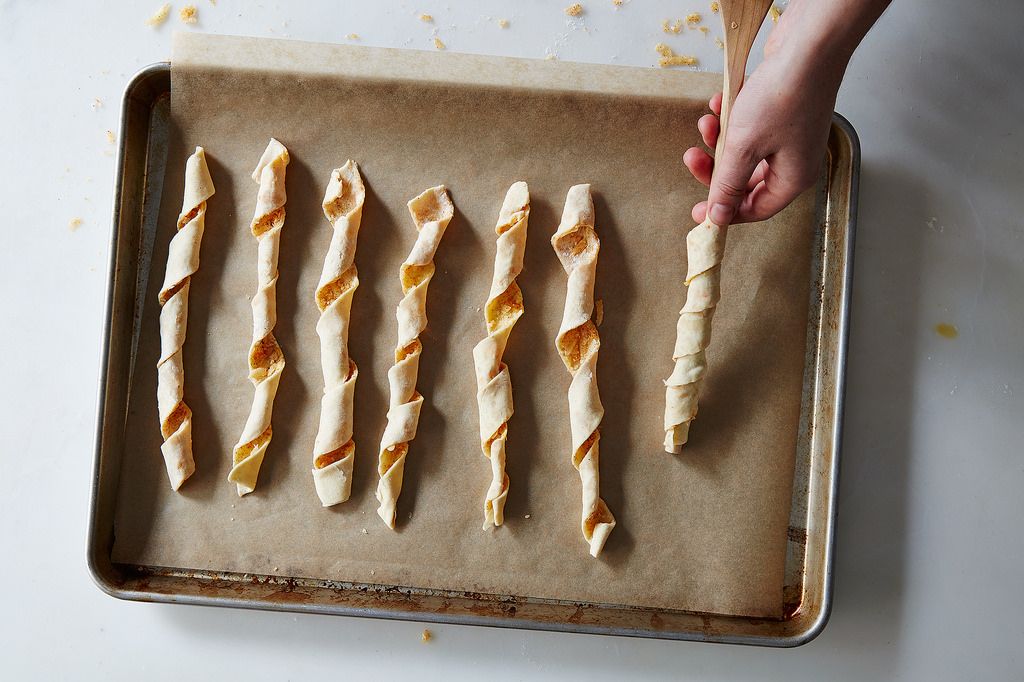
8. Twist each strip, holding both ends, into spirals. If that seems like a technical challenge (or if you're a perfectionist), you can also use the stem of a wooden spoon to form the shapes: Simply wrap each strip of dough tightly but gently around the handle—cheese side facing in—then use your thumb to slide it onto the baking sheet.
Repeat with remaining strips, spacing them a 1/2-inch apart on two parchment-lined baking sheets.
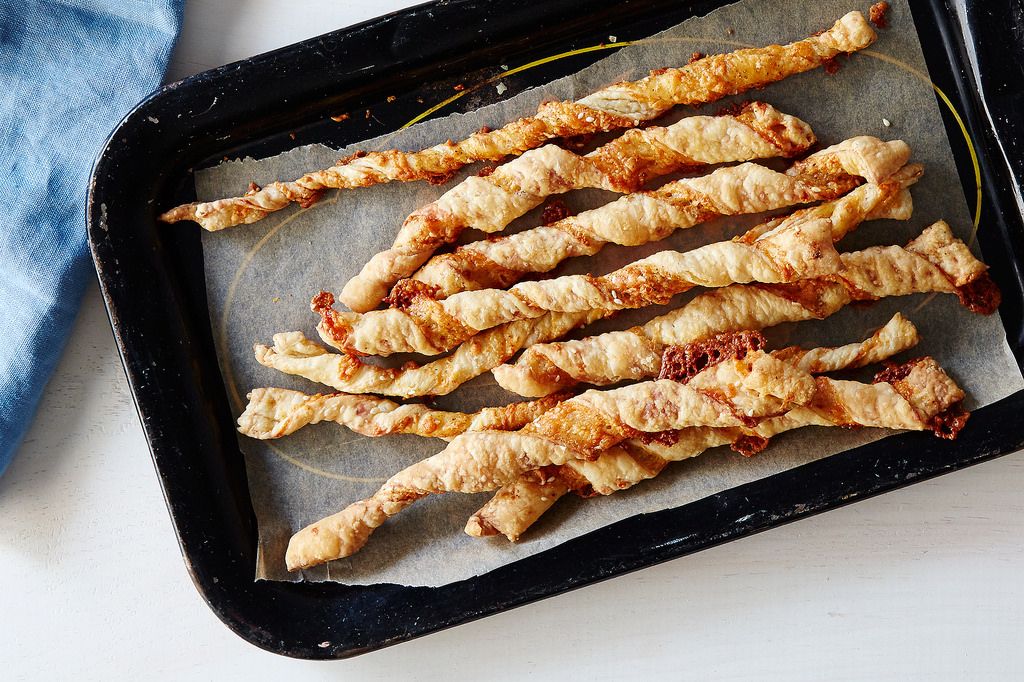
9. Bake. Preheat oven to 400° F. Chill cheese straws for at least 20 minutes before baking to ensure they keep their shape. Bake for 12 to 15 minutes, or until golden, rotating trays halfway through. Cool fully on wire racks and serve with apéritifs.
Cheese straws may be stored for one week in an airtight container at room temperature.
Photos by Bobbi Lin
See what other Food52 readers are saying.