We're teaming up with Squarespace for a week of inventive DIY centerpieces, from classics with a twist to totally wild takes. We invited a few of our favorite designers and stylists to participate, so join us as they share their tips and tricks—and scroll down for a code to get 10% off a yearlong subscription to Squarespace.
Today: La Fête's Allison Baddley shows us how to make kokedama, or Japanese moss balls, to rest on your table or suspend from the ceiling. Allison uses Squarespace—check out her site here.
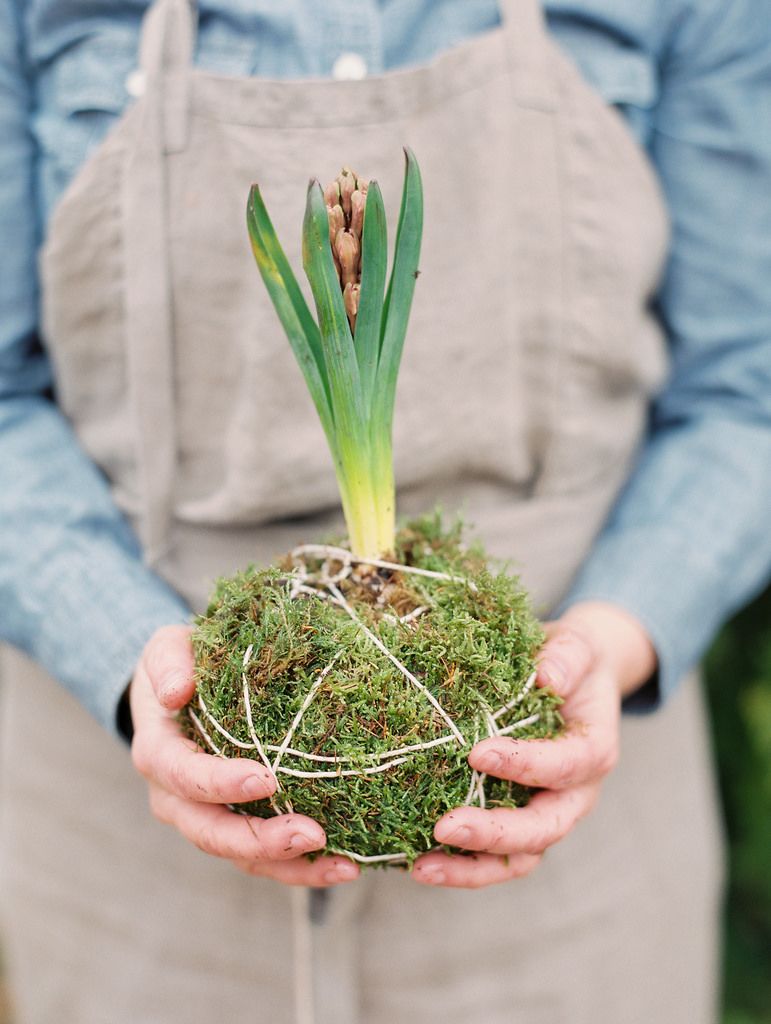
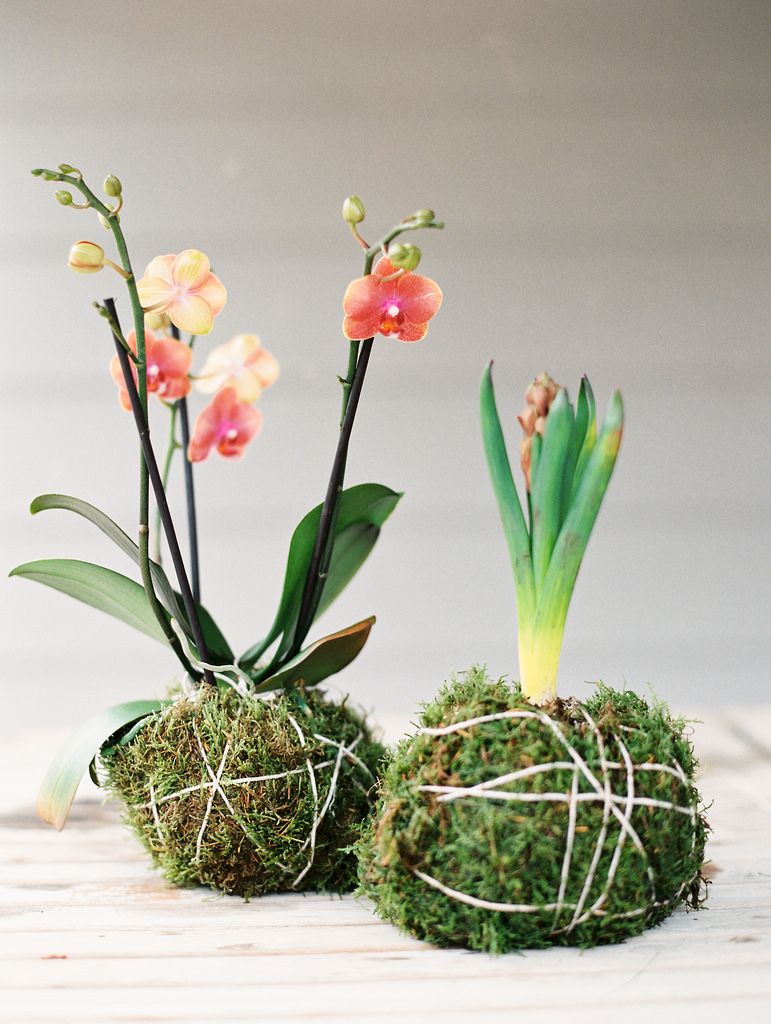
You know it's really spring when flowers pop up everywhere—thanks, April showers!—and we're all in favor of throwing together easy arrangements whenever you can scoop up a bunch. But say you're looking for a more inventive centerpiece, one that won't take all day to create. Enter kokedama, a Japanese moss ball made with soil and twine. Allison's tutorial proves they're much easier to make than expected, to be hung from the rafters or rested on the table.
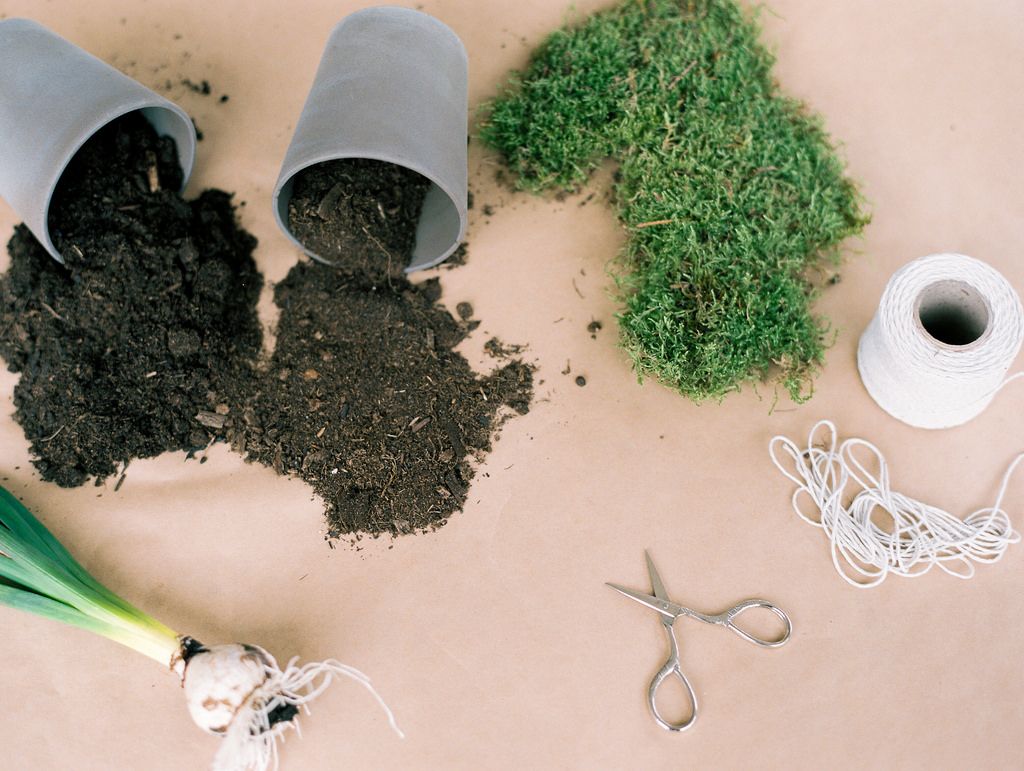
What You'll Need:
1 piece of sheet moss, approximately a 12-inch square
2 to 3 cups soil mixture, about 60% peat soil and 40% clay or garden soil
Water
Spring bulb, orchid, succulent, or fern (or experiment with different plants)
String or twine
Scissors
How to Make a Japanese Moss Ball:
1. Decide how large you want your kokemenda to be based on the size of the roots of your plant; the diameter of your moss ball should be about twice the size of your bulb. Cut string or twine long enough to wrap around the kokedama ball at least 20 times, with plenty of extra if you're going to hang them—err on the side of too much, so you don't come up short!
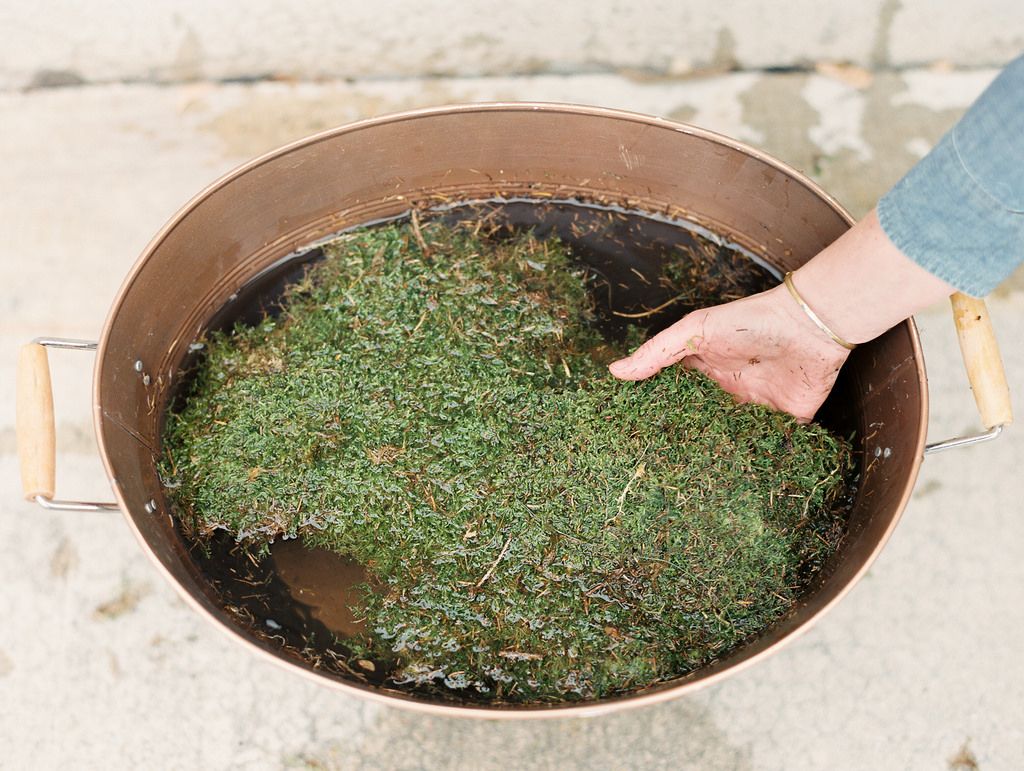
2. Soak the sheet moss in a bucket of water until fully saturated.
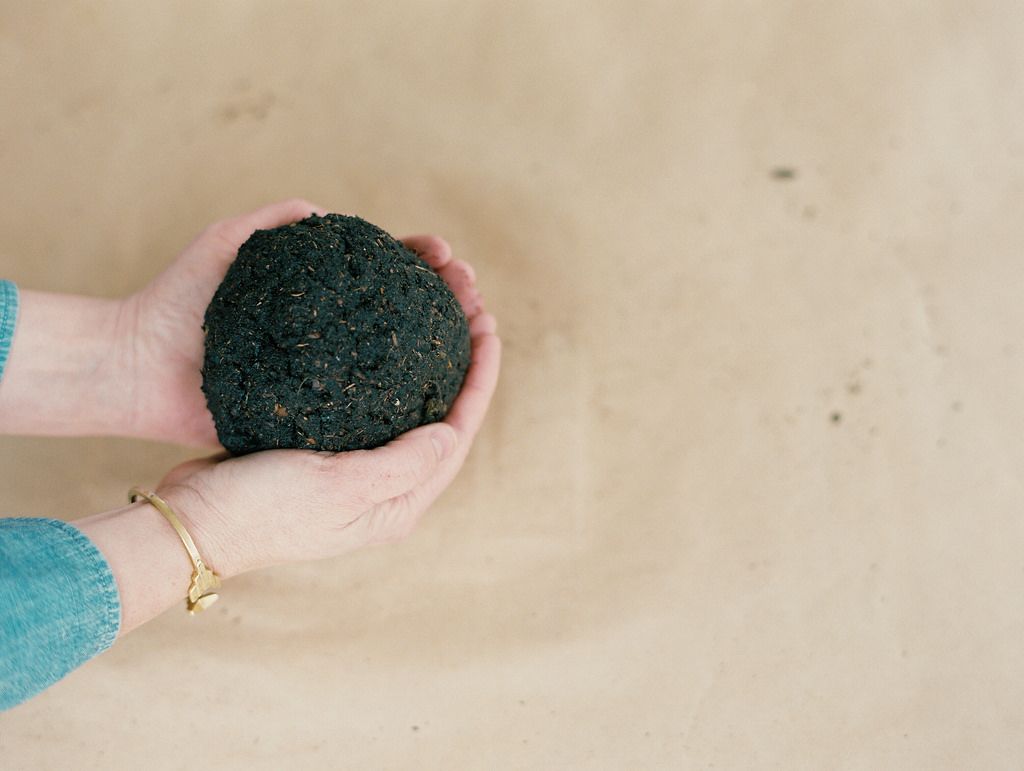
3. Add a small amount of water to soil mixture so that it clumps together when pressed, and form the soil mixture into a ball.
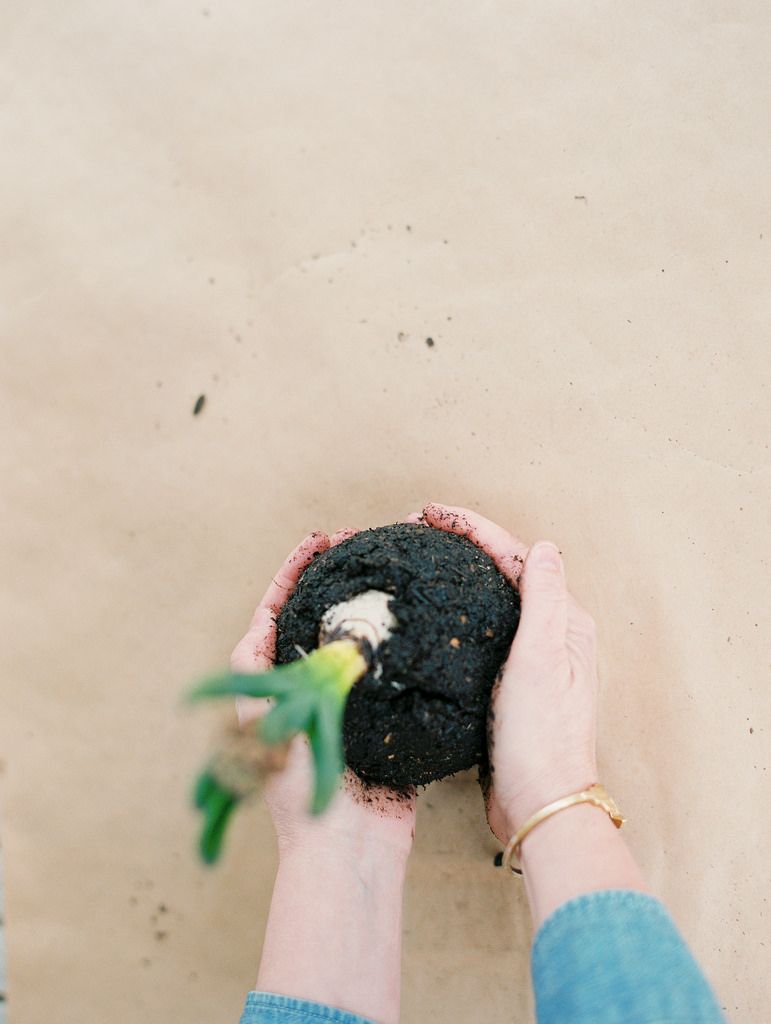
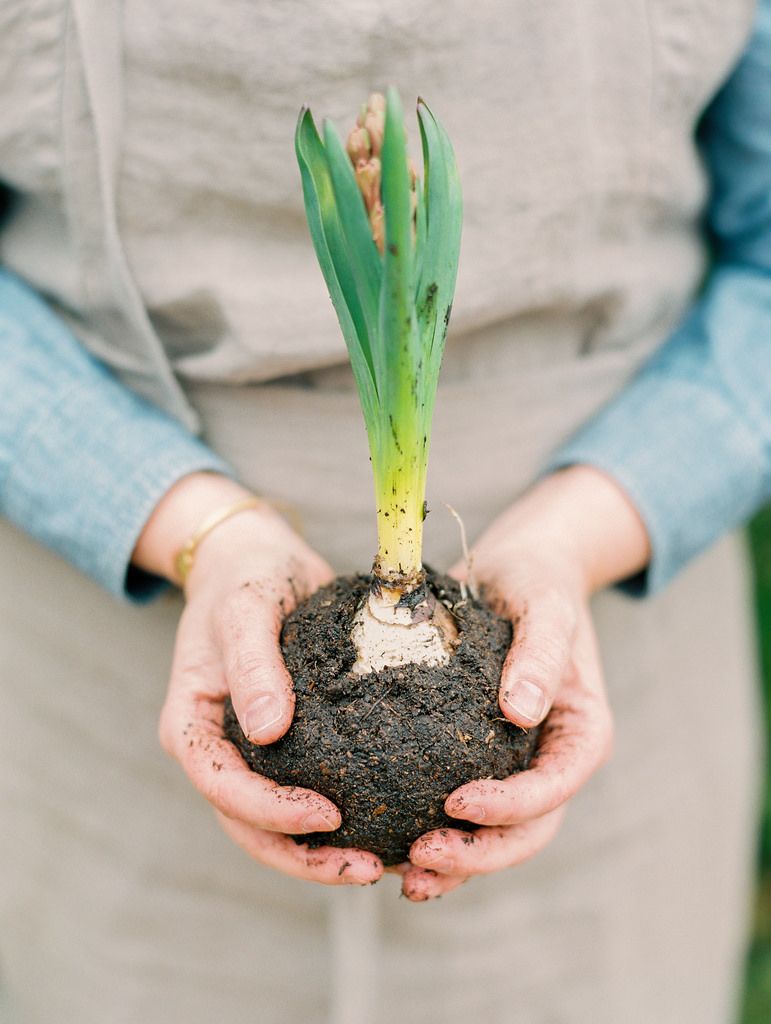
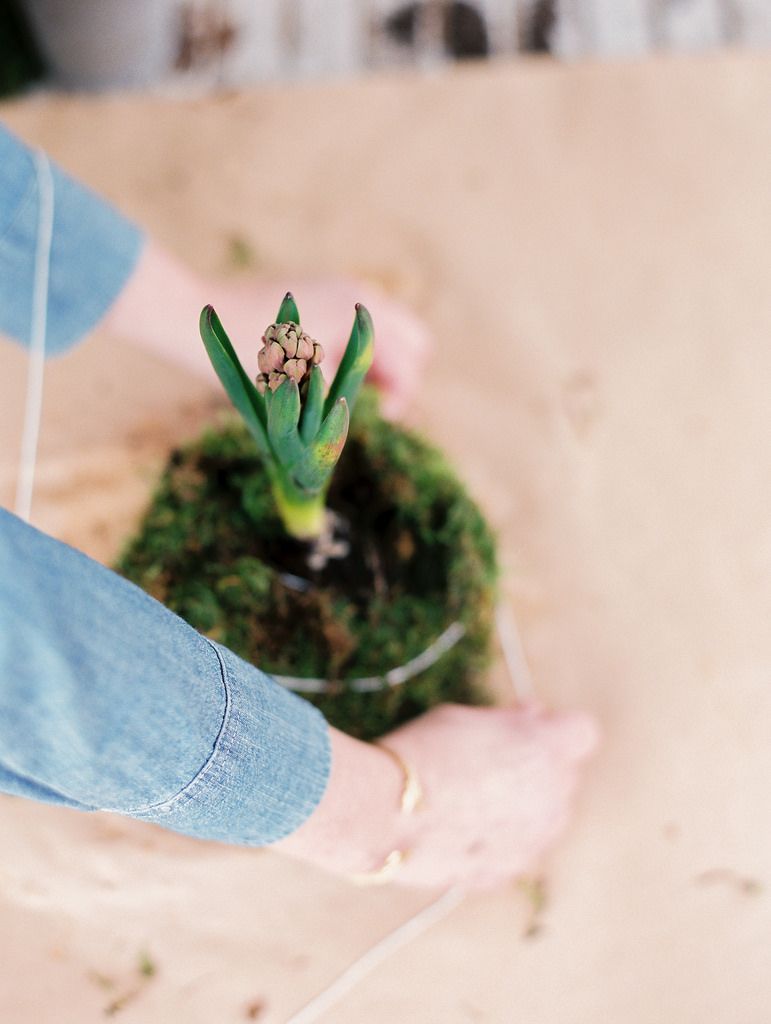
4. Form a hole in the middle of the ball with your fingers. Place the plant in the hole, and pack the soil around its roots until it's secure.
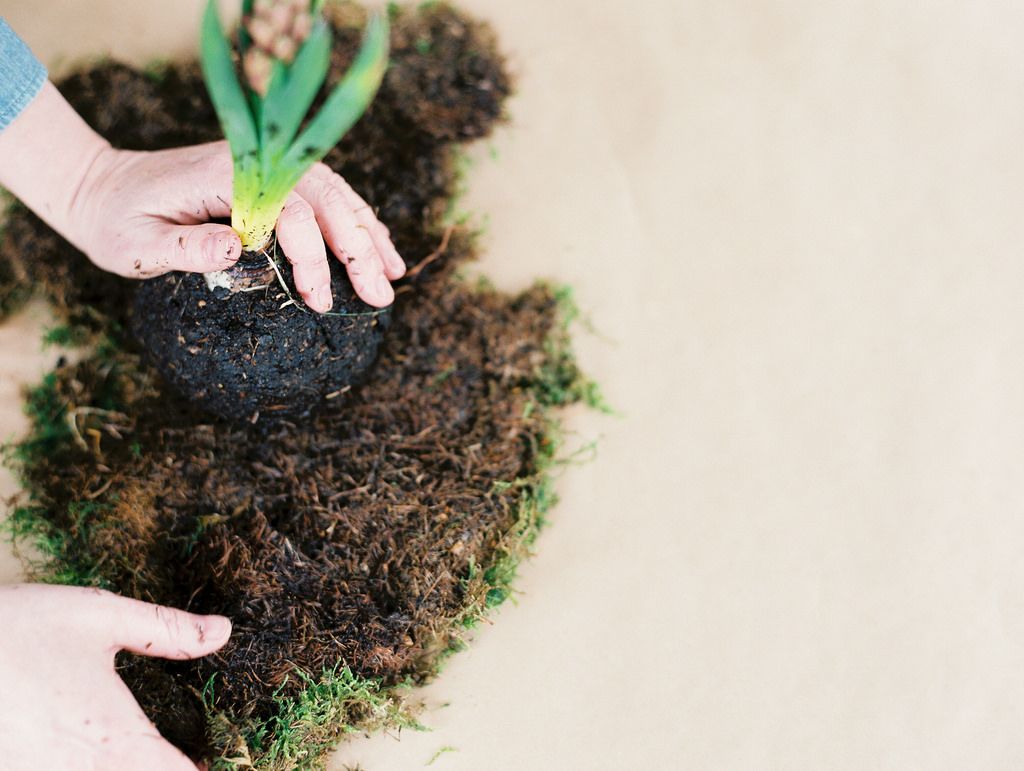
5. Carefully wring excess water out of sheet moss, and wrap it around the soil ball. This layer does triple duty of sealing in moisture, keeping the soil together, and looking pretty!
6. To wrap the ball with string, start at the middle of the length of string, and wrap with both sides of string until all sides are secure. Don't worry too much about keeping it orderly—the idea is to criss cross the string in all directions!
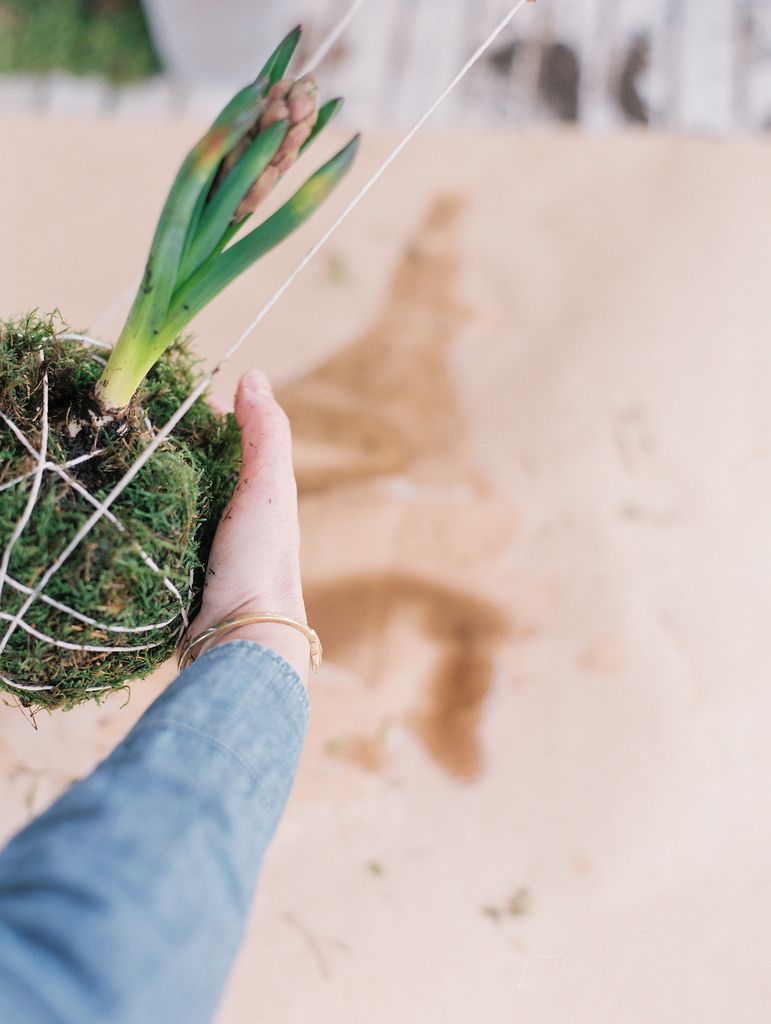
7. Secure with a square knot at the top of the plant, and you're ready to decorate or hang just as you would with a planter. Don't forget to water your kokedama in accordance with plant directions, but use caution not to let them get too damp!

Photographs by Lindsey Stewart
This article was brought to you by Squarespace. Use code FOOD52 to get 10% off a yearlong subscription to Squarespace.
See what other Food52 readers are saying.