We should all have a solid command of the ABCs of baking. Thankfully, Food52's Test Kitchen Manager Erin McDowell is here, with tips and tricks to help you master the most essential desserts and the simplest breads.
Today: Let biscotti be your new favorite cookie to have on hand for all occasions.
Biscotti (a.k.a. your coffee’s best friend) is a classic cookie worth having in your repertoire. For one, the dough is super easy to make—some recipes don’t even require the use of a mixer. And whatever recipe you choose, all biscotti are beyond flexible when it comes to flavor (many of my favorite suggestions to follow). Best of all, it has a longer shelf life than the average cookie. Most cookies get stale, but biscotti are technically stale (or at least, low in moisture) to begin with.
But since there aren’t too many things in the baking world that require two turns in the oven, it’s worth breaking down the process so your biscotti turn out excellent every time:
- Mixing
- Shaping the Log
- The First Bake
- Cool it Down, Then Slice it Up
- The Second Bake
- Flavoring, Finishing, and Garnishing
- Storing
- The Recipe!
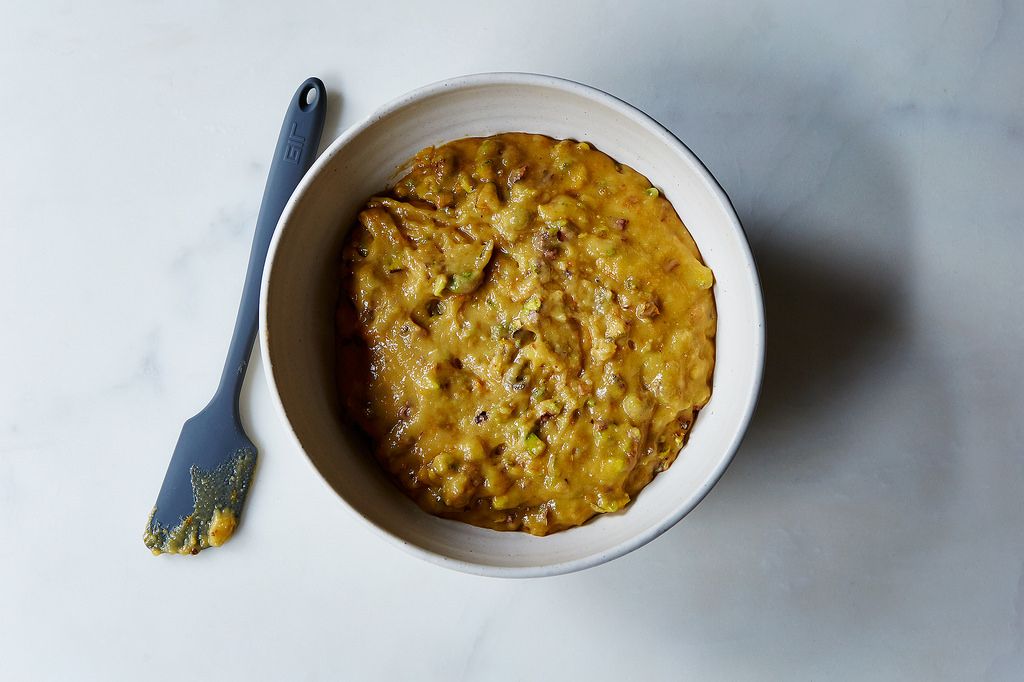
1. Mixing
Biscotti recipes can vary pretty drastically in their mixing methods (which goes against my love of consistency). Most recipes use an abbreviated version of the foaming method, wherein the eggs are whipped and then the remaining ingredients are added in stages. When I say an "abbreviated version" of this method, I mean that traditionally during the foaming method, eggs (either whole or separated) are whipped to a very pale, highly aerated foam. When making biscotti, on the other hand, the eggs are only lightly whipped, creating some aeration for the base of the dough but not to the level of, say, a sponge cake, which actually needs a high level of aeration for structure. After the eggs are whipped (usually with the sugar), the flour, leaveners, fat, and other flavoring ingredients are added in to the mix.
It should be noted that there are some biscotti recipes that use the creaming method; this method produces a different texture, but it boasts essentially the same characteristics. The fat is creamed together with the sugar, creating a small amount of aeration that serves as the base of the dough. I prefer the foaming method mostly for its ease, but I also find that it produces the texture of biscotti I most enjoy: dry and crisp, but not tooth-shatteringly so.
Just as with other cookie recipes, it’s important not to overmix, which can yield an overly tough end product. For this reason, I often add flavoring ingredients like citrus zest, liqueurs, and extracts to the eggs during mixing. Most recipes don’t specifically call for this, but I find that it is the best way to achieve maximum flavor without fear of overmixing, which is a concern once the flour is added. This is especially true for zests, which release more of their essential oils during mixing. Other additions like nuts, seeds, and spices can be added along with or after the flour.
Note: Some recipes call for nuts, seeds, or whole spices to be toasted before being added to the dough.While this is a preference, I have found that between the two baking cycles, these items get plenty toasty; in fact, on occasions when I’ve toasted nuts ahead of time, they've become too dark by the end of the second bake. I prefer to save time and skip the toasting, as these items will toast during baking anyway.
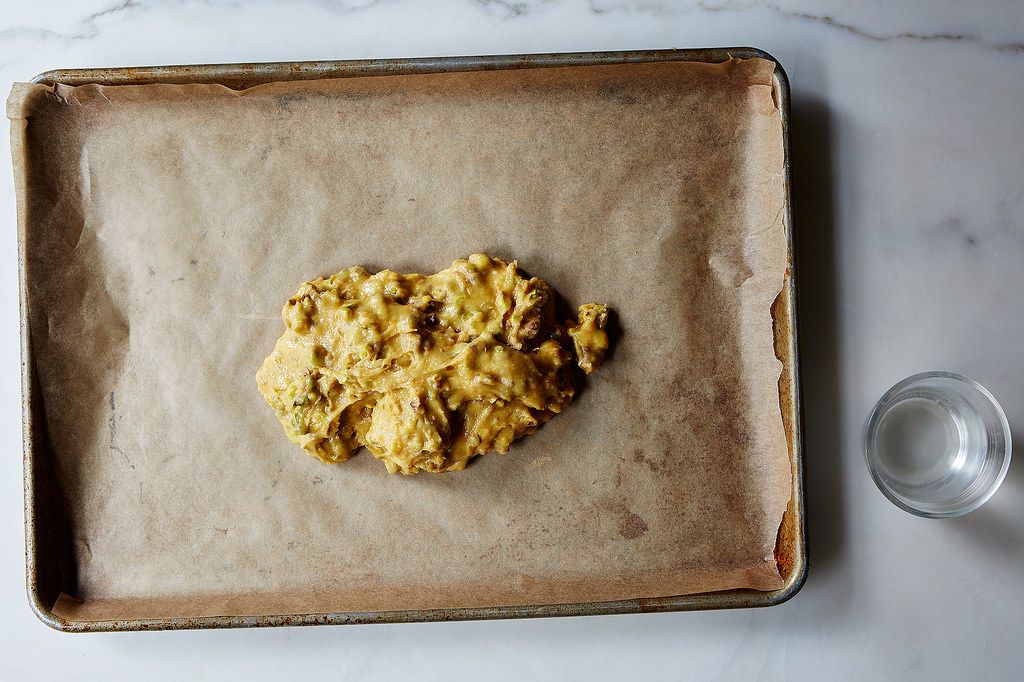
2. Shaping the Log
Once you have the dough, you’re ready for your first round in the oven. Biscotti is baked first in a log, then sliced into individual cookies and baked again.
Line a baking sheet with parchment. Most recipes make enough dough that you’ll want to form the dough into two or more logs. Remember, the dough contains leaveners and will expand both outwards and upwards. You want to avoid making your log too large, unless you’re going for monster biscotti. When I make biscotti, I aim to make a log about 2 inches wide, which will yield relatively big biscotti. For miniature biscotti, 1-inch wide would suffice. Again, you can wing it here to make the size you like best. Just remember, baking times will vary if you skew too far from the recipe’s guidelines.
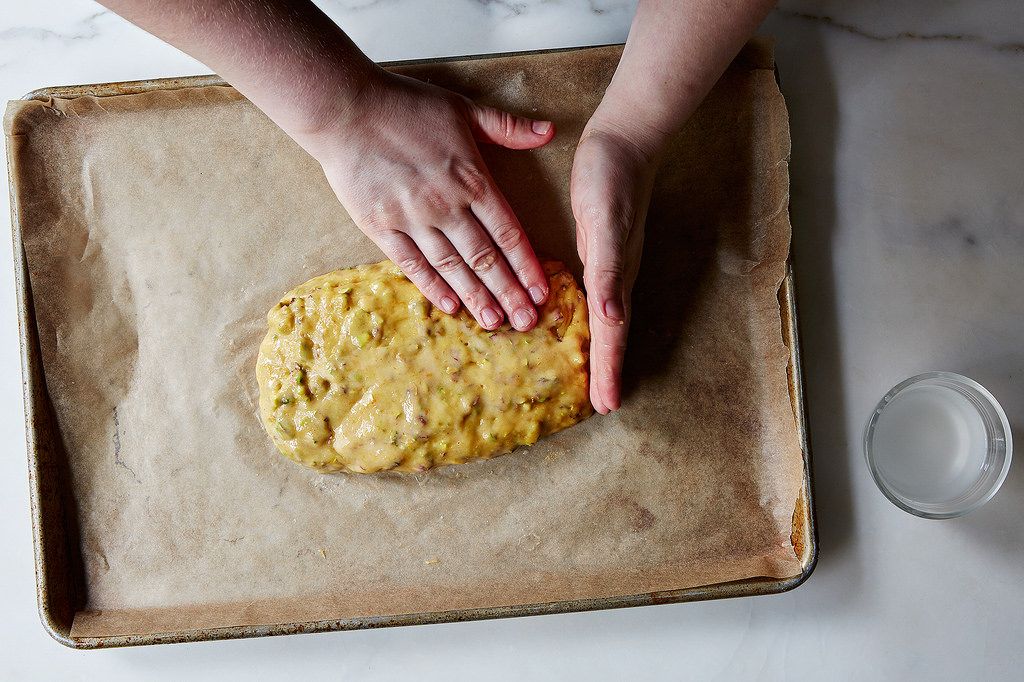
Biscotti dough can be relatively sticky due to the high ratio of egg to flour, so I like to wet my hands slightly before forming the logs. You can also spray your hands with nonstick spray. Some recipes suggest coating your hands in flour, but I prefer the previous options because they won’t leave an unpleasant dusting on the outside of the log (this extra flour generally won’t go away during baking). I also use dampened hands to smooth out the top of the log to make sure I’ll have a nice surface for slicing.
3. The First Bake
The first round of baking is a lot like baking a cake. Bake until the log is lightly golden evenly across the surface and around the edges. When you gently press the top of the log, you should experience some give but the dough should spring back slightly when you release. The goal is to make sure the dough is fully baked-through but not to the point of crispness—if it's baked too much, it will be difficult to slice and may even crack when you try. Biscotti is meant to be crisp, but only after the second round of baking.
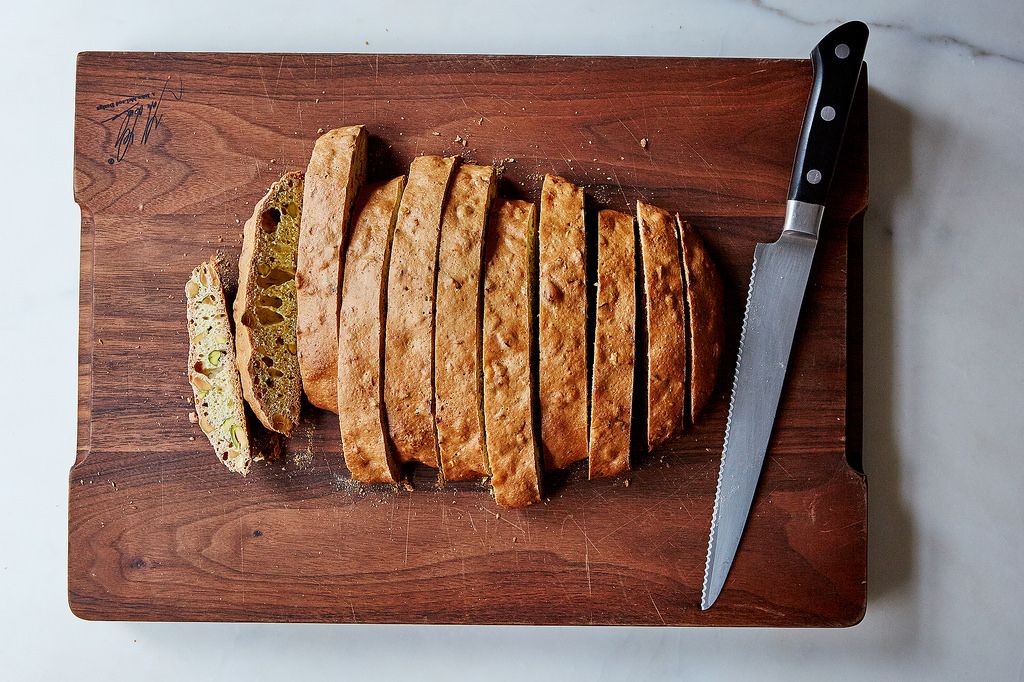
4. Cool it Down, Then Slice it Up
Before you slice it, wait until the log is cool enough to handle. I know it can be tempting with a project like this to rush it—but you may regret it if you do. If the log isn’t easy to handle, your slices are more likely to be uneven. Normally, I’m an advocate of the not-totally-perfect slice (after all, I do adore cutting the biggest slice of cake for those who request “only a tiny piece”), but when it comes to something going back in the oven, a little bit of precision is quite key.
Basically, if the biscotti are cut to the same thickness, they’ll bake evenly during the second round. If they are all different thicknesses, you’ll end up removing biscotti from the oven piece by piece as they crisp up, which is not ideal. So wait for the logs to cool down a bit (around 30 minutes usually does it for me), then slice with a sharp serrated knife. I typically slice biscotti about 1/2- to 3/4-inch thick. If you’re unsure about the slicing, use the first piece you cut as a guide for the others as you work your way across the log.
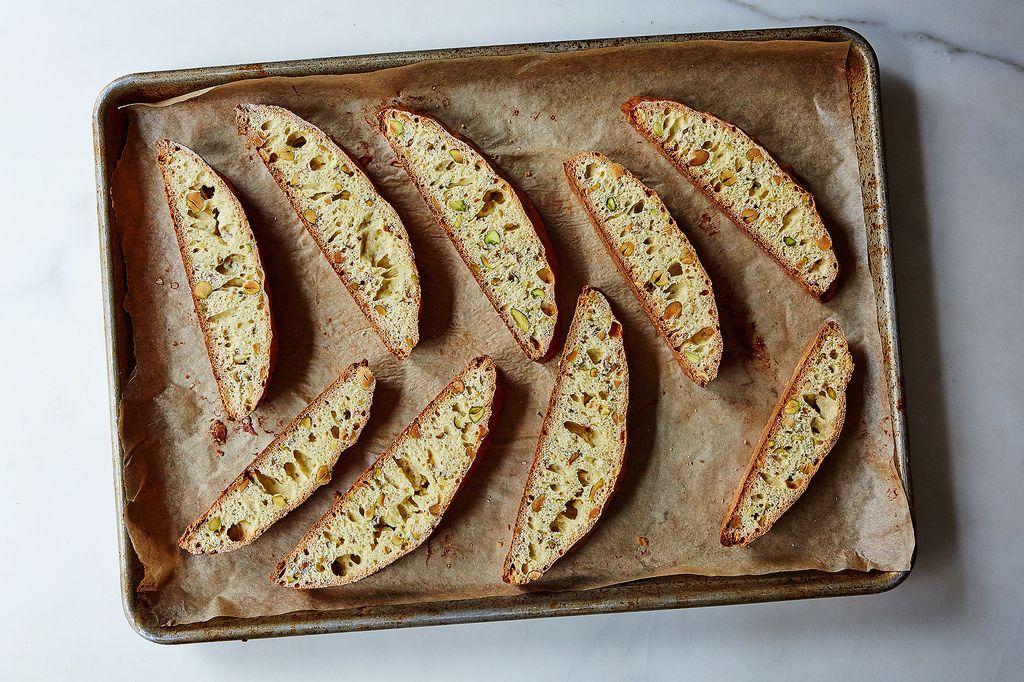
5. The Second Bake
The second bake is pretty simple: Lay the biscotti slices on the parchment-lined baking sheet, then bake the cookies until they are golden, very dry, and crisp. The main thing to be aware of here is your own oven—does it have hot spots or a tendency to scorch baked goods on the bottom rack? If so, play it safe and bake in batches. My oven is pretty good, but I often turn the biscotti over on the pan halfway through the second bake, just to make sure they’re not getting darker on the bottom than they are on the top. The better you know your own oven, the better your biscotti will be.
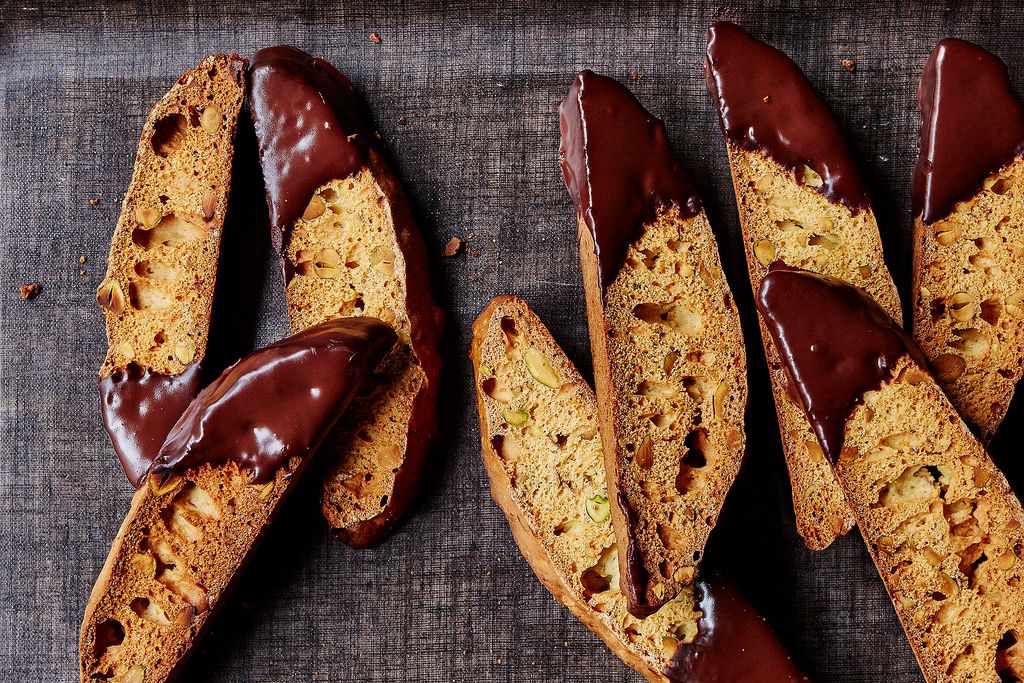
6. Flavoring, Finishing, and Garnishing
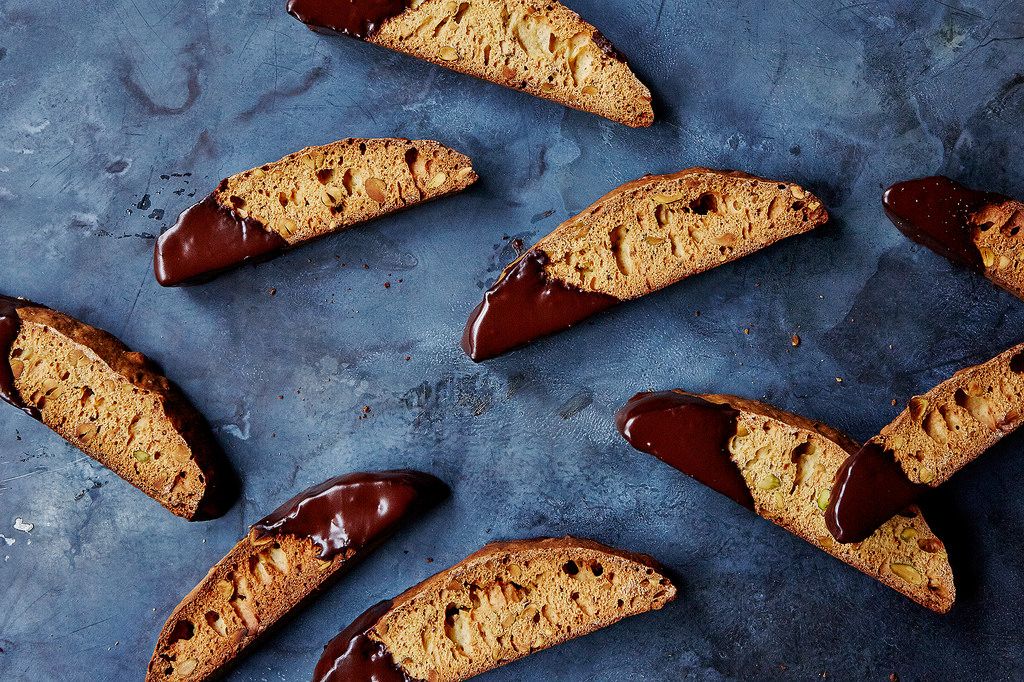
Finished biscotti can be dipped in or drizzled with chocolate (white, milk, or dark depending on the flavor of the cookie itself and your preferences). If you intend to store your biscotti for a long time, you should consider tempering the chocolate. If they will be eaten relatively quickly, you can also go the DIY Magic Shell-route by adding a little coconut oil to the melted chocolate, then letting the chocolate set in the refrigerator for a few minutes.
I like to dip my biscotti a third of the way in chocolate, but sometimes I also dip only the base or I drizzle the chocolate over the entire cookie so that there’s a little in every bite.
And while we’re talking about garnishes, let’s talk about all the different ways you can flavor biscotti: citrus zest, nuts, and warm spices are all very common. I also love adding seeds, chunks of chocolate, dried fruit, and/or instant coffee granules. Some of my favorite combinations include orange pistachio, chocolate cherry with cinnamon, caraway anise with almonds, and mocha (instant coffee granules and cocoa powder mixed into the batter). For the most part, you can just sub in your choices of inclusions for whatever is called for in an existing recipe (1 tablespoon of instant espresso powder instead of 1 tablespoon of citrus zest, 1 cup of dried cherries for 1 cup of whole nuts, etc.). To add cocoa powder to a recipe, subtract 1/4 to 1/3 cup of flour from the recipe and replace it with cocoa powder.
7. Storage
Biscotti are relatively free from moisture, so they keep well and are wonderful to have on hand. Cue the arrival of an unexpected guest: Oh what’s that? You have homemade biscotti in a cookie jar by your coffee maker? You sly dog, you. For best results, store biscotti in an airtight container in a cool, dark place. Undipped biscotti are likely to last longer—up to 2 1/2 weeks—but dipped biscotti will still last up to 1 week if stored properly.
Makes about 30 cookies
3 eggs
1 cup sugar
2 tablespoons orange zest
1/2 teaspoon vanilla extract
2 3/4 cups all-purpose flour
1 1/2 teaspoons baking powder
3/4 teaspoon kosher salt
1 1/4 cups whole shelled pistachios
Melted dark chocolate, for dipping (optional)
See the full recipe (and save and print it) here.
Photos by Bobbi Lin
See what other Food52 readers are saying.