Hannah Wilken works days on the marketing team at Food52 and nights writing the lifestyle blog Hannah Hart Beat. This summer she enlisted the help of the Food52 team when she decided to paint her kitchen.
Moving in New York is not easy and moving during the summer is even harder. How do I know? This past July I moved in with my boyfriend, Pedro, to his Brooklyn apartment. Pedro lives in a one bedroom with a sizable kitchen. The apartment isn't old, but a spruce up was in order and the first thing on my list was to paint his formerly pale pink kitchen in a classic, no-nonsense white. I've never painted a room before, so here's how I went about it:
Step One: Phone a Friend
Since I have never painted anything larger than my toe nails—and a spotty job on those at best—I took to the Food52 chatroom to ask the advice of my coworkers.
[10:32 AM] Crowdsourcing an apartment improvement question: I'm painting my kitchen this weekend, anyone have any tips for a first time wall painter?
What, these are the kinds of questions you ask your whole company? Lucky for me, the responses flooded in and I was able to get some helpful advice before I even took my first trip to Home Depot.
[10:33 AM] Lindsay-Jean Hard: use frog tape!
[10:33 AM] Alp Aker: don't skimp on prep (cleaning walls, priming, etc.)
[10:33 AM] Ryan Merrill: and good brushes
[10:33 AM] Leslie Stephens: don't get oil-based primer on your hands whatever you do
[10:33 AM] Kenzi Wilbur: definitely prime. don't even think for a second you won't get paint on yourself—no matter how careful you are, you will. so don't wear anything you love
[10:34 AM] Ryan Hamilton: loud music helps
[10:36 AM] Merrill Stubbs: Don't roll too fast! It's tempting, but resist the urge.
[10:38 AM] Leandra Levine: it's going to take 2 hours longer than you think!
[10:40 AM] Haley Sonneland: painting sounds terrifying
Yes, Haley. Yes it does.
What I learned is this: Even if you can't ask your whole office for advice, poll your friends for help and tips before you begin. Most people have painted a wall and will have advice to pass along—and they'll probably be happy just to revel in the fact that they're not the ones painting their own kitchens over again. You're welcome, Food52ers.
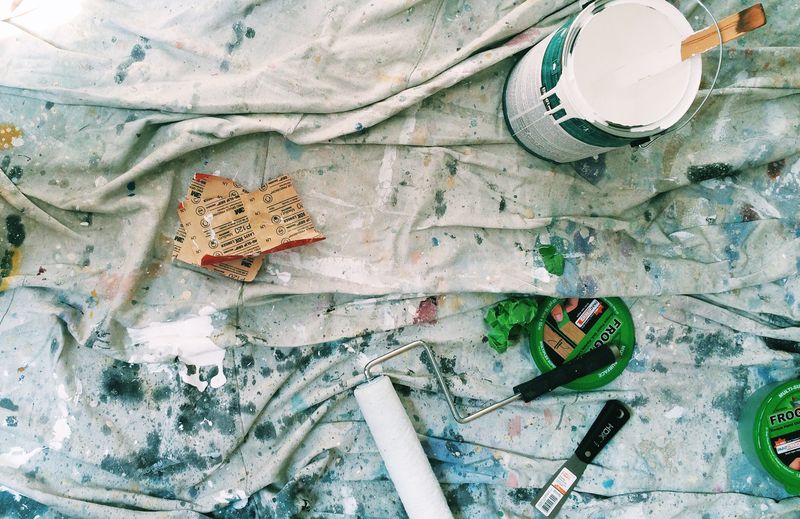
Step Two: Acquiring the tools
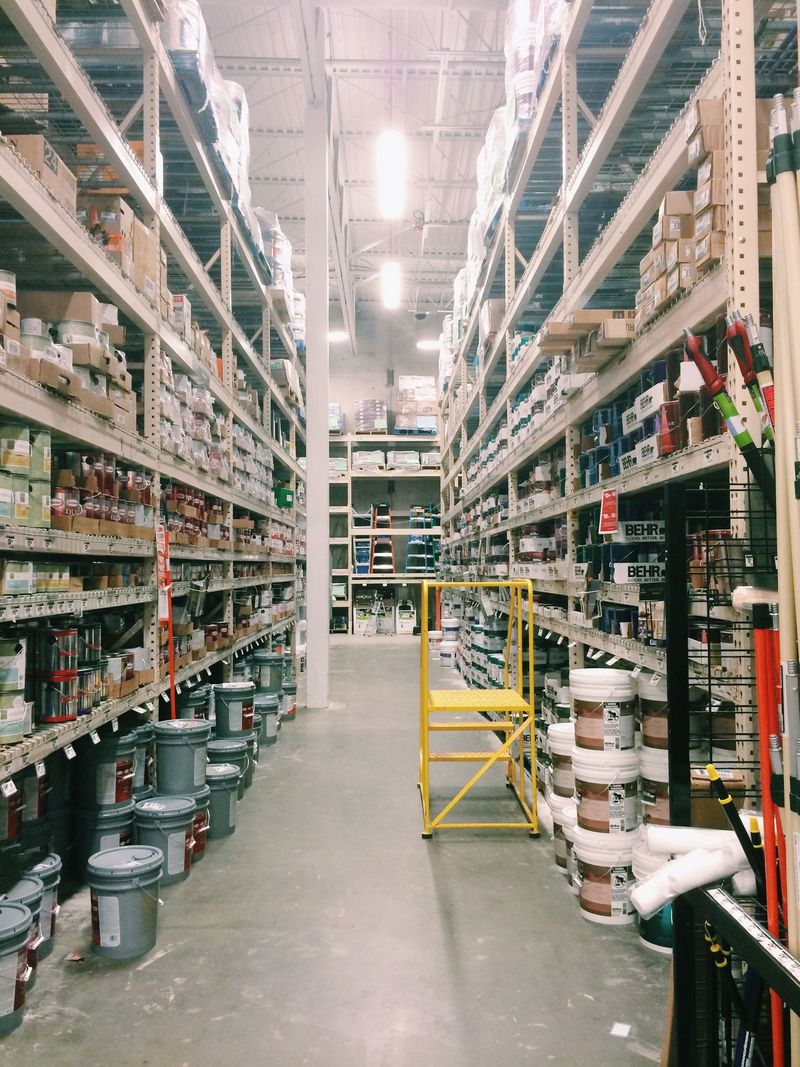
Taking the advice from the Food52 team, Pedro and I blocked off our entire Sunday for painting the kitchen. (Thank you, Leandra, for the heads up!) The first thing we did Sunday morning was hop into my car and drive to the closest Home Depot to stock up on the materials we would need. Our list was pretty small as my mom lent us a huge tarp that she uses in her painting studio. At the hardware store we picked up:
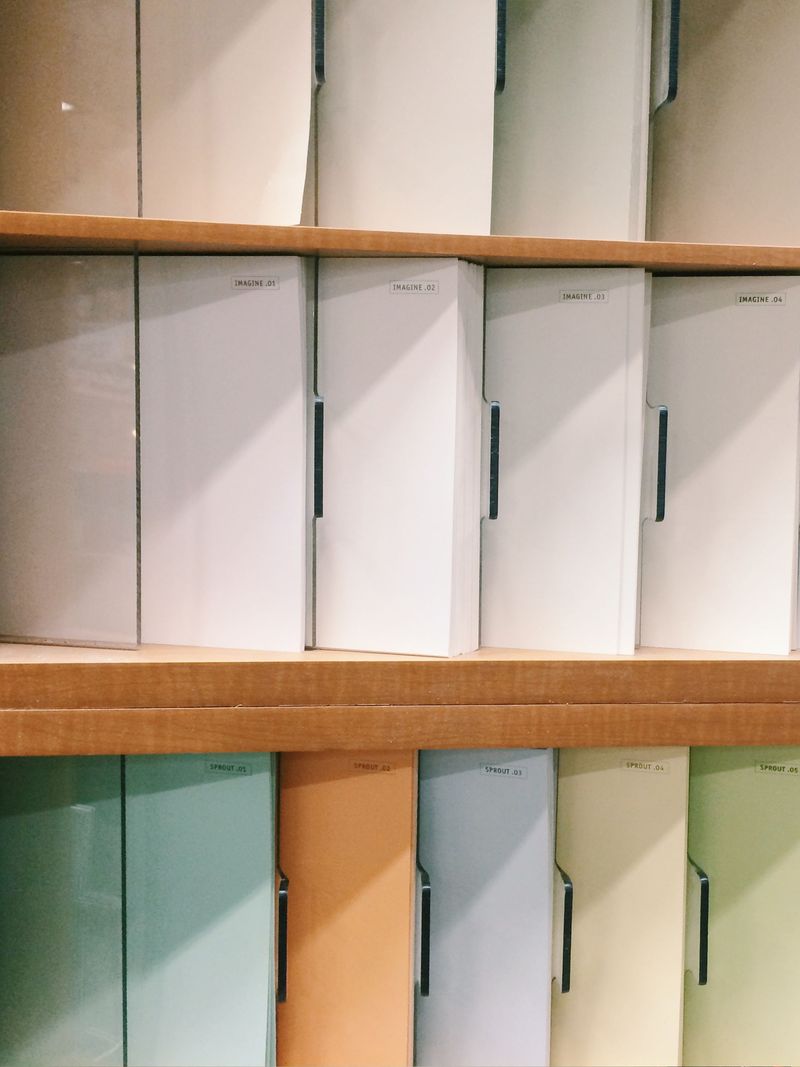
- One gallon of white paint (We asked someone who worked there for their suggestion, since, as you can see in the photo, there are many kinds of white paint.)
- Two six inch roller brushes with one extension arm
- Frog tape (Thanks for the recommendation, Lindsay-Jean.)
- One small brush for edges
- Two kinds of sand paper (one strong and one light)
- One plastic tray
- A jar of spakle
Deciding on the type of paint to buy was overwhelming and in the end we went with a primer-based white. Since our pink walls were very light in color, there was no need to base the existing paint. Don’t be embarrassed to ask the store employees for their recommendations or suggestions. Hardware stores, especially the big ones, can be scary places and there so many options that you could be in there choosing for eternity.
Step Three: Preparation
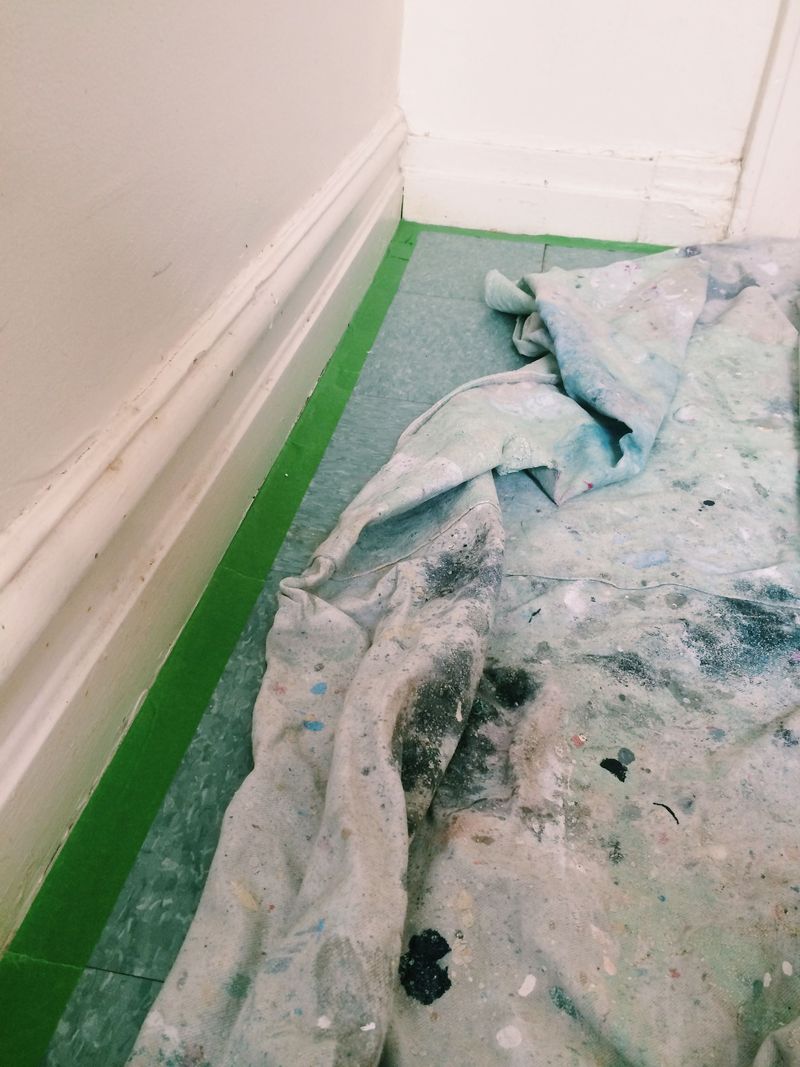
Thanks to the advice from my co-workers, Pedro and I learned that the most time-consuming, annoying, and frustrating part of painting is the prepping of the room—but also that it's the most important!. Our kitchen is relatively small but there are still four walls with molding plus a doorframe and a window. Here are the steps we took, all of which were well worth it:
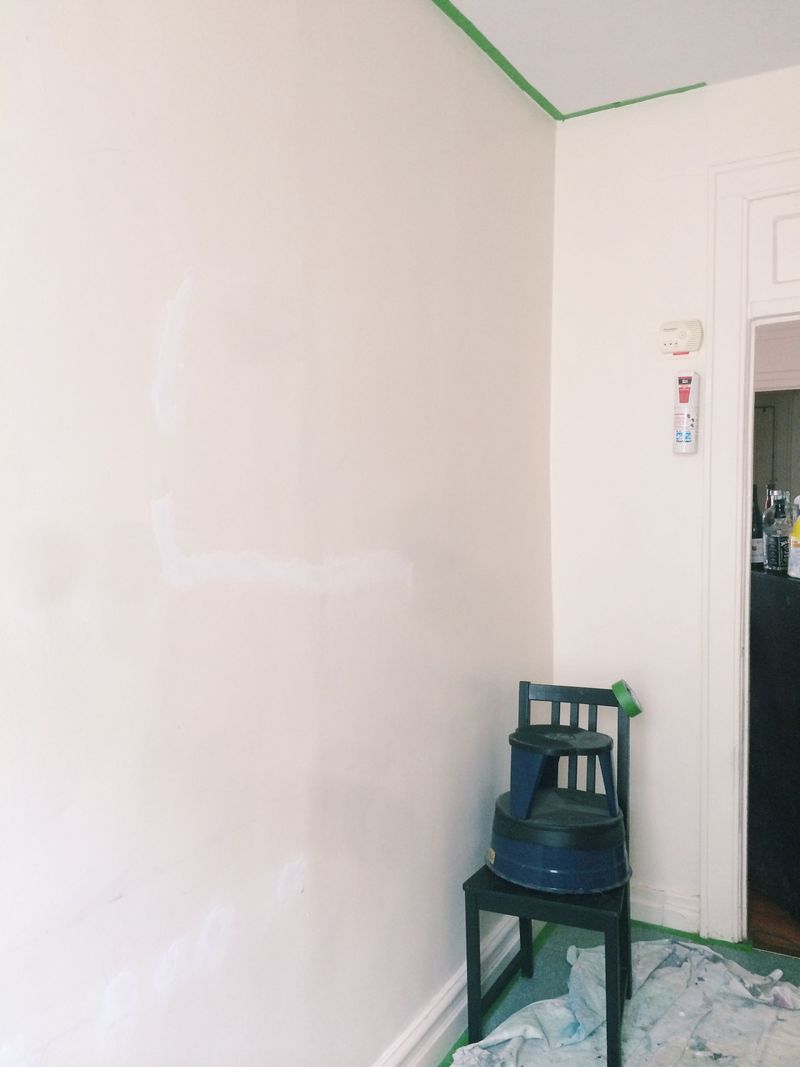
- We used the Frog tape all the way along the floors and along the ceiling—though if you can't find it, any reliable brand of removable painter's tape should do. Even though our ceiling is white to begin with, we didn’t want there to be random brush strokes dabbing the ceiling.
- Next, we filled in holes on the walls. (The building isn't very old, but it’s also not one of those brand new condos with super smooth walls.) The apartment has seen its fair share of water damage and the like, so we used a ton of spakle to fill in any holes or cracks. Then we used the lighter sandpaper to smooth down the spackled areas.
- We also did something similar with the window sill and frame, where the old paint was dried and falling off. We used the rough sandpaper to scrape away old paint and then we sanded the areas down so that everything was smooth. After all this was done we used old rags to clean the walls with bleach.
In an ideal world, you would do all of this prep the day before actually painting, which would give the spakle time to set and dry.
Step Four: Painting
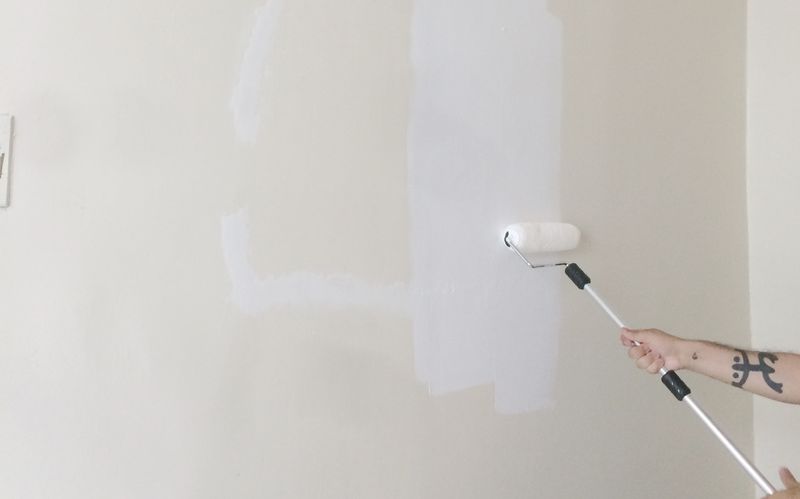
After preparing everything for the actual painting process, rolling it onto the walls was definitely the most enjoyable part. As Merrill recommended, we didn’t roll the brushes too fast and went in a solid up and down motion. We didn’t need to paint more than a few coats to cover the old paint, and getting over the spakled bits was very easy since they were sanded down.
The hardest part of the painting process was addressing the window sills and the ceilings. Pedro and I don’t have a ladder (definitely needed one of these) so we had to use one of our kitchen chairs with a stool on top. (Don't try this at home.) Pedro even had to sit on top of the refrigerator to get the wall behind it.
After three hours of painting, and countless listens to this playlist (I heard you about that loud music recommendation, Ryan) we were wrecked but pushed through because some of the best advice I heard was that the only thing worse than painting a room is painting a room over multiple days. I’m so glad we did, because by the end of the day I was so exhausted I could barely clean out the brushes.
If I could go back and do it over, I would get more brushes. Buy more brushes than you think you will need. We only bought one little detail brush and it turned out that most of the painting was details like the window and molding that the huge roller brushes couldn’t handle.
The End Result
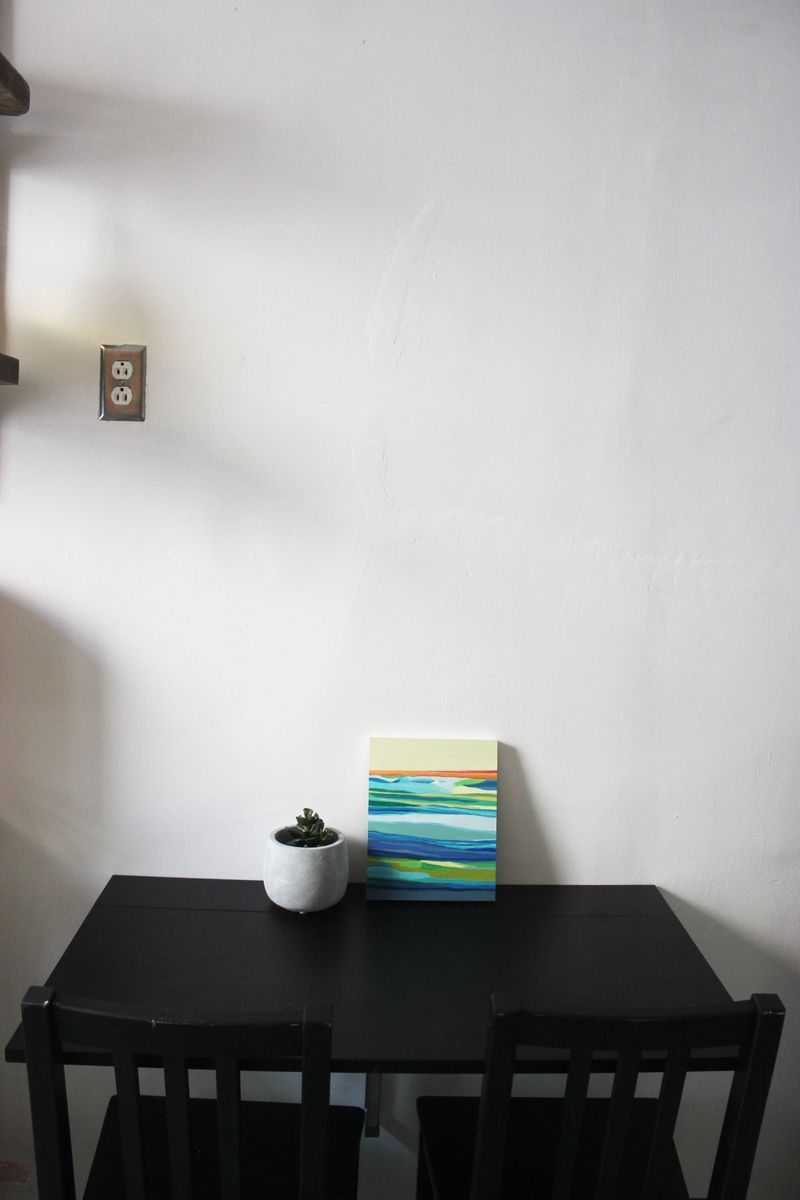
I could not believe how much of a difference one coat of white paint could make on a kitchen. The whole room feels cleaner and brighter than it did before and even though we couldn’t paint the cabinets (#renterproblems), the place feels like it got a serious upgrade.
Now, on to the rest of the apartment.
Have you ever painted a wall? Share your tips for first-timers in the comments.
Photos by Hannah Wilken.

It's here: Our game-changing guide to everyone's favorite room in the house. Your Do-Anything Kitchen gathers the smartest ideas and savviest tricks—from our community, test kitchen, and cooks we love—to help transform your space into its best self.
Grab your copyWritten by: Hannah Wilken
Popular on Food52
6 Comments
Do you have any other tips for painting? Pedro and I are moving onto the living room and bedroom this fall and would love any more advice if you have it!
See what other Food52 readers are saying.