Cleaning
These Colorful Storage Containers Started Out as Shoe Boxes
No one will ever know their humble beginnings.

Some of us are pile-people, not file-people. Because of this, long ago I opted for embracing my "organized piles" by stashing them in sturdy, colorful presentation boxes. And said boxes—when you need seventeen of them to house your hoards of papers and collectibles—can get expensive. The DIY opportunity dawned on me when I began discarding my shoeboxes (the horror!).
Shoeboxes are made of sturdy cardboard and are the perfect size for storing several spools of twine or last year's bills (if you've been putting off the "paper" section of the KonMari method). All they need is a little makeover with the help of spray mount and fabric-based or heavyweight paper.
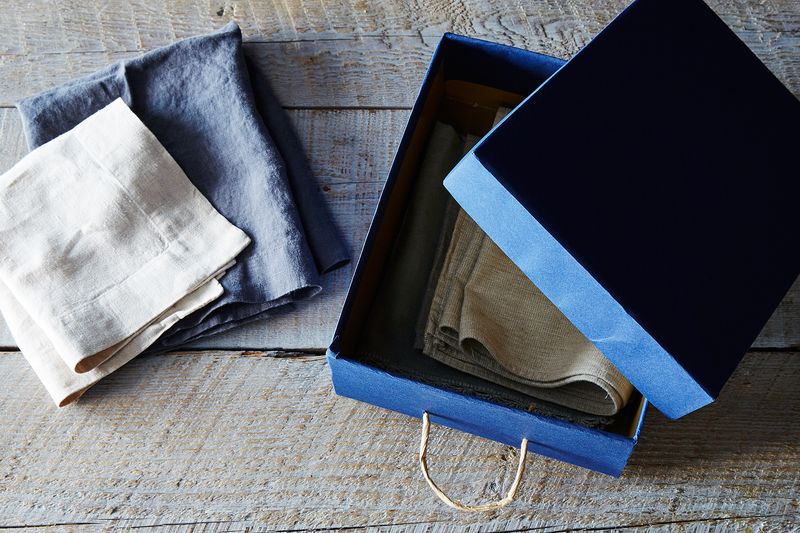
Wrap 'em, stack 'em, and behold your beautiful new storage system! No one will ever know their humble beginnings.
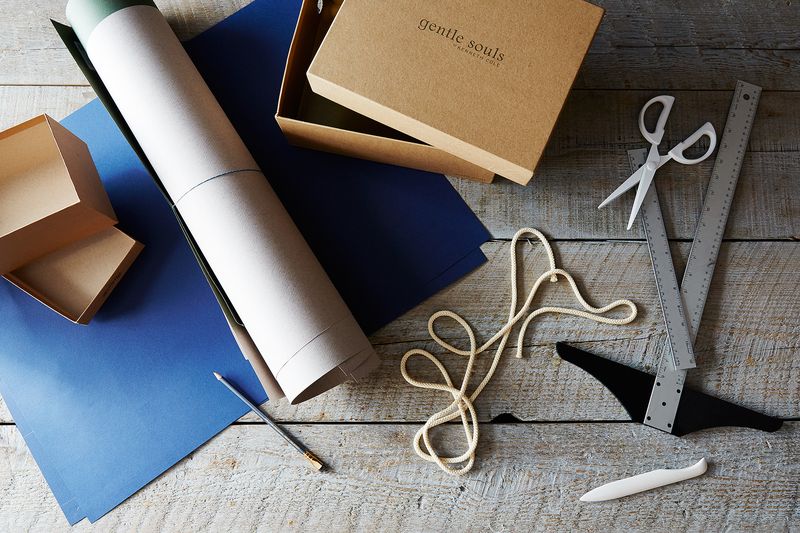
What you'll need:
- A shoe box with a completely removeable lid (I used a standard size, which measures about 13" L x 7.5" W x 5" H)
- Colored heavyweight paper (I used 19" x 25" sheets of cardstock), plain brown craft paper, or fabric-based paper (enough to cover the outside of your shoebox and its top)
- Ruler
- Pencil (if you're using paper) or pen (if you're using fabric)
- Scissors
- Bone folder, for creasing paper edges
- Spray mount (and outdoor access for using it)
- Rope (6 to 12 inches per box) or metal labels
- X-acto knife (if adding rope pulls)
- Liquid glue (if adding labels)
How to turn that humble shoebox into a fancy presentation box:
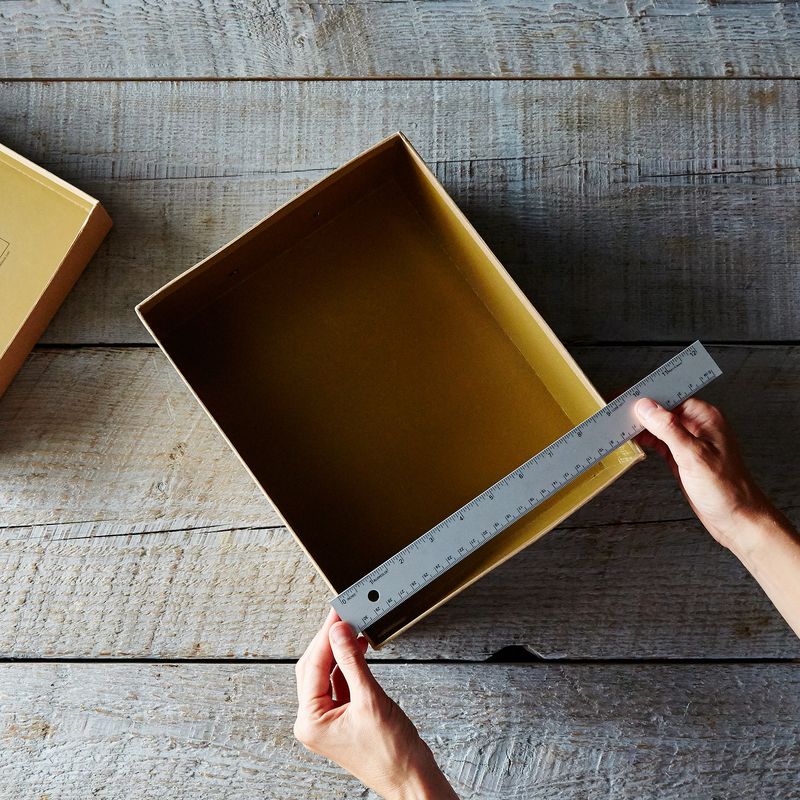
1. Prep: Before you start, measure the shoebox and your paper to be sure you have enough of the latter—you'll be wrapping the outside of the base of the box and the outside of the lid. A standard size sheet of cardstock (19" x 25") is just large enough to cover a standard shoebox base (13" L x 7.5" W x 5" H), and you'll need a second sheet to wrap the lid. If you're using paper from a roll, slice off a large enough rectangle before proceeding.
If you're working inside, be sure you have nearby outdoor access for using the spray mount.
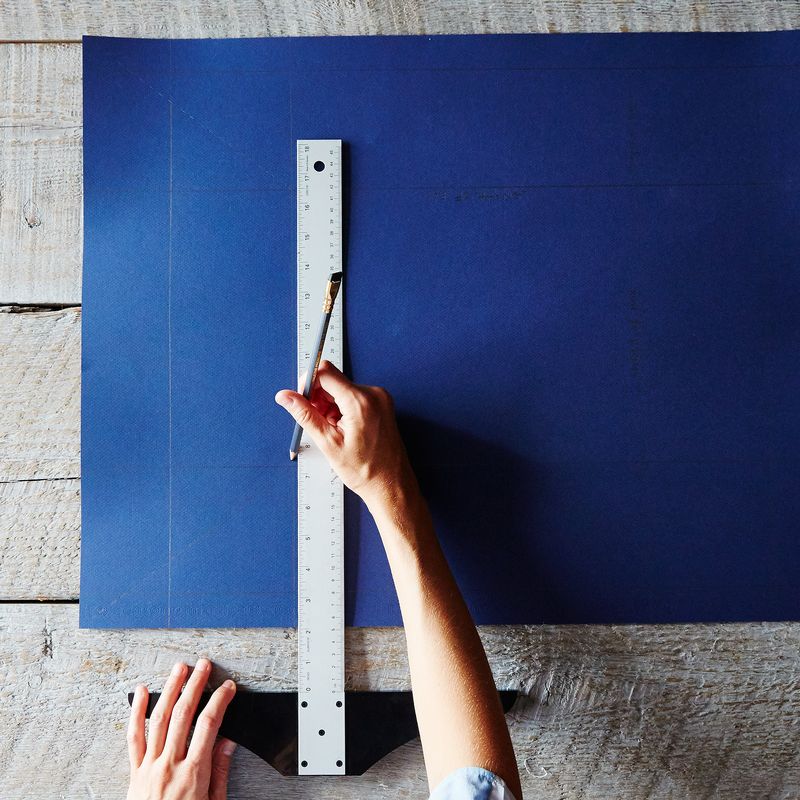
2. Copy the dimensions of the box onto the paper: Clear your workspace except for the base of the box and one sheet of cardstock (flipped so the pretty side is face-down), and set the base of the box in the middle of the paper, opening face-up.
Trace around the edges of the base with a pencil (the dark lines in the image below), creating a rectangle on the cardstock. Using your ruler and a pencil, extend the lines of the rectangle across the whole sheet of paper to create a hashtag (#) design.
Draw another set of lines (the pink lines in the image below) to account for the paper that will cover the sides of the box: Measure the height of the box's sides (this one was 5 inches tall), mark out that distance from each edge of the base rectangle, and use your ruler to extend the marks into long lines. You should now have a hashtag within a hashtag on your paper, as in the diagram below:

Dark lines: tracing around base of the box; pink lines: measuring out sides of the box; shading: where to cut out.
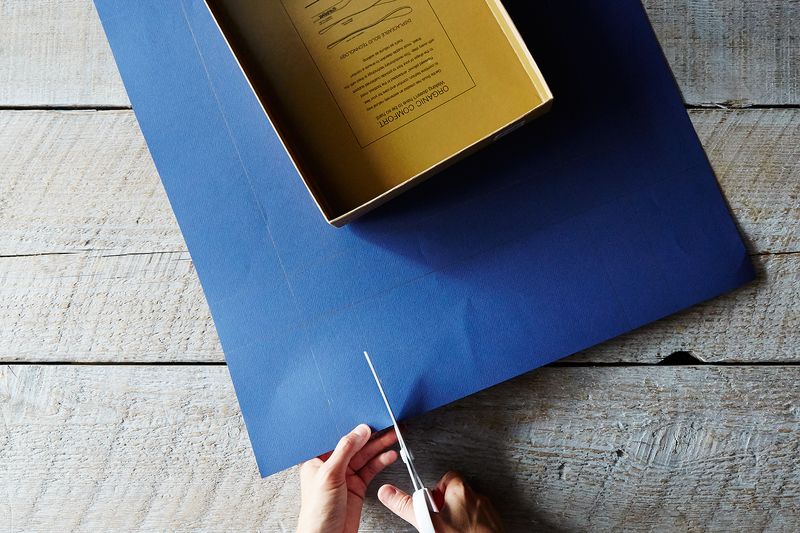
3. Cut out the corners of the paper and crease the edges: Set aside the base of the box. Using your scissors, cut out four triangles by snipping from the corner of your paper to the corner of the innermost rectangle, and then along the sides that will cover short ends of the box. This is to eliminate bunching when you wrap the box (so you can still close it up!).
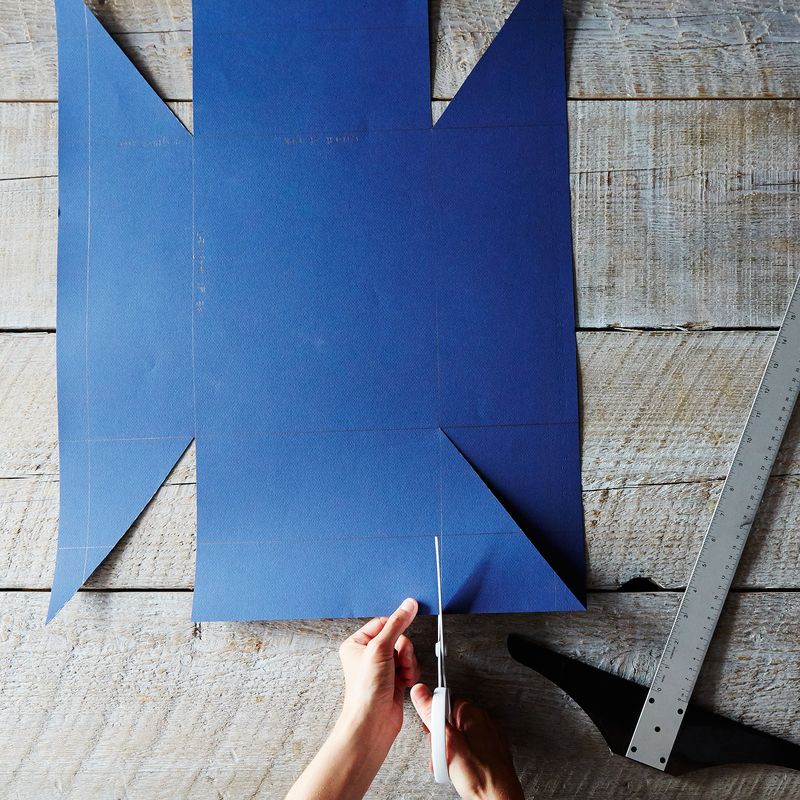
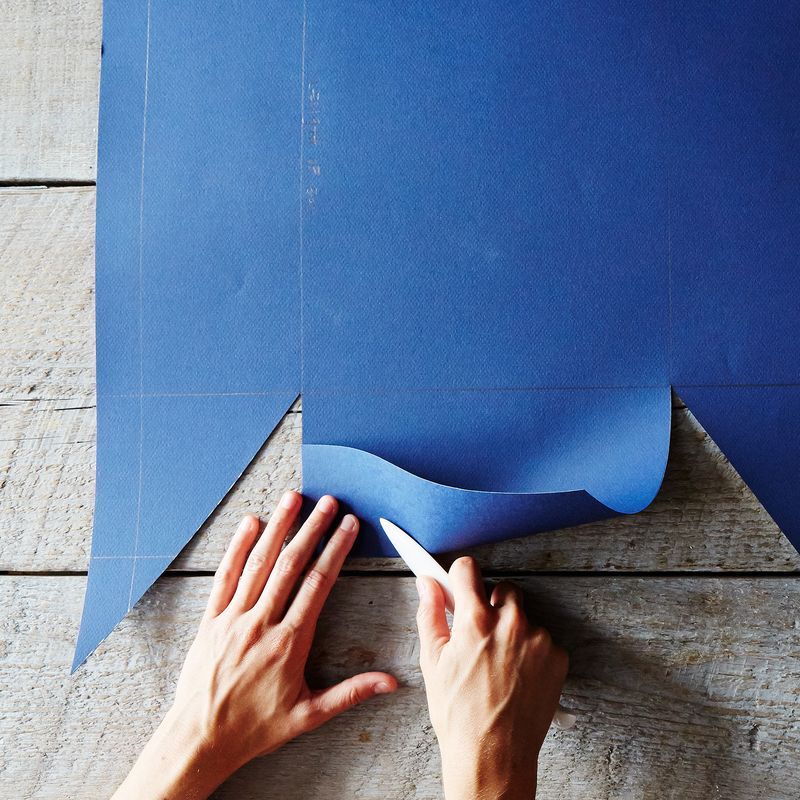
Now, using your bone folder or a stong fingernail, crease the paper inward along all the lines you've drawn. It will start to take the shape of your shoebox at this point:

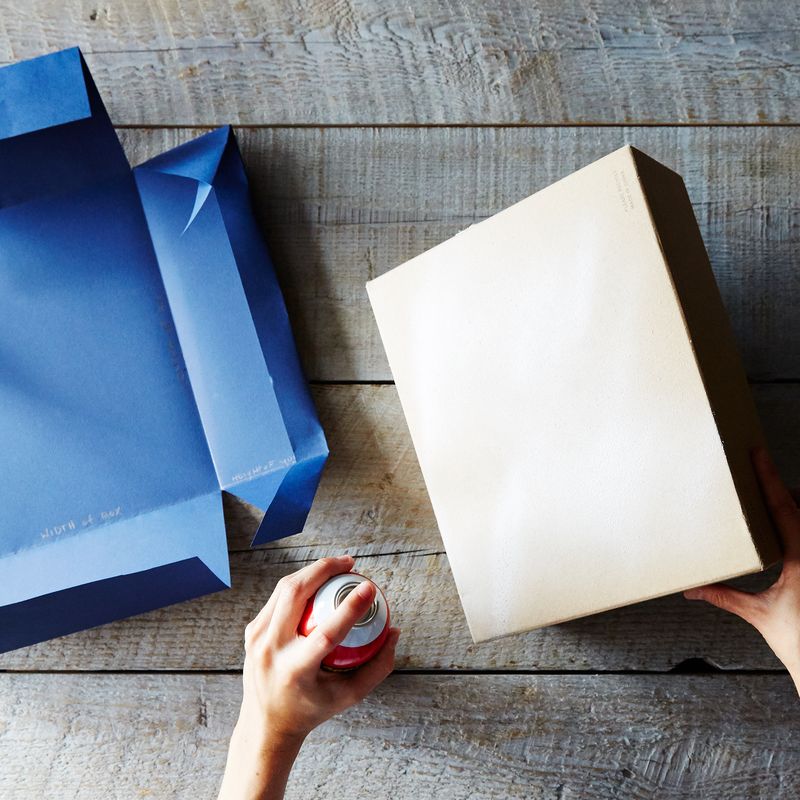
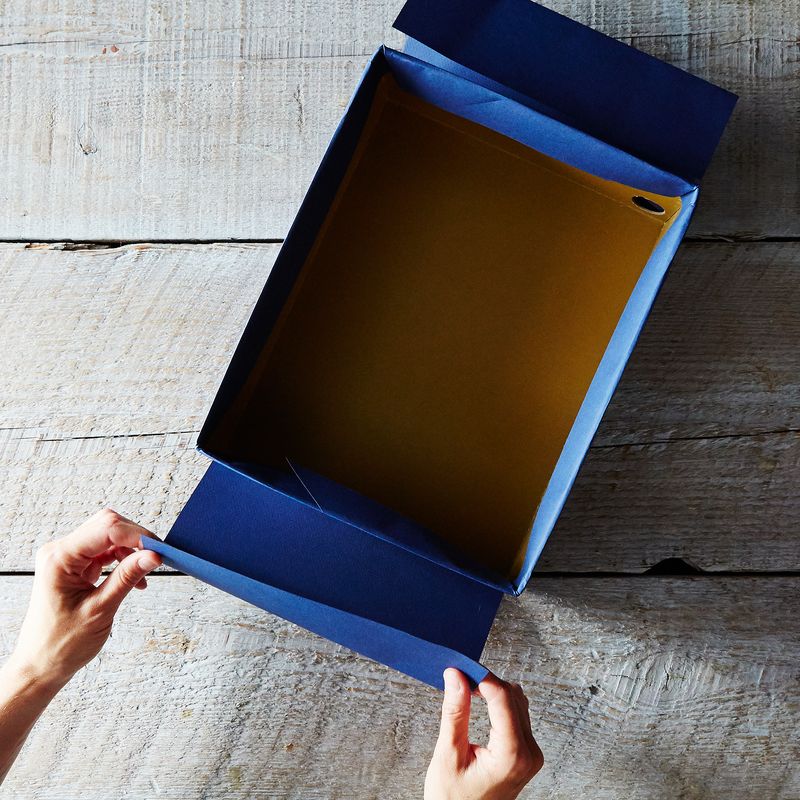
4. Affix the covering to your box with spray mount: In an outdoor area (or by an open window), spray only the base of the shoe box, set it inside your creased paper, and smooth the base with the bone folder to remove any bubbles.
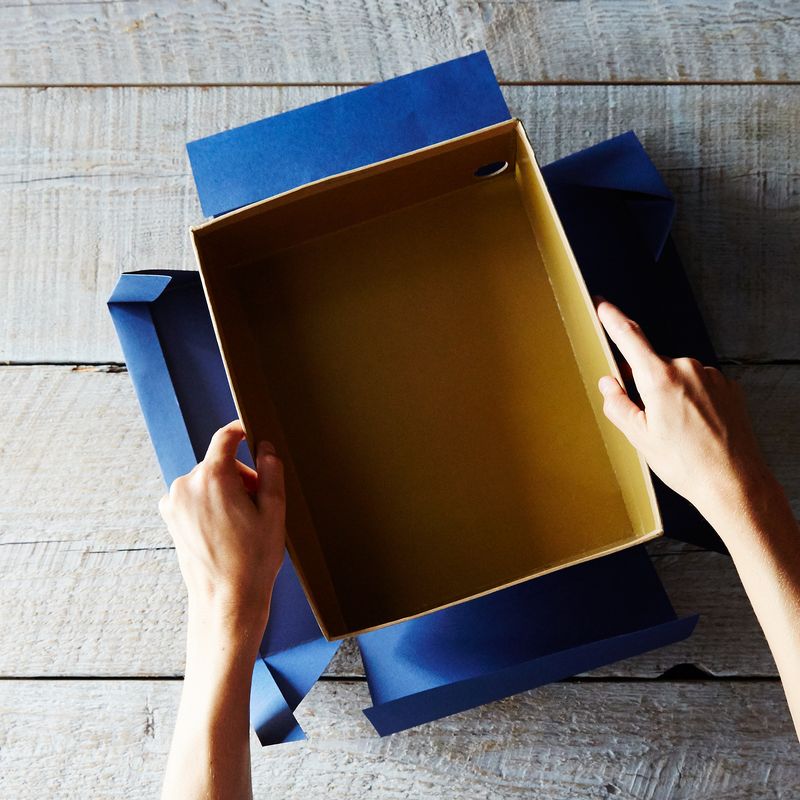
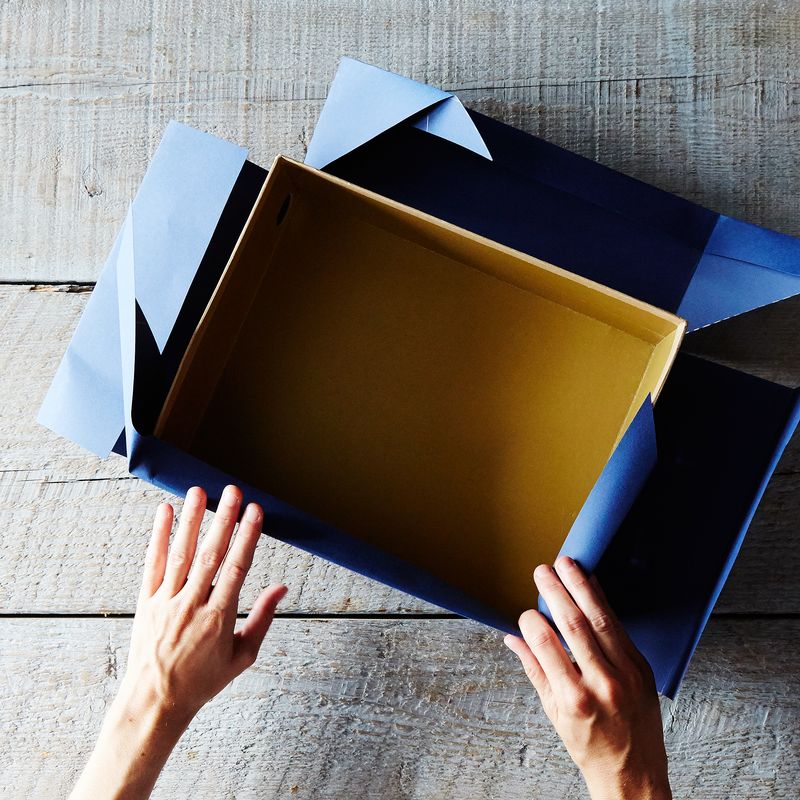
Next, spray the long sides of the box and the inside of the flaps that you're affixing to them, then press those together, folding any excess paper inside the box like you're wrapping a present. Lastly, spray the short sides of the box and press the remaining paper flaps to them, folding any overhang so it sticks to the inside of the box.
5. Repeat with the lid of the box: Draw a rectangle around the top of the lid and extend those lines to the edges of the paper. Draw another set of lines to delineate paper for the sides of the lid, cut out the corners, crease the edges, and affix to the lid using spray mount.
Note: If you're starting with the same size paper that you used for the base, you'll need less of it for the lid, so you might want to trim away some of the excess overhang before gluing.
6. Let it dry: Set the base and the lid aside for a few hours so that it will dry fully.
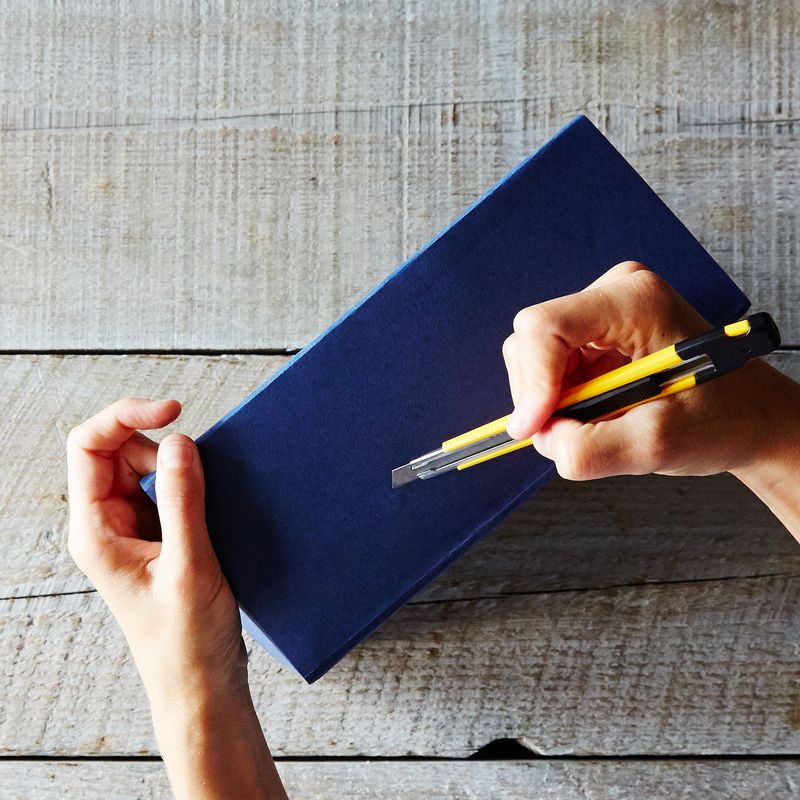
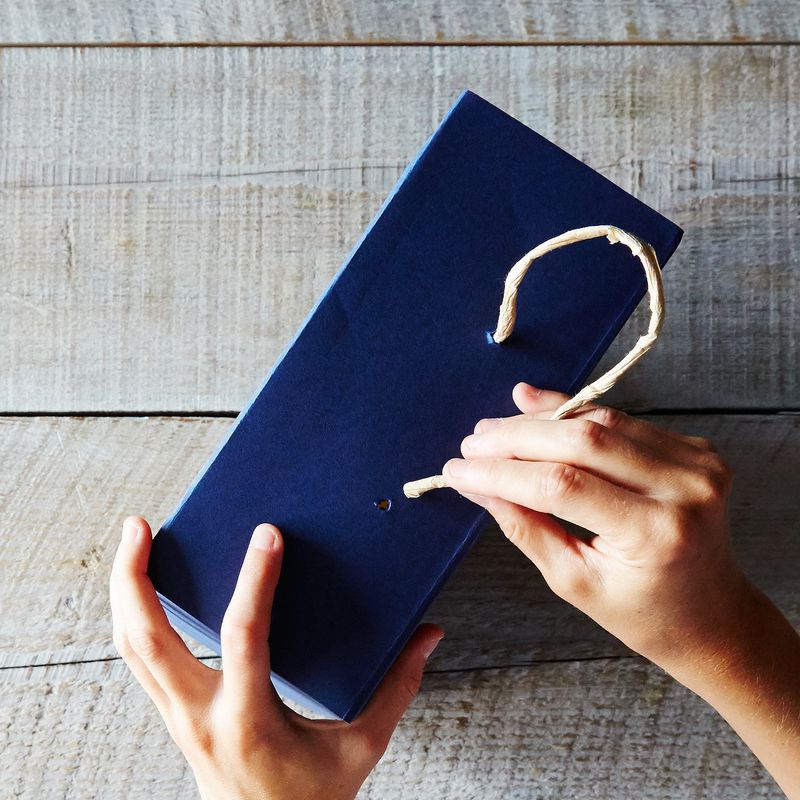
7. Add pulls: Make two holes on the short side of the box by cutting small x-shaped incisions with an X-acto knife and then pushing a skewer through them. Make a knot on one end of your rope piece, thread it from the inside of the box out one hole, and then back through the other—leaving a few inches loose for a handle—and knot it on the other side.
Alternatively, use liquid glue to adhere a metal tag to the side of your box. Be sure to do this with the lid ON—otherwise you may not glue it low enough and you want to be able to see it! Create a custom insert using paper (just measure to size). I like the tag on the long side of the box, centered.
 Photos by James Ransom
What other DIYs and upcycles would you like to see us tackle? Let us know in the comments!

See what other Food52 readers are saying.