Maybe you already carved a pumpkin this season. If you did, it's not going to last from today to Halloween without its face melting off, so it's time to whip up another batch. Save yourself some time, some tedium, and some trouble by drilling your pumpkin into a lantern—which will add a wonderful disco-ball twinkle to your holiday decor and not take more than half an hour from start to finish. Here's how:
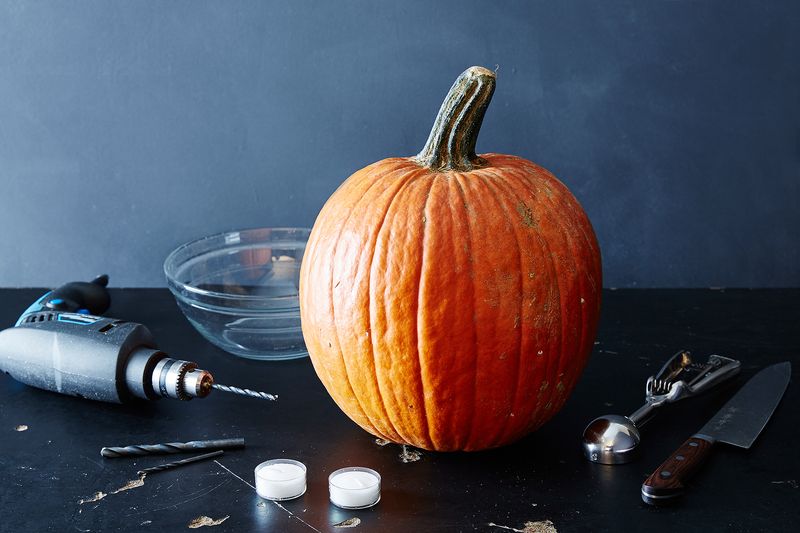
What you'll need:
A pumpkin (or more, if you like lots of twinkle)
A very sharp chef's knife
A bowl for the seeds
An ice cream scoop
A power drill with a range of bit sizes (the larger ones are actually best!)
Candles
How to drill that pumpkin into a lantern in no time:
1) Open it up and scoop out the guts. (Sorry for the visuals, but it's almost Halloween, okay?)
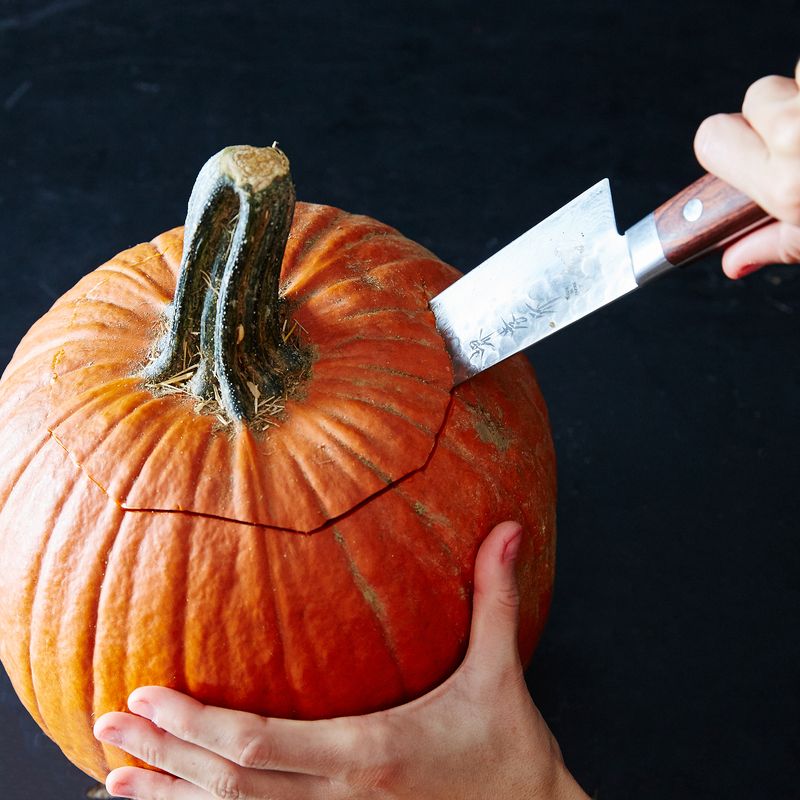
Slice the stem section off of your pumpkin by cutting around that part at an angle, so the tip of your knife points towards the pumpkin's heart (sorry again). For your safety, I suggest slicing away from yourself. Cut the guts off the lid and set aside for toasting into a snack.
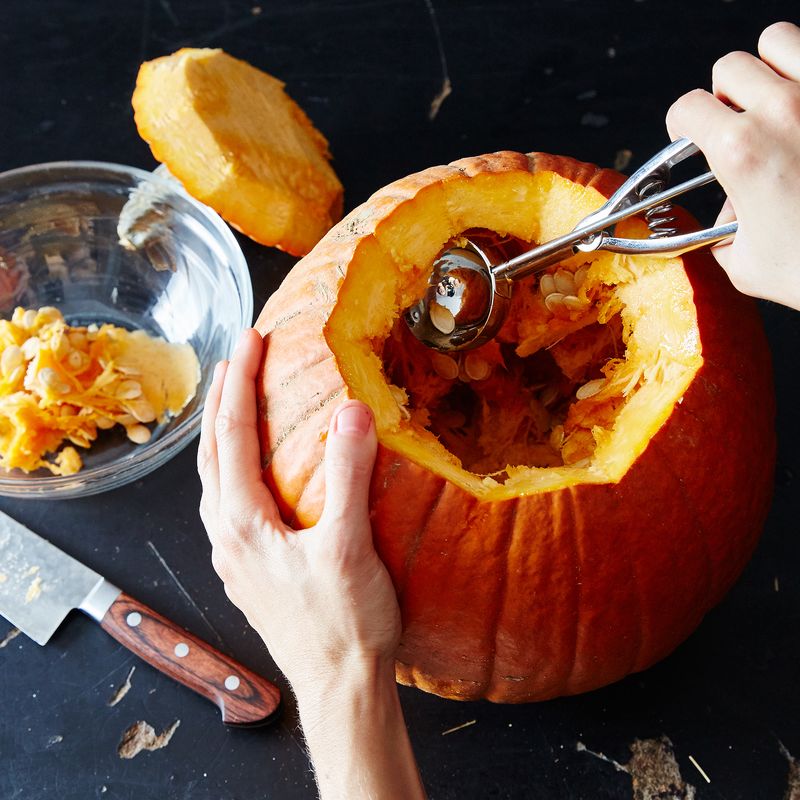
Using the ice cream scoop, scrape away the guts from the sides of the pumpkin. (Other spoons work as well, but I found that the sharp-ish sides of the scoop made it very effective at getting the pumpkin very clean, fast.) Once they're all scraped down, pull the gunk and seeds out with your hands.
2) Drill the pumpkin.
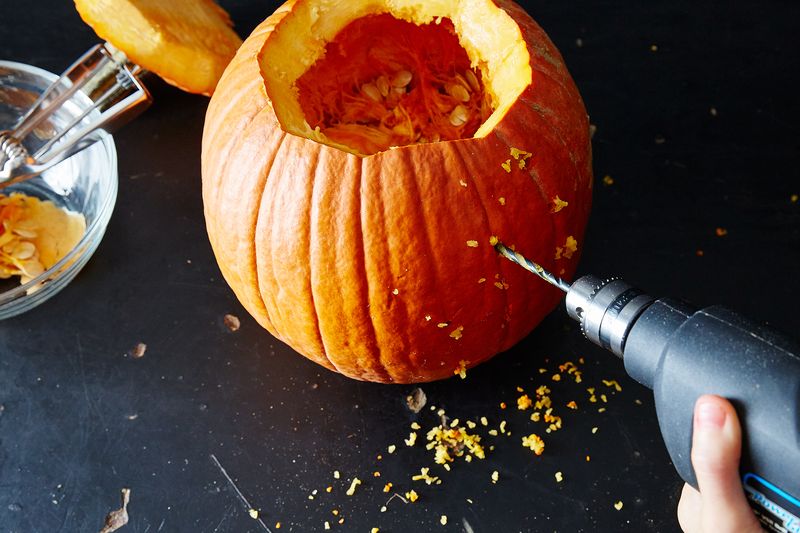
You can start with whatever drill size makes you feel most comfortable, but I have to be honest that the larger bits, even if they feel more intimidating, are the easiest to drill with. I used a range of sizes (from about 1/8-inch to 1/2-inch) to make holes all over in a completely random pattern, but you could be more methodical and make little columns down the natural ridges of the pumpkins, or even use the bits to make dotted lines and shapes. Random is easiest (and, in my opinion, cutest!).
For safety, I'd suggest holding the back of the pumpkin with one hand, starting the drill, and pressing it into the flesh on the side closest to you. It's an absurdly satisfying feeling and very easy to do—so don't be discouraged if you've had bad experiences with power drills in the past!
Once you think you have enough holes, make some more with your largest-sized bits—the tiny holes are cute as background illumination, but don't let very much light out, so I found that I needed many more punctures than expected to get the twinkle effect I wanted.
3) Light 'er up.
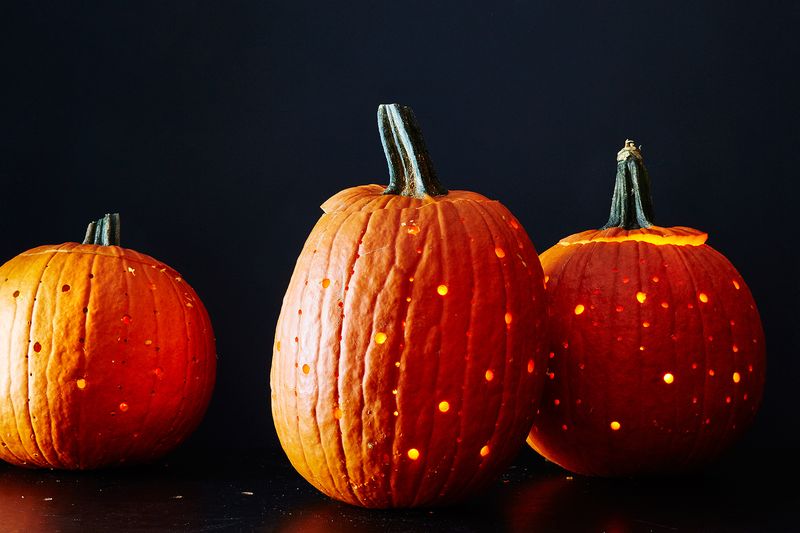
Put a few votives inside, top your pumpkin with his lid hat (a little akimbo so that the candles don't get snuffed), and watch any nearby wall turn into a twinkly wonderland.
We originally ran this post last year and brought it back in case our stoop needs a little added twinkle.
Halloween is on the horizon—how do you decorate? Let us know in the comments.
Photos by James Ransom

It's here: Our game-changing guide to everyone's favorite room in the house. Your Do-Anything Kitchen gathers the smartest ideas and savviest tricks—from our community, test kitchen, and cooks we love—to help transform your space into its best self.
Grab your copy
See what other Food52 readers are saying.