It's not that easy to germinate a seed. We have to wait for the ground to dry up and the sun to start shining to really take full advantage of the garden here in the Pacific Northwest. The same goes for New Englanders, though they have to wait for the ground to thaw first. In stark comparison, gardeners in California can garden year-round. (And it's apparently summer according to recent weather in Washington, DC, so who knows!) But no matter the weather, starting seeds can accelerate the process of growing in any conditions.
Why Start Seeds at Home?
Starting seeds indoors extends your growing season. When you start seeds in advance of their sow dates, you gain a head start by planting before you can plant outdoors in garden beds (aka “direct sow”), and this extra time means you’ll be harvesting earlier. When buying seed, you can experiment with lesser-known varieties and harvest something new each year. And it's economical to buy seeds—one pack of lettuce will have you in salad for a year (a year!) and costs about the same as one 4-inch pot of starts.
Supplies
Many beginners trust that a sunny windowsill will receive enough light to grow plants. This is not always true. Most apartments and many houses don’t have perfect growing conditions and will need some supplies to mimic them.
• Light - Seeds can be started in ordinary indoor light, but once they push up out of the soil, the seedlings need up to 12 hours of daily light to grow vigorously. In the northern hemisphere, we don’t see that sort of natural light until well after the first day of spring. But with the aid of grow lights, you can provide enough supplemental indoor light to convince seeds and seedlings that they’re out in the sun.
Grow lights can be picked up at most local hardware stores and plant shops. Grab the cheap version: a big fluorescent bulb (they produce a light spectrum similar to that of the sun's rays) with a stainless steel shade or backing and a clip. A timer for your light is also a good investment, unless you’re an “early to bed, early to rise” type of person.
• Warmth and Moisture - Plastic seed trays are made from thin black plastic and have small cells to hold soil and seed. Be sure to also purchase the clear plastic cover that fits over each tray. It acts as insulation to keep seeds warm and moist, the perfect condition for germination. You will also need the plastic liner for your seedling tray to sit in. This liner will catch and retain any excess water that drains, sparing spillage and helping to keep seedlings moist.
• Root nourishment - The trays should be filled with a sterile seed-starting mix—which technically is not a soil. These mixes allow for good drainage, air circulation, and absorption and retaining of water. There are no nutrients added to sterile seed mixes—new plants don't need them, as each seed has a small amount of food supply for the plant’s early growth!
• Placement - I set up seed trays on my dining room table in front of my only window—one that faces due east. Any table will do; just be certain you can plug in a grow light nearby. Place trays as close to natural light as possible, and rotate them every few days so plants will not stretch for the light and grow too leggy.
Step by Step
Once you have your seeds, tray, grow light, seed-starting mix, and a dedicated space to grow in, it’s time to start planting.
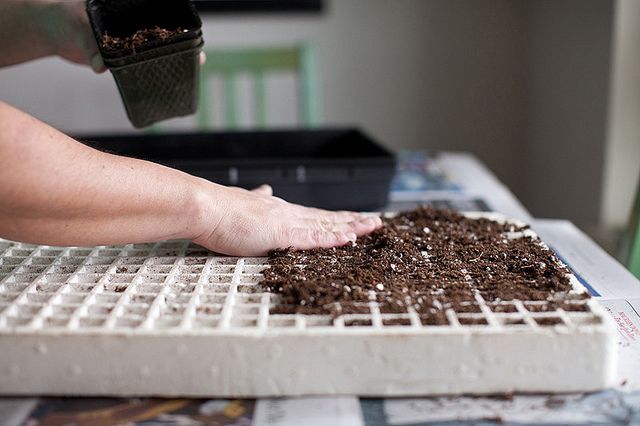
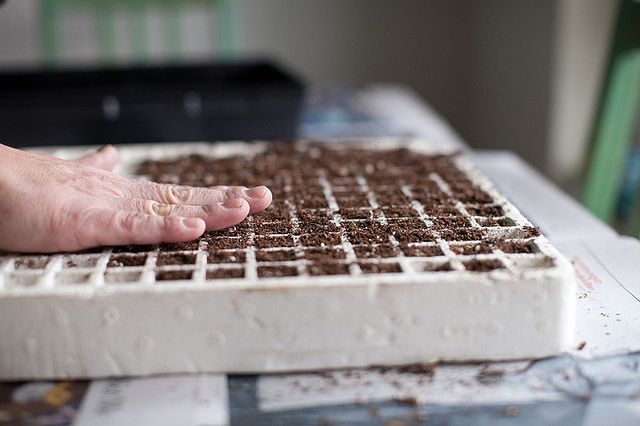
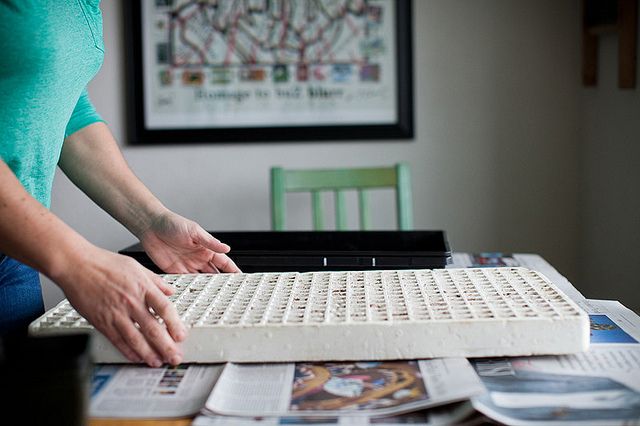
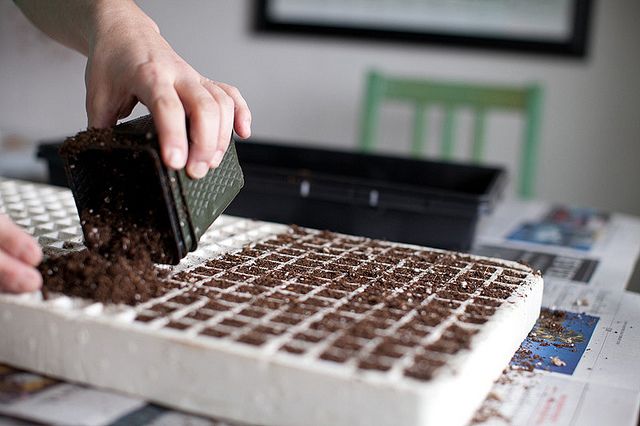
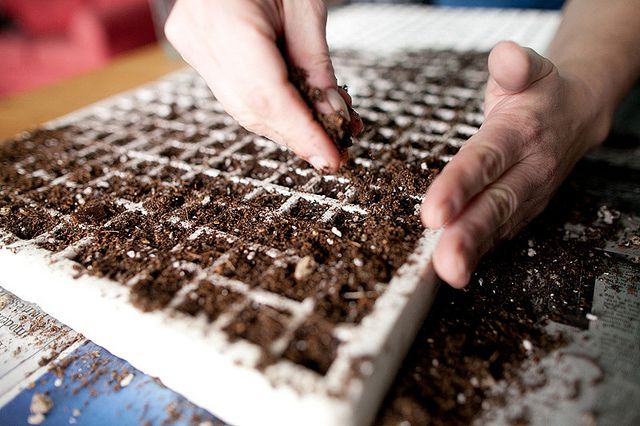
• Cover your work surface with newspaper to catch any messes, and fill the seed tray about three quarters of the way full with the mix. (You will be adding a bit more later to cover the sown seeds.) It’s easiest to sift seedling mix over the tops of the cells, then run your palm over the cells to distribute it evenly. This will also brush off any excess mix from the divider rims into the cells.
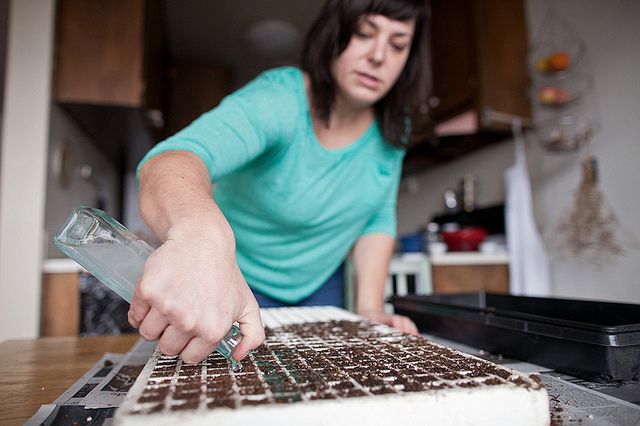
• Using a small bottle, gently water the entire seed tray, making sure the mix gets thoroughly dampened. It’s important to moisten the mix now so it will absorb the moisture and get weighed down. If you do this after you’ve sown your seeds, the water will pool on the surface of the mix and seeds can easily spill up and over the sides of the plant cells. No big deal, but when a seed gets washed over into the next row, it does make for an interesting game of what-the-hell-is-this-plant after germination.
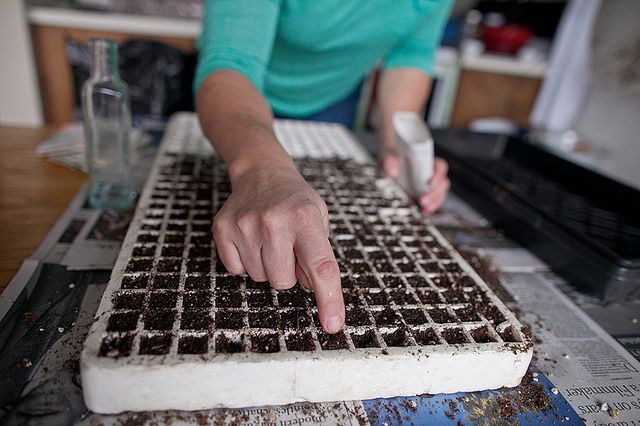
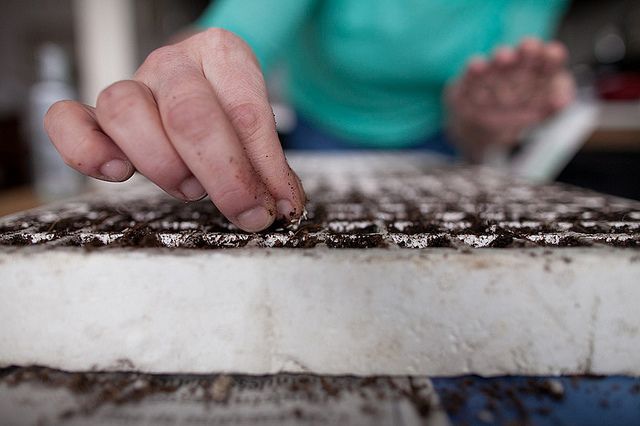
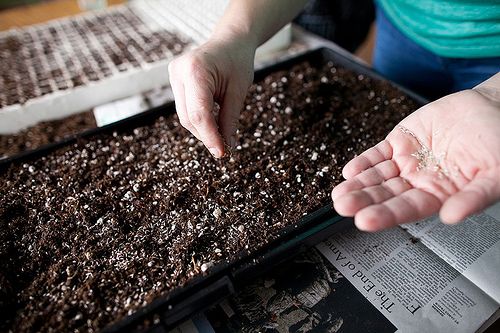
• Sow 1 to 2 seeds in each cell of the tray, working in rows. I suggest planting only one variety of seed per row, even if you don’t fill the row. This will help keep things organized. Label your seeds as you go—you'll thank me later.
• Lightly cover the entire surface with another sprinkle of seed-starting mix, and water very lightly again. As the bottom layer of mix is already moist, the top layer needs only a trickle.
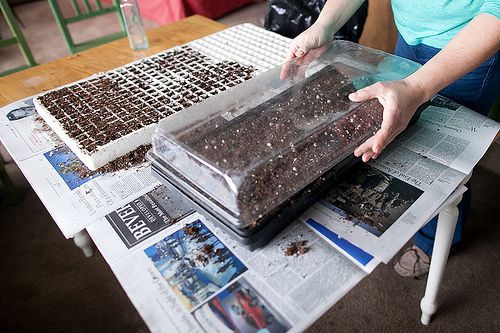
• Cover the tray with the clear plastic top and slightly prop up one corner with a bottle cap or similar item for a bit of ventilation.
• Set the tray directly under your grow light, and set it to shine for 12 hours. Typically, I time the grow light to run from 6 AM to 6 PM to make the most of natural daylight.
Now that your seeds are planted, always keep the top layer of the mix just moist (not wet), never letting it dry out. The clear plastic cover will collect moisture from condensing evaporation. If there is no condensation on the plastic cover, that is usually a good indicator that you need to mist the tray with more water.
When seedlings are tall enough to hit the sides of the plastic cover, remove it and harden them off before transplanting your seedlings into a garden bed or pot.
In the next City Dirt, we’ll be talking garden mapping—drawing out plans and crop rotations—so get ready to get dirty. Spring has sprung!
Photos by Della Chen
See what other Food52 readers are saying.