Yossy Arefi from Apt. 2B Baking Co. shares dessert projects that demand a little extra time and effort. Because your weekends should always be sweet.
This week: Meet your weekend plans. Yossy's walking us through making Individual Baked Alaskas with three posts. Today, we'll start with the ice cream. Tomorrow, it's the cake. And tune in Friday to put all the pieces together.
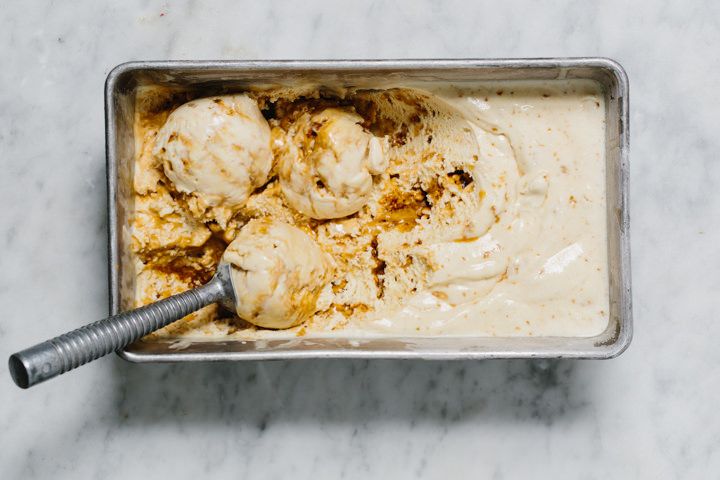
This week on Project Dessert, we’re making Baked Alaska—well, Baked Alaskas to be precise because these guys are mini. These individual ice cream cakes topped with fired meringue are a great cooking project, best made over the course of a couple of days. Up first, the honeycomb ice cream!
Honeycomb candy is also known as sponge toffee, sea foam, or hokey pokey, but all you need to know is that honeycomb candy is delicious caramelized sugar candy. If you’ve never made candy before, this is a great one to start with (and you don’t even need a candy thermometer).
To make this, I have crushed up a handful of homemade honeycomb candy and folded it through a simple ice cream base for a sweet, creamy, caramelized treat. As the ice cream sits in the freezer, the honeycomb melts a bit, making delicious and beautiful swirls through the mix. If you’re following along this week and plan on making Individual Baked Alaskas, make this ice cream a couple of days in advance and store it with a length of plastic wrap pressed against the surface.
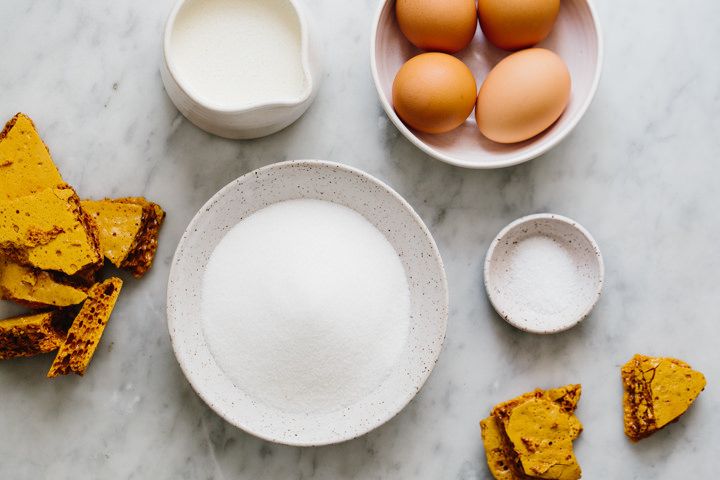
Honeycomb Ice Cream
Makes about 2 pints
For the honeycomb candy:
1/2 cup granulated sugar
1/4 cup dark corn syrup or golden syrup
1 1/2 teaspoons baking soda
1 pinch salt
For the ice cream:
2 cups heavy cream
1 cup whole milk
1 cup sugar
4 large egg yolks
1 teaspoon vanilla extract
1 pinch salt
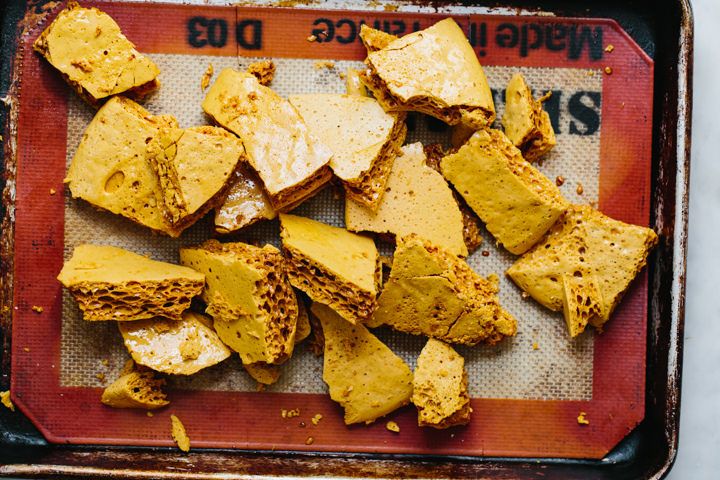
To make the honeycomb: Line a baking sheet with parchment paper or a silicone mat.
In a medium saucepan that holds at least 3 quarts, combine the sugar and corn syrup. Stir to combine well.
Cook the mixture over medium heat, lighty swirling at the surface occasionally (do not stir), until the sugar has melted and the mixture is the color of dark maple syrup, about 5 minutes.
Remove the pan from the heat and whisk in the baking soda and salt. The mixture will bubble up and foam quite a bit. Immediately pour the mixture onto the prepared baking sheet. Let sit at room temperature until cool and set. When cool, break the candy into smaller pieces and store in an airtight container at room temperature.
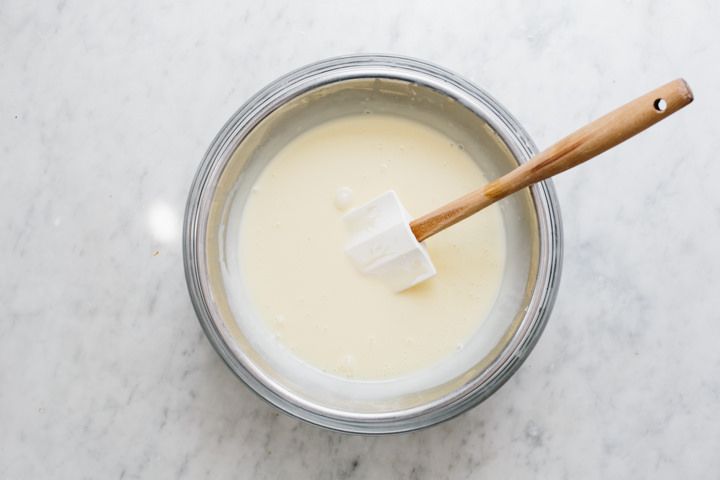
To make the ice cream base: In a medium saucepan, whisk the cream, milk, and sugar. In a medium bowl, whisk the egg yolks.
Heat the cream mixture over medium heat until the sugar dissolves and the cream is just barely simmering. Ladle a bit of the hot cream into the egg yolks and whisk to temper the yolks. Add the eggs to the saucepan pan and cook the mixture, stirring constantly, until the custard is thick enough to coat the back of a spoon. Whisk in the vanilla extract and salt.
Transfer the mixture to a bowl and chill completely in the refrigerator, at least 4 hours or overnight.
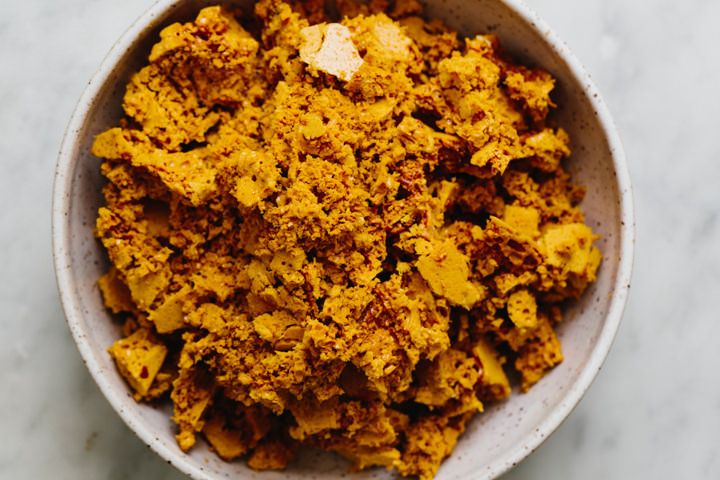
Just before churning the ice cream, break up about 3/4 cup of the honeycomb candy into rough crumbs.
Churn the ice cream in an ice cream machine according to manufacturer's instructions. Just before the ice cream is done churning, add in the honeycomb crumbs. Transfer the mixture to a freezer-safe container, cover, and freeze until very firm.
See the full recipe (and save and print it) here.
Photos by Yossy Arefi
See what other Food52 readers are saying.