Here at Food52, we love recipes -- but do we always use them? Of course not. Because once you realize you don't always need a recipe, you'll make your favorite dishes a lot more often.
Today: Our Community Manager Catherine Lamb shows you how to make ice pops of all shapes and flavors, without a recipe.
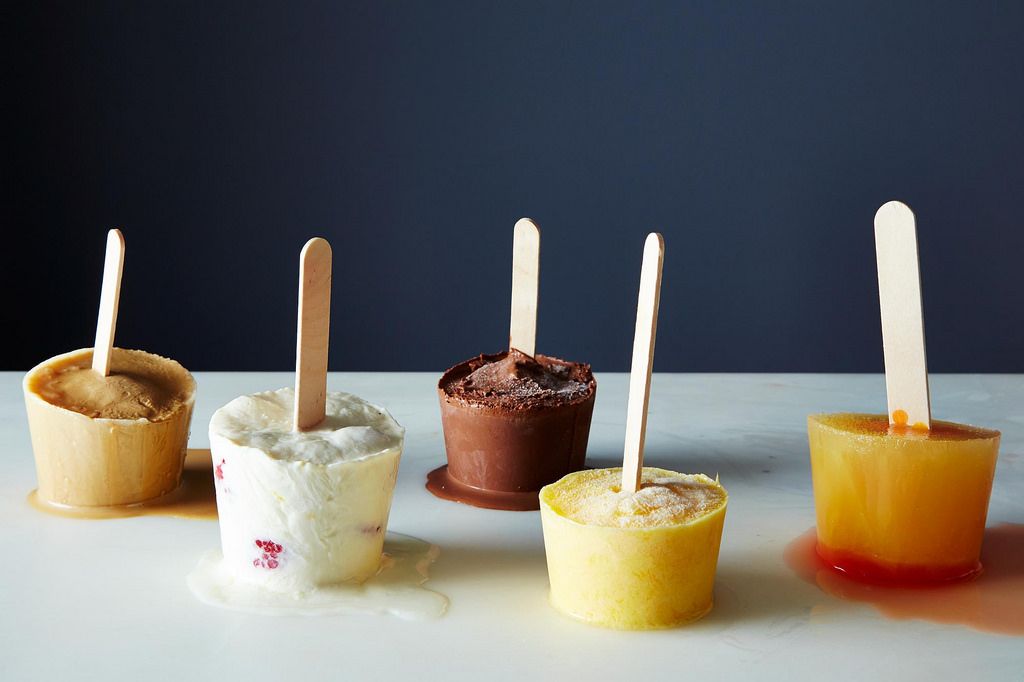
In case you didn't know, we have a weekly series on our Instagram page called #bestovers. The concept is simple: Take whatever odds and ends you have left in your fridge, combine them with some pantry staples, and boom -- you've got something even better than the original. My love of bestovers is, perhaps, why I have such a soft spot for ice pops, which I consider the ultimate bestovers.
Ice pops (also known as freezer pops, also known as a certain trademarked brand which-shall-not-be-named) are sprung out of creativity, and a nagging desperation for something, anything, new. Not only are they just plain fun to make -- you'll feel like you're in Arts & Crafts, but you get to eat the result -- but they're refreshing on a sticky, sweltering afternoon. They can also be made in bulk for your neighborhood pool party, and they're a great activity to get your kids involved in (because it's never too early to teach the importance of hard work).
Go to your fridge right now. Open it up and dig around -- I guarantee you have something that would taste delicious frozen on a stick.
How to Make Ice Pops Without a Recipe
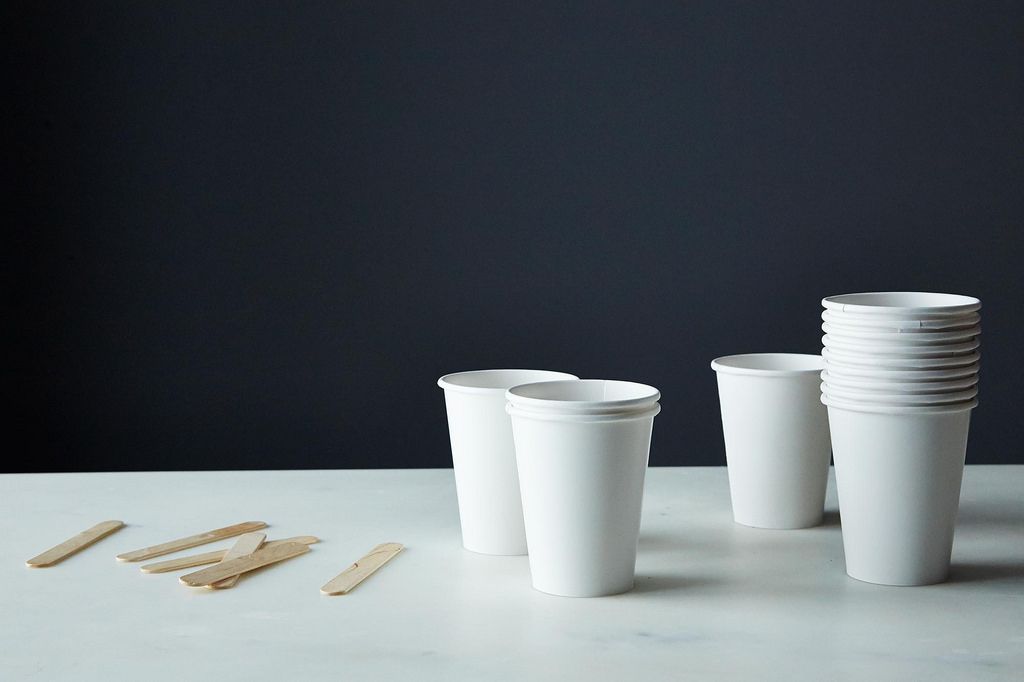
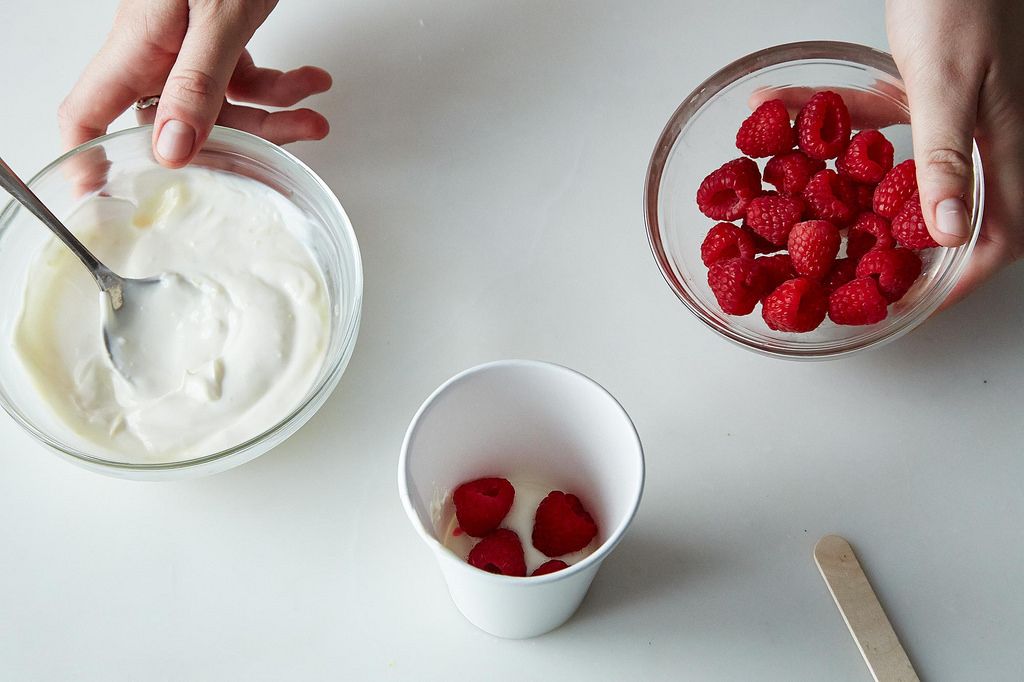
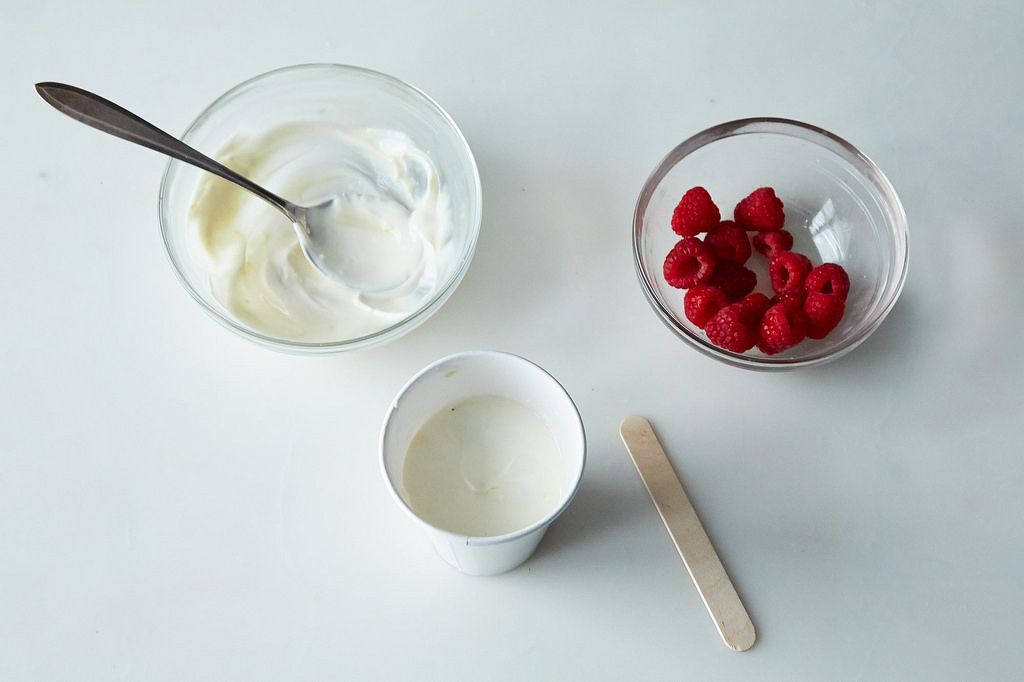
1. Assemble your tools. You will need liquids (or semi-liquids) that you want to freeze and eat, any sort of textural mix-ins (like coconut, chocolate chips, or berries), wooden sticks, and some sort of vessel to freeze in. Feel free to use fancy ice pop molds, but paper cups will do the trick just fine. Clear out a little room in your freezer, and you're ready to begin.
More: Find all things frozen dessert in this collection in our online shop, Provisions.
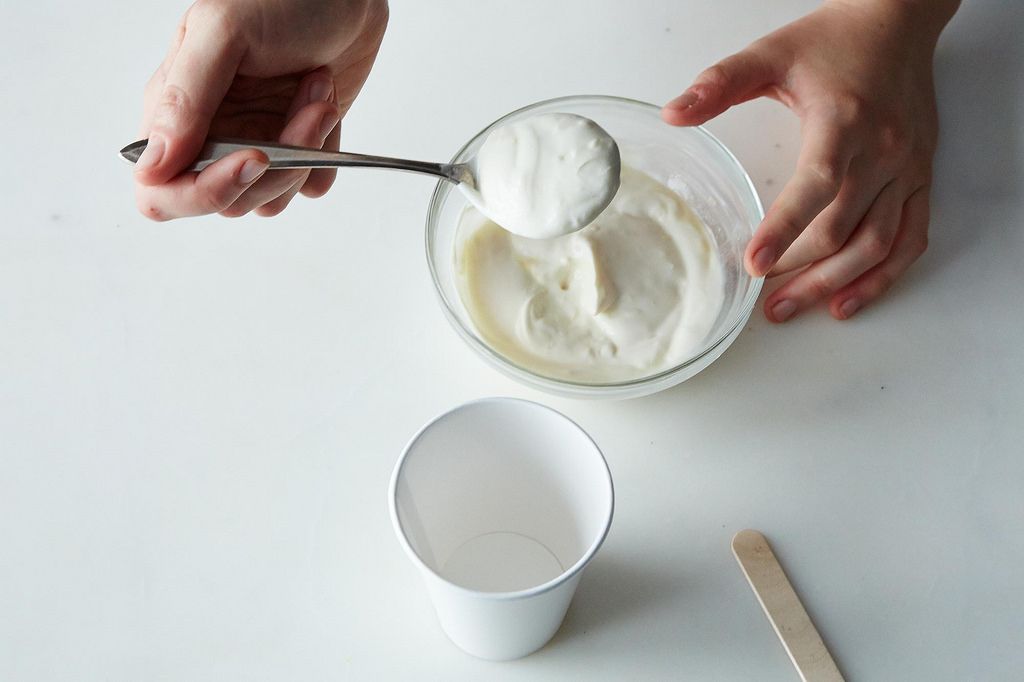
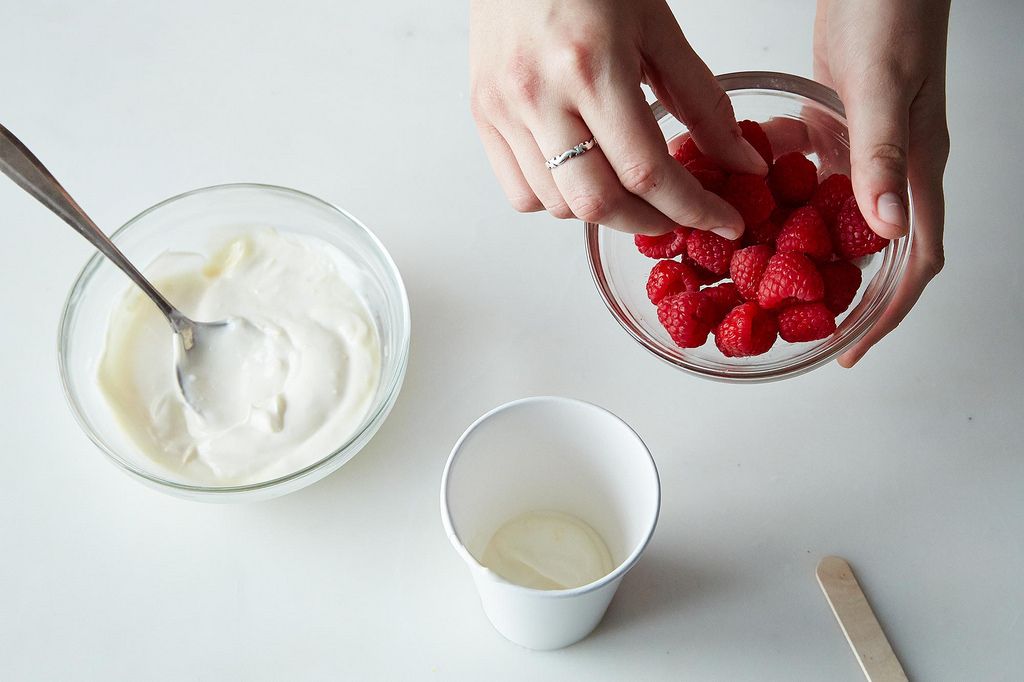
2. Begin filling up your cup with whatever liquids you want to turn into an ice pop. Juices are a refreshing choice, iced coffee gives you a cold buzz, and yogurt makes a creamy pop that freezes beautifully (here we're using yogurt with fresh raspberries). You can also purée fruits with cream, coconut milk, or juice for a base liquid. Add in fruit for a juicy bite, or layer your liquids for a marbled effect.
When it comes to fillings, pretty much anything goes -- just be careful when using booze. The higher the concentration of alcohol, the lower the freezing point, which means your pops might turn out more slushy than icy. Try mixing liquors in with other liquids, like yogurt or pudding, or freezing wine with berries.
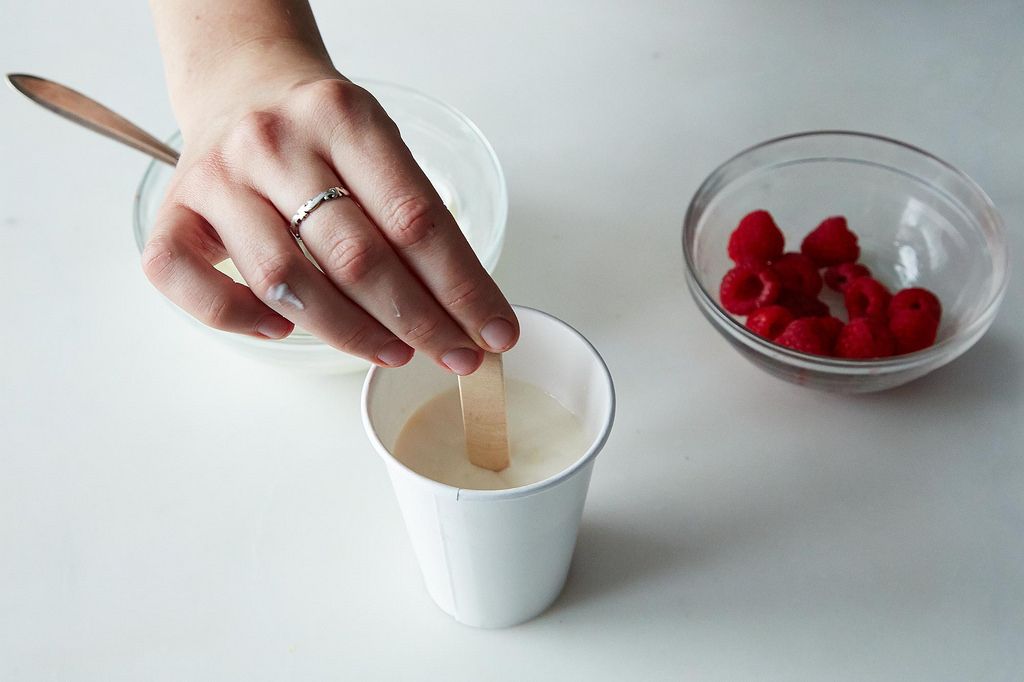
3. Stick the landing. If the liquid you used is relatively thick, you can put in the stick before your pop heads to the deep freeze. If not, freeze your pops for about 30 minutes until they have a slushy consistency, then insert the stick and freeze another hour or two until solid. You can also MacGyver a pretty crafty security system by taping the stick in place.
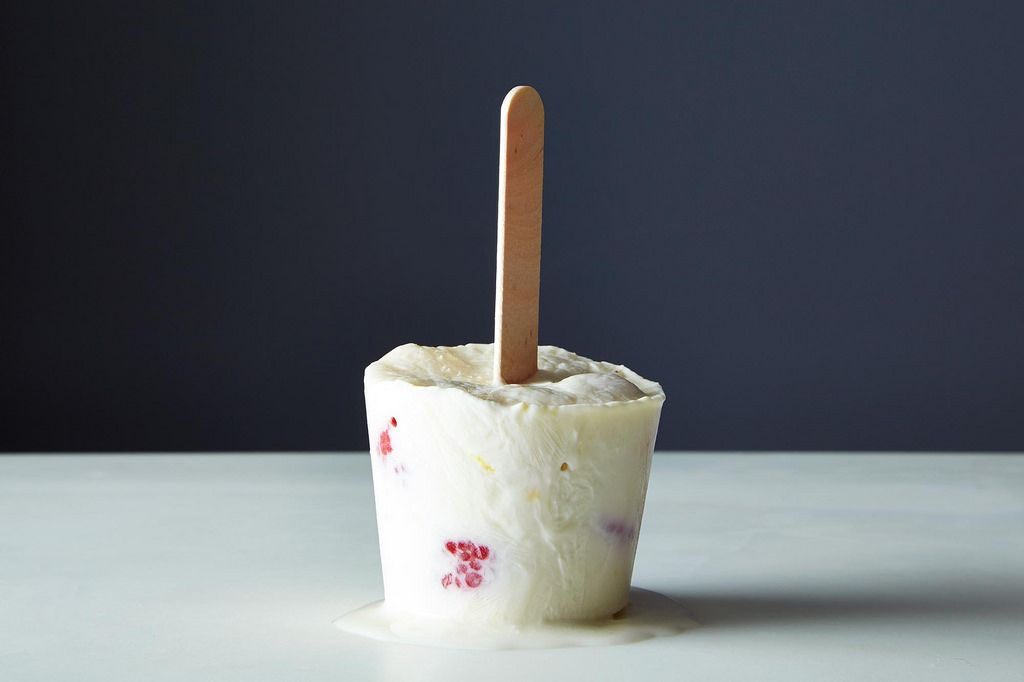
4. Enjoy the fruits of your labor. When your ice pops are frozen solid (as in, you can no longer squish the bottoms with your hand), they're ready to eat. Unmold by dipping the mold briefly in warm water if it seems stuck (or just peel off the paper cup), and dig in immediately -- these lovely pops are too good to last.
If you're looking for some flavor inspiration, here are a few of our favorites:

Pictured above: creamy iced coffee; yogurt with fresh berries; chocolate mousse; puréed mango, lime, and chili pepper; orange juice and Campari
What's your favorite thing to freeze on a stick? Tell us in the comments!


See what other Food52 readers are saying.