How many pillows are just enough? It's an important thing to ask yourself in your 20s. I personally find comfort in a surplus—all over the couch, the bed, and on every chair, in heaps so towering you have to wiggle between them to recline. For the less excessive, just a few will do the trick.
A cushy cloud of a pillow is not impossible to come by; it's finding pillowcases you love that can be a task. So when my friend Lauren Kelley, a known textile collector and lover of beautiful things, brought me two perfectly crisp, stone-washed linen pillowcases from Hawkins New York, I jumped at the chance to toy with them.
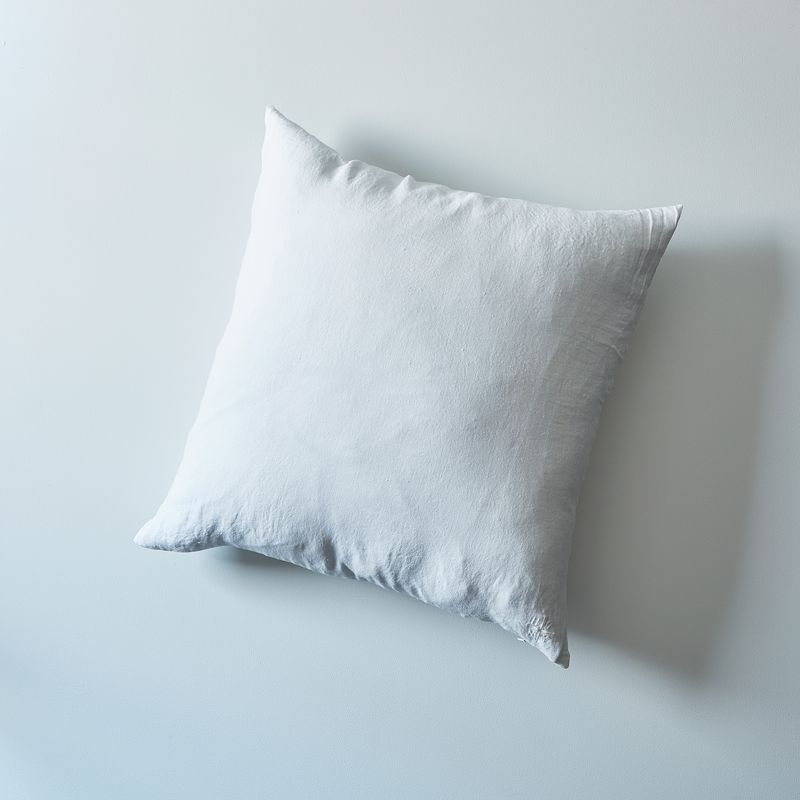
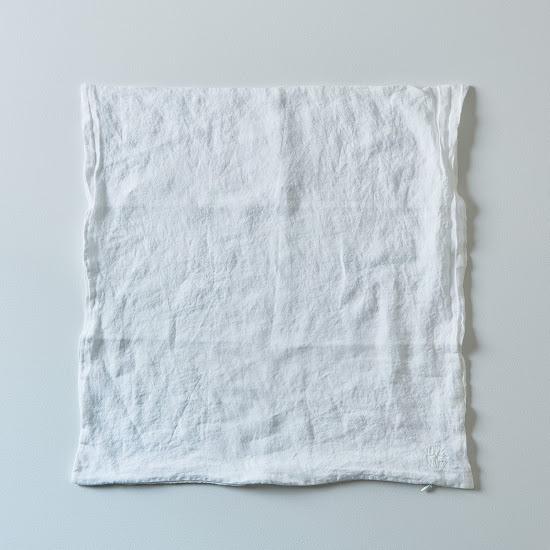
I started out with a set of simple white pillowcases, the stone-washed linen ones we sell in our Shop.
We talked about trying our hand at shibori, a Japanese technique for dying fabrics that is so all over the internet right now. But the binding tutorials reminded me a little too much of tie-dying, with its potato spore-esque rubber band buns and smoke ring results that never turn out quite like you wish they would. So, inspired by a heat wave in the office, I settled on ice-dying them instead, guided by a tutorial on Dharma Trading.
In this incredibly hands-off process, you cover a piece of fabric in a mountain of ice (many thanks to the colleagues who let me thieve our supply one very hot morning recently), sprinkle it with powdered dye, and let it melt slowly. The resulting pattern is like a watercolor. Here's how you do it:
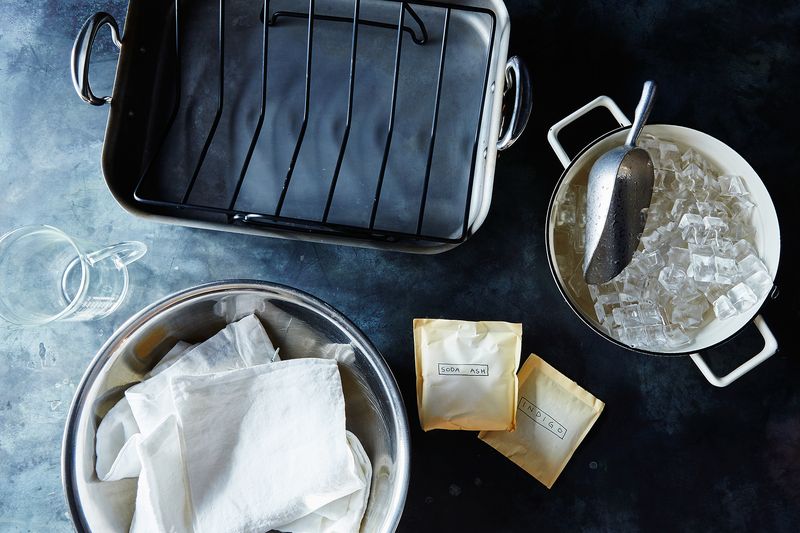
You'll need...
2 pillowcases or another type of linen, in any light color but preferably white
1 cup soda ash
1 gallon cold water
Plastic bin, tub, or bucket
Roasting or drying rack that will fit in your tub of choice
1 packet of Procion dye in your color of choice, or several colors if you want a spectrum
1 bag of ice, or a bucket of snow if it's winter
Plastic gloves
1. Wash your linens. Whether you're working with pillowcases, a shirt, a sheet, or a swatch of fabric, put your textile through a wash cycle to rid it of any oils, dirt, or fabric softeners.
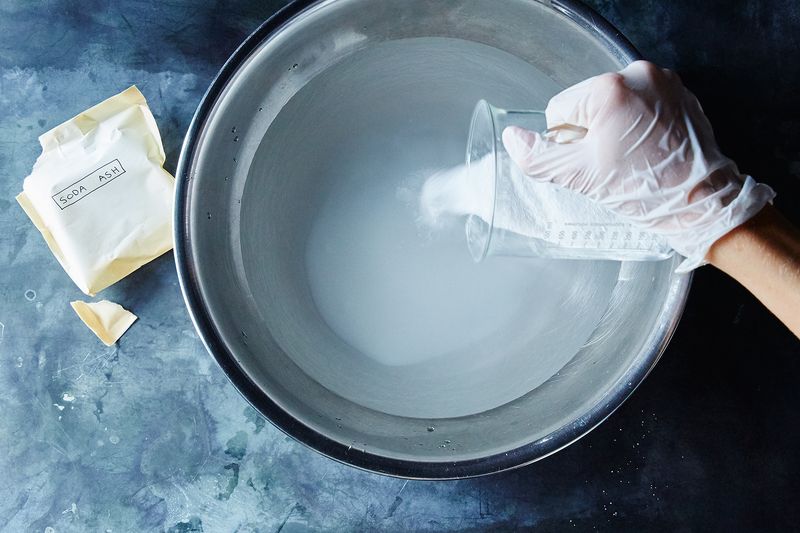
2. Soak it in a soda ash solution. Sold by the pound at many craft stores, soda ash is required to activate and fix Procion dyes (easy-to-use reactive dyes that work for coloring natural fabrics). Dissolve 1 cup of soda ash in 1 gallon of water, doubling or halving depending on how many things you wish to dye (for two Euro sham-sized pillowcases, a gallon worked great). Sink your textiles in the solution so that they're covered and let soak for 15 minutes.
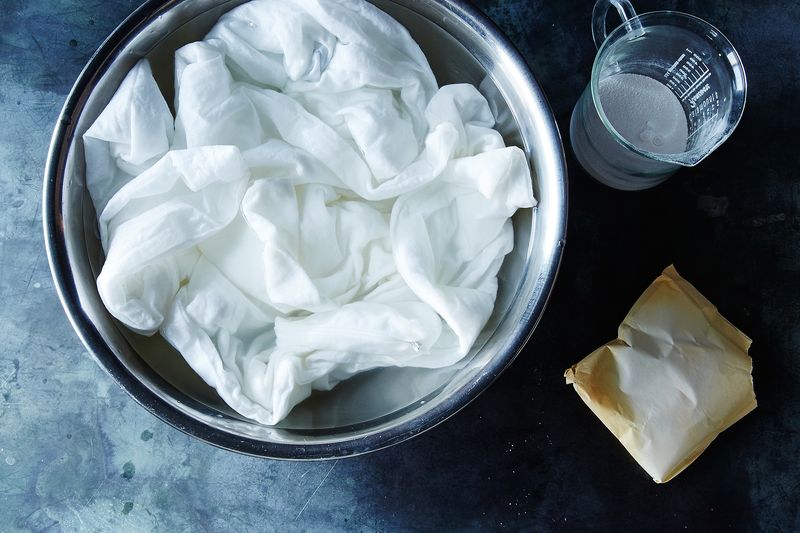
3. Prepare a tub while it soaks. If you work near a test kitchen like me, you might be tempted to ice-dye in a roasting pan—but I don't recommend it (even after lining the pan with alumimun foil, I was so scared that I'd stain it that I didn't sleep!). A plastic tub, bin, or bucket would be ideal. Fit a roasting rack or a wire drying rack in the tub so your fabric can drain.
4. Scrunch. After 15 minutes, ring out your linens but do not rinse them. Then, scrunch them up without any concern for shape or pattern and set them back on the rack in your bucket.
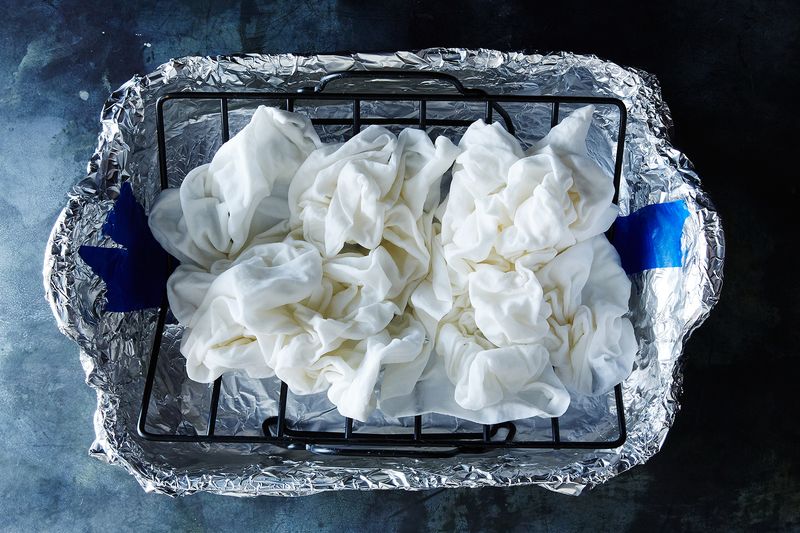
5. Ice them. Cover every inch of the fabric with ice cubes (any size or variety of sizes of ice you have available is fine). If you need to raid your company's ice maker, don't do so on the hottest day of the year or you might make some enemies. I learned the hard way so you don't have to.
6. Sprinkle with dye. Using all the restraint you can muster, sprinkle the dye over top of your ice cubes—just a little bit here and there like confectioners' sugar, far less than you expect to need. Within moments, the color will bloom and darken.
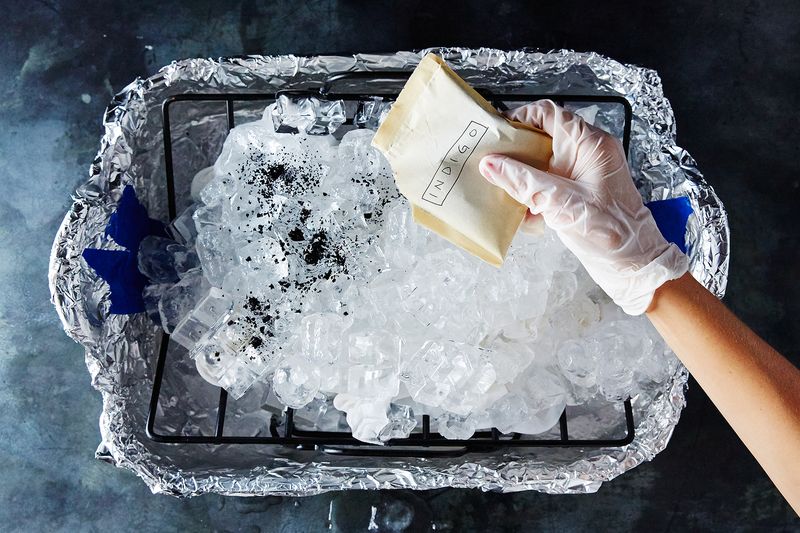
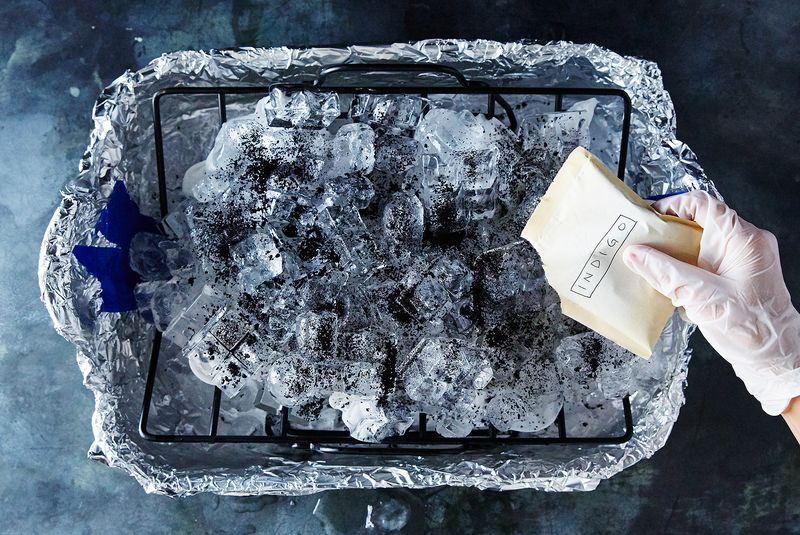
Since the slow melt of the ice creates plenty of tonal variation, I opted to go with just one color (a pack of indigo dye that turned out to be so old that the color was muted—but the pillowcases turned out beautifully anyway!). If you're nervous about blending colors, using just one is a good way to start. If you love the idea of mottling a few together, go right ahead—remembering that blue and yellow make green but purple and orange make...brown. Which could be beautiful! Just consider the color wheel before going crazy.
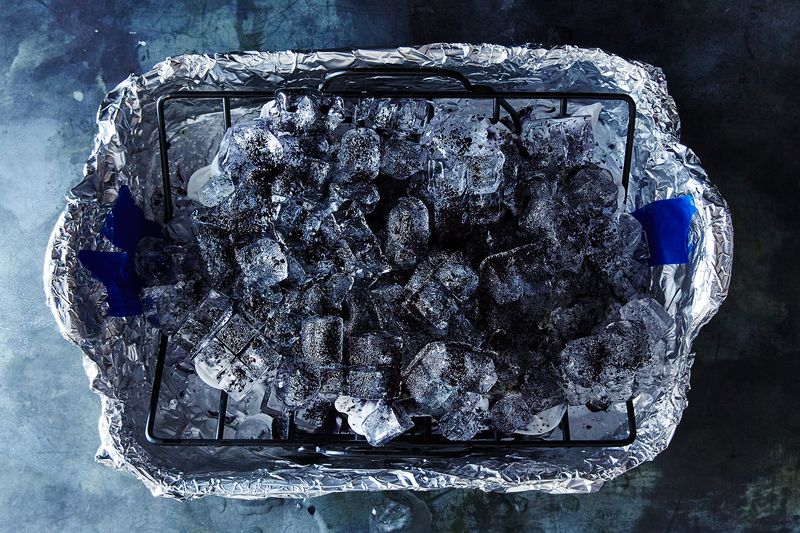
If you prefer super-saturated colors, sprinkle on a little more dye even after it darkens. This is definitely not a science—you don't have tons of control over the final design—but it's very hard to royally mess up.
7. Wait. Put your tub in a place where no curious hands might mess with it, cover it in plastic wrap, and let it melt. On a hot summer day, this doesn't take all afternoon, but you'll want to let it sit for a full 24 hours so the color can take.
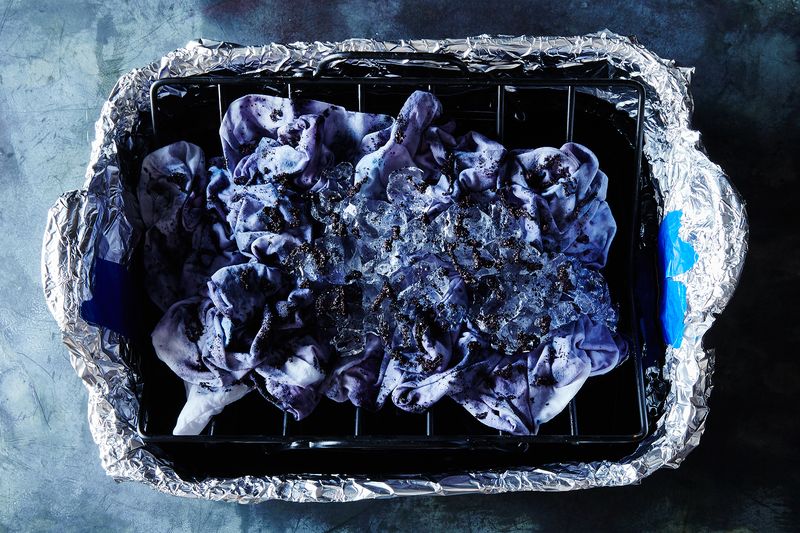
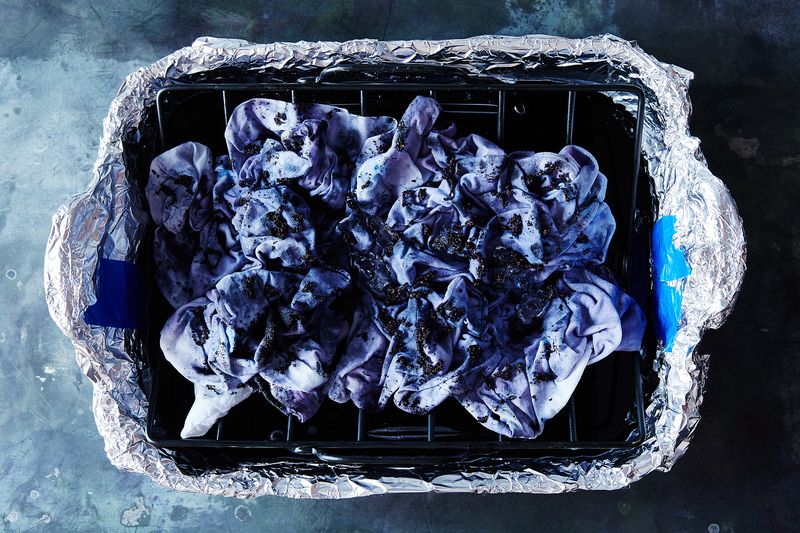
8. Rinse. After a full day in the tub, your textiles will be perched atop a pool of dark, ominous water. Wearing gloves (lest you want your hands to go Avatar on you), remove the linens and rinse them under cold water in the sink until the water runs clear.
9. Wash. Once all the dye has been rinsed out, put your ice-dyed fabric in the wash with detergent and run a cycle to get rid of any remaining dye. Tumble or hang dry, depending on your fabric, and then they're ready to use!

This post originally ran last summer—but we brought it back to add cool to the dog days.
First and last photos by Bobbi Lin; all others by James Ransom


See what other Food52 readers are saying.