When the quote I received to frame James Ransom's poster-sized photographs for the new Food52 office was in the thousands of dollars, I started trying to think how it could be done for less. Much less.

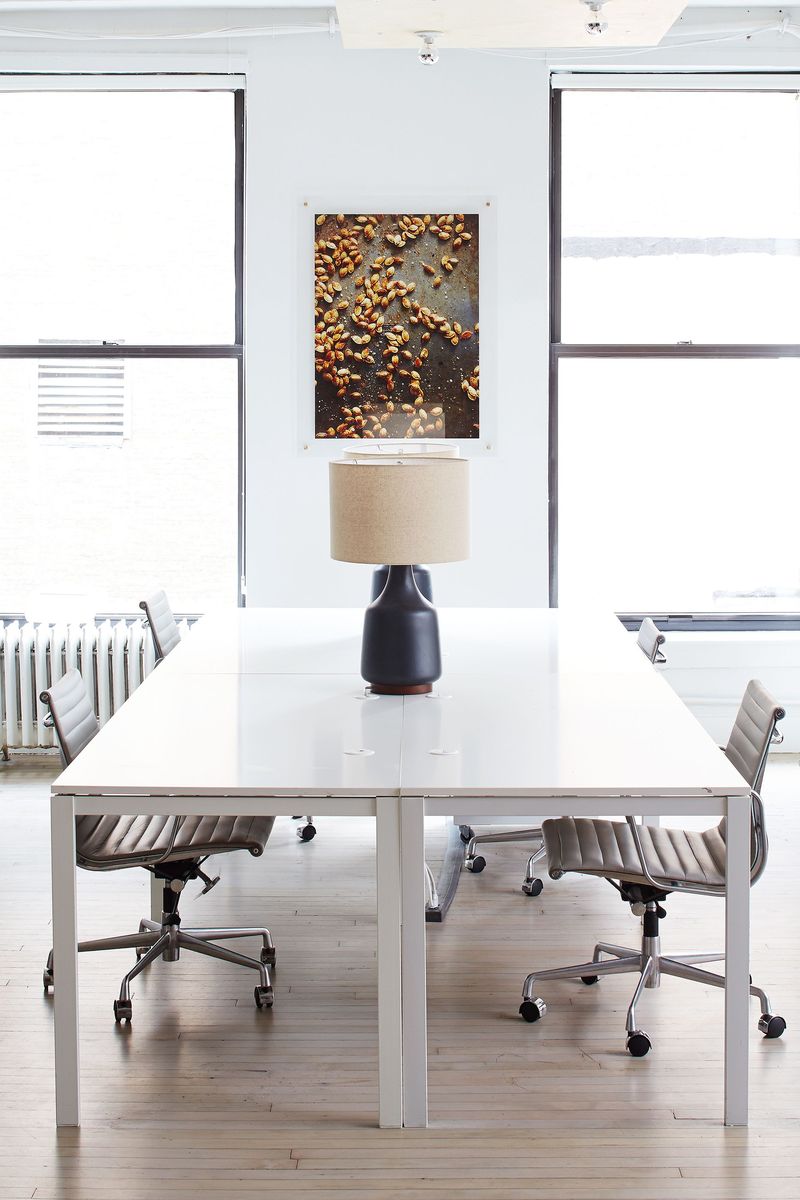
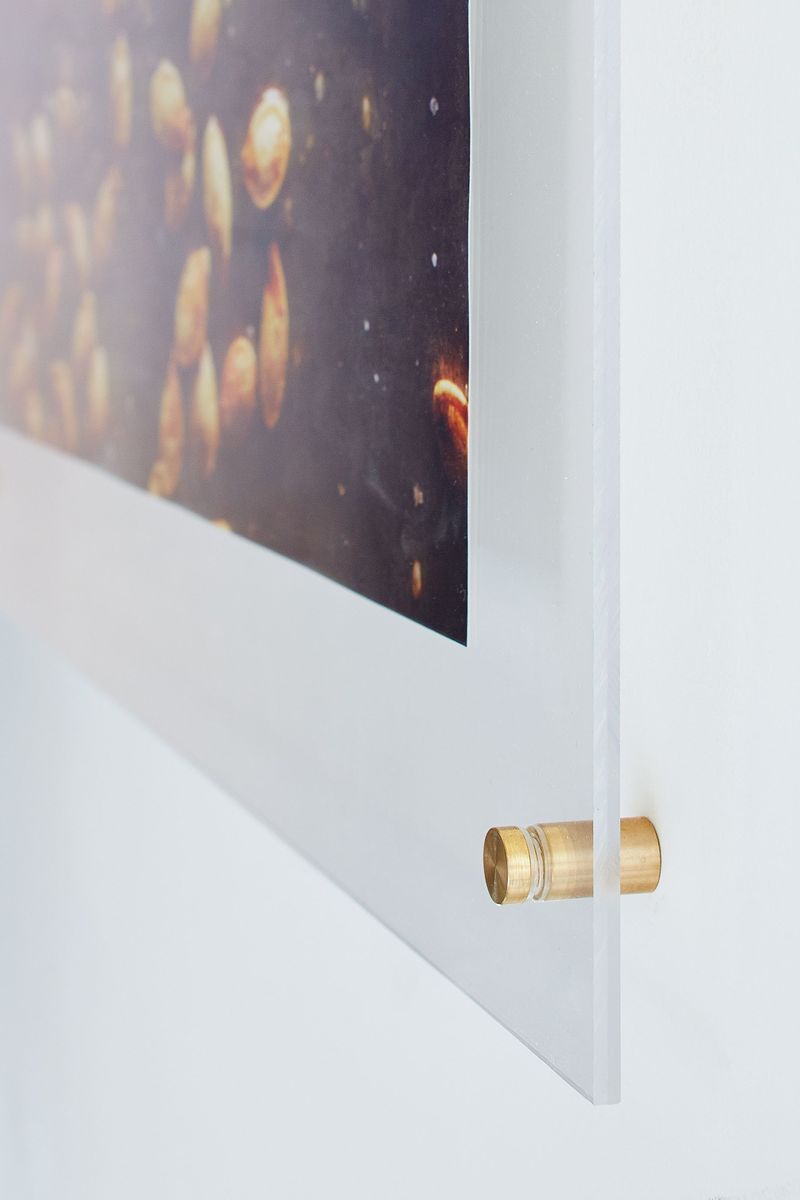
I love the minimalist look of frameless glass, which doesn't feel heavy and lets the photography stand out. But when I found these screw-in brass bolts and realized that plexiglass could be custom-ordered inexpensively, an easy DIY solution presented itself.
What you'll need:
- A large print or poster. I started with these 24- by 36-inch enlarged photographs (pictured above) that we wanted framed for the office.
- 2 matching pieces of custom-cut plexiglass. Allowing for a 3-inch border of plexiglass on all sides, I used two 30-inch by 42-inch sheets of 1/8 inch-thick plexiglass.
- 4 standoff bolts. I used large (5/8-inch diameter) brass ones.
- Very thin double-sided tape.
How to do it:
1. Have your favorite photographs printed poster-size.
If you already have a poster you want to frame, skip to step 2. If you want to DIY your own, just have a hi-res photograph printed on glossy, wide-format photo paper at a printing shop like FedEx Office. Twenty-four by 36-inch is a standard large print size (and what I used for this DIY in the office).
2. Measure your poster and acquire materials accordingly.
Find a resource, like PlasticLand, that will custom cut plexiglass sheets to order. You'll want to get two sheets that are at least 1/8-inch thick (otherwise they'll start to bow in the middle). Measure your artwork and then decide how much of a plexiglass border you want on all sides; a 3-inch border around a large poster will leave plenty of room for the bolts and create a porportionate look. To frame these 24- by 36-inch prints, I ordered two 30- by 42inch sheets of 1/8 inch-thick plexiglass.
Standoff bolts can be picked up at a hardware store or online in a variety of finishes—you'll just want to choose a size that's proportionate to your frame. For large posters like these, use bolts that are 5/8-inch in diameter. For a smaller frame, they don't have to be so big.
3. Drill holes in the corners of the plexiglass.
If you're using 5/8-inch bolts, the holes need to be 7/16-inch (slightly smaller than the bolt so it stays put). A standard bit that you'd use to drill into wood will do the job.
If you're custom-ordering plexiglass, you can ask the manufacturer to drill the holes for you. Otherwise, drill the holes halfway between the corners of the plexi and where the poster corner will sit. For the standard poster size and 30- by 42-inch pieces of plexi, that should be 1 1/2 inches from the corner.
4. Assemble.
On a clean surface, peel any backing off one sheet of plexiglass and lay the poster face up in the middle of it, adjusting so it's right in the middle (plexi is only sticky from static, so you shouldn't have any trouble getting it straight). Push the back sides (the longer end) of the bolts into the holes so they stick out the back of the poster.
Now that your poster's straight, lift up each corner and add a small piece of very thin double-sided tape to each corner of the back, securing it in place. Cover the poster with the second piece of plexi. Screw on the fronts of the bolts to secure the whole frame together.
5. Hang.
Decide where the holes on the wall should go by holding the frame up to the wall and making marks with pencil. Drill holes for each screw (they'll come with the bolts), and mount as instructed.
This article originally ran last September; we brought it back because it's moving season, and framing can get expensive!
Brad Sherman is the brains behind the new Food52 office design and our custom furniture line. Photos by Mark Weinberg.
What kinds of posters do you hang in your home, and how do you put them on the walls? Let us know in the comments!

It's here: Our game-changing guide to everyone's favorite room in the house. Your Do-Anything Kitchen gathers the smartest ideas and savviest tricks—from our community, test kitchen, and cooks we love—to help transform your space into its best self.
Grab your copyWritten by: brad sherman
Popular on Food52
12 Comments
It depends on the thickness of the cloth, but I wouldn't recommend it. The frame looks nicest when both pieces of plexi are touching. I would imagine the cloth would prevent the plexi pieces from coming together completely.
David - This is not meant for archival display. It's a low cost solution to get a high end look. Thanks for your feedback!
See what other Food52 readers are saying.