We should all have a solid command of the ABCs of baking. Thankfully, Food52's Test Kitchen Manager Erin McDowell -- alongside photographer Sarah Stone, who both blog at The Shutter Oven -- is here, with tips and tricks to help you master the most essential desserts and the simplest breads.
Today: Erin shows us how to make better, heartier loaves of bread in 2015.
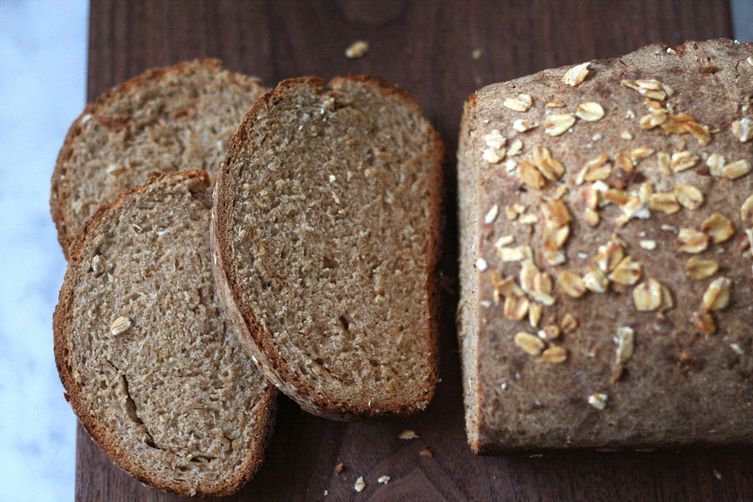
It’s a new year! I love the fresh start January brings, with the exception of the influx of dieters and temporarily born-again health nuts all grasping onto an intense menu plan to shed pounds. Don’t go calling me the Scrooge of New Year’s just yet -- I’m a firm believer in making resolutions, which is why I feel they should be attainable goals you’re likely to stick with well past February. So I propose a new addition to your resolution list: Learn to bake (better) with whole wheat flour.
It’s a simple goal, but one that an make a huge impact on the way you bake this year. Whole wheat flour (and other whole grain flours) are fascinating to work with. When used properly, they lend a depth of flavor, an incredible texture, and (bonus!) an array of health benefits that are greater than that of white flour. When used improperly, though, they can make tough, cardboardy baked goods. You don't have to put in too much energy to make use of everything whole wheat has to offer -- here’s what you need to know:
-
Love some loaf history: Historically, throughout the great bread-baking regions in Europe, white flour was widely regarded as the better flour -- because it cost more (and took more time) to produce, it was considered the stuff of royalty. Many people pined for crisp, white loaves, but were stuck producing darker, heartier ones with “lesser” flours.
Because of this, whole wheat flours (along with rye flours) have an incredible history in bread baking. Regions in France, Italy, Germany, and more were denoted by their particular blend of flours produced to make their standard bread. Shapes, scoring patterns, and sizes of loaves varied from place to place, but the “common” loaves of the lower classes are now widely regarded as some of the most popular and adored breads around the world. They’re crusty on the exterior, with a chewy, moist interior that’s bursting with deep flavor. On top of it, they’re dramatic in presentation -- they have a dark, intensely colored crust and a speckled interior crumb.
Can you tell how I feel about these loaves? They are the true artisan breads of the world, and they should be celebrated! Whole wheat flour is amazing and should be used not just for health reasons, but for flavor, texture, and to preserve a little bit of our lengthy and wondrous bread history.
-
Embrace the preferment: One of the best ways to maximize flavor from whole wheat flour is to start with a preferment (more info here). Preferments allow the nutty, deep flavors of whole wheat flour to really shine. The recipe I’m including in this article is for a simple, lightly kneaded, versatile sandwich loaf, but it stands to be said: Preferments can help make a killer whole wheat loaf. Using preferments can also help the dough in the gluten development department, making for a more ideally chewy loaf (more on that below).
-
Ain’t nothin’ but a germ thing: To make white flour, the wheat kernel is cracked and then sifted to remove the outer bran and the inner germ of the wheat. In the processing of whole wheat flour, the entire kernel is cracked and ground, including the fiber-rich bran and the vitamin-rich germ. The upside is that this makes the flour highly nutritious. The downside is that the flour is more perishable than white flour. Unless you’re baking with whole wheat flour very regularly, you may want to store it in your refrigerator or freezer to keep it fresh longer.
More: Here's even more information on baking everything from cookies to biscuits with whole wheat flour.
-
How to Sub: For your first few go-arounds, I’d suggest using a recipe that’s been developed specifically to use whole wheat flour. This will give you an idea of what it’s like to work with. While specific protein content does vary from brand to brand, whole wheat flour has an even higher protein content than bread flour, coming in between 14 and 15% (bread flour is generally 12 to 13%). This means it absorbs water differently than white flour -- not more so, necessarily, just differently.
If you make a loaf with 4 cups of white flour and follow the same recipe with 4 cups of wheat flour, you’re going to turn out two very different (though equally edible) loaves. Adjusting the ratios slightly to embrace what whole wheat has to offer will maximize the result and get the texture you desire. In the pro column: Whole wheat flour makes a naturally awesome, flavorful, crispy crust. In the con column: It can be dry and unpleasant in the interior by the time that crust is achieved. To combat this, many recipes use a blend of white flour and wheat flour. You don’t have to, but the results will prove why it is done -- all the benefits of a traditional white bread with the added benefit of whole wheat.
Many recipes for whole wheat breads also include enrichments. Ingredients like milk, butter, eggs, and so on can help to tenderize the dough, making a softer, chewier interior. These two facts can often deter people from baking with whole wheat flour. If you have to add milk or white flour, why are you even trying to make a “healthier” bread in the first place? But remember, the health benefits are still there, and none of these additions are required -- they can just help to make an ideal loaf. Plenty of breads are made with 100% whole wheat flour, but if you have a recipe you love, try subbing half of the white flour for whole wheat. The results will be deliciously different and worth the try.
-
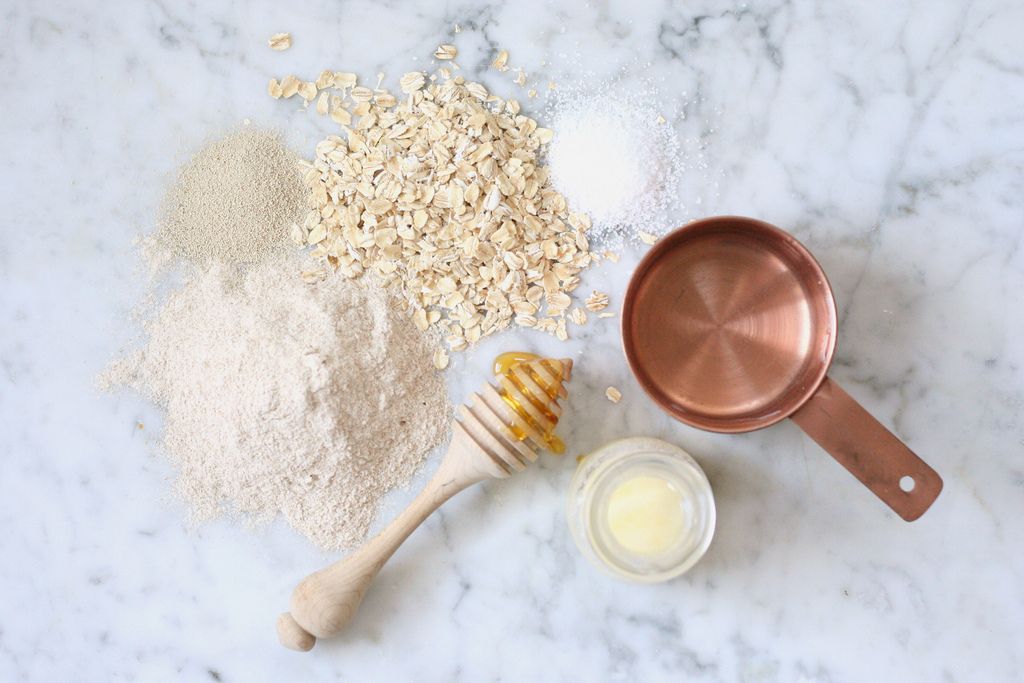
Know your ingredients and scale them carefully. Flour, water, yeast, and salt. Most of my bread recipes use instant yeast, which doesn’t need to be activated in warm water -- it’s just mixed directly into the flour. I like to use filtered water to ensure that there aren't any odd tastes or bewildering chemicals inside that could potentially affect the dough. Note that the ideal temperature when a recipe says “warm water” is between 95 and 110° F. I use kosher salt in all my bread recipes, and as many of us have learned, the type of salt you use can make a BIG difference. Bread is certainly no exception. Take care scaling your ingredients. It’s ideal to scale bread recipes by weight, though I provide volume measurements too -- I know what it’s like to not have a scale!
-
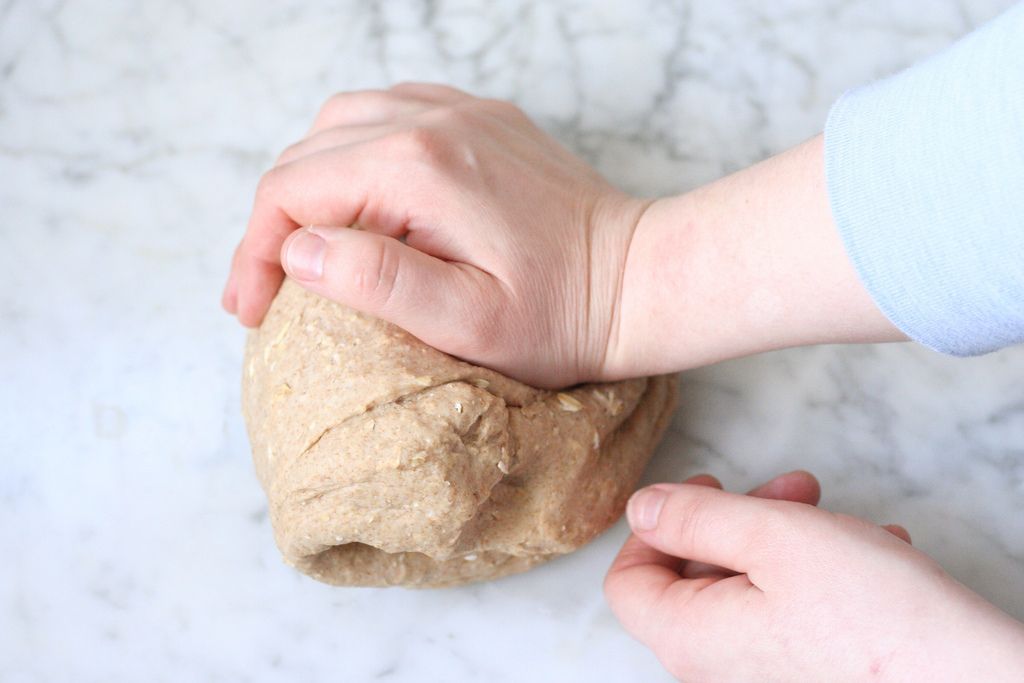
Mix it good. This recipe can be mixed by hand or in a mixer -- you’re just looking to mix it until the dough is smooth and elastic, which takes about 5 to 6 minutes in a stand mixer fitted with the dough hook, or 10 to 12 minutes mixing by hand. Either way, begin mixing slowly until the ingredients come together into a homogeneous mass (in bread lingo, this is called the “pick-up” phase). Once the dough has formed a ball, you can increase the mixer speed or start kneading it by hand. Try not to add additional flour – the dough will be slightly tacky, but shouldn’t stick to a surface.
-
Let’s talk about gluten. Despite its higher protein content, whole wheat flour does not form gluten as easily as bread flour. The bran, or the outer part of the wheat kernel, is incredibly high in protein (and drastically contributes to the elevated content in whole wheat flour). However, the bran is also tough, and even when ground can act almost like a blade inside the dough, slicing the gluten strands as they form during mixing.
This is yet another reason why whole wheat flour alone is not often used in baking -- it can’t develop gluten as easily on its own. Ways to combat this include using a mixture of flours or starting with a preferment. Preferments help “break down” the bran a bit due to the production of lactic acid. This “breaking down” has no real negative effect -- the flour is still as nutritious, and the flavor is still strong and nutty. But the action of mixing a preferment drastically aids the dough during mixing; it’s one of the reasons whole wheat makes sure a good sandwich loaf (made with a sponge) or sourdough (made with a sourdough starter). Doughs made without preferments won’t suffer entirely; they just need to be mixed differently, with shorter mixing times, generally accompanied by an increased moisture content in the dough.
More: Can't get enough of whole grains? Try this week's worth of recipes from Kim Boyce.
-
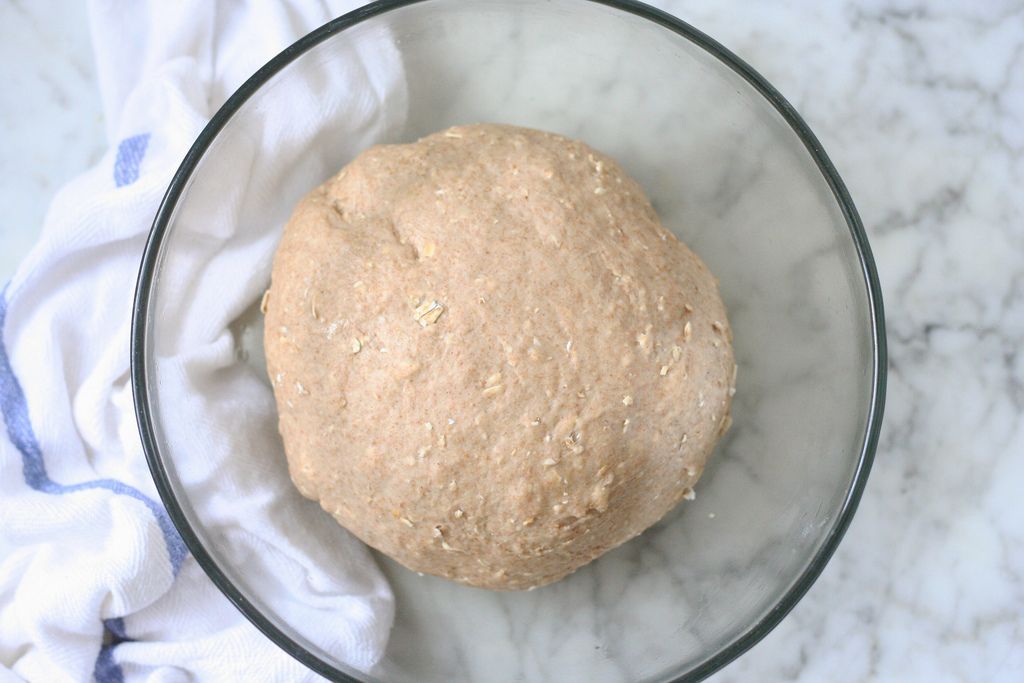
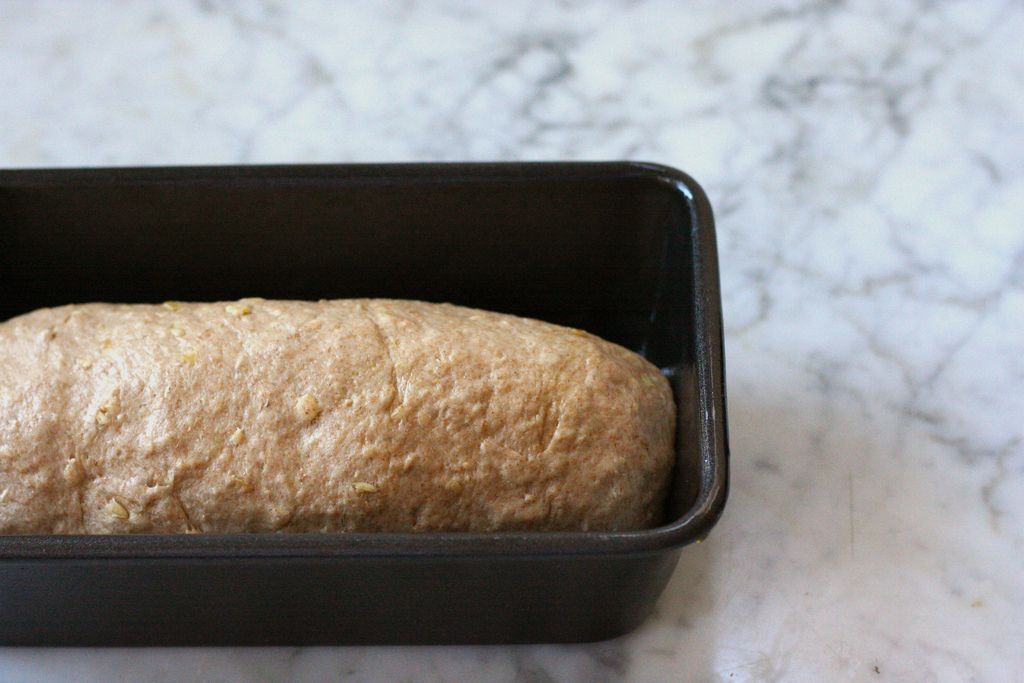
It's all about slow-rising. For a variety of reasons (including that stubborn bran), doughs made with a high quantity of whole wheat flour can take longer to rise. Don’t stress -- just plan on a slow, overnight rise in the refrigerator or plan on making your dough early in the morning to allow it enough time to rise. Remember, it needs to rise after mixing and again before baking. As an example, for the weight of the dough that this recipe yields, I would normally suggest a 1-hour rise time (both after mixing and after shaping), but for this loaf, it’s closer to 2 hours each time.
-
Shape mindfully. Okay, this is the last time I'll be hard on that bran: It can make shaping a little trickier too. This doesn’t apply so much if you’ve mixed flours, added lots of enrichments, or used a preferment, but for those hearty, crunchy, 100% whole wheat loaves, you want to shape the dough in as few moves as possible, because the bran is likely to make your job a little more difficult, "cutting” through the dough as you fold and try to tightly shape it. Stick with simple shapes and work efficiently. Also remember to allow enough time to rise after shaping -- this is crucial to an ideal end crumb structure.
-
Let’s talk oven temp. As with all crusty loaves, lean whole wheat doughs like to be baked at a high temperature to ensure ideal oven spring and a crunchy exterior crust. But remember that enriched breads require a lower baking temperature -- all those milk solids, butter, and eggs will brown way too quickly under a high temperature. The basic rule is that enriched breads bake around 350° to 400° F, while lean breads bake anywhere between 425° and 550° F.
-
Don’t be afraid of browning. This is one of my steadfast rules of bread baking, but it's especially important when you’re using a darker flour to start with. Follow the baking time and then (carefully) tap the loaves with your finger. A loaf with a properly formed, crisp crust will sound slightly hollow when you tap it. Remove the bread and (here’s the hard part) cool completely before serving for the best interior crumb structure.
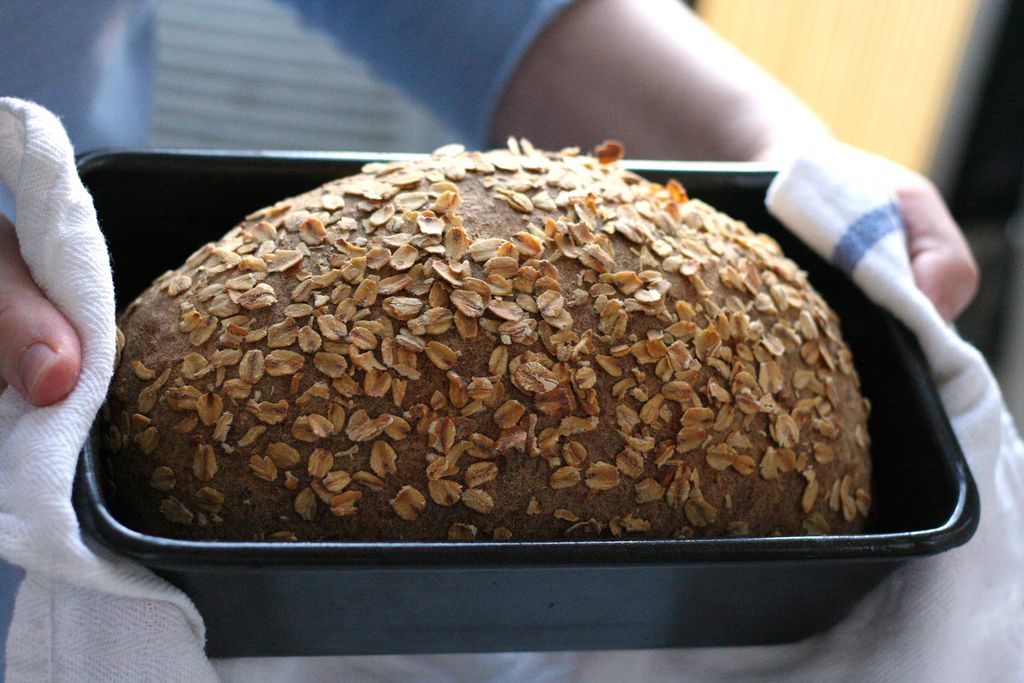
Honey Oat Whole Wheat Loaf
Makes one 9-inch loaf
2 cups (10 3/4 ounces) whole wheat flour
1 cup (4 3/4 ounces) all-purpose flour
1 cup (3 1/4 ounces) oats, plus more for finishing
2 teaspoons (8 grams) salt
2 1/2 teaspoons (7 grams) instant yeast
1 1/4 cup (9 1/2 ounces) warm water
1/3 cup (3 ounces) honey
4 tablespoons (2 ounces) unsalted butter, melted
See the full recipe (and save and print it) here.
Photos by Erin McDowell
I always have three kinds of hot sauce in my purse. I have a soft spot for making people their favorite dessert, especially if it's wrapped in a pastry crust. My newest cookbook, Savory Baking, came out in Fall of 2022 - is full of recipes to translate a love of baking into recipes for breakfast, dinner, and everything in between!


See what other Food52 readers are saying.