Popular on Food52
Continue After Advertisement
20 Comments
adeola
July 20, 2014
I tried using a dental floss for my cake and it came out better than the knife method.
Dannielle
April 26, 2014
I have a cake layer recipe and it recommends to not assemble the cake until an hour before serving. Would anything bad happen if I assembled all of it and stuck it in the fridge over night? It's strawberry filling cake with heavy cream frosting.
darksideofthespoon
April 26, 2014
I would make it the day before and freeze it overnight, then remove the layer cake 3 to 4 hours before serving. I have worked in several cake bakeries and they all used this method.
Christina @.
April 26, 2014
If it's fresh strawberries, personally, I wouldn't. I think assembling it a few hours beforehand and putting it in the fridge is fine, but overnight may make it taste more like a trifle. I agree with darksideofthespoon, too; freezing the cake also makes it easier to work with.
Cookie16
August 6, 2013
These tips are all great! If only I had an oven that wasn't such a nuisance and would hold a consistent temperature!
Sadassa_Ulna
July 15, 2012
I sent this wonderful article to my teenage daughter yesterday when she wanted to make a three-layer cake for her friend's birthday. She dutifully followed the instructions outlined and it turned out great. We approximated a cake board by wrapping a piece of cardboard with parchment paper. Now I need to buy her a "magic wand" for frosting!
Judy A.
June 21, 2012
Another trick for making even layers is by simply baking the cake batter in half sheet pans and cutting out circles or squares after the layers are baked. Less baking time, less stress about cutting even layers. This process eliminates thick over baked tops and bottoms that cake pans often produce. Cooled cakes are key.
ChefJune
June 20, 2012
I have one of those cake slicers but still haven't used it. You're giving me ideas! That cake is so gorgeous.
One word of warning if you're not used to baking cakes. Follow the recipe to the letter. Changing up any of the ingredients or not using the right amount of each one can result in failure. I will never forget a friend who was aching to make my Sweet Potato Cake for her dad's birthday. She wanted to prove to her folks that healthy baking could be delicious. The recipe calls for 2 cups of cooked and mashed sweet potato. (I even warned her she would have too much sweet potato after she prepped it, and only to use TWO cups.) Well, she decided to toss the whole thing in, and her cake turned out as dense as lead. Would you believe she called me to ask what might have happened?
So please make sure to measure exactly!
HalfPint
June 20, 2012
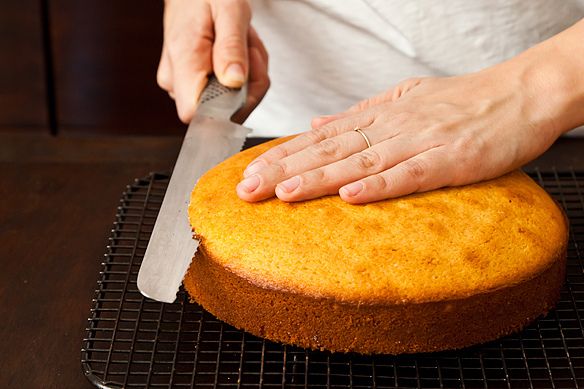
This is where a bread knife comes in handy. It's the best serrated knife around, but wicked sharp (as my husband's 4 stitches demonstrated).
Christina @.
June 20, 2012
Another reason to use the cake slicer; works great on the cake, but couldn't cut you if you tried.
southernlady
June 21, 2012
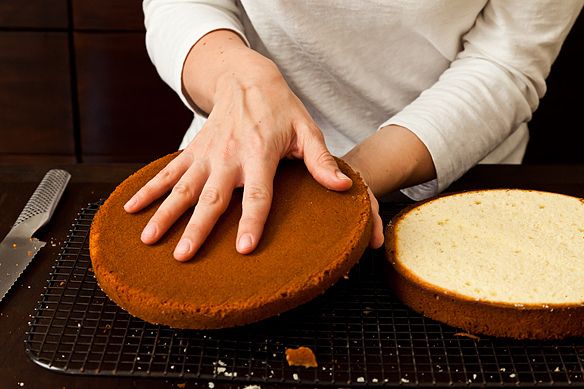
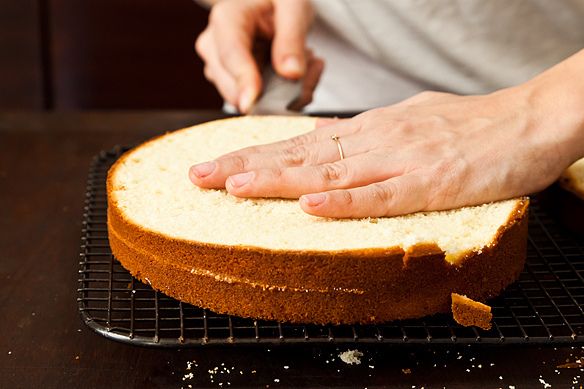
In a pinch dental floss can even be used to split layers. Wrap a piece of unwaxed floss around the layer with a little extra. You can see where the floss will split the layer and move it up or down so the layers are straight. Wrap the ends around your fingers and pull so the floss splits the layer.
Sadassa_Ulna
June 20, 2012
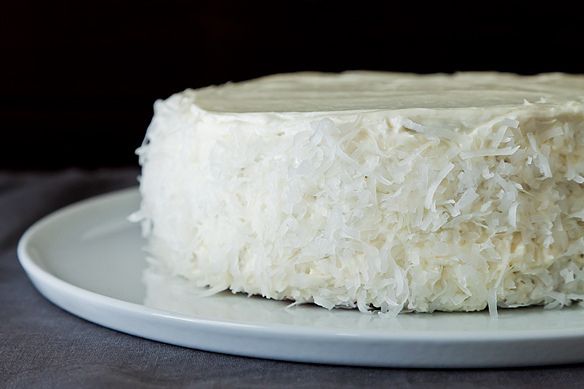
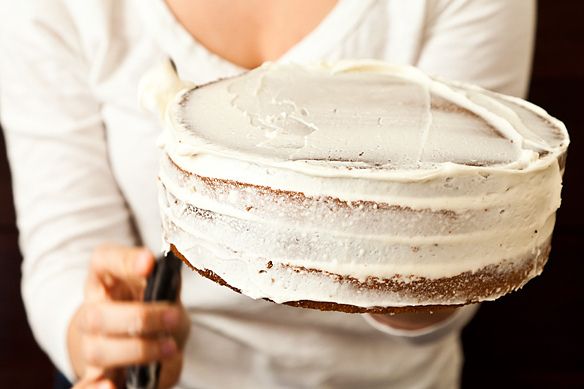
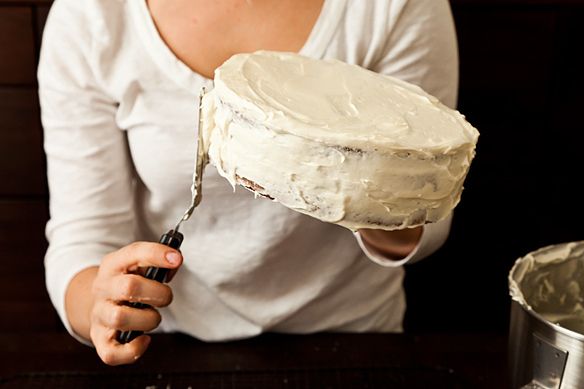
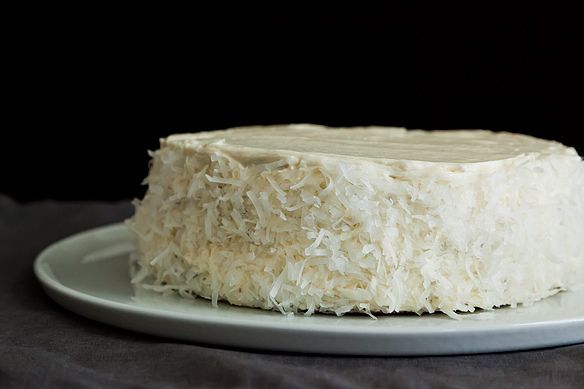
That is one pretty cake! I didn't know chilling the cakes makes leveling easier. I had heard about the secret crumb coat but I never knew the cake was chilled after applying it. That makes so much sense. Now I want to make one...
Thanks for the great tutorial.
Thanks for the great tutorial.
Christina @.
June 19, 2012
drbabs, I put in a hyperlink on my blog post for Amazon (click on "cake slicer")...it's around $6 there, but I know Michael's Arts and Crafts carries them (got mine there) and I think Bed Bath and Beyond should also have it if there's one near you. It's one of those "why didn't I think of that!?" contraptions!! No more uneven cakes...sheer genius! :)
darksideofthespoon
June 19, 2012
Nice tute! I decorated cakes for years before becoming a chef and I have two tricks that aren't in here that I think are essential! First, instead of an offset spatula for decorating the sides (after you do your crumb coating), use a metal pastry scraper. That way you can angle the scraper against your cake board so you get perfect straight sides on your cake. The second, which goes hand in hand with the first tip is to purchase a lazy susan from somewhere like Ikea. That way you can spin the cake around while you hold your scraper against the cake and get a perfectly smooth icing job with no lines on your cake.
darksideofthespoon
June 19, 2012
http://handicraft.indiamart.com/products/home-products/kitchenware/pastry-scraper.html
Christina @.
June 19, 2012
Your cake looks lovely, but it could look even lovelier if you used a cake slicer/leveler! Forget the serrated knife, (and the chance to cut yourself!) this tool is one of my favorite things in my kitchen!! Scroll down a few items, and you'll see it: http://christinascucina.blogspot.com/2011/10/things-i-honestly-if-i-dont-have-these.html
drbabs
June 19, 2012
That thing looks genius! We're celebrating my mother's 80th birthday while on vacation, and I don't even know if the place will have a serrated knife. Where did you get that?
Christina @.
June 19, 2012
I clicked REPLY on your post (drbabs) but it didn't work! Here goes:
drbabs, I put in a hyperlink on my blog post for Amazon (click on "cake slicer")...it's around $6 there, but I know Michael's Arts and Crafts carries them (got mine there) and I think Bed Bath and Beyond should also have it if there's one near you. It's one of those "why didn't I think of that!?" contraptions!! No more uneven cakes...sheer genius! :)
drbabs, I put in a hyperlink on my blog post for Amazon (click on "cake slicer")...it's around $6 there, but I know Michael's Arts and Crafts carries them (got mine there) and I think Bed Bath and Beyond should also have it if there's one near you. It's one of those "why didn't I think of that!?" contraptions!! No more uneven cakes...sheer genius! :)


See what other Food52 readers are saying.