Here at Food52, we're serious about our coffee. So we got our friends over at Stumptown Coffee to teach us everything there is to know about it -- and to make our morning (and afternoon) routines a little bit brighter.
Today: How to brew coffee in the portable, unbreakable Aeropress.

AeroPress has started a brew revolution. Not bad for the fellow who invented the Aerobie high performance sport frisbee. (There's at least one millionaire idea in all of us is the lesson here.) Everyone has a different method that they swear by -- all you have to do is google "AeroPress brew methods" and you'll see what we mean. We even have a few favorites ourselves at Stumptown, but we’re going to show you our favorite everyday or on-the-road AeroPress method. (You can find our inverted method here.)
The AeroPress is cool because it's easy, fast, a breeze to clean and it’s unbreakable -- so it's perfect for camping or traveling. (Just ask our green coffee buyers who have AeroPressed their way through Ethiopia and Latin America, and, most recently, on an Amtrak train commute from New York to Boston.)
How to Brew Coffee in an Aeropress
First, measure and grind 17 grams (or about 3 tablespoons) of fresh coffee -- the ground coffee should be about as fine as table salt. Next, assemble the filter in the brewer, and place it upright on a cup without the plunger.
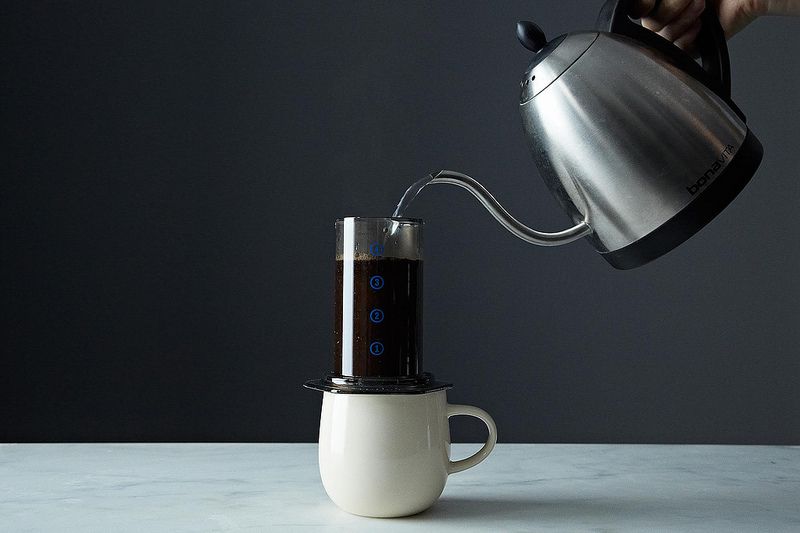
Pour hot water to preheat the brewer and rinse the paper flavor out of the filter. Discard the rinse water.
Next, add the ground coffee to the brewer and get your count-up timer ready on your watch or phone. Next, pour hot water about 30 seconds off the boil (around 200 degrees) to nearly full and stir thoroughly with the included paddle (or a wide spoon). Use the plunger to seal the AeroPress.
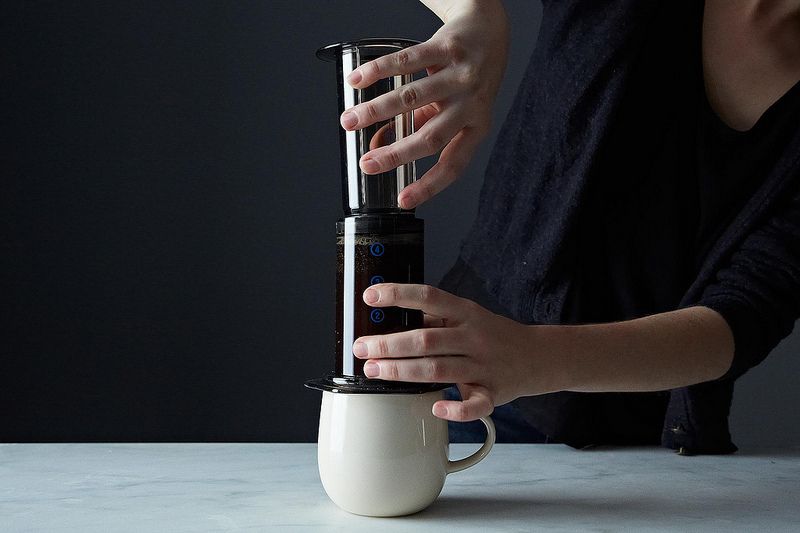
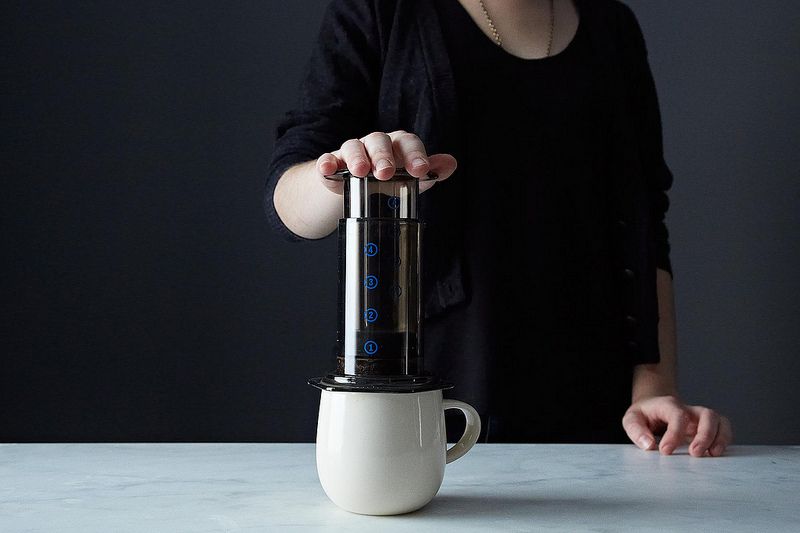
At the 1:15 mark, remove the plunger and stir again. Then, reinsert the plunger and push slowly until the liquid has been expressed and you hear a hissing sound. The whole process should finish up between 1:45 and 2 minutes, and you are left with a perfect single cup. Happy pressing!
See what other Food52 readers are saying.