Tips & Techniques
5 Nighttime Photo Tips from the Pros (Even if Your Camera is a Phone)
Don't be afraid of the dark. Learn how to take perfect photos at candlelit dinners, dim restaurants, and outside at night.
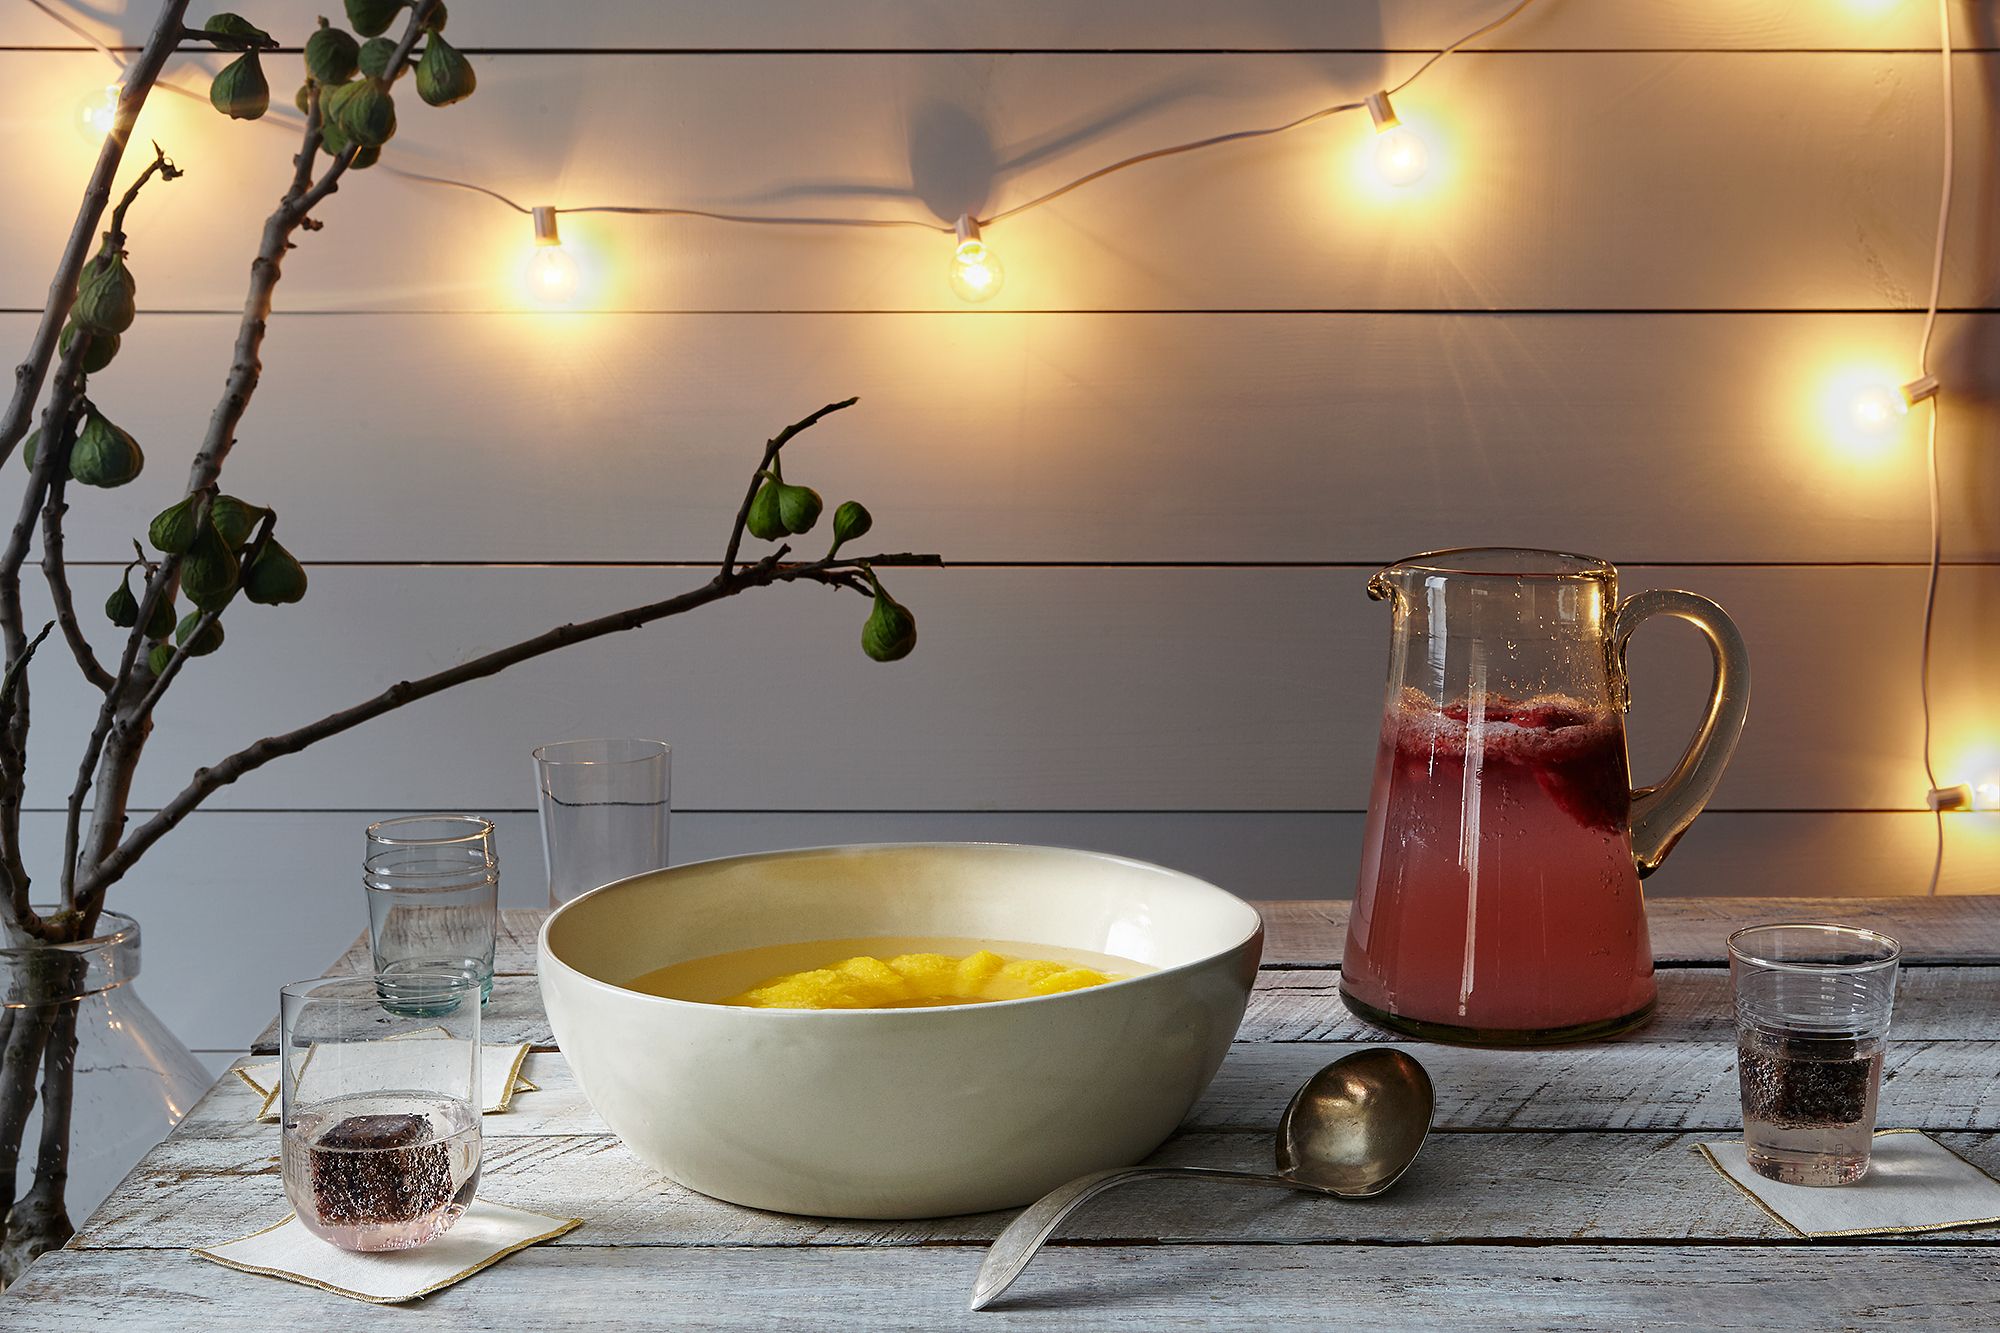
The table is set, the candles are lit, and the food on your table could not look any more idyllic. But when you take out your phone to snap a photo, the flash makes all of the food—and your friends—look shiny and washed-out. So you try another without the flash only to realize that the grainy, phone-quality photo is a poor representation of the beautiful scene you just set. Fortunately, there are quick fixes for making even nighttime photos beautiful and rich. Here are five tips from the pros for taking phone photos in the dark:
1. Use an app that allows you to adjust the exposure and ISO.
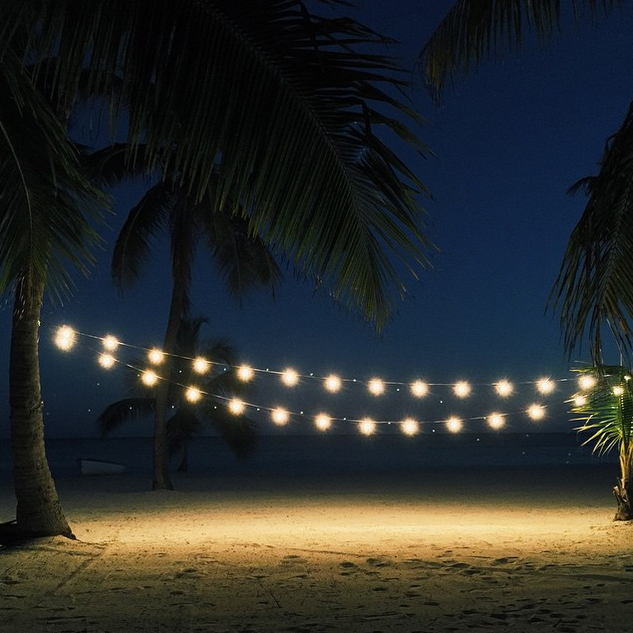
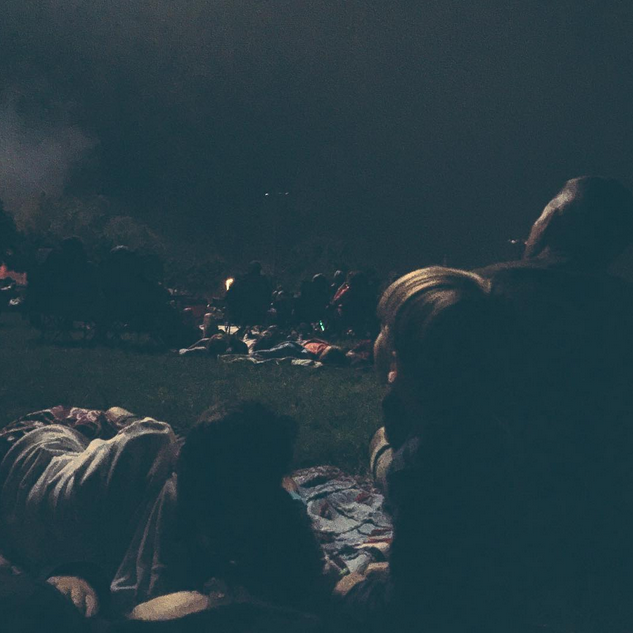
Left: Mark altered the exposure on his phone to capture this string of lights in the Florida Keys; Right: A photo James took of his family watching the fireworks earlier this month.
James Ransom, our long-running photographer known for gorgeous shots like this and this, like to adjust the exposure and ISO, even when using his phone to take pictures:
"The key to getting the best image possible is to use an app, such as ProCamera, that allows you to control the exposure (the amount of light the camera takes in) and the ISO (the camera's light sensitivity). You have to remember that you still need some light to get an image, so use a high-powered LED flashlight, or shoot somewhere where there is enough ambient light to illuminate the scene. The higher the ISO, the more grain you will get in the image, and the longer the exposure the more blurred it will be, so you have to find a happy medium. Keep your expectations low and have fun!" (Follow James at @jamesransom_nyc)
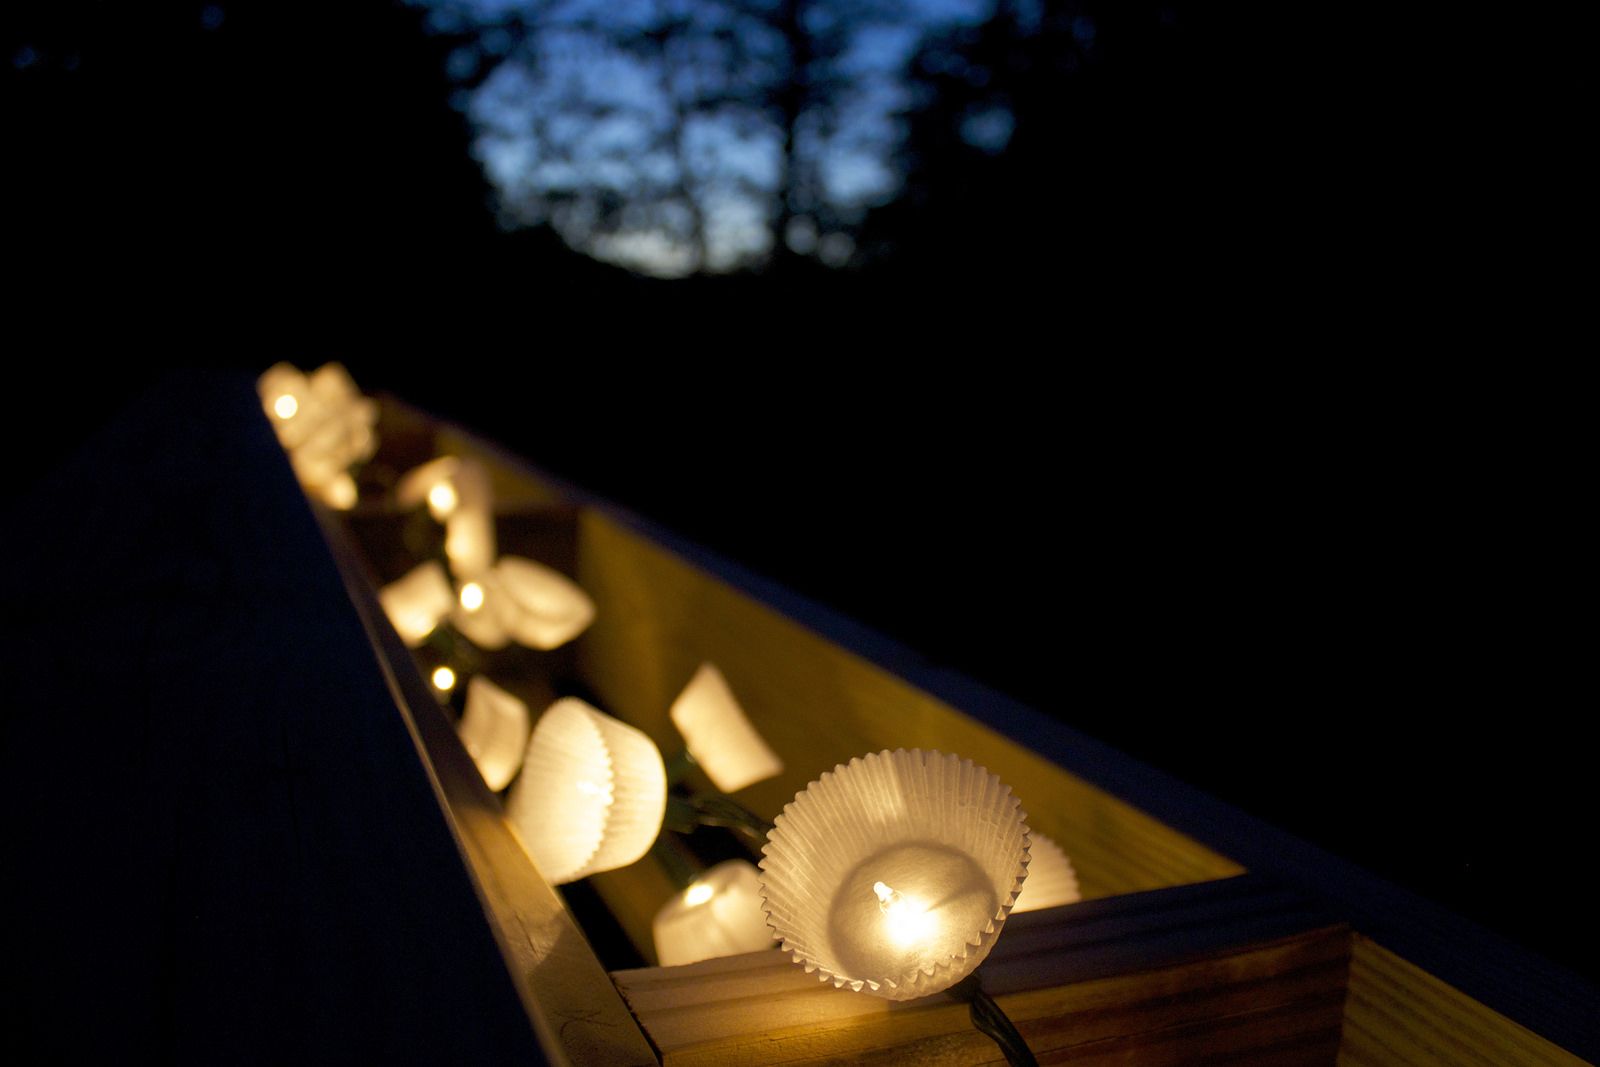
More: Light up your night with DIY string lights.
Mark Weinberg, the photographer behind this image and hundreds of other beautiful Food52 photos, suggests using an iphone app that overlays images:
"I sometimes use an app called Cortex Cam for nighttime shooting. It essentially takes multiple shots, then combines them to reduce the noise often seen in underlit situations. You don't need a tripod to use it as it auto aligns, but it doesn't do well with moving objects. " (Follow Mark at @MarkWeinbergNYC)
2. Take your time and hold still.
Mark says that one of the most important things to do while taking a nighttime photo is to move the phone as little as possible:
"Hold still. Take your time. Take more than one shot. Try resting your phone on something to give you more stable footing Sometimes I'll even hold it right up to a window at night and shoot through the window to get a steadier shot."
3. Try to only use one light source.
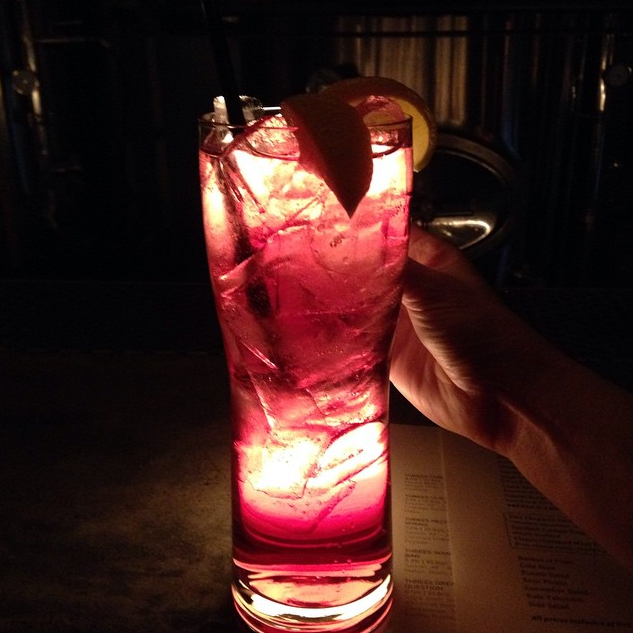
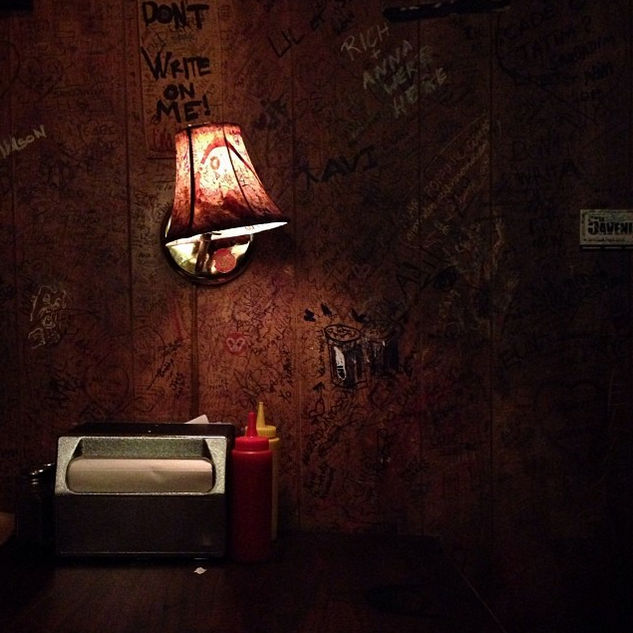
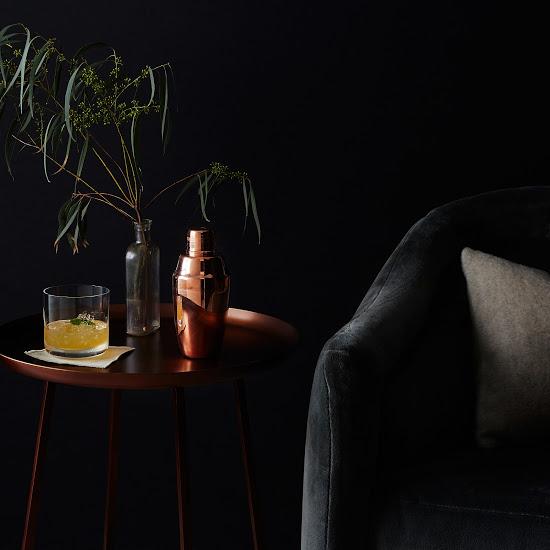
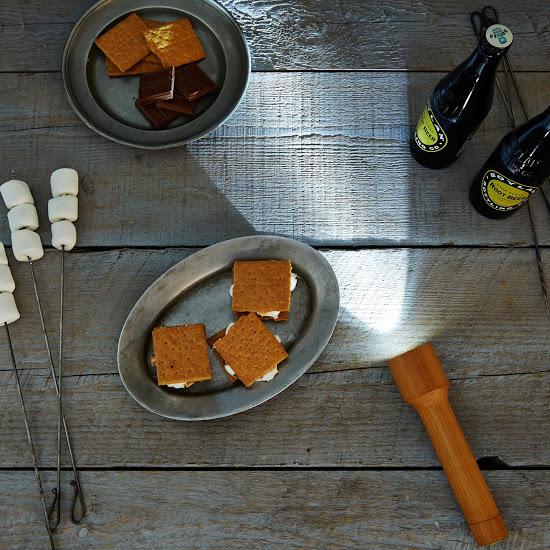
Left: Look closely—Bobbi took this photo by having a friend hold up their phone's flashlight on the other side of the glass; Right: A prime example of Mark's tip for using one light source to illuminate a dark photo.
Bobbi Lin, who has taken countless gorgeous pictures for Food52 (including these) suggests using friends' phones to illuminate your photos:
"Photos look so much better side-lit or even backlit, so use the camera on your friends' phones to light your own pictures. Only use your own camera flash in extreme emergencies!" (Follow Bobbi at @goodcomag)
Mark adds, "Try to just have one light source. This will help with odd shadows and color. You can block the other light sources with your body or a menu. Also, as Bobbi mentioned, you can use someone else's bright screen or flashlight on their phone to be your one light source."
4. Seek out alternative light sources (except for candles).
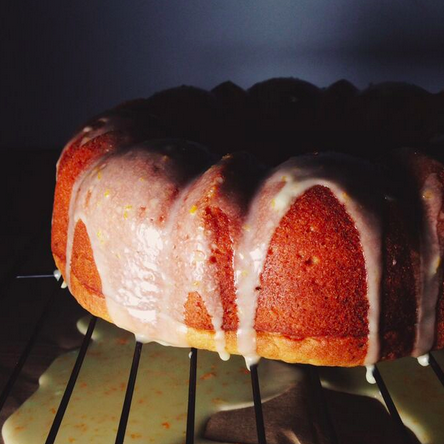
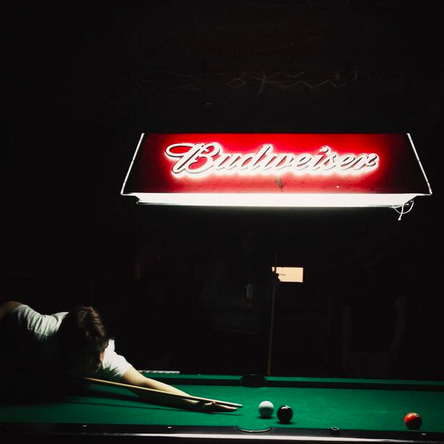
Liz Clayman recommends seeking out light sources like single dim lights or ambient street lights when photographing in the dark.
Liz Clayman, a food, lifestyle, portrait, and event photographer based in New York, suggests getting creative with alternative light sources:
"Sometimes gorgeous things in dark restaurants absolutely need to be documented, no two bones about it. Seek out alternative sources that have a steady flow of light: ambient street lights, phone flashlights (hold 'em up high!), light from an open refrigerator. Candles are champions at backlighting translucent drinks, but the flickering quality is tough for the phone's camera sensor to pick up on and you'll get a muddy, inconsistent light. If I'm feeling festive, it's possible you'll catch me unfolding a square of tin foil out of my purse to use as a teeny little bounce board." (Follow Liz at @lizclayman)
5. When in doubt, or when all else fails, turn it black and white.
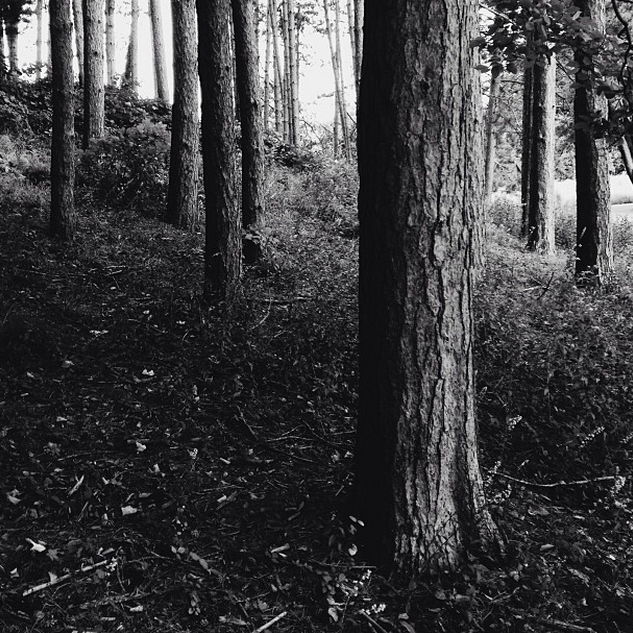
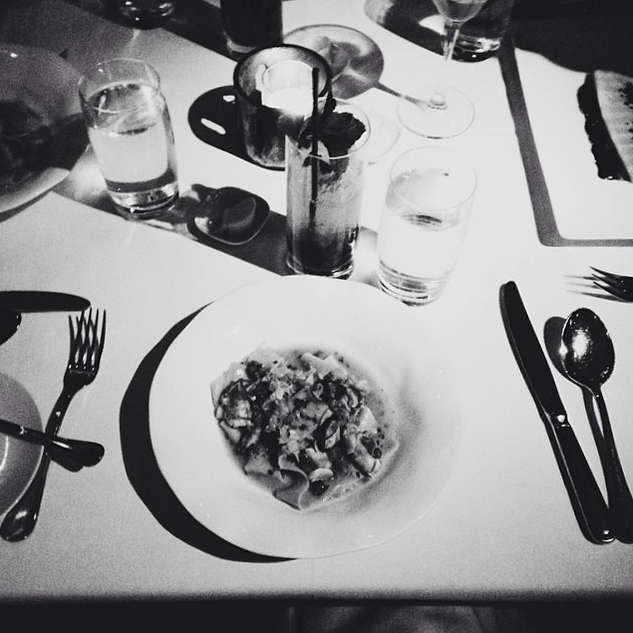
Left: A photo James took of a forest in two tones; Right: Mark's meal at Gramercy Tavern.
Mark says, "Turning photos black and white helps with color issues. Sometimes the lights may be different color temperatures and this eliminates that problem. Then it just becomes a question of contrast/shadows/highlights."
Love to entertain (or just wish you did it more often)? Join our Burnt Toast Dinner Brigade to get our tips, perks, and surprises to up your hosting game.
Top photo by Rocky Luten; photo of shaker by Bobbi Lin; photo of DIY lights by Anna Hezel; photo of flashlight by James Ransom; photos of bundt cake and pool table by Liz Clayman

See what other Food52 readers are saying.