Every week, baking expert Alice Medrich will be going rogue on Food52—with shortcuts, hacks, and game-changing recipes.
Today: Alice explains when to flour, when to grease, and when to just let parchment paper do its job.

There are two main purposes for pan preparation: to allow the cake to be un-molded from the pan without tearing or sticking and, often, to create an attractive or at least un-torn surface on the cake. Sometimes pan preparation also affects the shape of the cake.
How we prepare a pan depends on the type of batter and the type of pan, and sometimes the preferences of the baker and his or her plan for the cake. Any good contemporary recipe should tell you how to prepare the cake pan based on the knowledge, experience, and preference of the chef.

Pans are prepared in three basic ways, all of which can often be—and I think should be—augmented by the use of parchment. Here is an overview of the considerations that go into pan preparation choices and a few streamlining hints as well:
1. Bare-naked pans (without grease or flour):
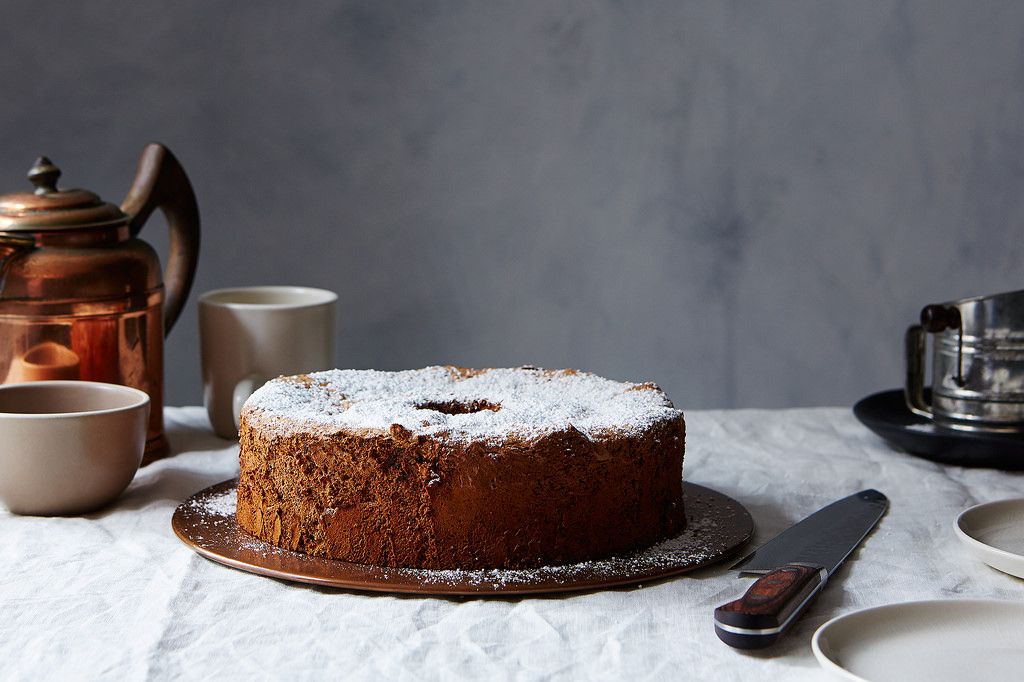
Sponge cakes, including genoise, angel, and chiffon cakes, are usually baked in bare pans—that is, pans without grease or flour. These delicate, airy batters are said to climb up the walls of the pan; they need a dry, non-slippery surface to cling to for optimal rise. I also bake some fallen chocolate soufflé-type tortes and a few other odd batters in bare pans because they’ll finish with a better shape—with sides that are relatively straight up and down rather than tapered inwards.
Before unmolding this type of cake, you must detach it by sliding a slim spatula—or, better still, a thin flexible plastic spreader—around the insides of the pan, pressing against the sides of the pan to avoid tearing the cake.
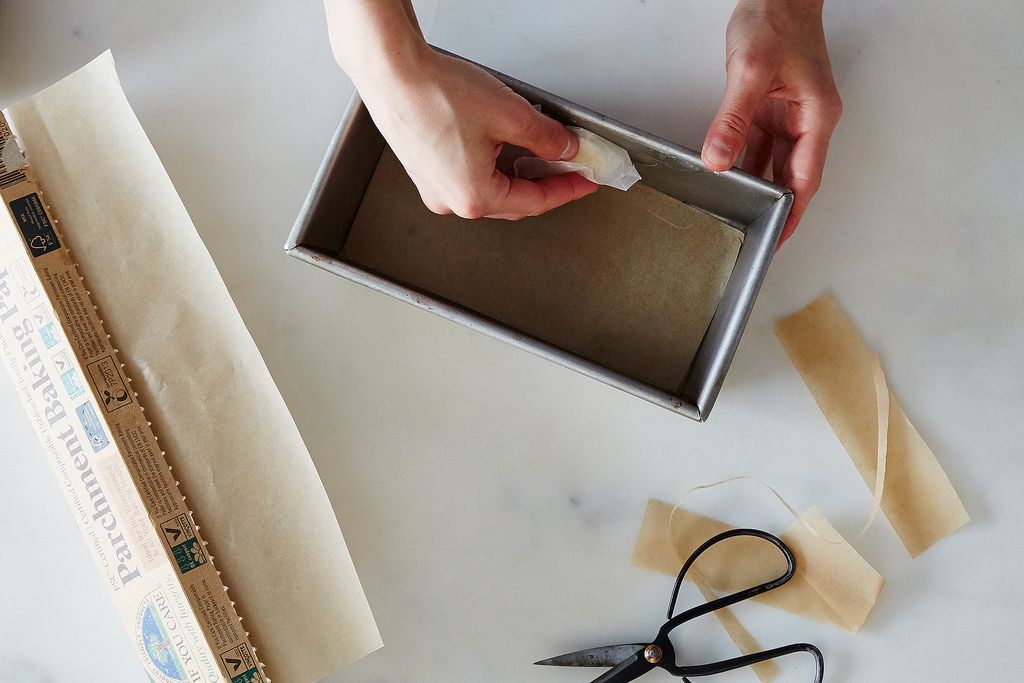
When naked pans are called for, I line the bottoms (of those that have flat bottoms) with parchment paper unless it’s a tube pan with a removable bottom or a tube pan that will be suspended or hung upside down while the cake cools—as is the case for angel food and certain other sponges. Otherwise, the cake will fall out of the pan!

2. Greased pans (with butter or oil, or shortening, or nonstick pan spray):
A variety of non-sponge cakes, including butter cakes, devil’s food, and quick breads, are baked in greased pans, which allow the cakes to shrink slightly from the sides of the pan as they finish baking and/or un-mold without sticking or tearing. It may still be necessary to run a slim spatula around the edges of the cake to fully detach the sides, as described above.
When greased pans are called for, I line the bottoms (of those that have flat bottoms) with parchment and grease the sides of the pan only (see note below).

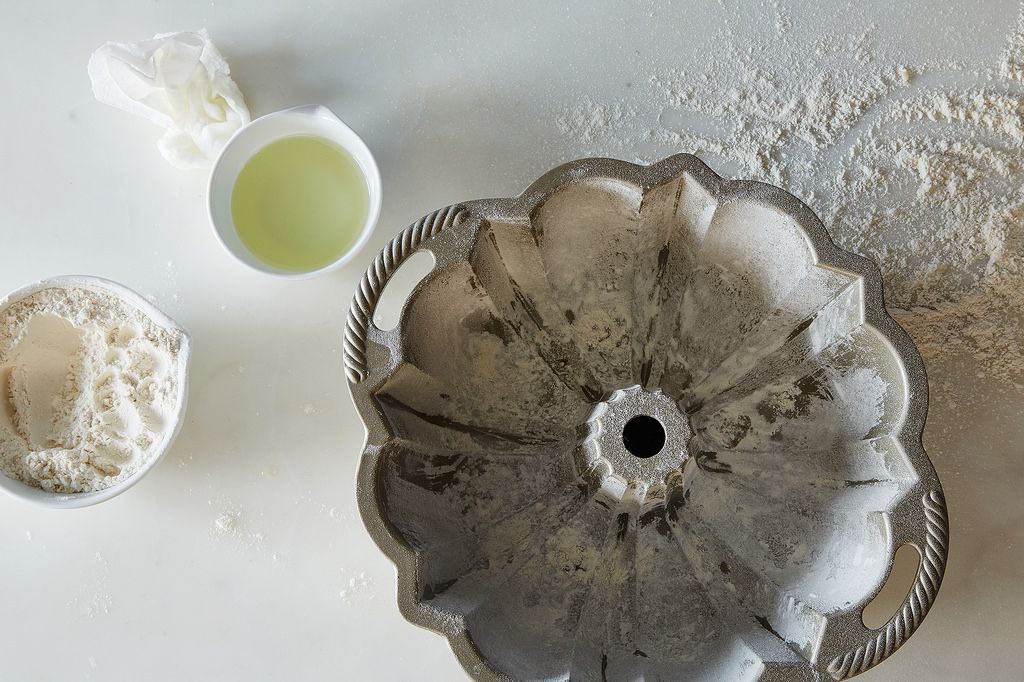
3. Greased and floured pans (with oil or butter or spray and flour, or with a spray that combines oil or grease and flour):
This type of preparation goes one step further than grease alone and can be used for the same types of non-sponge cakes mentioned above. The addition of flour seals the batter and creates an even crust on the surface of the cake, which further helps it to release from the pan without sticking and usually allows for un-molding without detaching the cake with a spatula. (In the days before parchment paper, grease and flour was probably the best insurance against cakes sticking in the bottom of the pan!)
Some bakers prefer the slight crust and still prepare all pans (except for sponges) this way. Others, like me, use it for some cakes but not others, often depending on whether the cake will be covered with frosting or served bare or whether a particular cake batter is especially prone to sticking.
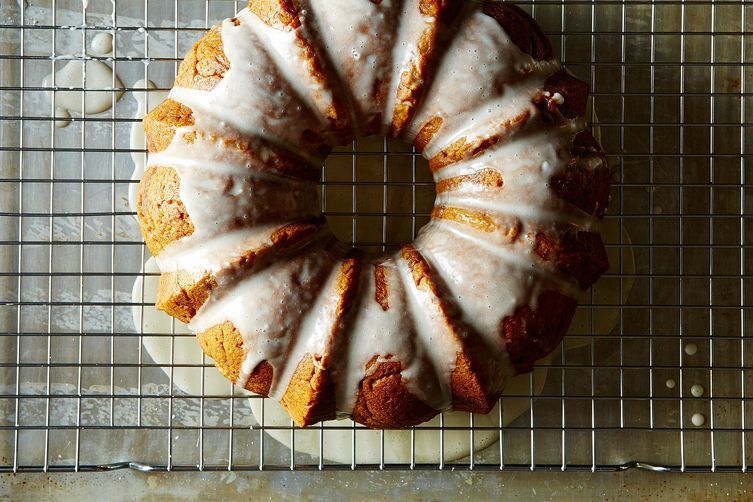
I rarely grease and flour unless a particular cake absolutely will not come out of a Bundt or decorative mold without it, or if the edges of a layer cake are not going to be frosted.
I have been known to test a cake in a greased pan with only one side floured to see which looks best. I always want the best results, but I also like to avoid steps that I consider unnecessary—especially those that are annoying or messy. On that rare occasion that I do grease and flour a layer cake, I line the bottom with parchment and grease and flour the sides only (see note below).

Should you use butter, oil, or shortening for greasing?
Everyone has a favorite here, but tricky fluted or decorative pans (sculpted tube or Bundt pans) are best greased with oil or shortening or clarified rather than plain butter: The water in butter can cause gaps where batter might stick, and the milk solids may also cause sticking.
When using nonstick pan spray, always spray over a trashcan or the sink. Pan spray on floors is as slippery as ice and has caused terrible falls.
NOTE: Regardless of what is often (tediously) taught in culinary schools, there is no need to grease under a parchment pan liner—unless the parchment is rumpled or creased (which is a good reason not to rumple or crease it)—nor is there any reason to grease or to grease and flour the top of the parchment. I’ll grant one exception: When you line a sheet pan or jelly roll pan with parchment for making a thin sponge or cake sheet, you can adhere the liner to the pan with a little pan spray to keep it from sliding. When you become adept, even this will not be necessary!
 Pick up a copy of Alice's James Beard Award-winning book Flavor Flours, which includes nearly 125 recipes—from Double Oatmeal Cookies to Buckwheat Gingerbread—made with wheat flour alternatives like rice flour, oat flour, corn flour, sorghum flour, and teff (not only because they're gluten-free, but for an extra dimension of flavor, too).
Second and final photo by Mark Weinberg; all others by James Ransom


See what other Food52 readers are saying.