Every other Friday, Yossy Arefi from Apt. 2B Baking Co. shares dessert projects that demand a little extra time and effort. Because your weekends should always be sweet.
Today: Take down that picnic basket -- these portable hand pies want to go with you on your next adventure.
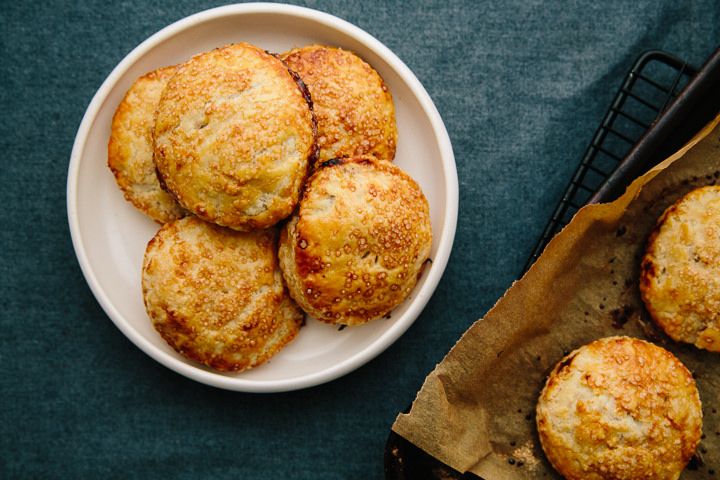
This time of year, there is nothing better than a lounge-y meal comprised of mostly bread, cheese, and cured meats (and some carefully concealed wine, if you are in to that sort of thing), eaten outside on a blanket. If you are picnicking with me, there will also be a solid dessert to round out the experience, but picnic desserts require special consideration. They must be easy to transport, easy to eat, and not melty -- cupcakes and ice cream, I’m looking at you.
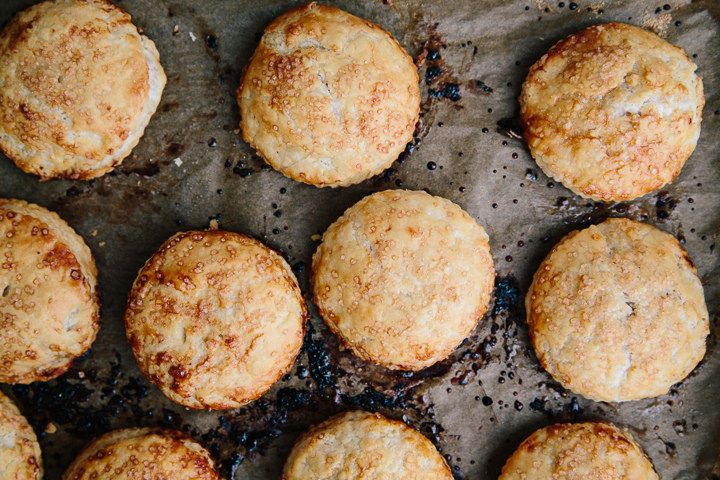
There are a lot of desserts that fit this description, but hand pies are my very favorite. These individual pies have the flaky crust and tasty fruit filling we all love, without any of the fuss (or utensils) that comes with carting a full-sized pie around.
More: Roll out your pie crust right.
These tiny pocket-pies are full of tart rhubarb and crunchy apples spiked with a bit of lemon and a healthy dose of vanilla. Rhubarb can tend to break down quite a bit when it is cooked, so I added some chopped apples for texture and flavor. Cooking the filling a bit before baking will help ensure that the filling stays inside the pies, instead of oozing out all over your baking sheet.
This recipe will make about 24 small hand pies, but can easily be cut in half for a more modestly sized batch. Everyone at your picnic will probably want to eat two, though, so you might as well make the whole lot.
For the Crust:
24 ounces all-purpose flour
2 teaspoons salt
18 ounces cold unsalted butter, cut into cubes
6 to 8 ounces ice-cold water
2 teaspoons apple cider vinegar
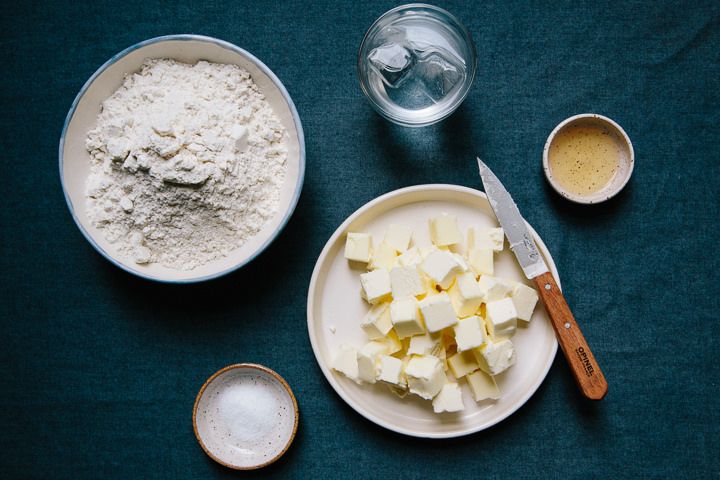
To make the pastry, combine the flour and salt in a bowl. Use your fingers or a pastry cutter to cut in half of the butter until it is the size of peas, then cut in the other half until it is the size of lima beans. Add the apple cider vinegar to the water and make a well in the center of the flour mixture. Use a gentle hand or wooden spoon to mix the water in until just combined.
If the dough seems very dry, add more water a couple of teaspoons at a time. You have added enough water when you can pick up a handful of the dough and squeeze it together without it falling apart. Press the dough together, then split it in half, form it into discs, and wrap each half in plastic wrap. Chill the dough for at least one hour before using, or overnight.
For the Rhubarb and Apple Filling:
1 pound rhubarb stalks
2 medium baking apples (mutsus work well here)
1 vanilla bean
4 to 6 tablespoons sugar
Juice of 1/2 lemon
1 tablespoon unsalted butter
2 tablespoons all-purpose flour
Egg, for egg wash
Crunchy sugar such as turbinado or demerara, for sprinkling
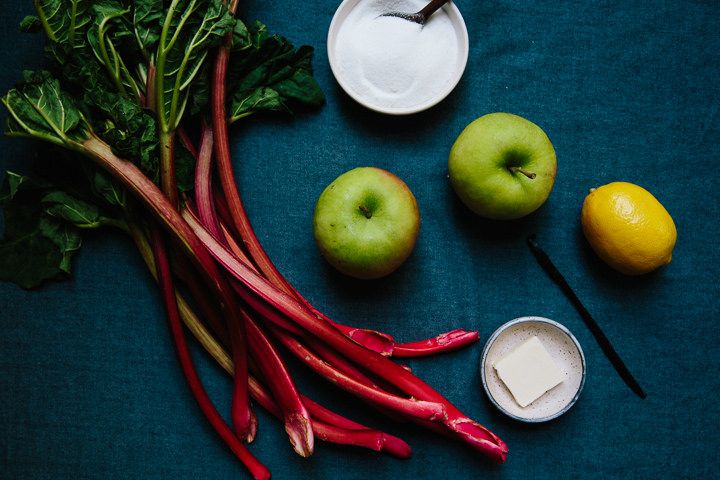
If your rhubarb has leaves attached, remove them (they are inedible and poisonous), then chop the stalks into 1/2-inch pieces. Peel the apples and chop them into slightly larger pieces. Add the chopped rhubarb, 4 tablespoons sugar, lemon juice, butter, and vanilla bean seeds and pod to a large skillet. Cook until the rhubarb has released most of its juices and the juices have thickened, about 7 to 10 minutes. The rhubarb should become jammy in texture.
Cool the mixture to room temperature, remove the vanilla bean pod, then add the chopped apples and flour and stir to combine. Taste the mixture; if it seems too tart, add more sugar 1 tablespoon at a time.
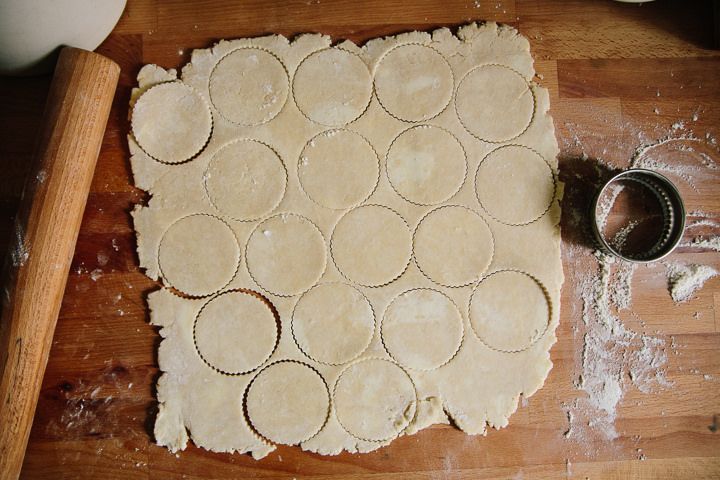
To assemble the pies: Preheat your oven to 400º F. One at a time, roll each piece of chilled dough roughly 1/4 to 1/8 inch thick on a lightly floured surface. Use a 3-inch circle cutter to cut as many circles as possible from the dough. Re-roll the scraps and cut more circles.
Put half of the circles on a baking sheet lined with parchment paper and lightly brush the edges of the dough with a beaten egg. Add about 1 tablespoon of filling to each piece of dough, making sure that there is a small border of bare dough around the filling. Top each pie with another piece of dough and press the edges to seal well. Put the entire baking sheet in the freezer until the dough is firm, about 10 minutes.
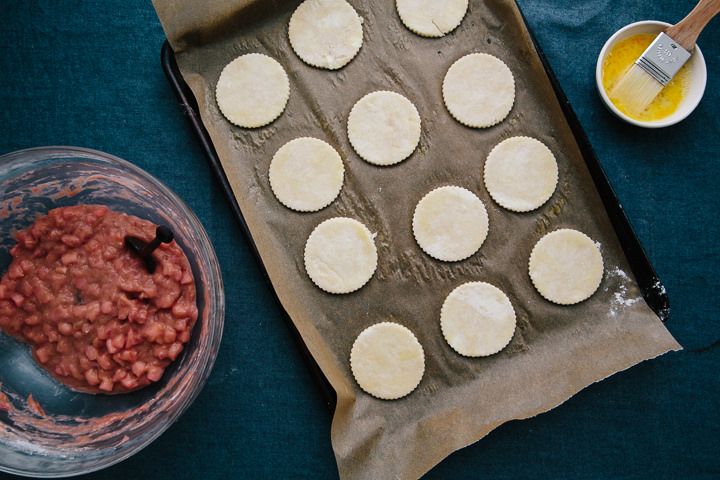
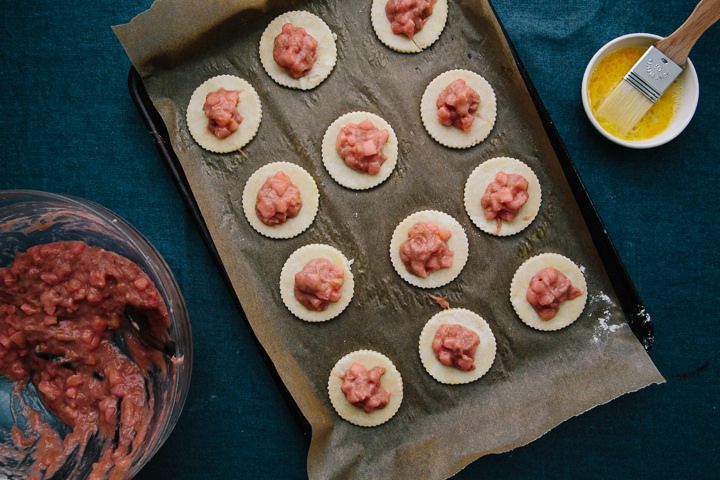
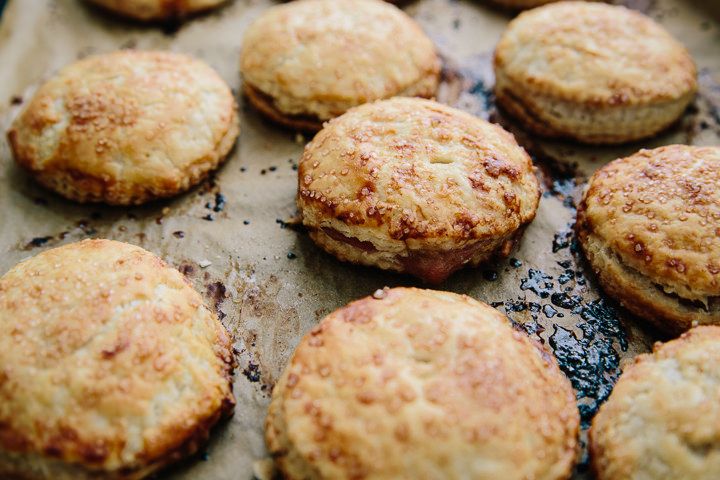
Check to make sure all of the pies are well sealed. Brush the pies with a beaten egg and sprinkle with sugar. Cut a small slit in the top of each pie for ventilation. Bake until deep golden brown, 20 to 25 minutes. Repeat with remaining dough and filling.
See the full recipe (and save and print it) here.
Photos by Yossy Arefi.


See what other Food52 readers are saying.