It's always more fun to DIY. Every week, we'll spare you a trip to the grocery store and show you how to make small batches of great foods at home.
Today: Tieghan Gerard of Half Baked Harvest shows us how to make coconut milk for cooking, baking -- and drinking right out of the bottle. Let's get cracking.
In the past year or so, I have become mildly obsessed with all things coconut. Desserts are my favorite, but I recently began drinking coconut milk, too -- and now I'm in love. When I'm not drinking it straight, I like to use it in Thai and tropical dishes; there is a can in my fridge at all times, and I always have at least five extras on hand in case of emergency. Yes, it is that good.
More: Can't get enough coconut milk? Here are more ways to use it up.
The next obvious step for me was to make my own. I know it may seem scary, but I promise it's not -- and after cracking over ten coconuts in two days, I have the whole thing down pat. Once you get the hang of it, it’s really not so bad.
More: Get our tips on how to crack open a coconut -- you'll want to grab your toolbox first.
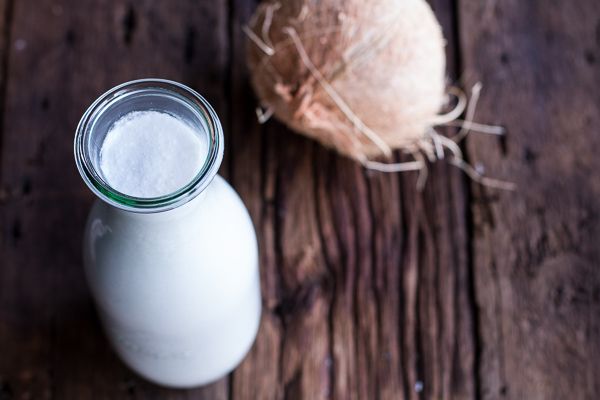
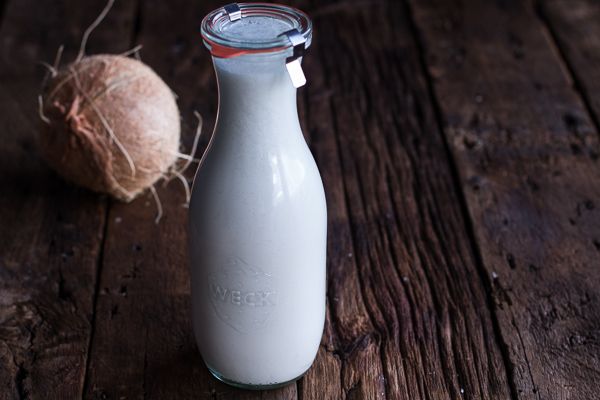
I realize that homemade coconut milk may not be something you can tackle on a weekly basis, but it's definitely something to try when you have the time. Fresh coconut milk is incredibly creamy and thick, with just the right amount of sweetness -- you don't even need to add any sweetener. I do think that adding a hint of vanilla is a delicious touch, though. Here's how I make mine.
Makes 10 to 12 cups
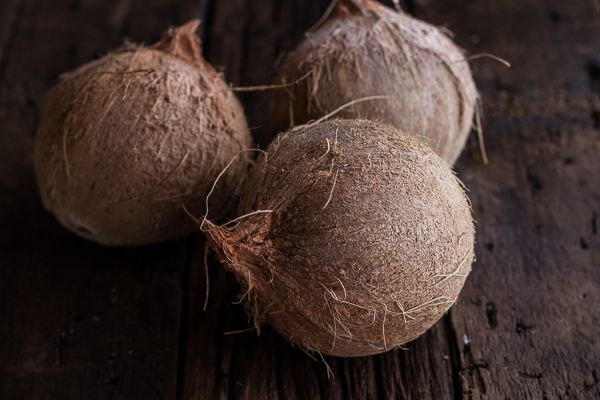
3 whole coconuts
6 cups water
1 to 2 teaspoons vanilla extract (optional)
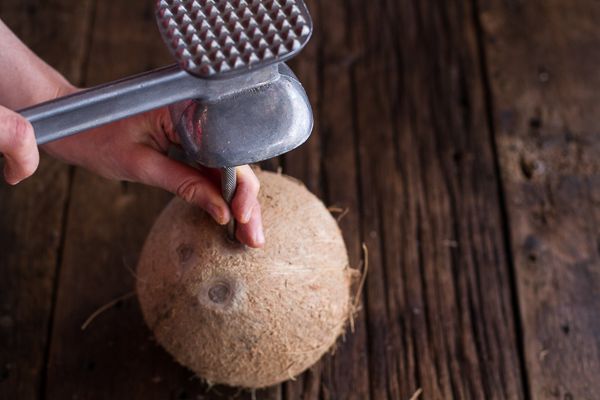
First, crack open your coconut. If you like, fold a kitchen towel so it creates a thick nest for the coconut. Position the coconut so its “eyes” (the three holes) are facing up, then place the tip of a screwdriver or another sharp, pointed item into one eye. Use a hammer to tap the screwdriver through the eye, swiveling the screwdriver as you remove it to make a bigger hole.
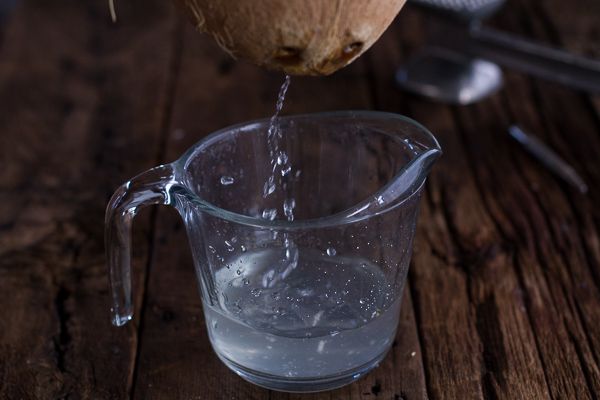
Repeat this with the other two eyes, then tip the coconut over a bowl and let the water slowly drain out. Strain it through a fine mesh strainer and pour it into a glass jar. Keep your fresh coconut water in the refrigerator, and use it later for cooking, baking, or drinking; it’s very refreshing after a workout, or on a hot summer day.
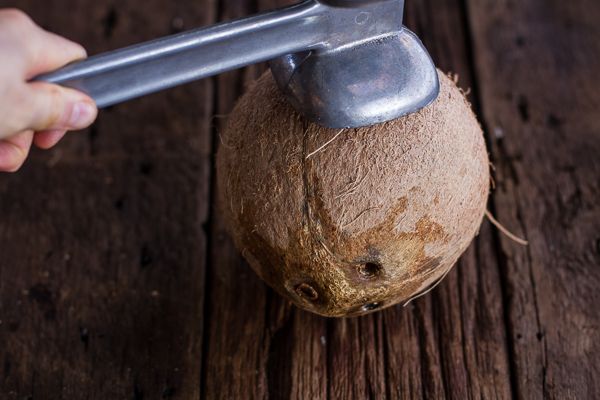
Now, place your coconut back on the towel or on the floor, and repeatedly whack the hammer around the coconut in a circle. I find it really helpful to use a hammer with points on the end -- I actually used a meat mallet, and it worked great. Be patient and just keep whacking the coconut in the same circle. After 15 to 20 times around, the coconut should crack in two.
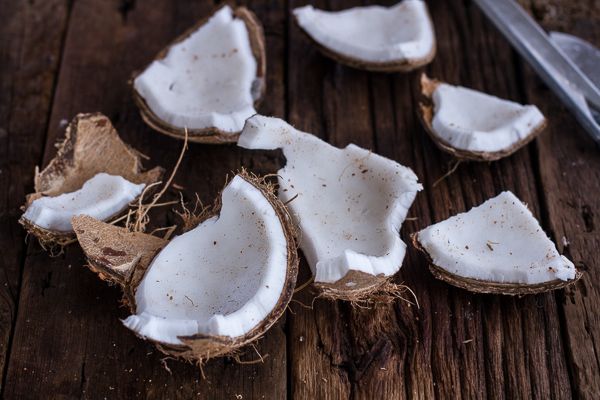
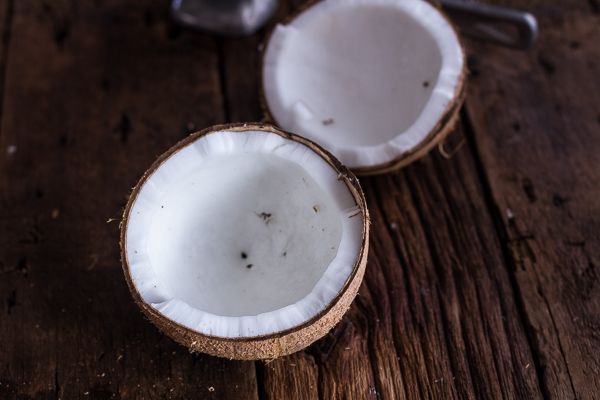
Once the coconut is broken in half, give the halves another couple of whacks to break them up as well.

Use the tip of a knife or the end of your screwdriver to pry the meat away from the shell. It should pop off pretty easily.
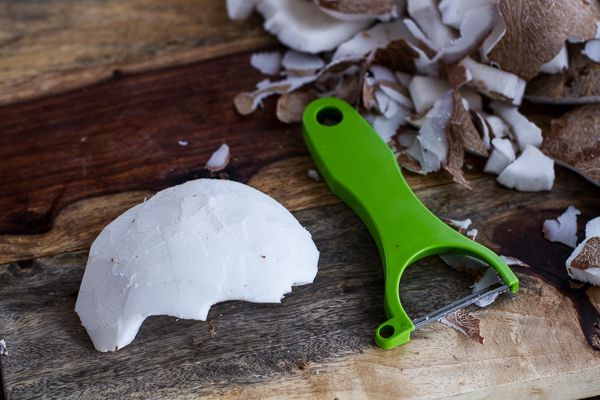
If you want to shred your coconut, or plan on using the leftover meat for baking (more on that below), you'll want to peel it. Using a vegetable peeler, peel away the brown skin from the white meat. If you're only going to make coconut milk, though, you can skip this part.
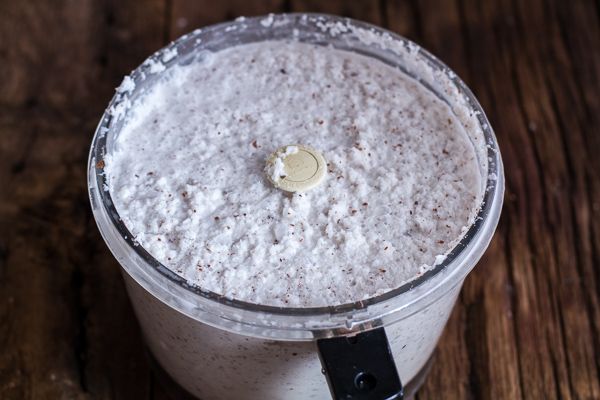
Place a fine mesh strainer over a large, high-sided bowl, and place a super-thin tea towel or cheesecloth over the strainer. Add half the coconut meat and 3 cups water to a high-powdered blender or food processor, and blend until the coconut seems "shredded" and the mixture has the consistency of a milkshake.
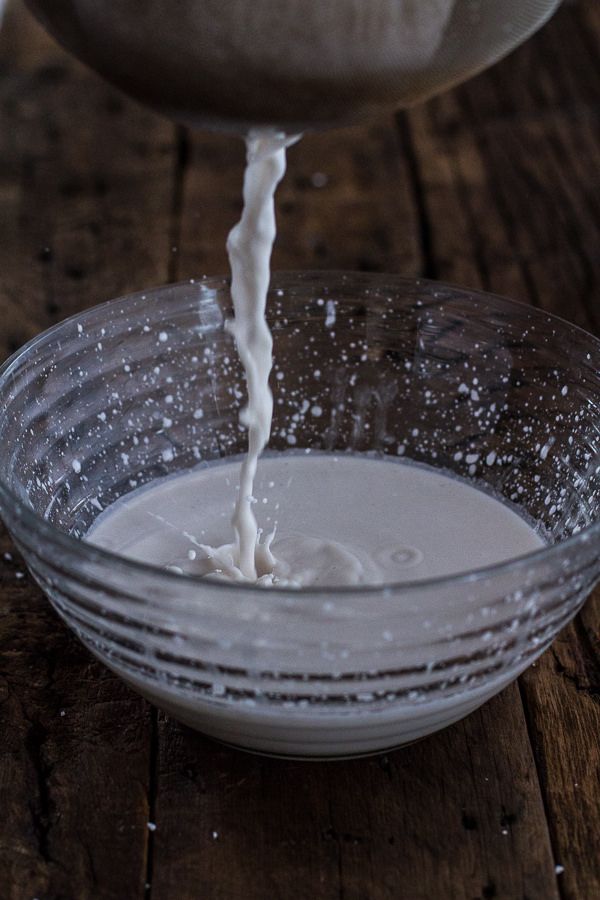
Pour the mixture into the cheesecloth-lined strainer, then gather the cheesecloth by the ends and squeeze the milk out into the bowl until you feel like all of the milk has been squeezed out of the coconut. Either discard the shredded coconut left in the cheesecloth, or save it and add it to baked goods. (If you want to swap it in for regular shredded coconut, dehydrate it in a low oven or dehydrator until it's dry, about 6 to 8 hours.) Place the cheesecloth back over the strainer and repeat with the remaining coconut flesh and 3 cups of water.
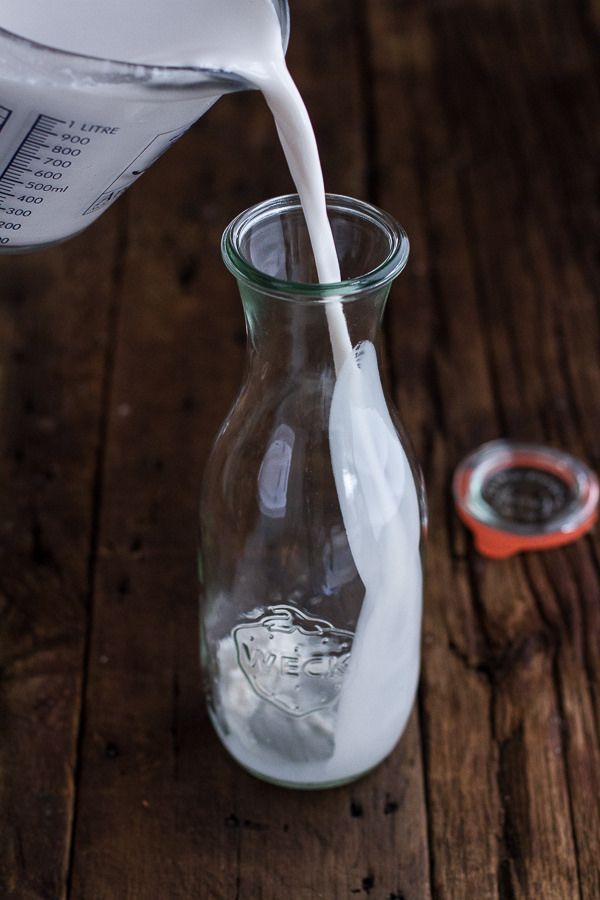
Once all the coconut milk is in the bowl, you can whisk in the (optional) vanilla extract. Pour the coconut milk into glass juice jars, and refrigerate it for up to 1 week. Be sure to shake the milk up before drinking, cooking, or baking.
See the full recipe (and save and print it) here.
Photos by Tieghan Gerard
Written by: Tieghan Gerard
Popular on Food52
9 Comments
Then she would pour hot water into the bowl of grated coconut and squeeze/massage to extract the milk. The mixture was then poured into a reusable muslin cloth and the milk would then be squeezed into a bowl. It's a good workout for the arms and hands, but the milk is glorious and delicious.
One day, i'm going to have to buy some coconuts and do it.
See what other Food52 readers are saying.