It's always more fun to DIY. Every week, we'll spare you a trip to the grocery store and show you how to make small batches of great foods at home.
Today: Ashley Centola of Simple Craves and Olive Oil shows us how to make natural ginger ale for those long, summer days.
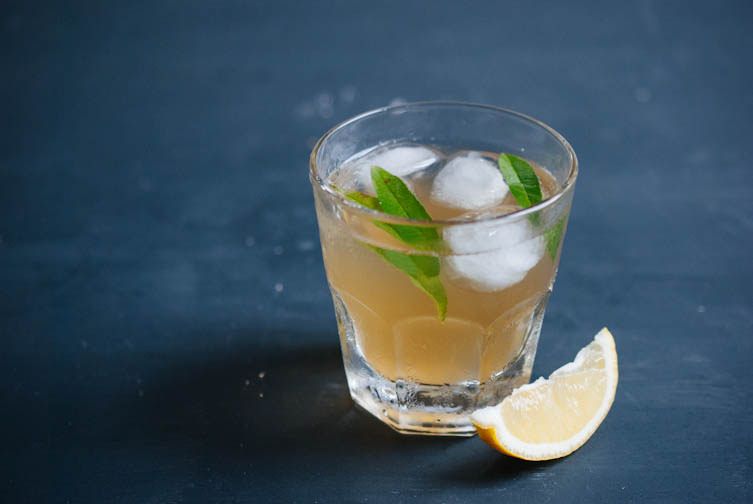
It's not often that you'll find me with a glass of soda in hand -- I'm more of a water-with-lemon kind of gal -- but there's a certain comfort in a cold glass of ginger ale that I just can't deny. And when it's made from scratch with natural, fresh ingredients, the nutrition-conscious side of me doesn't feel nearly half as bad. You could even call this ginger beer, as the recipe relies on yeast to carbonate the drink.
More: Meet ginger ale's older, boozier cousin: The Ginger Side.
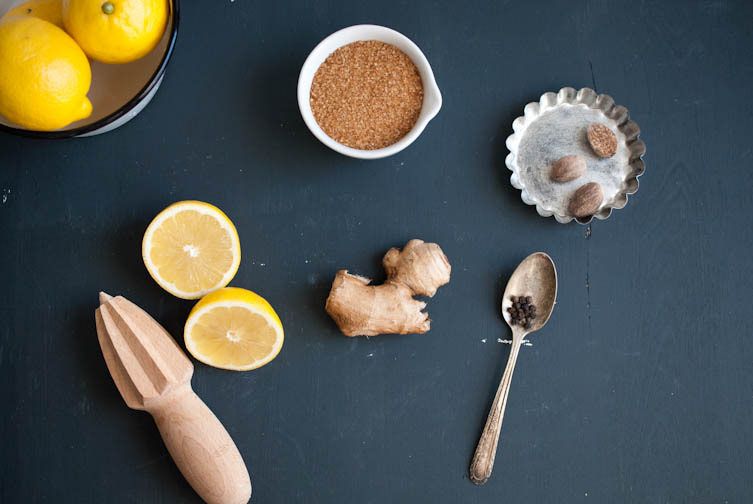
When I tested out my first two batches, one was more traditional and included raw turbinado sugar, fresh ginger root, and Champagne yeast; the other included lemon verbena leaves. Both carbonated beautifully, and the flavors were vibrant -- the lemon verbena added a brighter, almost sweeter taste. But both batches lacked some of the spice that I was so accustomed to in the store-bought versions.
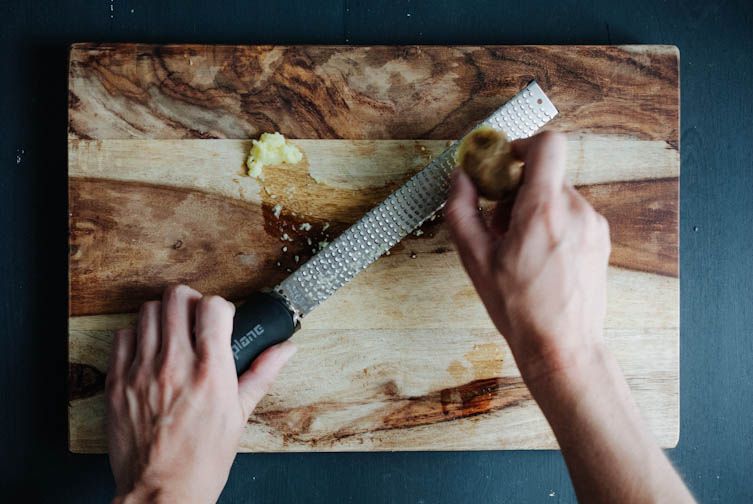
For the next two batches, I decreased the sugar, and added whole black peppercorns, fresh lemon juice, and a very small amount of grated nutmeg -- about two grates across the Microplane. For me, this was the perfect combination of sweet and spicy; but you can adapt it to your taste. You may prefer more black peppercorns, or none at all; I find lemon verbena to be quite lovely, but fresh mint could work wonderfully, too.
Something to note: While glass bottles look pretty, I wouldn't recommend using them during the carbonation process. A plastic bottle will allow you to feel when the pressure has built up in the bottle due to the carbon dioxide. Once the soda has carbonated, you can then transfer it to a glass bottle to serve, if you please.
Natural Ginger Ale
Makes 2 liters
2 cups of water
3/4 cup raw turbinado sugar
1 tablespoon freshly grated ginger
Juice from 1 lemon (about 2 tablespoons)
15 leaves lemon verbena (optional)
5 whole black peppercorns, plus 3 more if using lemon verbena
Two swipes of nutmeg on a Microplane
1/8 teaspoon salt
1/4 teaspoon Champagne yeast (I used Lalvin brand)
Clean, plastic 2-liter bottle
Funnel
Fine mesh sieve
Note: Champagne yeast can be found online, or you can check if there are any home brewing shops in your area. If you live in New York, I know Brooklyn Homebrew carries it.
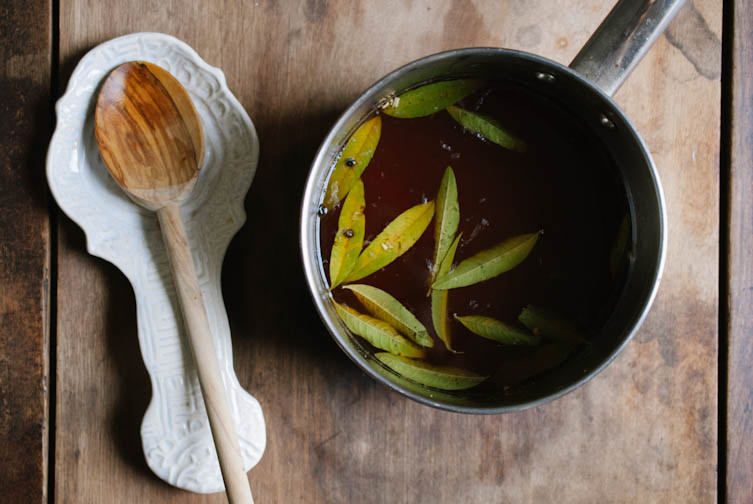
Combine sugar and water in a saucepan and simmer until the sugar is dissolved. Remove from the heat, then add your ginger, lemon juice, peppercorns, nutmeg, lemon verbena (if you're using it), and salt. Let it all steep for at least an hour.
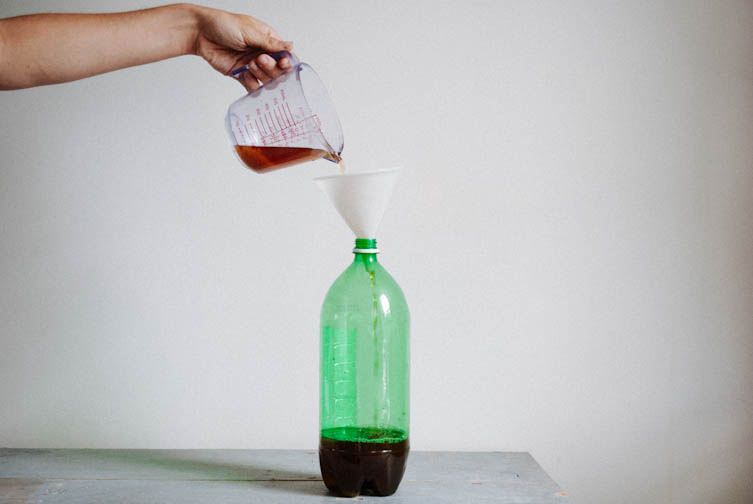
Using a funnel, pour the ginger syrup base into a clean, 2-liter bottle. Fill the rest of the bottle with water, leaving a few inches of space at the top, then add the yeast.
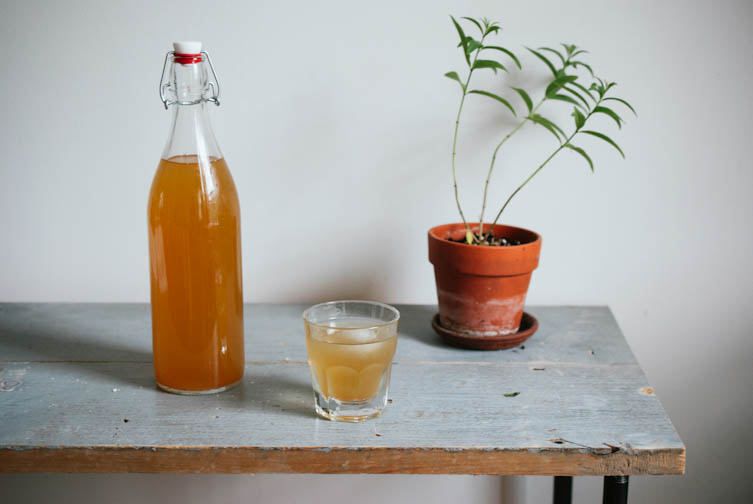
Cap the bottle tightly and store it at room temperature, preferably in a shaded area, for about 48 hours. I placed mine in a kitchen cabinet for good measure (my roommate was probably wondering why there were four bottles of mysterious liquid nestled in with our glasses). You'll know it's carbonated when the bottle feels rock solid.
Twist off the cap very slowly to release the pressure. You may even have to twist a little bit, wait a minute, twist a little more, wait a minute, and so on, until you're in the clear to remove the cap completely. One of my batches ended up taking at least 5 minutes before I could fully twist off the cap without it fizzing over.
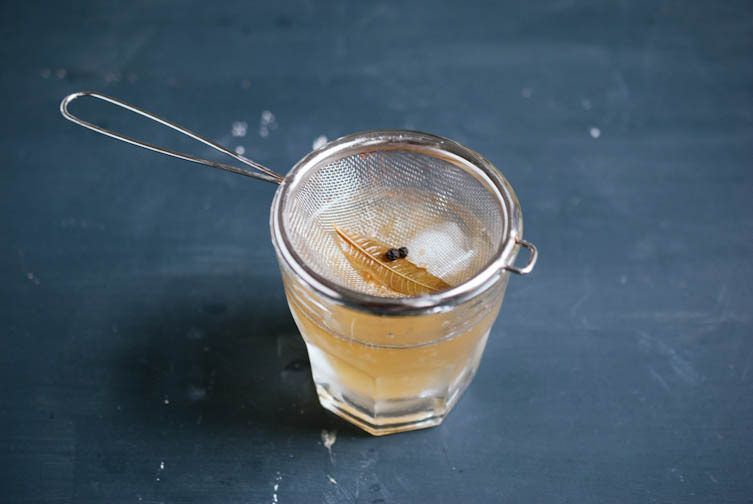
Using a fine mesh sieve, strain the soda over an ice-filled glass and serve. If you made the lemon verbena ginger ale, add some fresh leaves as a garnish.
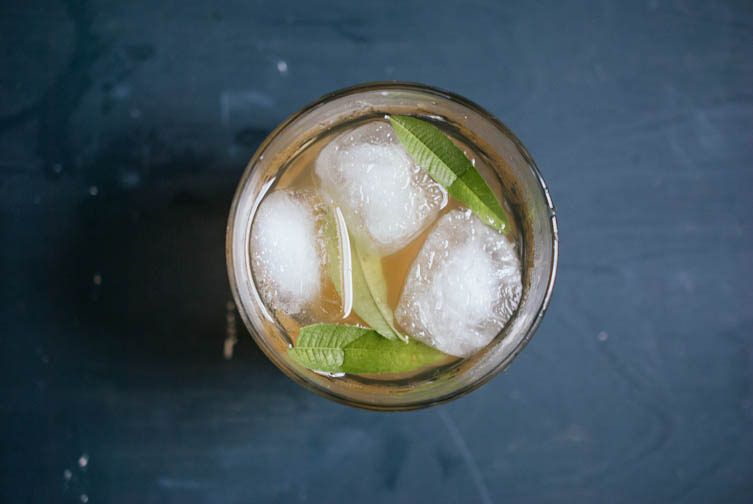
If you're not going to drink your ginger ale immediately, be sure to refrigerate the bottle once it's fully carbonated. If it's left out at room temperature, more carbon dioxide will be produced, and you don't want the bottle to explode when you open it. Yeast is a powerful thing, people. I can attest to this.
See the full recipe (and save and print it) here.
Photos by Ashley Centola


See what other Food52 readers are saying.