This week, a Small Batch special edition in three parts: Do you like small-scale construction projects, all things miniature, holiday cheer, and farm life? Lucky for you, Molly Yeh of My Name is Yeh is taking us on a tour of her gingerbread farm and giving plenty of helpful instructions along the way so that you can create your own.
Today, Molly shows us an easy trick for making stained glass windows and gives instructions on making the glue that holds the walls together.

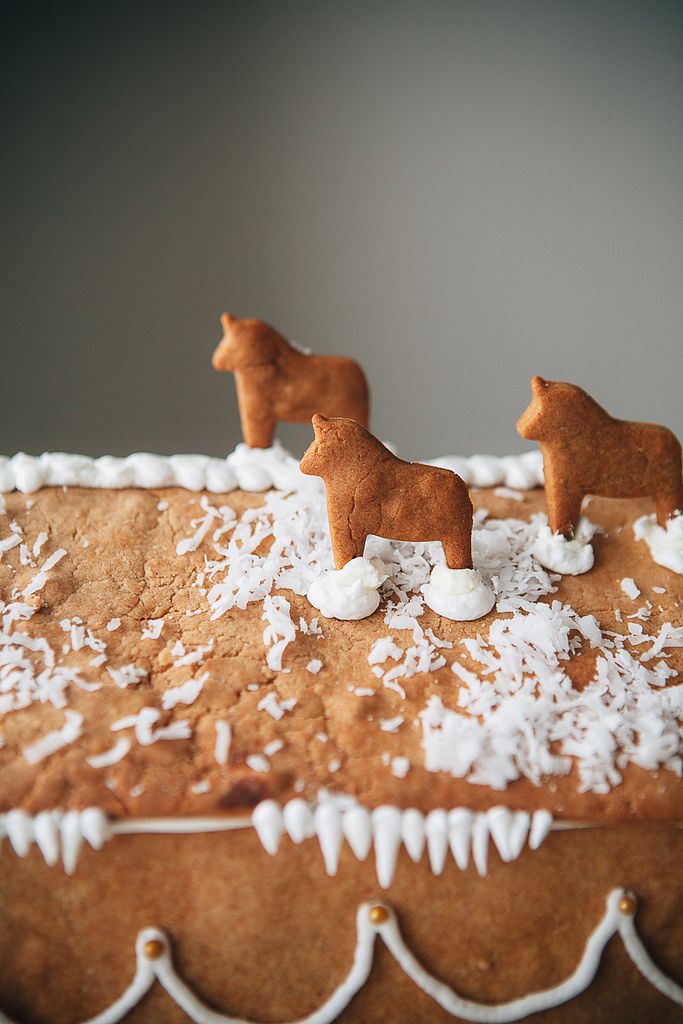
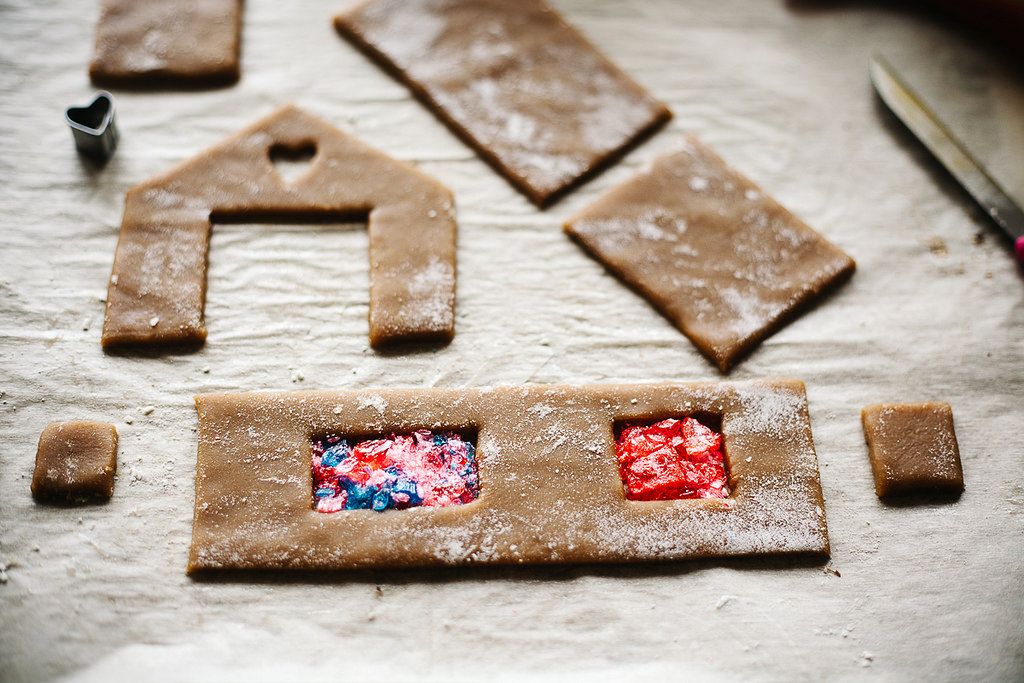
Thanks for joining me on day 2 of the tour (you can review our progress here). I've noticed some of you admiring the windows of the houses on this farm. They're delicious and fruity, made by filling cutouts in the dough with crushed Jolly Ranchers before they get baked. They’re a favorite among our horsies, which by the way are quite friendly. You should pet them. They won’t bite (they don’t actually have mouths).
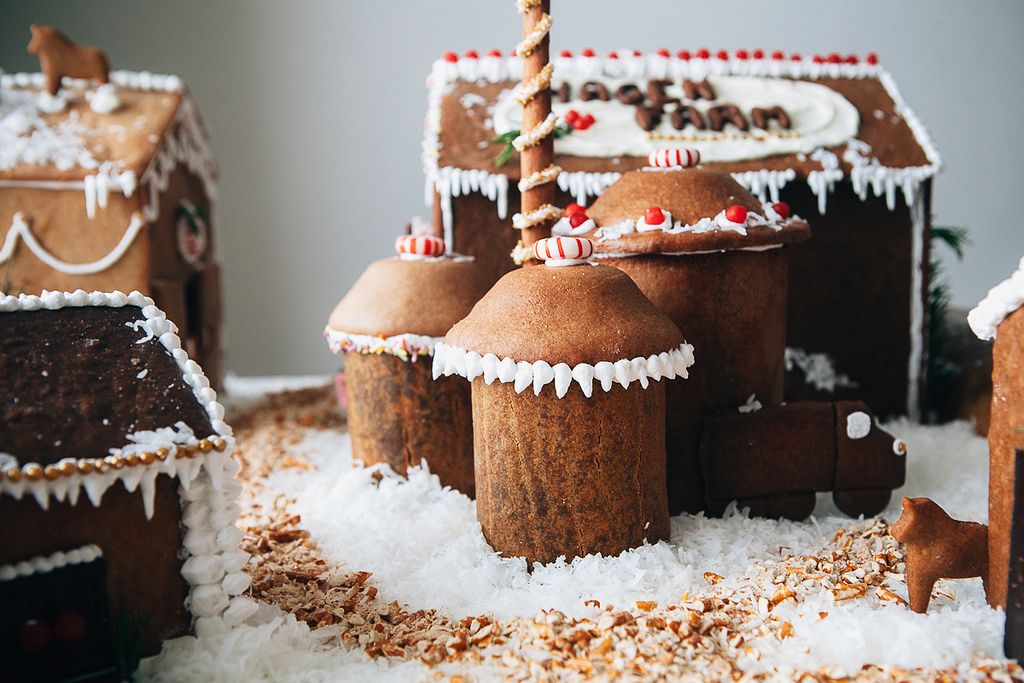
Up ahead you’ll see our grain bins, the largest of which can hold up to 40,000 bushels of hard red spring wheat.

These grain bins and our quonset are made by molding hot gingerbread that is fresh out of the oven around a can. The gingerbread is held there until it cools.
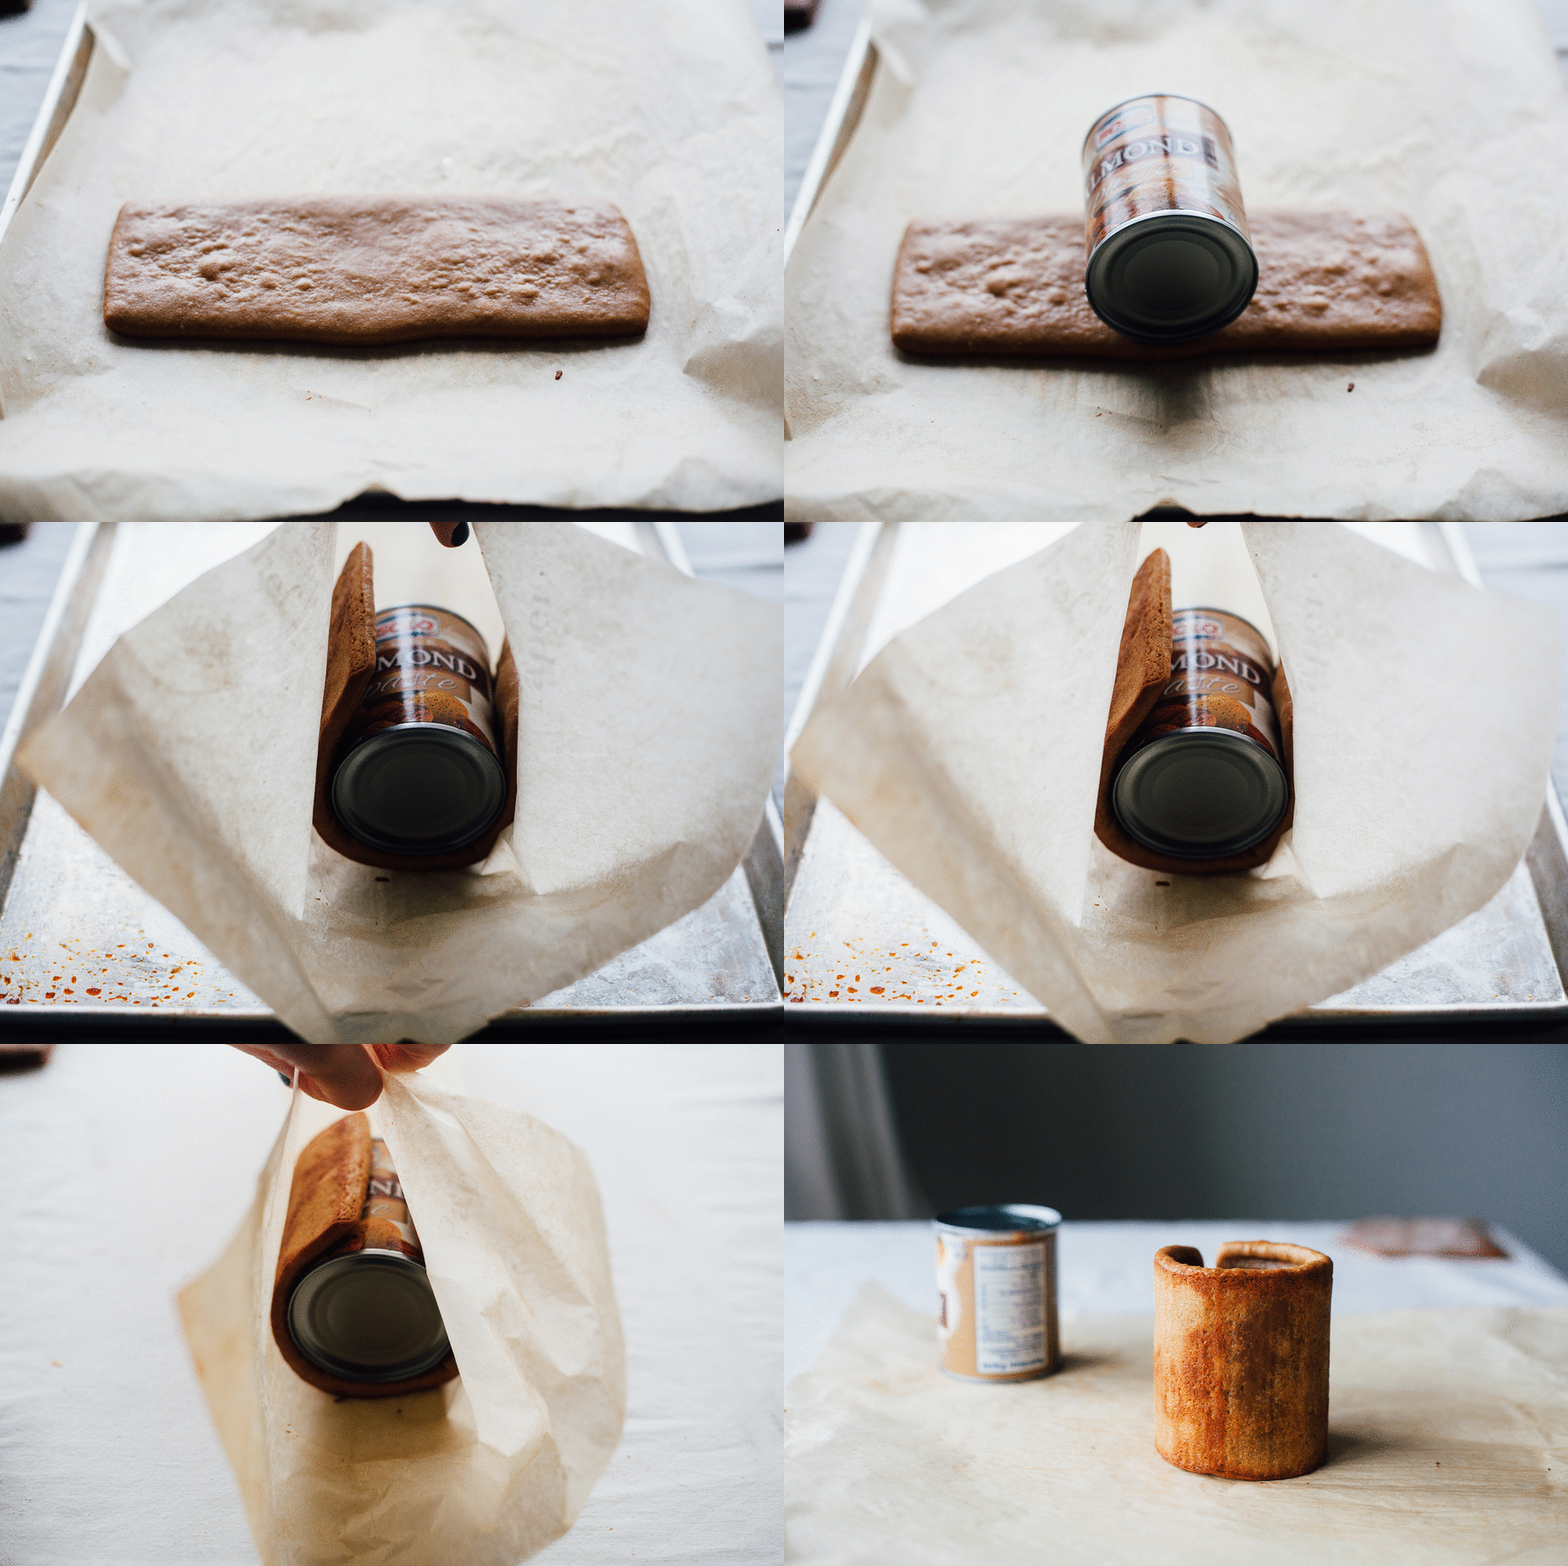
Because of the attention that these grain bins need, they should be baked and molded one at a time. A cinnamon stick grain leg helps to load our grain into our trucks, which is then taken to the town plant and processed into flour for things like…gingerbread!

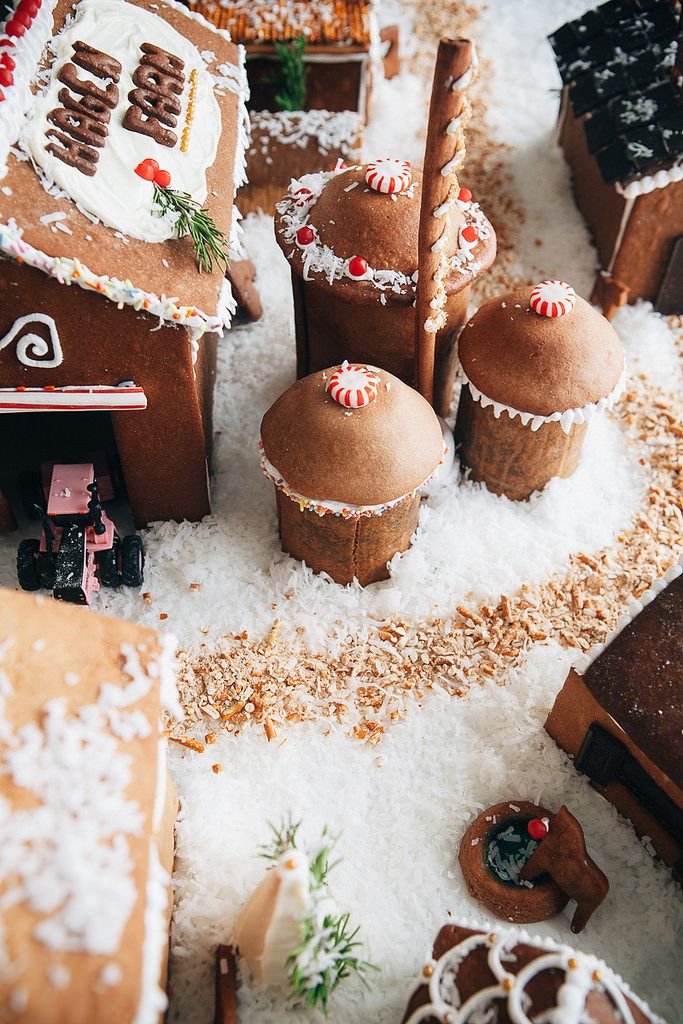
If you run your hands along the edges of our buildings, you’ll find that the mortar is extremely hard and sturdy. It helps to keep the drafts out and the warmth in. Here's how to make your own:
Gingerbread House Glue
Makes enough for 1 house and a ton of decorations (or a few houses and a few decorations)
3 large egg whites
1/2 teaspoon cream of tartar
4 cups powdered sugar
In a large bowl or bowl of a stand mixer fitted with a whisk attachment, beat together the egg whites and cream of tartar until the mixture is foamy. Gradually beat in the powdered sugar, then beat on medium high for 7 to 10 minutes, until very fluffy. Immediately it spoon into a piping bag and use. Any frosting that's not being used should remain under plastic wrap (the plastic wrap should touch the surface of the frosting) so that it doesn't dry out.
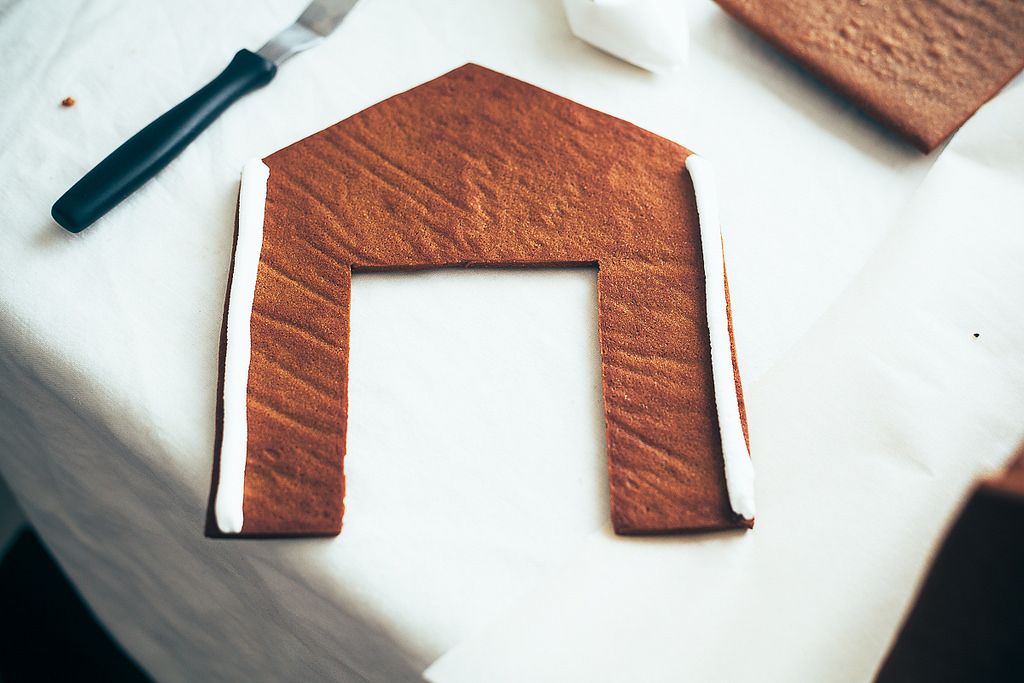
When the houses are built, a big piped line of mortar glues together the walls.
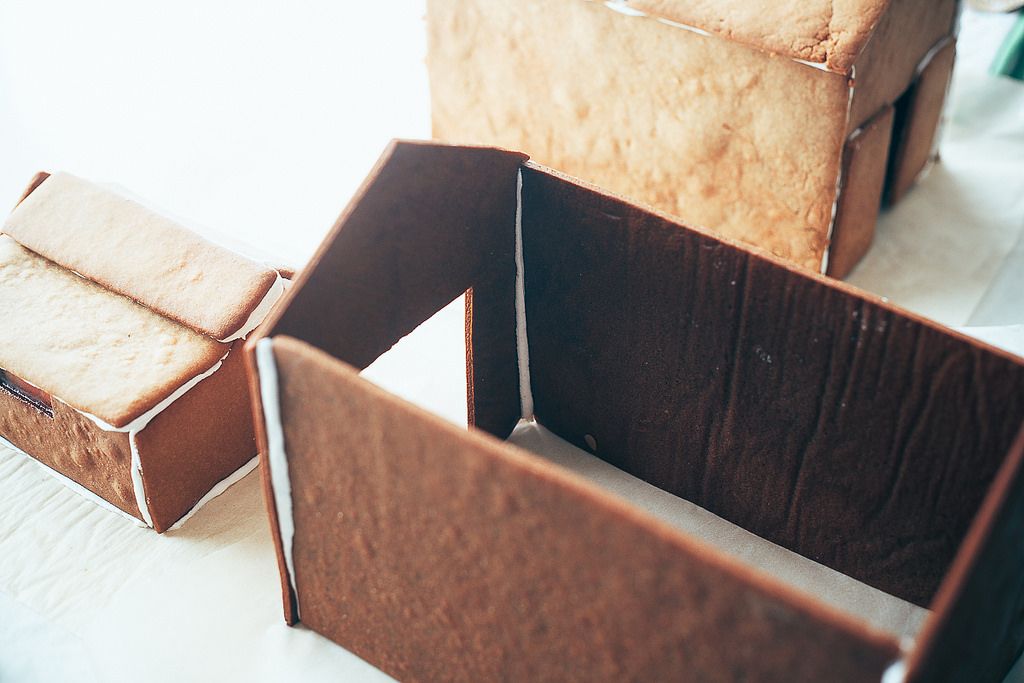
An extra line is added on the inside for reinforcement, and then any excess on the outside is scraped away to allow for embellishments that are added after the house dries.
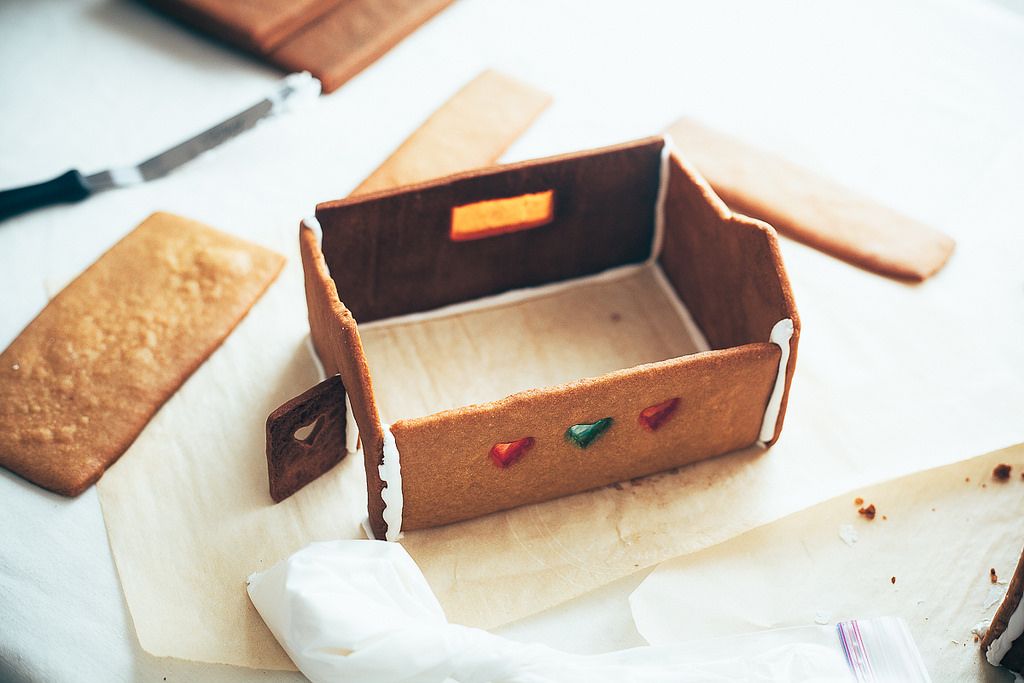
Once the walls are dry and sturdy, the roof is added in the same way. The houses only take about 15 to 20 minutes to dry, and then it is time for the fun part, which we'll get to tomorrow!
See the full recipe for gingerbread house icing (and save and print it) here.
Photos by Molly Yeh


See what other Food52 readers are saying.