Tools to take you from kefir to kraut.
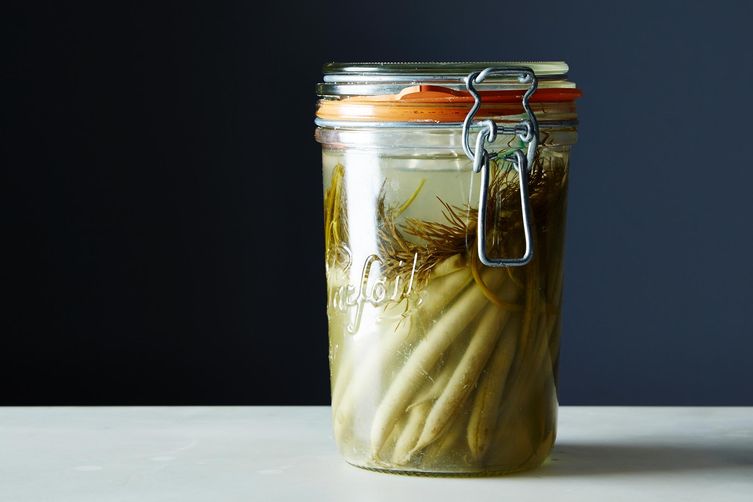
Fermentation is one of the most fascinating, ever-present food processes, occurring naturally everywhere. Food fermentation is the microbial transformation of raw or cooked foods to a more preserved state that has a complex, unique flavor profile. These microbes, mostly bacteria and yeast, convert sugars into acids, gases, and sometimes alcohol. Microbes make up a diverse bacterial community and have an enormous impact on the flavors of the foods we eat. Fermentation creates a food that is teeming with good bacteria, and introduces new and unpredictable flavors to our palates.
Sauerkraut, miso, and yogurt are common examples of fermented foods that are helpful for populating and replenishing good bacteria in our microbiomes. When we introduce good bacteria to our bodies, we strengthen our gut, improve immunity, and better our digestive health. We encourage a food culture that promotes diversity and health for our inner and outer ecosystems.
Many believe fermenting at home is dangerous and difficult; my research and teachings aim to break this myth by increasing access to fermentation education. We don’t need sophisticated tools for fermentation, and thus, the fermentation essentials in my modest home kitchen are likely already in yours.
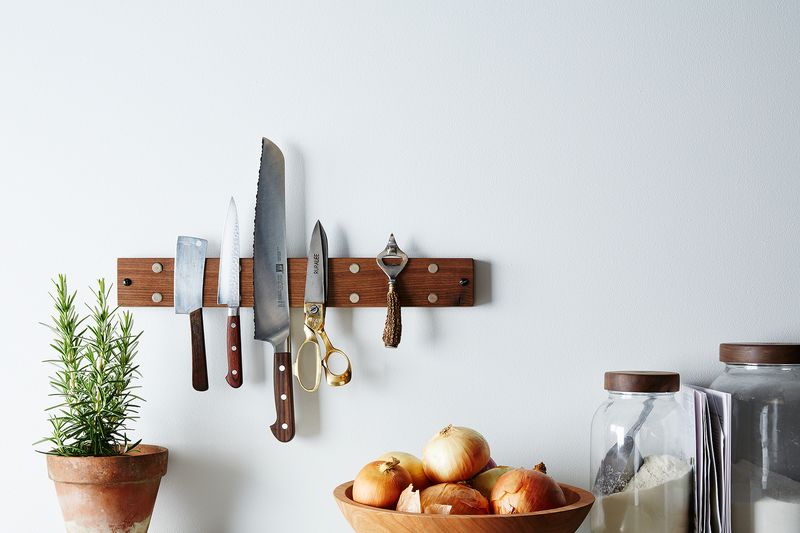
A Good Knife
A good knife is an essential tool for the frequented kitchen. My favorite knives are refurbished stainless steel pieces, though my other favorite and affordable choice is a ceramic knife. Ceramic knives are very sharp, and only need sharpening every few years. A reliable knife makes things simple when chopping cabbage for sauerkraut or finely slicing root vegetables for kimchi.
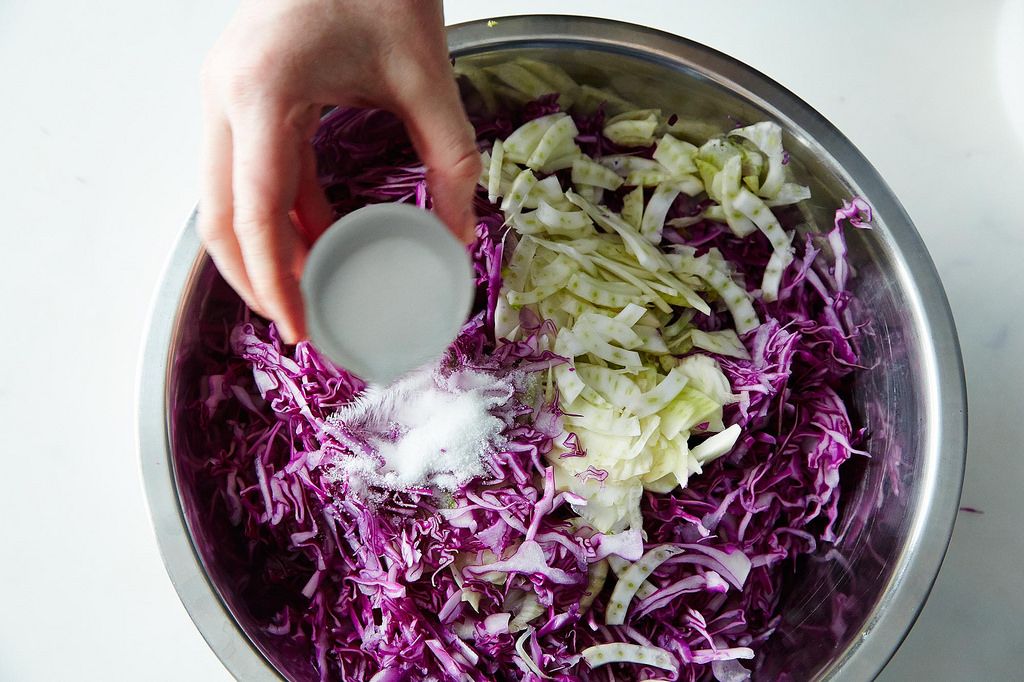
Bowls (Glass or Stainless Steel)
Bowls are the best vessel for massaging vegetables with salt in order to get the brine flowing. Typically, one tablespoon of salt per 2 to 3 pounds of vegetables will do the trick; make sure to taste the vegetables as you salt, so it suits your taste. They should taste salty, but not too salty—let your senses serve as your guide. Massage your vegetables for up to 3 full minutes, or until a small puddle has formed at the bottom of your bowl.
My favorite bowls are stainless steel and glass bowls, but you may use other materials given that you transfer the vegetables to a proper vessel for fermentation. Steer clear of wooden bowls, as they will absorb the brine you’re working to promote.
More: Make Tara's Indo-Thai Sauerkraut with Carrots at home.
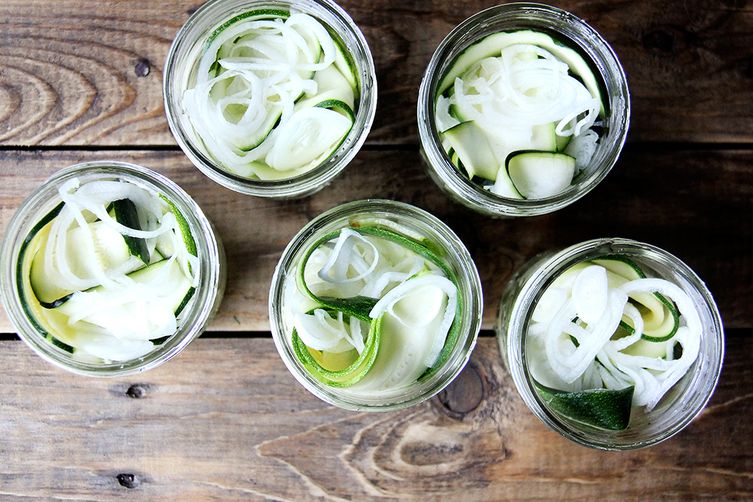
Glass Jar (1 Quart to 1 Gallon)
My favorite vessels are glass gallon jars for three reasons: cost effectiveness, visibility, and quantity. The opening of a jar should always be wide enough for your hand to fit. You may also use ceramic crock or food grade plastic containers, but I recommend starting with glass containers so you can see the fermentation process. Visibility helps us understand the pace of fermentation and when the fermented food needs some maintenance. When packing your salty vegetables into your jars, make sure that they are fully submerged in brine. During fermentation, you may want to give the vegetables a push downward if you notice they’re no longer submerged. Keeping the vegetables submerged will prevent the growth of mold on top of your ferment. If mold does grow, you can scrape it off and submerge again—everything underneath is fine! (Think cheese: Would you throw out a block of cheese because of some measly little mold spots? No way!)
Not only does the fermentation process boast a fascinating transformation within your jar, but it also presents a transformation for our viewing pleasure: Color changes and carbion dioxide activity (bubbles!). Glass containers assist us in getting to know our ferments better.
Tea Towel
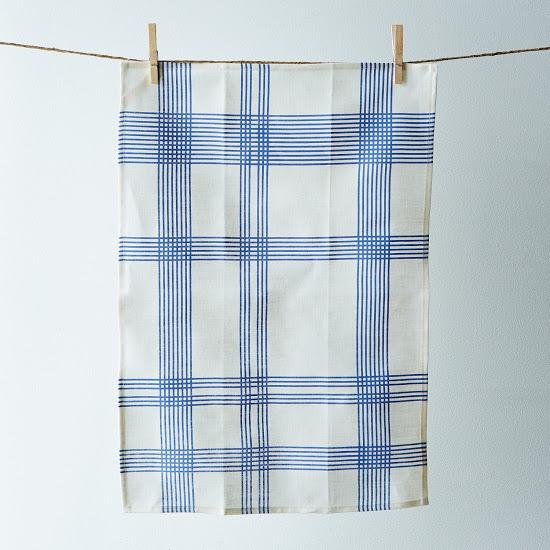
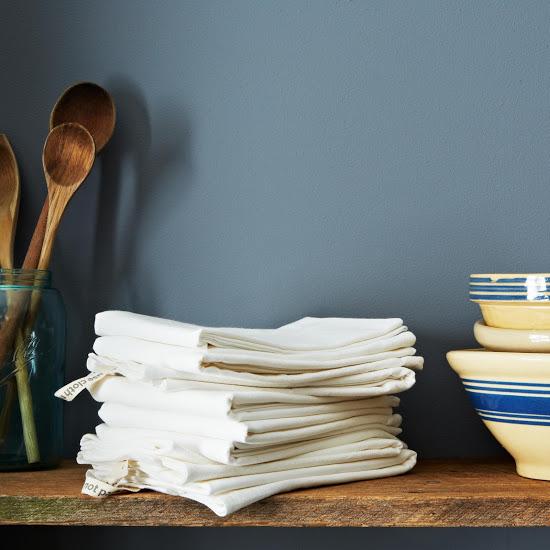
You can never go wrong with tea towels. They’re useful in so many ways and express flair in the kitchen. Cover your ferment with a colorful tea towel and secure it with some string or a recycled rubber band while it ferments. The tea towel serves to keep dust and bugs away from your recipe while it ferments.
Weights
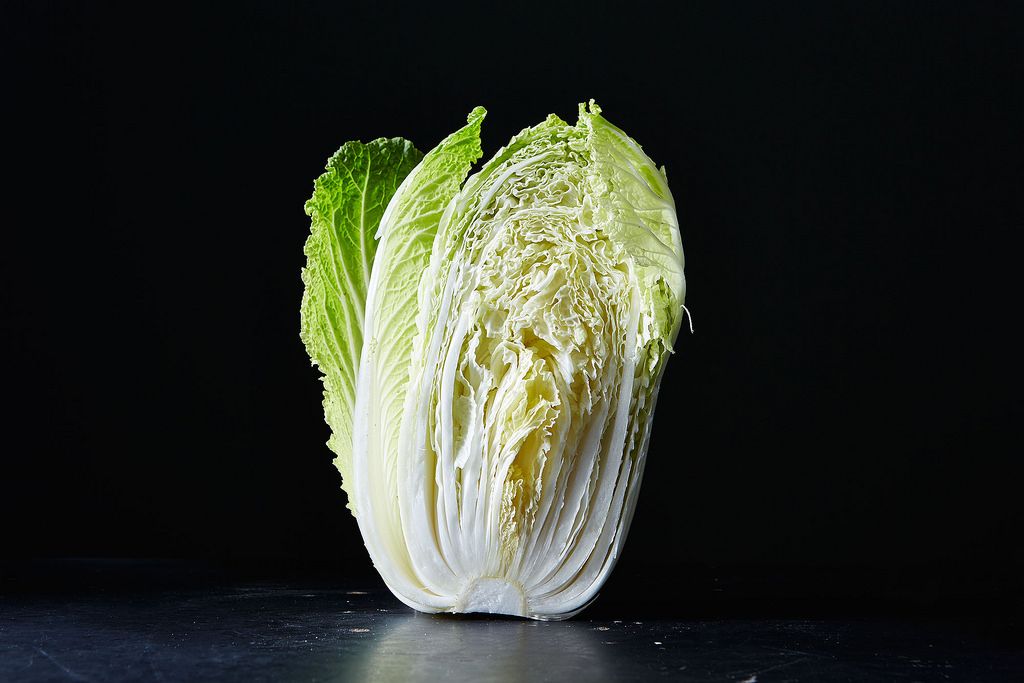
I use river rocks to hold vegetable ferments below their brine, and assure that the vegetables have the anaerobic environment they need. You can visit your local river and find smooth, non-porous rocks that fit inside your fermentation vessel. I scrub mine with soap and water and boil them for 15 to 20 minutes before each use. Alternatives for weights include small jars filled with water that fit inside of the mouth of your fermentation vessel. With small batches (one half gallon or less), I simply use cabbage leaves and the ends of root vegetables to pack the top of my ferment. As a bonus, they’re easy to toss if mold does begin to grow.
There are so many ways to weigh your vegetables below the brine—I urge you to get creative!
Tongs
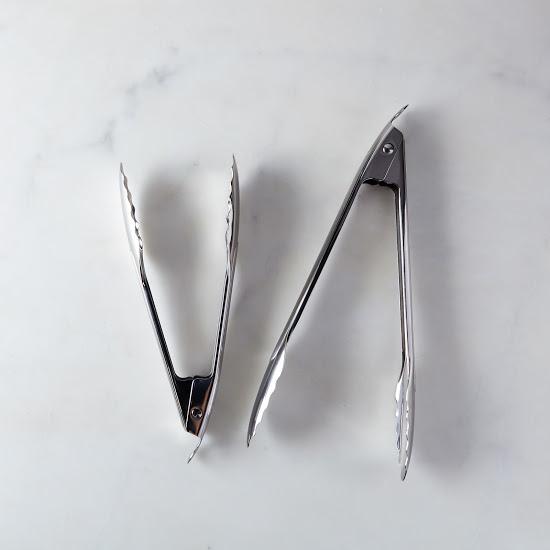
Tongs are the perfect serving utensil for large batches of fermented vegetables. Serve your ferments after they’ve sat in their vessel and under the brine at room temperature for between 1 to 4 weeks. The shorter you ferment, the milder the taste; the longer you ferment, the tangier the taste. I like my ferments at 3 and a half weeks.
Home Brew Funnel
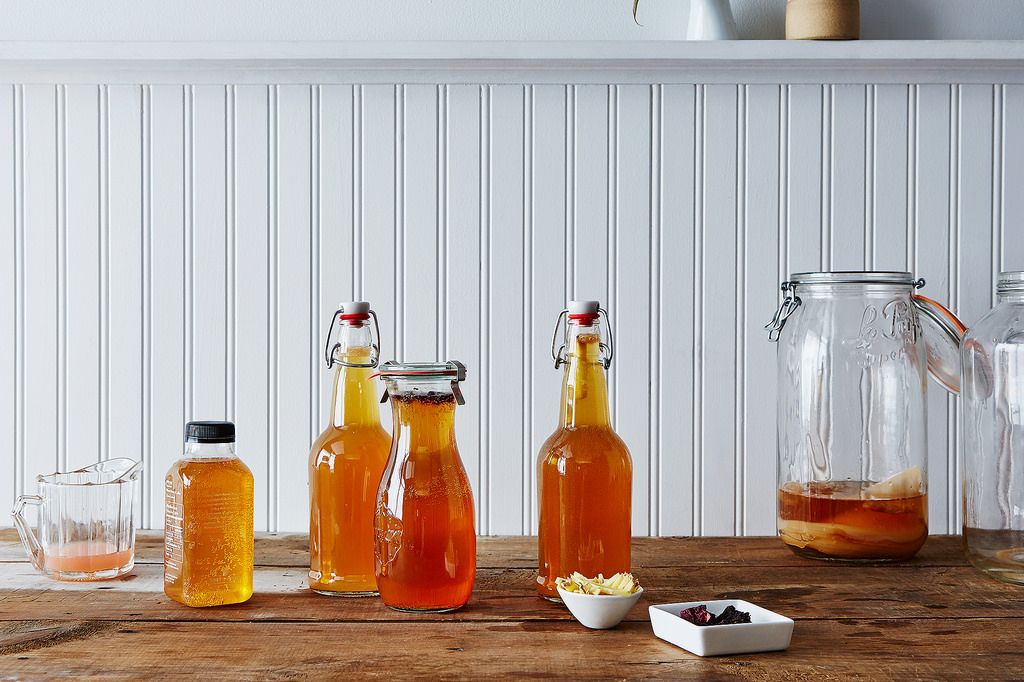
Definitely the most obscure of my essentials, but it’s the ultimate tool for any serious home fermenter. Home brew funnels have wide openings, fit inside smaller-mouthed vessels, and are joined by a removable screen. This allows for so many uses, like straining off liquid from herbs, fruit, and starter cultures—as well as for making beer, dairy kefir, kombucha, water kefir, and wine (all fermented!). If you plan on becoming an avid home fermenter, you can’t go wrong with this purchase. They are under $10 and available at your local home brew store.
Tara Whitsitt's Indo-Thai Sauerkraut with Carrots
Makes 1 gallon
Materials:
1 1-gallon glass jar or crock
Weights (river rocks or other heavy things)
Dishtowel or other cloth
Rubber band
Sauerkraut:
6 pounds cabbage (red or green)
2 pounds carrots
1 tablespoon caraway seeds
1 tablespoon cumin seeds
2 tablespoons unrefined sea salt
See the full recipe (and save and print it) here.
To get started fermenting vegetables and making other cultured foods and beverages at home, visit the recipes section of Tara's website, Fermentation on Wheels. And check her schedule for upcoming events (like classes and tours of her interactive bus-turned-fermentation lab).
Photos of green beans, knife grabber, slaw, tea towels, Napa cabbage by James Ransom; photo of pickles by Alexandra Stafford; photo of tongs and kombucha by Bobbi Lin


See what other Food52 readers are saying.