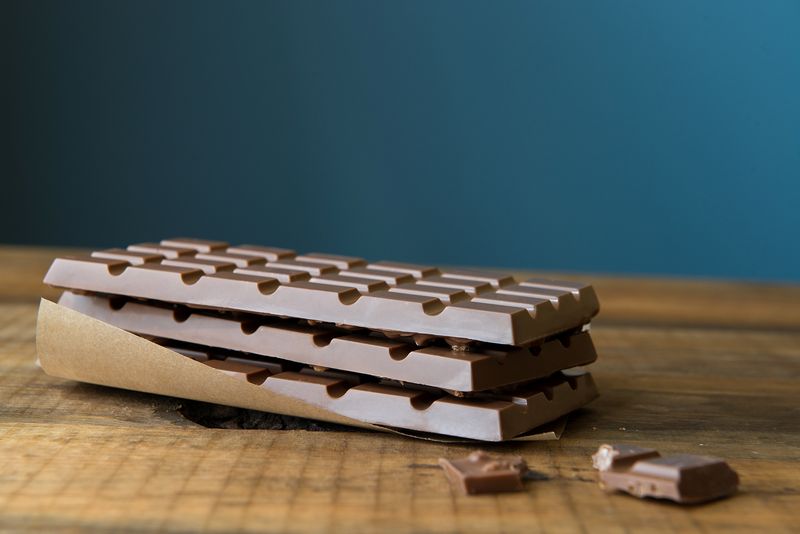
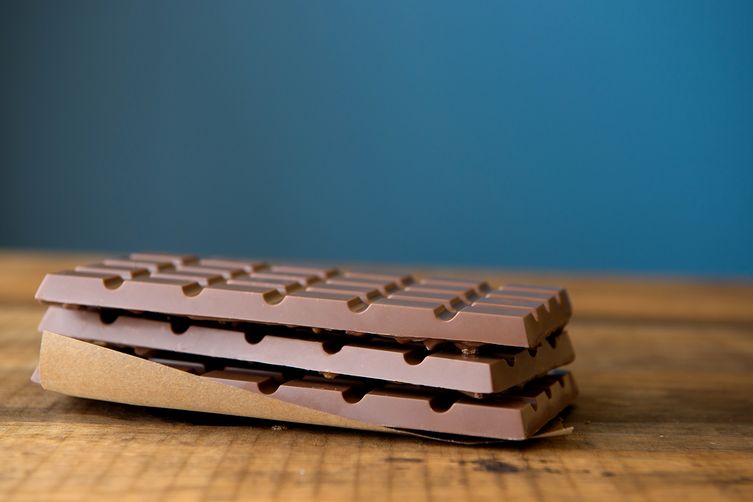
Homemade crackly chocolate bars are simple to make and an improvement on the store-bought variety.
Studded with caramelized puffed rice cereal and made with high-quality milk chocolate, they’re less sweet than the manufactured bars, as well as creamier and much more flavorful. Plus, you only need two ingredients, making it completely feasible at do at home.
Try and use the highest quality milk chocolate you can find. You’ll need to temper it for this recipe. It’s a simple process of melting and reheating the chocolate to a specific temperature. All you need is a kitchen thermometer and patience. Tempering allows the chocolate to crystallize properly, which gives you that “snap” when you break a piece. It also allows the bars to pop out of their molds neatly and not melt in your hands when eating them.
More: You can even temper chocolate in the microwave.
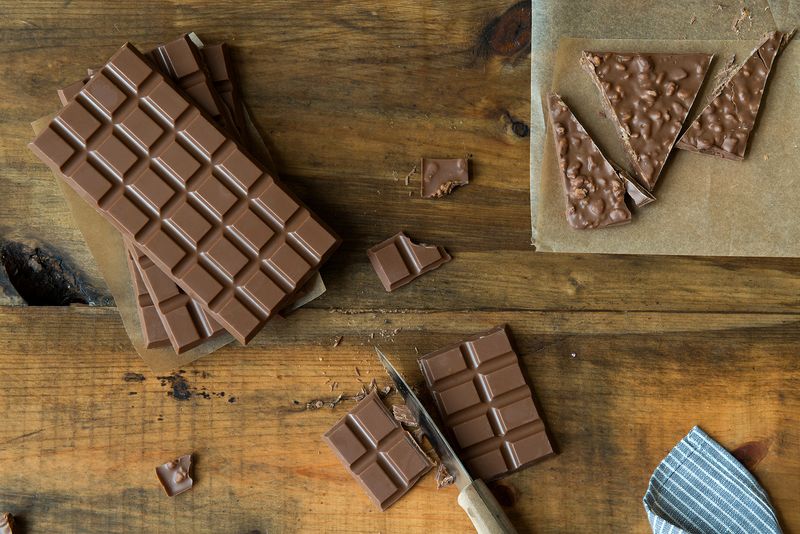
As for the chocolate molds used to shape the bars, feel free to use whichever mold you have on hand or is easiest to purchase—whether it’s a thicker professional chocolate mold, the thin kind available at craft stores, or even a baking pan that’s been lined with parchment paper. They’ll each produce a different look to the finished bars, but they’ll taste the same and will work great with this recipe. The final reward is well worth it.
Homemade Crackly Chocolate Bars
Makes 3 large candy bars
For the caramelized puffed rice:
50 grams sugar
17 grams water
1 pinch sea salt or kosher salt
42 grams puffed rice cereal
2 grams unsalted butter
For the candy bars:
300 grams 32% to 38% milk chocolate, tempered
24 grams caramelized puff rice cereal
Line a baking sheet with parchment paper or a Silicone baking mat, such as a Silpat.
In a medium-sized pot, combine the sugar, water, and sea salt. Place over medium-high heat and bring to a boil. Cook the sugar mixture until water has evaporated and syrup has thickened slightly (right before it begins to turn caramelize and turn color).
Remove from heat and add the puffed rice cereal. Gently stir mixture, thoroughly coating all of the puffed rice in the sugar syrup. The sugar will crystallize and give the puffed rice a thin white coating.
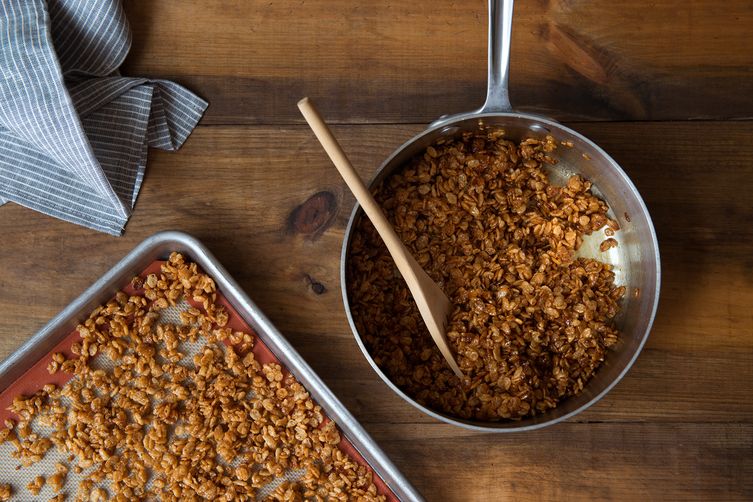
Place the pot back over medium-high heat and continuously stir the mixture. The sugar coating will begin to dissolve and caramelize. The caramelization will begin at the bottom of the pot first, so be sure to keep stirring and rotating the puffed rice to ensure even coloring. The mixture will also begin to smoke lightly as it deepens in color.
When the entire puffed rice mixture has reached a deep golden-amber color, remove the pot from heat and stir in the butter until thoroughly combined. Pour out the mixture onto the prepared baking sheet. Quickly spread out the caramelized puff rice into an even single layer with the back of a spatula or spoon. Let cool completely, then break apart any clumps with your fingers until you have individual grains of puffed rice remaining.
Set out a clean chocolate bar mold (or any candy-making mold of your choice and desired shape, or an 8- by 8-inch baking pan that has been lined on the bottom and sides with parchment paper).
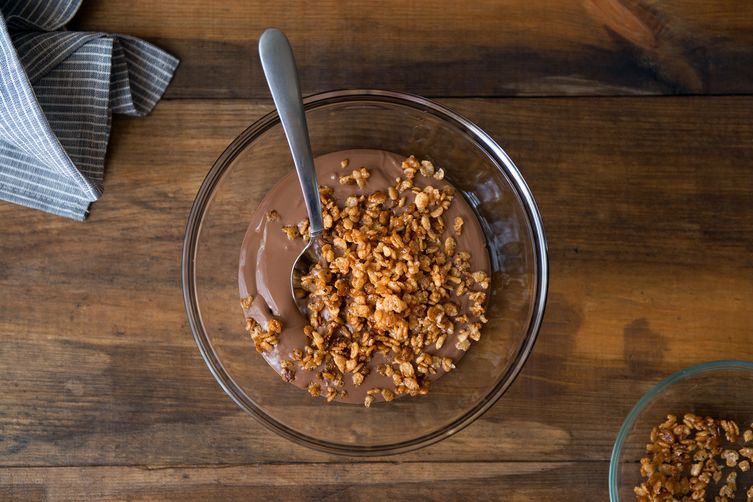
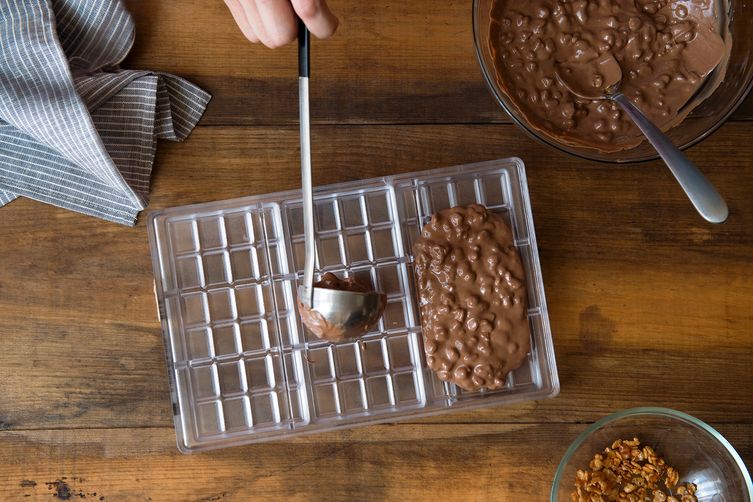
In a medium-sized bowl, combine the milk chocolate and caramelized puffed rice. Immediately ladle or spoon the mixture evenly onto the chocolate bar mold cavities (or pour directly into the baking pan). Use the back of the spoon to spread the chocolate evenly over the mold.
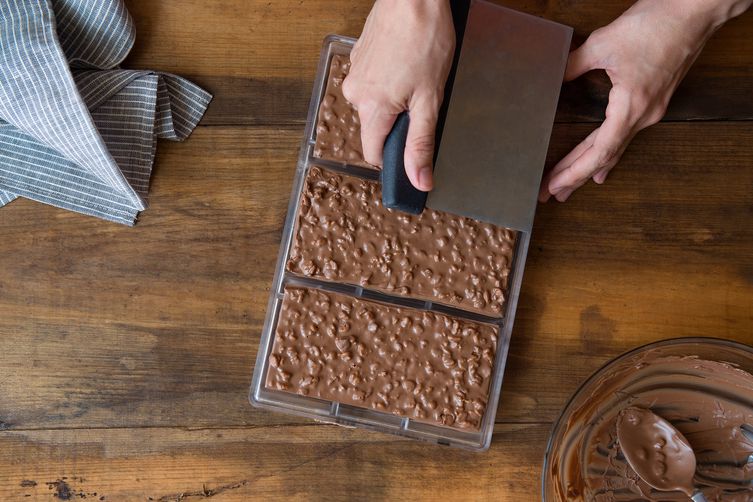
Using a straight-edged object (a bench scraper works well), scrape the excess chocolate off the top of the mold. Firmly tap the mold on the counter top several times to remove air bubbles.
Place the chocolate mold into the refrigerator until the chocolate has set and easily pops out of the mold. Once out of the mold, allow the chocolate bars to come to room temperature. If using a baking pan as a mold, pop them out of the pan and cut into strips with a hot knife blade.
Store bars, at room temperature, in an airtight container or tightly wrapped in plastic wrap for up to one week.
See the full recipe (and save and print it) here.
Photos by Teresa Floyd
See what other Food52 readers are saying.