Every other Friday, we'll be sharing dessert projects that demand a little extra time and effort. Because weekends are the sweetest part of the week.
Today: Yossy shows us that tackling ice cream cake at home isn't that hard -- all you need is a sturdy base, a great ice cream recipe, and a little garnish.
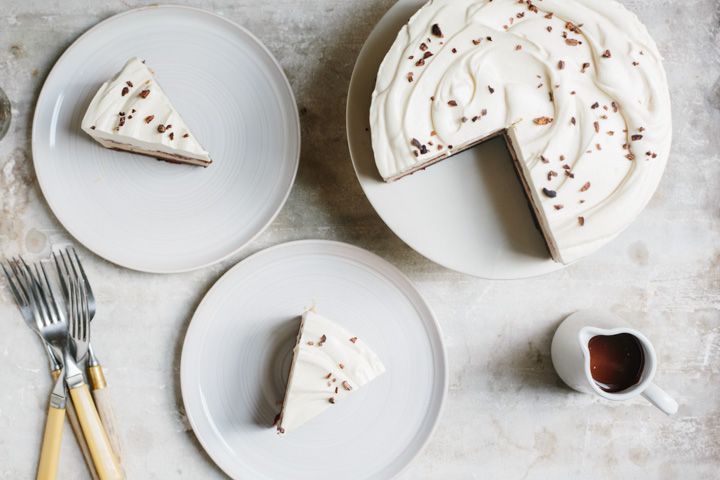
Ice cream cake, beloved at birthday parties everywhere, is one of those things that seems like it might be too hard to try at home. But with a little planning and a clever no-churn ice cream recipe, it can be done in an afternoon.
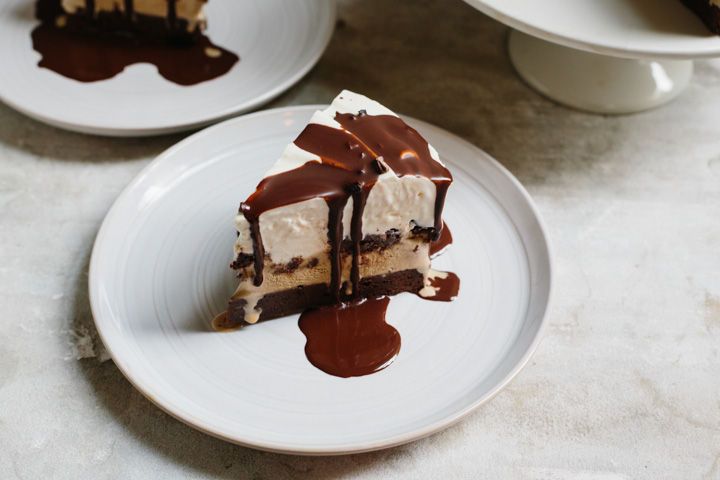
The trick to a good ice cream cake is solid construction, so it’s best to start with a sturdy base that is easy to slice. I used my very favorite nibby brownie recipe, which I know from experience is also incredibly delicious frozen. Then I topped it with a traditional, custard-based coffee ice cream, some extra brownie bits, and a final, billowy soft layer of no-churn ice cream topped with more cacao nibs for crunch.
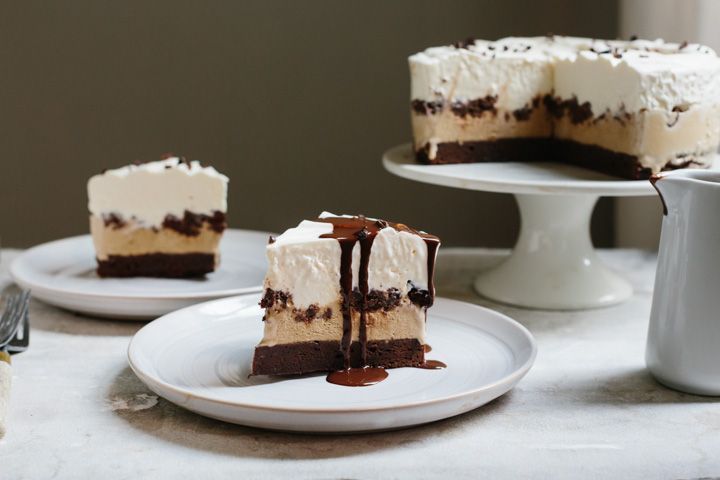
The no-churn ice cream is great here because it doesn’t require you to refreeze the bowl of your ice cream machine in between flavors, meaning that you can make this entire cake in an afternoon. Just make sure you leave ample time for the whole thing to chill before you slice it. And be warned: this is rich and sweet, so a small slice will do the trick. If you have some more time, try topping the slices with this easy Magic Shell and a little sprinkle of salt to really take this dessert over the top.
Chocolate Coffee Ice Cream Cake
Serves 10 to 12
For the brownie layer
8 ounces bitterweet chocolate, chopped
6 tablespoons unsalted butter, cut into pieces
1 cup sugar
3 eggs
1 teaspoon vanilla extract
1/4 teaspoon salt
1/3 cup plus one tablespoon flour
1/4 cup cacao nibs
For the coffee ice cream layer
2 cups heavy cream
1 cup milk
1/4 cup coffee beans, coarsely ground
3/4 cups sugar
5 egg yolks
2 tablespoons Kahlua or other coffee liqueur
A few pinches of salt
No-churn ice cream
14 ounces can of sweetened condensed milk
2 cups heavy cream
2 tablespoons bourbon
A few pinches of salt
To make the brownie layer, preheat your oven to 350º F and line an 8-inch springform pan with parchment paper; grease the bottom and sides generously. Put the chopped chocolate and butter in a heatproof bowl over a saucepan of simmering water, stirring occasionally until the chocolate and butter are completely melted. Let cool.
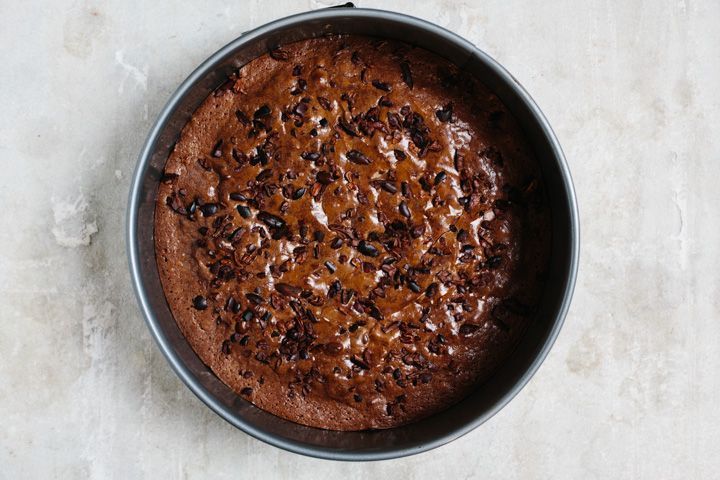
In a separate bowl, whisk together the sugar, eggs, vanilla, and salt until the mixture is lighter in color, about 3 minuntes. Pour the melted chocolate mixture into the eggs and whisk to combine, then fold in the flour and 2 tablespoons of the cacao nibs. Pour the batter into the prepared pan and sprinkle the rest of the cacao nibs over top. Slide it into the oven, and bake until a toothpick inserted into the brownies comes out clean -- it should take about 25 to 30 minutes.
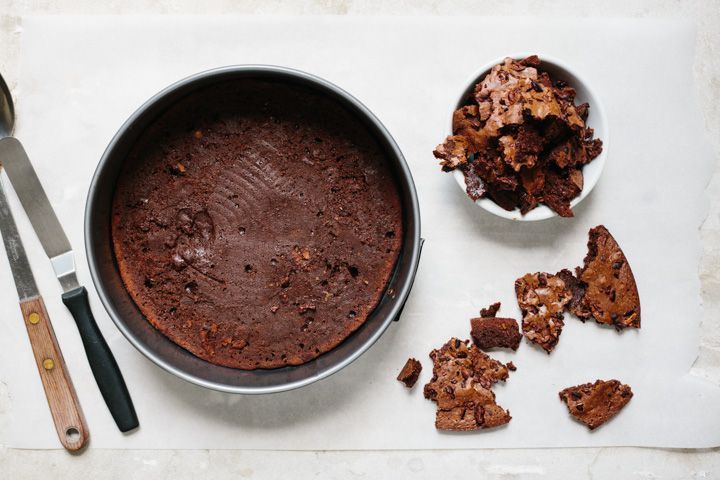
Once the brownies have cooled, remove the outside of the springform pan and slice the brownie-round in half horizontally. I find the brownies are easiest to slice after a few minutes in the refrigerator. Leave the bottom half of the brownies in the pan and put the outside of the springform pan back in place. Break the top layer of brownie into 1-inch pieces and set aside.
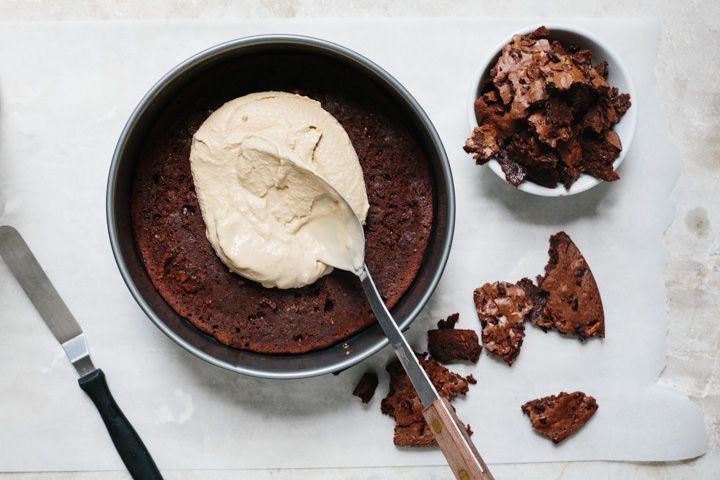
Next, make your coffee ice cream. Once it's been chilled and churned, spread the soft ice cream mixture over the trimmed brownie layer that's still in the pan. You want to fill the pan so it is about halfway full, which means you will probably have a bit of extra ice cream; freeze it in an airtight container to enjoy later.
Top the coffee ice cream with the broken brownie pieces.
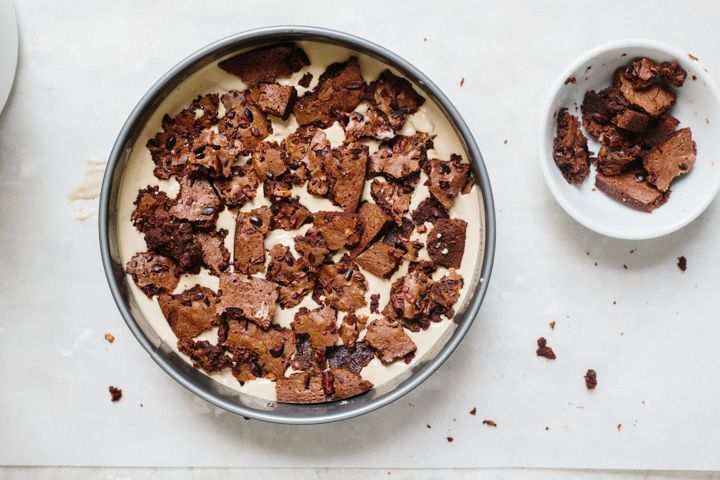
Put the pan in the freezer to firm up while you prepare the no-churn ice cream. First, whisk the sweetened condensed milk, bourbon, and salt together. Whip heavy cream into stiff peaks, and fold it into the condensed milk mixture.
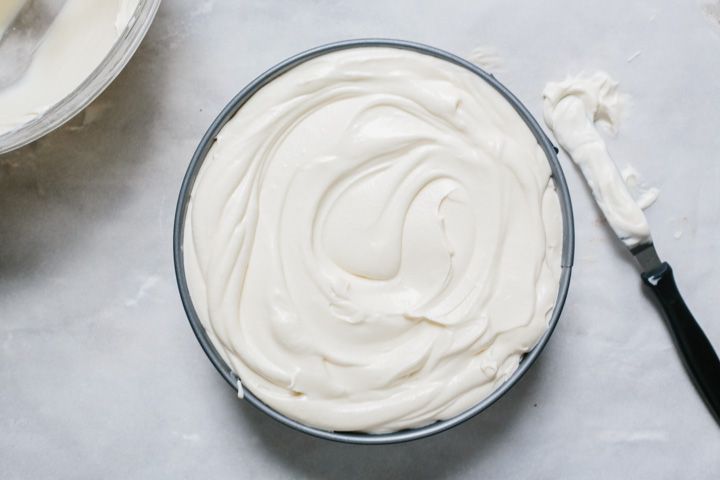
Top the coffee ice cream and brownies with the sweet cream mixture -- you may have a bit leftover -- and freeze overnight before slicing.
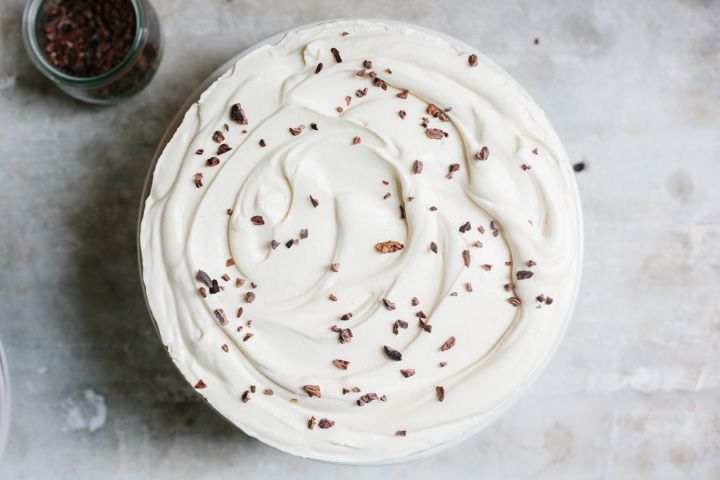
Just before serving, sprinkle with a few teaspoons of cacao nibs and top the slices with chocolate sauce. I like this Magic Shell with a pinch of salt.
See the full recipe (and save and print it) here.
Photos by Yossy Arefi.
See what other Food52 readers are saying.