It's always more fun to DIY. Every week, we'll spare you a trip to the grocery store and show you how to make small batches of great foods at home.
Today: To the delight of PB&J purists everywhere, Maggie Battista from Eat Boutique shares a recipe and step-by-step instructions for making Concord Grape Jelly at home.
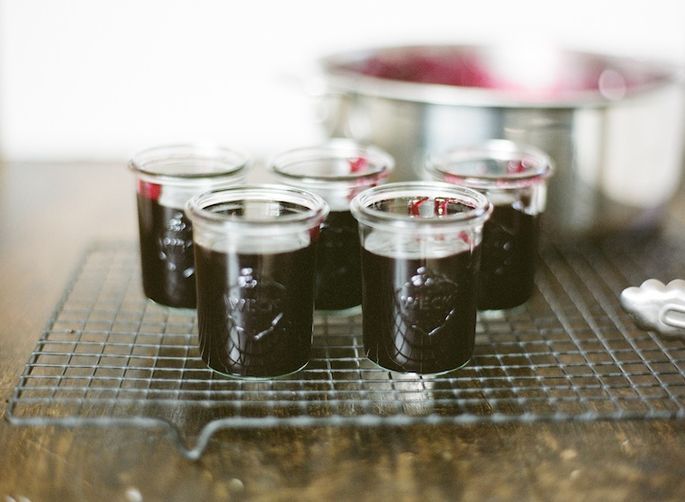
To my nine-year-old self, Concord grapes only meant one thing: sweet sandwiches of toasted white bread filled with thick cream cheese and a hefty layer of store-bought jelly. About five years ago, I had an adult version of that sandwich at Duckfat in Portland, Maine. The chef made a warm dessert panini of mascarpone cheese and Concord grape jelly dusted with powdered sugar that was easily heaven on a plate.
Thanks to a hidden stash growing in the woods behind my house, Concord grapes have transcended yet again. Once summer starts to fade, my 60-year-old Italian nonna of a neighbor and I meet in the woods to pick grapes, lament our overgrown gardens, and compare recipes. We make a few pints of Concord Grape Jelly and meet over toast with jelly all winter long.
My friend Heidi shared her Concord Grape Jelly recipe with me last year. It’s based on the Ball Canning Guide recipes from the 1970s. With the grape harvest from a local farm, she photographed the entire process for me -- lucky me!
Concord Grape Jelly
Makes approximately 3 pints
2 quarts Concord grapes, stemmed
6 cups sugar
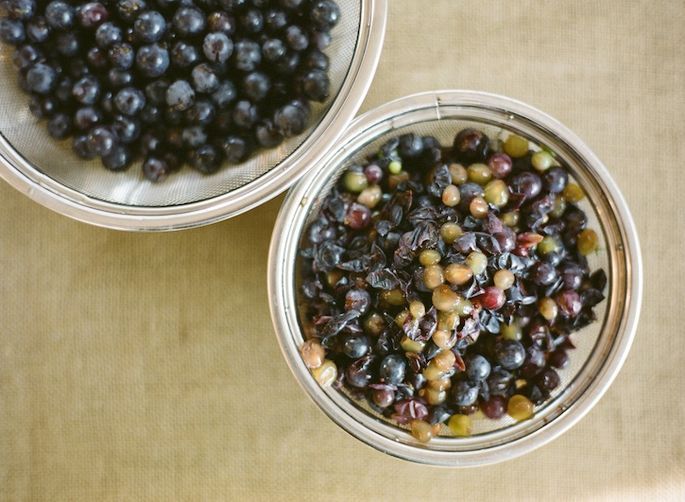
Briskly boil grapes on the stovetop until whole grapes “pop” under the pressure of a spoon. Transfer to a canning sieve and press the pulp, reserving the juice that flows through.
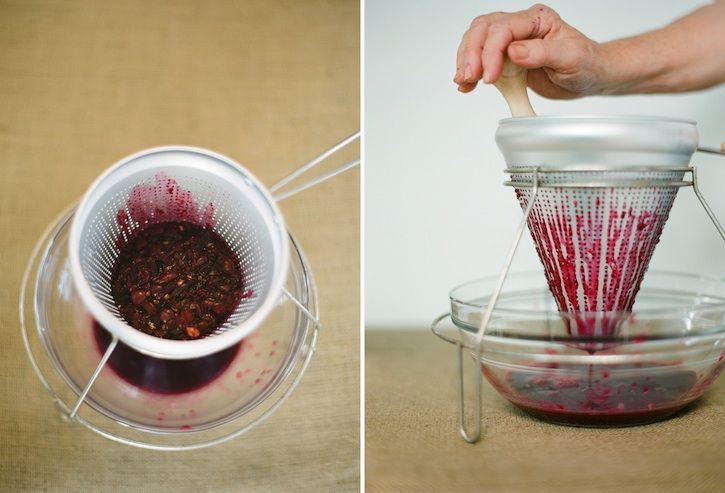
Squeeze the remaining pulp through cheesecloth to save every last drop of grape juice.
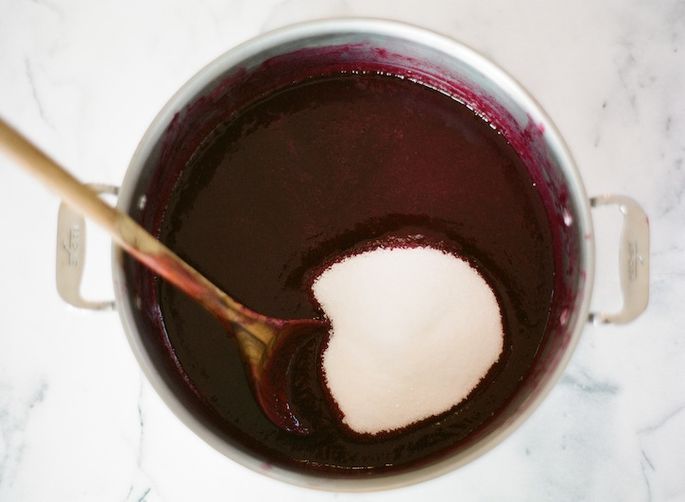
Add all the juice to a saucepan with the sugar. Cook slowly until the sugar has dissolved, then rapidly boil the sweet juice until you reach the jellying point.
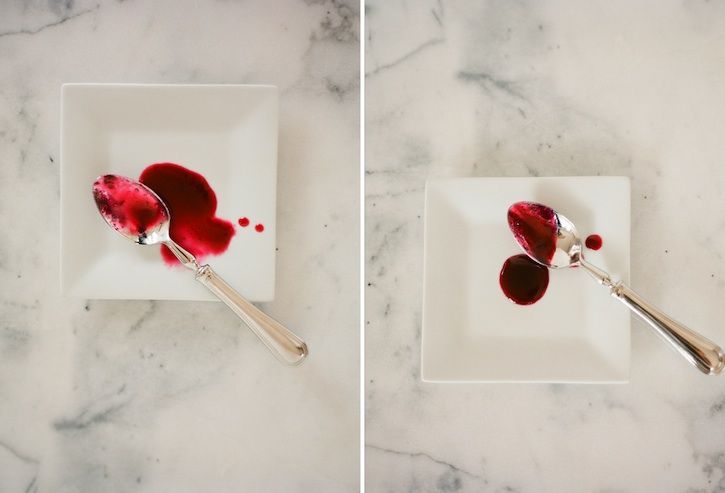
Use the “plate test” to determine when the jelly is ready: Before you begin cooking, stash a couple small plates or saucers in your freezer. To test the cooked jam, take out one of the plates and drop a small spoonful in the center. Let it sit for a minute or so, then test the jam with your finger. If it’s formed a skin and seems to be solidifying, it's ready. If it's still runny, it needs to cook a bit longer.
Pour the boiling hot jelly into prepared canning jars. Leave a 1/2-inch headspace if using Weck jars.
More: Don't be scared of boiling water canning. Here's how to do it right.

Process in a boiling water canning bath for 10 minutes. Enjoy on toast all winter long.
See the full recipe (and save and print it) here.
Photos by Heidi Murphy/White Loft Studio


See what other Food52 readers are saying.