Kitchen Confidence

How to Make a Wedding Cake, Part 3: The Assembly

August 14, 2014

Inspired by conversations on the Food52 Hotline, we're sharing tips and tricks that make navigating all of our kitchens easier and more fun. 

Today: This week, we've already covered baking a wedding cake and whipping up the fillings and frostings -- now it's time to assemble. Take a deep breath, rub your lucky rabbit's foot, and let's get started.

How to make a Wedding Cake Part 3

Shop the Story

The band is warming up, the Champagne is chilling on ice, and the white doves are waiting patiently for their big moment -- it's the wedding day! If you've been following along with this series, you've already baked your cake, made your fillings and frostings, and assembled your equipment. So tie on your apron, take a deep breath, and put on some Enya -- it's time to assemble the cake.

How to Make a Wedding Cake Part 3 How to Make a Wedding Cake Part 3

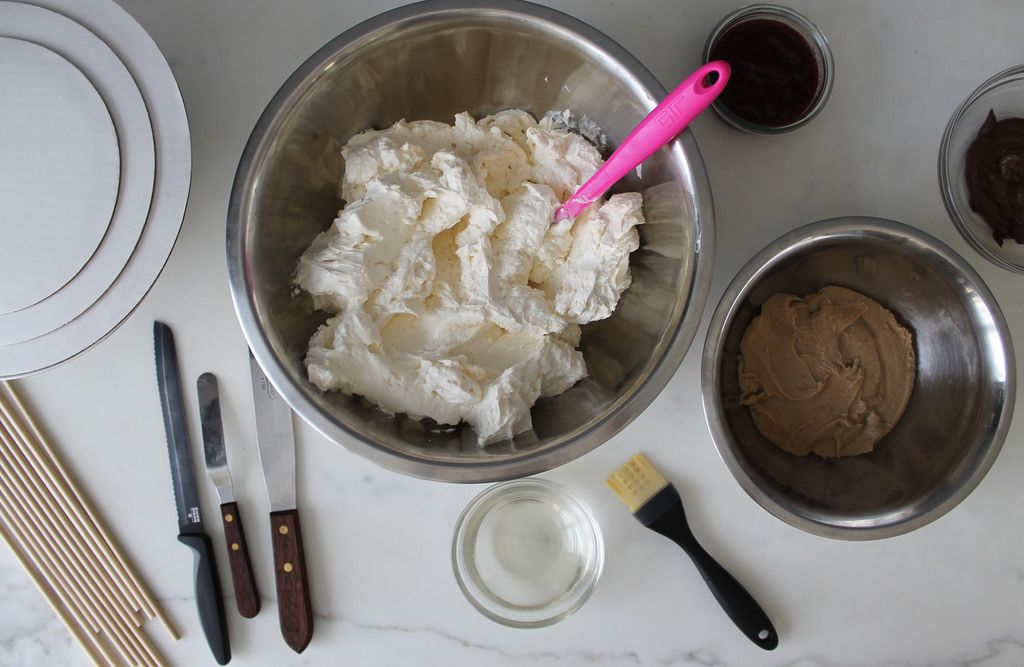
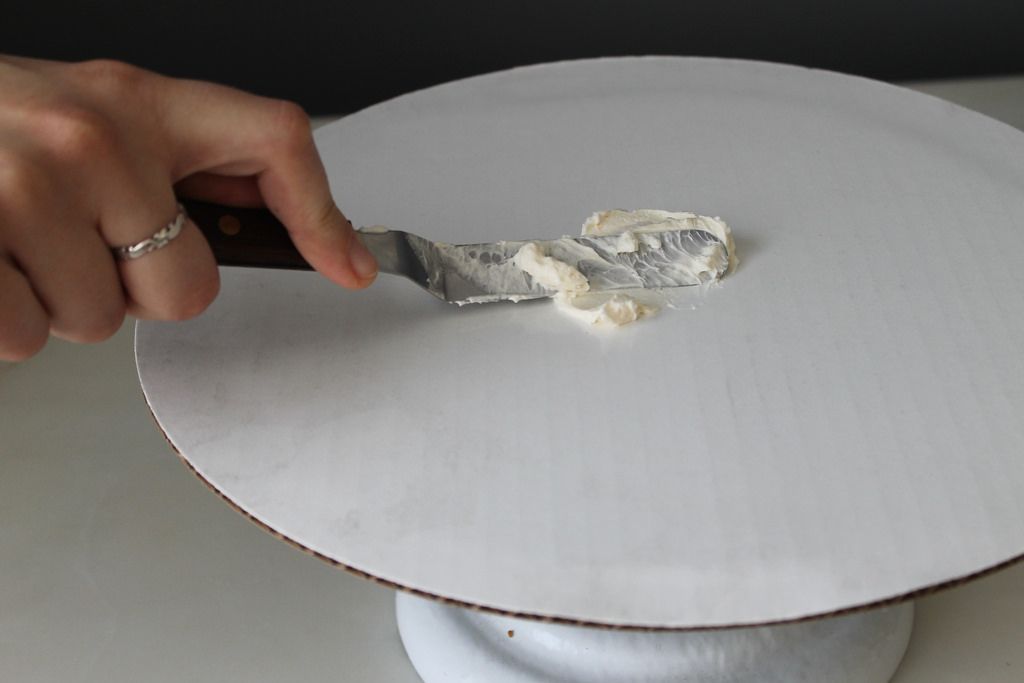
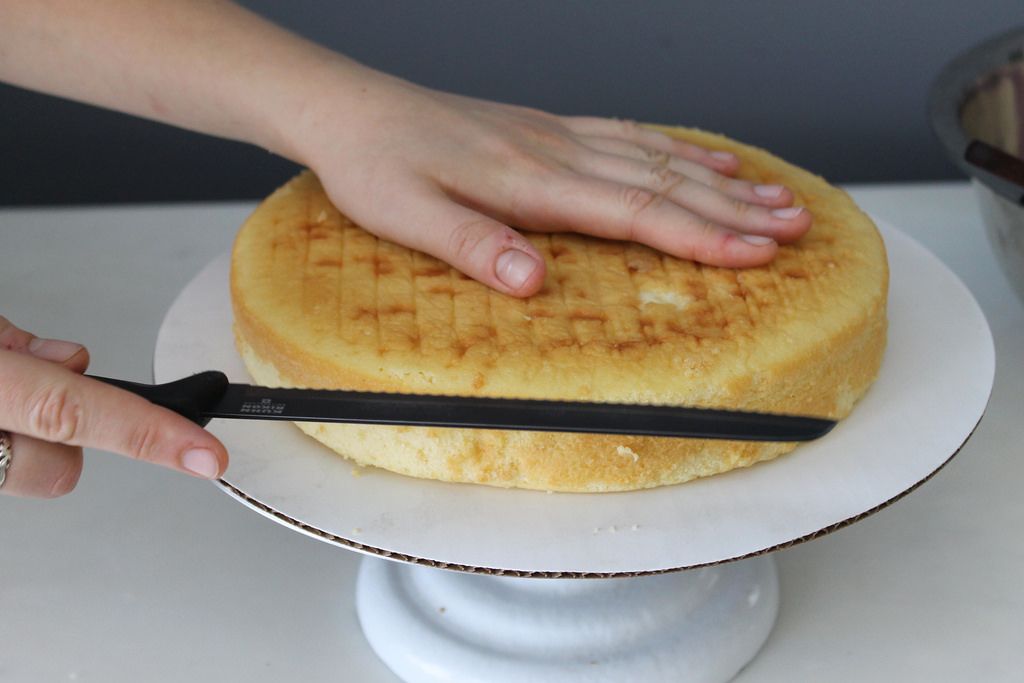
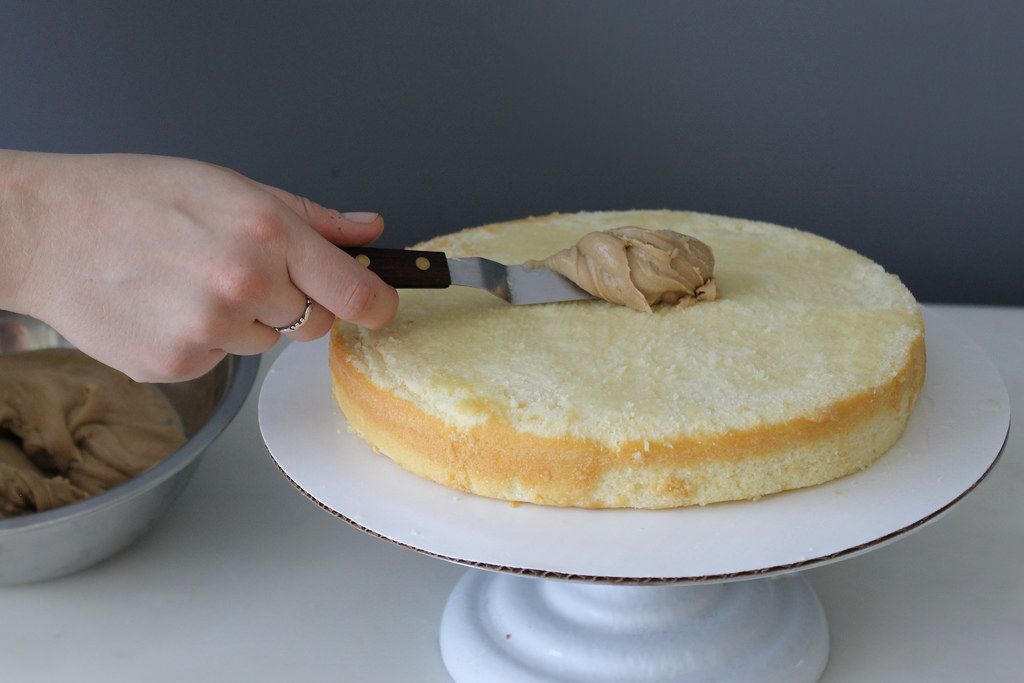
First of all, make sure your frostings are all at room temperature; re-whip them if necessary so that they're easy to spread. Grab the largest of the cake circles you purchased and place it atop your rotating cake stand. Spread a dab of buttercream on the largest cardboard circle, then place one of the largest cakes on top, flat side-down. Place it on the cake stand and, using your serrated knife, trim off the top so that the cake lies flat and even. When slicing and trimming cakes, I find it’s helpful to rotate the cake itself and keep the knife steady. 

More: Don't be intimidated -- here's everything you need to know about slicing cake layers.

How to make a Wedding Cake Part 3 How to Make a Wedding Cake Part 3

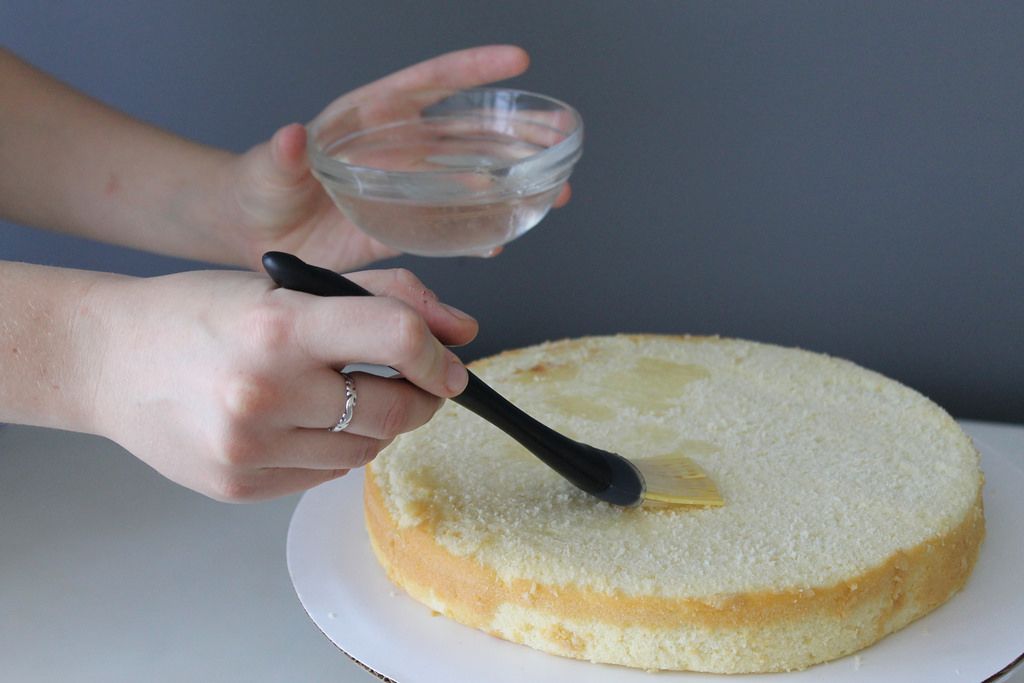
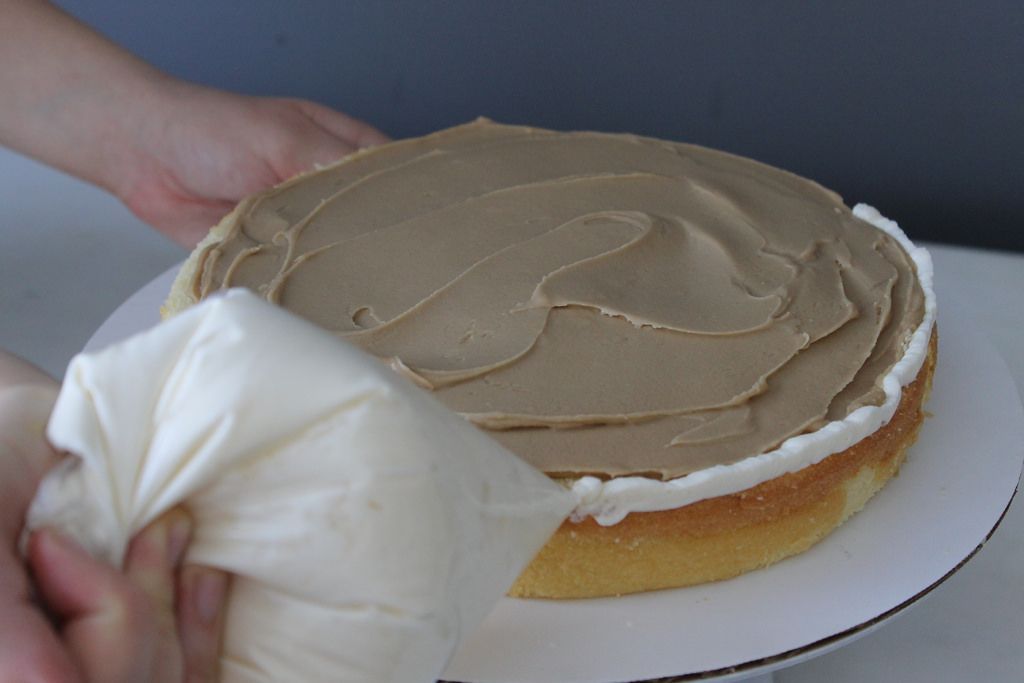
Brush some simple syrup onto the trimmed cake. This will keep it from drying out during the journey from your kitchen to the dessert table. Spread a layer of frosting or ganache almost to the edge of the cake, but not quite. Pipe a layer of Swiss buttercream around the edge of the filling. This will act as a dam, keeping the filling from mixing with the pure white of the Swiss buttercream. Repeat with the next two layers: trim each cake, layer on the filling, and pipe on buttercream.

How to Make a Wedding Cake Part 3

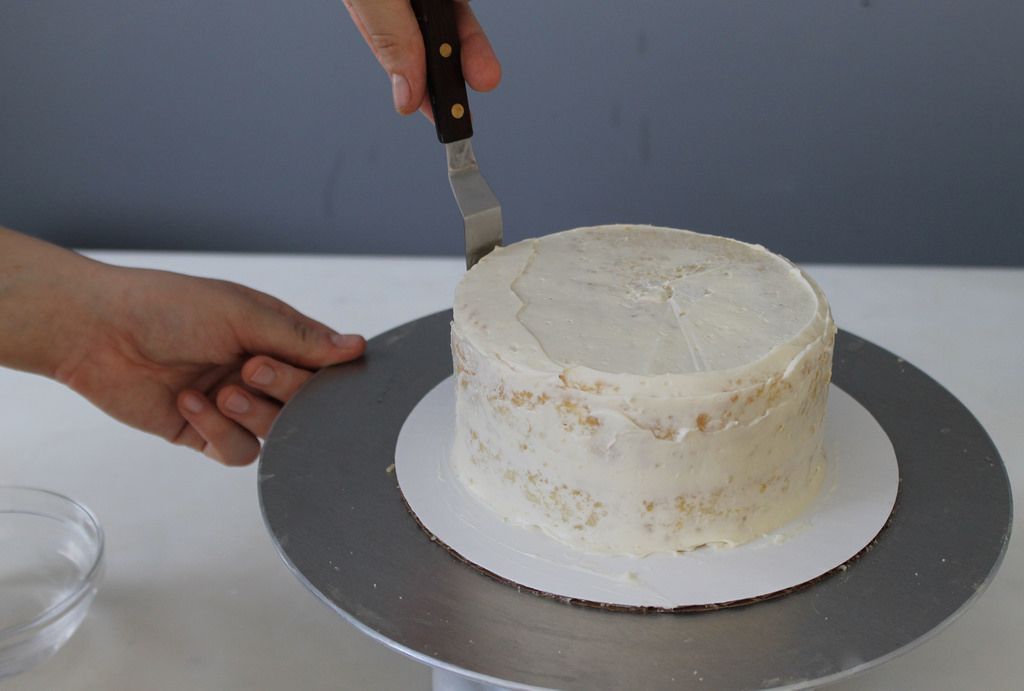
Dollop a healthy amount of buttercream on top of the cake (yes, over the icing). Gently spread it over the top, then down over the sides. Make a very thin layer of frosting over the whole thing, concentrating on making it smooth. Don't worry if you get some crumbs in it; this part is called the crumb layer, and it's there to make sure the final icing layer is unblemished. Think of it as fly paper for cakes. Repeat with the other two cakes. 

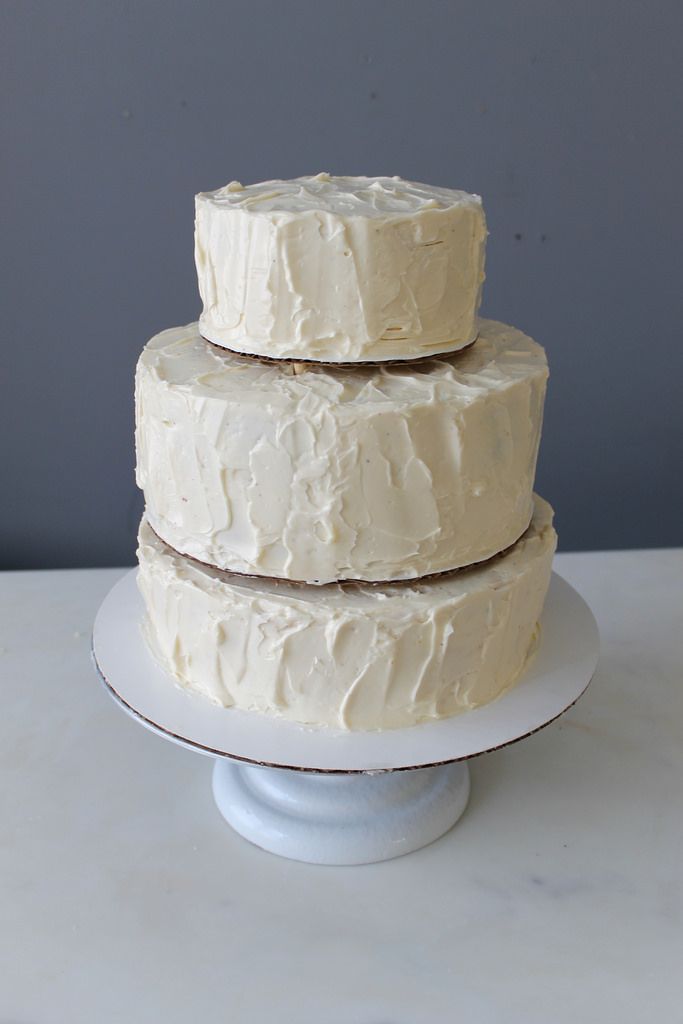
If you have room, refrigerate your cakes for an hour or so to firm up the icing. If you don't have the time or the space, though, that's okay. Drop a large heap of icing on top of the cake, and smooth it down over the sides, much as you did with the crumb layer. Spread the icing gingerly so as not to rustle up any crumbs stuck on the initial icing layer. Unless you're a professional, you probably won't be able to make a perfectly smooth wall of icing. I embraced imperfection, and used my spatula to make a stuccoed pattern. We're also big fans of the swirl around here.

How to Make a Wedding Cake Part 3 How to Make a Wedding Cake Part 3

Repeat the same process with the next two tiers: Even out the cakes, layer on the filling, pipe Swiss buttercream around the edges, then frost the whole thing. Swirl, stucco, or otherwise decorate the exterior of the cake to your whim -- just make sure the design stays consistent among all three layers. If possible, keep your cakes refrigerated until assembly time. 

How to make a Wedding Cake Part 3

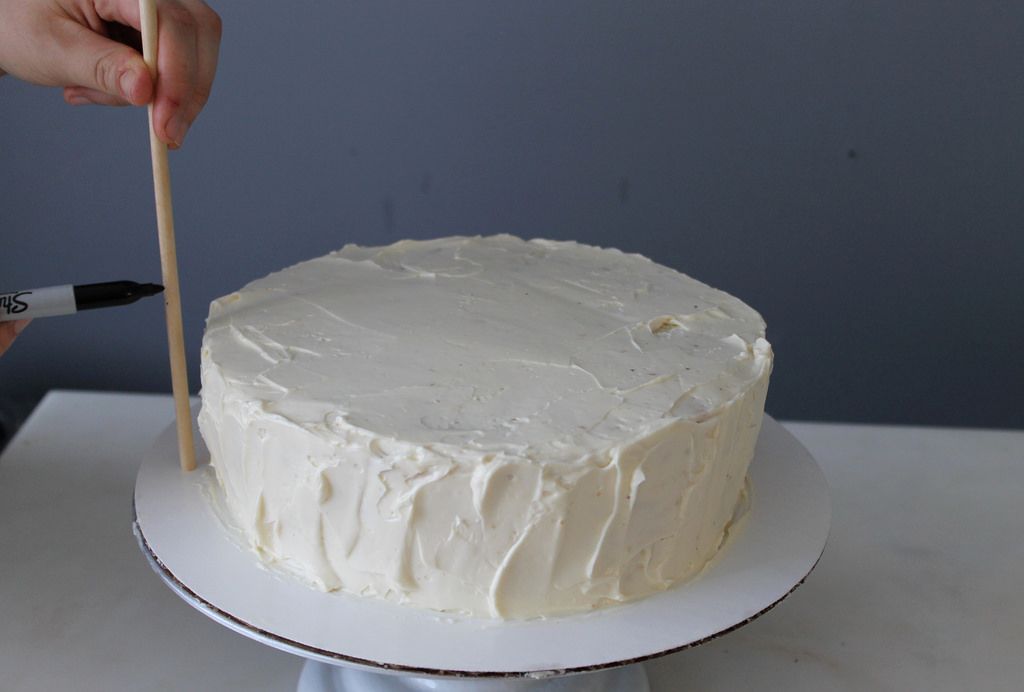
Before transporting your cakes to the venue, grab your dowels. Measure them to be a centimeter or so taller than the cake, mark them off with a Sharpie, and cut five of them to that exact height. I used a knife to saw through mine, then evened them off with a nail file. If you’re extra-handy and have a bandsaw, use that -- otherwise, scissors or knives are the way to go. 

Put a large tip on a pastry bag, and fill it with your re-whipped Swiss buttercream. Twist the end or secure it with a rubber band so none will leak during transport.

How to Make a Wedding Cake Part 3

Pack everything up! Put your cakes inside inside sturdy boxes -- we used empty drawers. Bring the pastry bag full of icing, the offset spatula, the dowels, and scissors. Think of it as the bag you pack before you head to the hospital to give birth -- except instead of having a baby, you’re having a wedding cake.

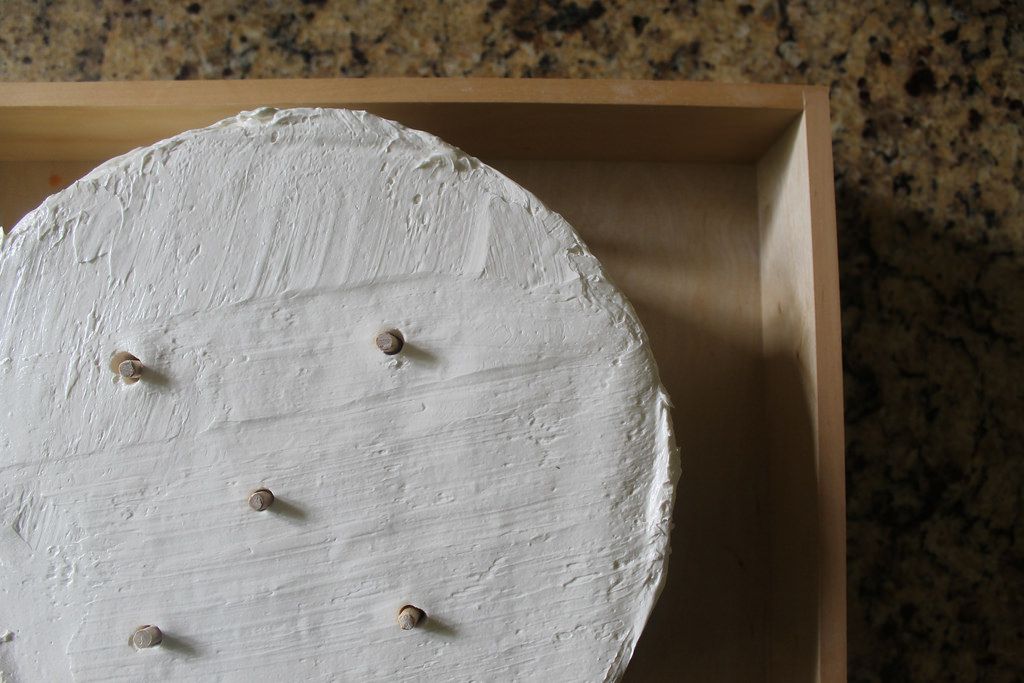
Once you get to the venue, check with the caterers to see where you should assemble your masterpiece. Make sure everything on the surface is set up correctly, because you won't want to move the cake after you've put it together. Carefully insert the dowels in the largest cake -- one in the center, and four around it in a square -- in an area that is just smaller than the next-largest cake. The dowels should all be visible, and of uniform height. You will then (with the help of a spatula and hopefully a friend or two) carefully, breathlessly, pick up the next-largest cake, center it over the largest one, and lower it down. You want the smaller cake to rest just above the larger one, but not touch it. Don’t worry about the gap -- you’ll fill it in with icing.

How to make a Wedding cake Part 3  How to make a Wedding Cake Part 3

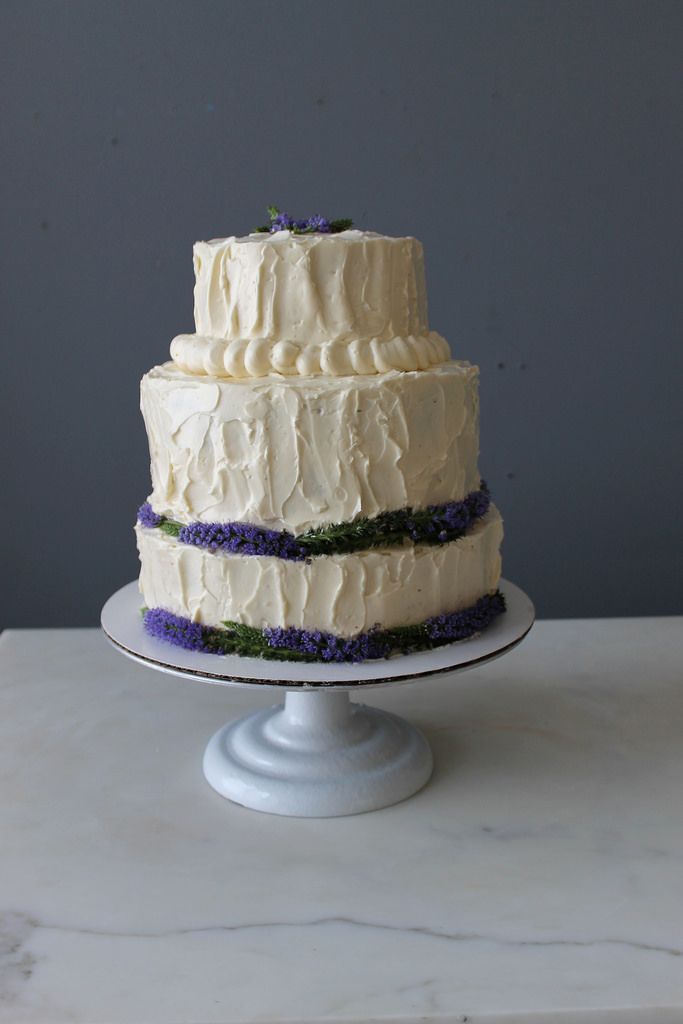
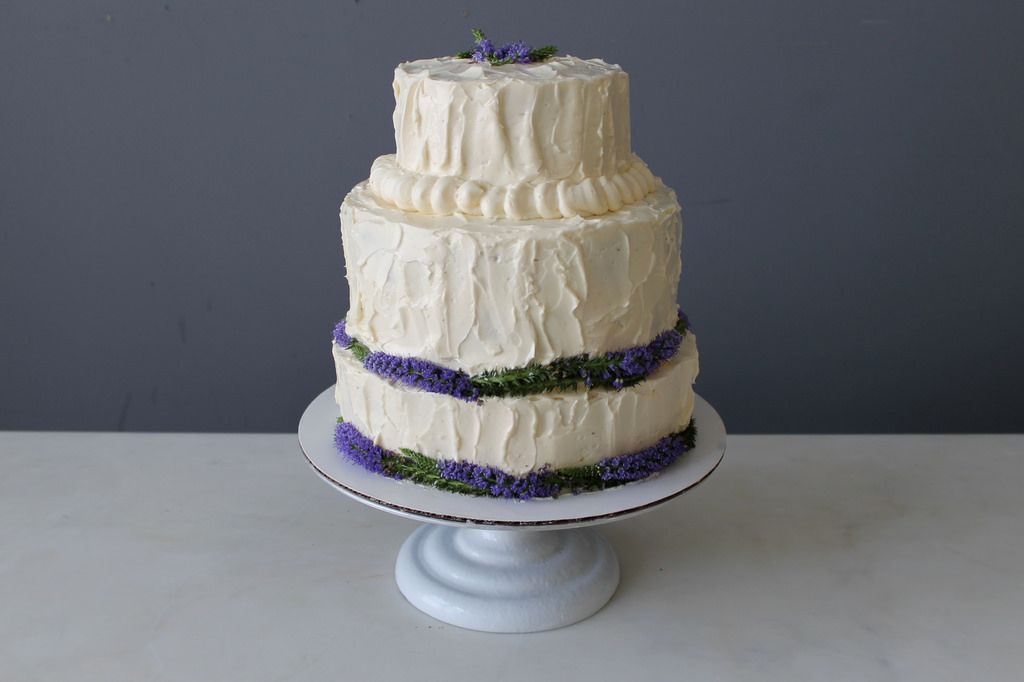
Using the pastry bag, pipe icing into the gap between the cake tiers. Since the cake is already so large and eye-catching, it's best to keep it simple. I advise practicing on a plate or some waxed paper before piping onto the cake, so you can make your icing as uniform as possible. If you’re not confident in your skills, you can just pipe small, consecutive rounds by pushing out icing, then releasing pressure and pulling away.

More: Check out some options for icing styling here. 

All that remains is decoration! The bride and groom wanted to limit the decoration to some fresh flowers, and I, having not piped a frosting rose in several years, was happy to oblige. Strategically arrange your blooms to cover up any imperfections, then use your pastry bag to make any final touch-ups. Then walk away. It's time to put on your party outfit and chug a glass of Champagne, then prepare yourself for the waves of praise that will be lavished upon you.

You have made a wedding cake. And it was good.

How to Make a Wedding Cake Part 3

Have you ever made a wedding cake? Any tips for novices? Let us know in the comments!

Photos by Catherine Lamb 

See what other Food52 readers are saying.

  • Green Rider
    Green Rider
  • fglick
    fglick
  • Jennifer Elizabeth Ott
    Jennifer Elizabeth Ott
  • potterhill
    potterhill
  • Bonnie
    Bonnie
A kitchen scientist and dog-lover. Someday I want to have you over for dinner.

16 Comments

Green R. September 15, 2014
Thank you to Catherine, and all the people who left very helpful comments. I feel as though I am much better prepared to attempt a trial wedding cake now.
 
fglick August 25, 2014
I made my brother's wedding cake about 20 years ago. I used The Cake Bible and Cocolat for inspiration. I found that baking a wedding cake is part baking and part architecture. I used straws as they displace less cake than dowels. I was prepared to transport the finished cake about 3 hours away but the weather did not cooperate and it was 95 degrees. So I packed all the pieces in a cooler along with lots of backup because when one thing goes wrong in a cake sometimes you have to redo several things. Took my KitchenAid and hoped for the best. I crumb coated the night before and frosted the morning of the wedding. I had lace around the tiers with lace bows and fresh flowers. The cake was chocolate with chocolate raspberry ganache filling and a raspberry flavored liquor (don't remember anymore) soaking the layers and a white buttercream frosting. I practiced various pieces before making the actual cake. My co-workers loved me for about a month because I would come in and say ignore the frosting but tell me about the cake or ignore the cake, I'm just testing the frosting this time! The final cake took me 12 hours. To this day, it was the best wedding cake I have ever tasted. It was rich moist and really good! I would recommend to anyone trying this to practice all the pieces before hand and purchase a long and wide offset spatula. It is indispensible in picking up and moving the layers around. Finally I would heed Rose Levy Beranbaum's advice: The only person who should touch or transport the cake is the baker or the person paying for it!
 
Jennifer E. August 24, 2014
did you assemble the layers frozen? and frost while cake still frozen?
 
potterhill August 17, 2014
I recently made a wedding cake in DRC for my daughter's wedding. Had to transport all to SIL's house for oven large enough to accommodate pans. Power went out. No generator. I had given DD KA electric beaters last year for Xmas. Back to the wooden spoon method. Felt like a pioneer. Made passion fruit curd from 220 passion fruit. Did get it baked, frosted and assembled. It was not easy but was a huge success. Did 3 tier cake and 2 3 layer half sheet sized kitchen cakes. I am a keen home cook with no training. I used straws dowels and cake pop sticks to assemble. Had Wilton separators and filled with flowers. it was certainly an adventure!
 
Bonnie August 17, 2014
I agree with several people; make as much in advance as possible. Bake 3 days before, make frosting 2 days before and pre-assemble the day before. My last cake had a small hiccup and I had plenty of time to make repairs. On-site assembly is essential. Bring extra frosting to fix boo-boos.
 
jpriddy August 17, 2014
I made my wedding cake to the nineteenth century wedding cake recipe in the Fannie Farmer Cook Book. This was 40 years ago and the recipe was old enough then to have been used for my grandmother's wedding. It's important to note, I think, that those wedding cakes of a hundred years ago were fruitcake. The "bride's cake" was a later invention.
 
PieceOfLayerCake August 14, 2014
I make sure everything is cold cold cold between steps. Cakes are cold while trimming and layering, cold before crumb coat, cold before final coating, cold before stacking, and cold before decorating. Nothing quite like working with room temperature buttercream/fillings while trying to achieve perfection. The cake generally has all of the ceremony/reception to warm to room temperature. I also allow myself as much time as possible on-site to allow for unforeseen circumstances (also why I make extras of everything!). And, for the most important piece of advice I can give...and as simple as it sounds, is rarely realized...make sure the cake TASTES good. Use good ingredients (butter NOT shortening) and use them with care and respect. Everybody expects a beautiful cake, but people remember a tasty wedding cake.
 
Beth August 14, 2014
Ditto on the straws! I used wooden dowels my first time, but never again. Now I always buy a bunch of bubble tea straws in bulk or I sweet-talk the cashier at our local bubble tea establishment into giving me a few extra with my jasmine milk tea.
 
Beysh August 14, 2014
I second the straws suggestion. For the last wedding cake I made, I used the slightly larger straws that are easily available these days. They worked perfectly (for a quite dense apple cake with caramel filling). In "The Cake Bible" she explains the why they actually support better than dowel, and they are so much easier to work with. My best tip is practice with every component to cut down on game day freakouts. (Or maybe that's just me.) :-)
 
Andrea R. August 14, 2014
I've made several wedding cakes and I learned the hard way that the cake board needs to be a bit bigger than the actual cake to accommodate for frosting/fondant. I agree, assembling the cake on site is MUCH easier than putting it together and then trying to transport it. QUESTION: What should you do to hide the spacing for cakes that don't have a border between the tiers? www.facebook.com/BrownSugarBakeryLA
 
PieceOfLayerCake August 14, 2014
If there are fresh florals involved, I often use the space to stash the stems/bulbs, with the blossoms facing outwards. Alternatively, one can use fresh or marzipan/fondant fruits.
 
Eva August 19, 2014
Fresh fruit is lovely, but be aware that if it's placed on sugary icing it can start to macerate and bleed all over the cake! This is particularly true if the fruit is cut. Very very well-dried whole berries, grapes, or similar small fruits may be your best bet if you want to go with fresh fruit. Or just decorate right before you serve!
 
hardlikearmour August 14, 2014
2 tips I picked up from Rose Levy Beranbaum's the Cake Bible are to use drinking straws instead of dowels, and to drizzle the syrup on with a syringe rather than brush it on. I also prefer to use foam core between the layers, which I think I learned from one of Colette Peters' books.
 
Nuala August 14, 2014
I use straws, too, and recommend the long ones from Starbucks. I swear they were made just for tiered cakes!
 
Nuala August 14, 2014
Do as much in advance as possible! I like to make all components of the cake ahead of time and save assembly for the day of the wedding. Swiss meringue buttercream (and I'm sure many others) freezes like a dream. You do NOT want to be awake until 4:00am the morning of a wedding making frosting-- trust me.
 
Catherine L. August 14, 2014
So true! I learned that the hard way... What a smart idea to freeze the icing instead of just refrigerating it, so it can be done further in advance! For all the future wedding cakes I bake, I will use that tip.