It's always more fun to DIY. Every week, we'll spare you a trip to the grocery store and show you how to make small batches of great foods at home.
Today: Let your cares melt away with soft maple candies. Carey Nershi from Reclaiming Provincial shows us how to make these two-ingredient marvels.
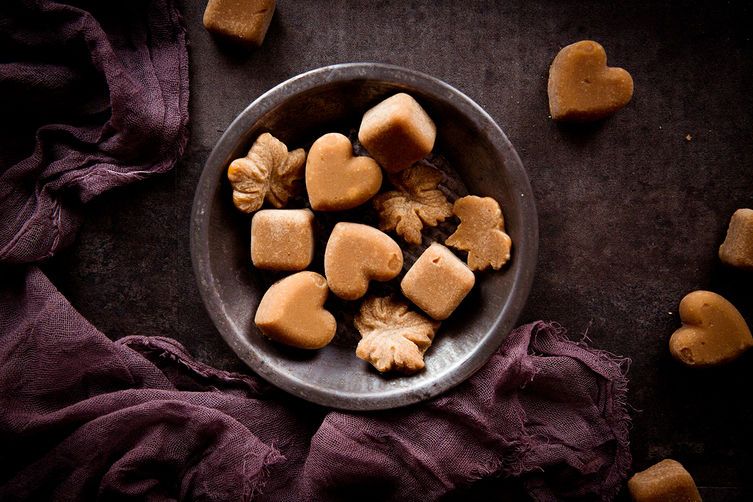
Right around this time last year, I was here chatting about maple cream. This time around, we’re going to talk about maple candy.
Here's what I knew about maple candy prior to making it: It’s soft enough to melt in your mouth as soon as you take a bite. Here's what I learned about maple candy once I made it: It’s tricky to make, especially in small batches.
The secret to soft, melt-in-your mouth maple candies is to have sugar crystals -- formed once you stir the cooled syrup after heating -- that are as small as possible. The problem with doing this in small batches is that things cool off much more quickly, and you can be left with a pan of solid sugar if you don’t work quickly.
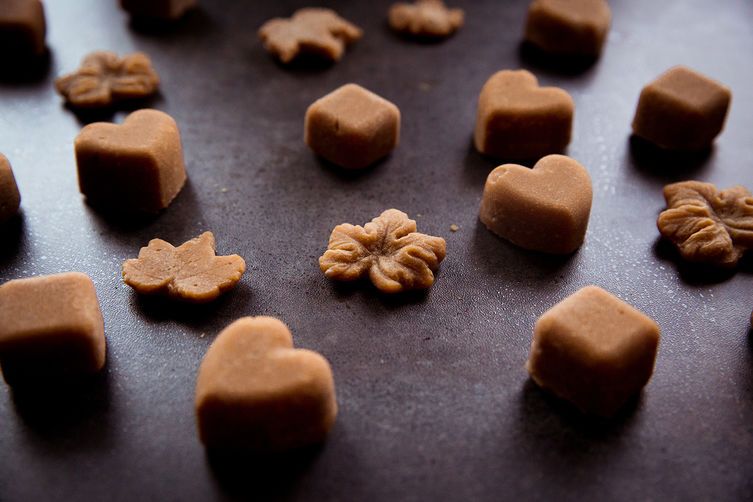
To ensure success, use a reliable candy thermometer and molds that you can pour into easily. I used a few cute little maple leaf molds for aesthetic purposes, but you can even use flexible ice trays. If your sugar cools to the point of being unpourable, you can spoon and press it into the molds. It won’t be quite as pretty, but it will be just as tasty.
More: Add some spice to your sweet with homemade candied ginger.
If you do wind up with a pan of solidified sugar, which can happen if it gets too cool, add a cup of water to it, put it back on the stove, and start the process over again. I also recommend using a quart of syrup. It will yield a lot of candy, but it will also be easier to work with. And let’s be real, is there really such a thing as too much maple candy? Give some away, or just keep it all for yourself.
Maple Candy
Makes approximately 2 pounds of candy
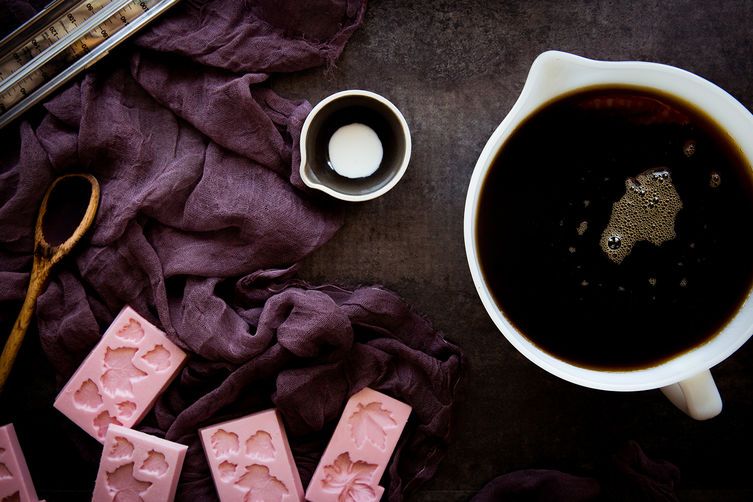
1 quart pure maple syrup (Grade A Light Amber is ideal)
1/4 teaspoon cream (to keep it dairy-free, use oil instead)
Before you begin, double-check the temperature at which water boils, as it can vary depending on your altitude. If it boils at 212° F, which it will at sea level, then you can follow the recipe as is and heat the syrup to 235° F. If it boils at a higher or lower temperature than 212° F, add or subtract that temperature difference to or from 235° F to determine your target final temperature for the syrup. (So, for example, if the water boils at 210° F, the final syrup temperature would be 233° F.) Use the same method to determine the sugar's cooling temperature, by adding or subtracting the difference to 190º F.
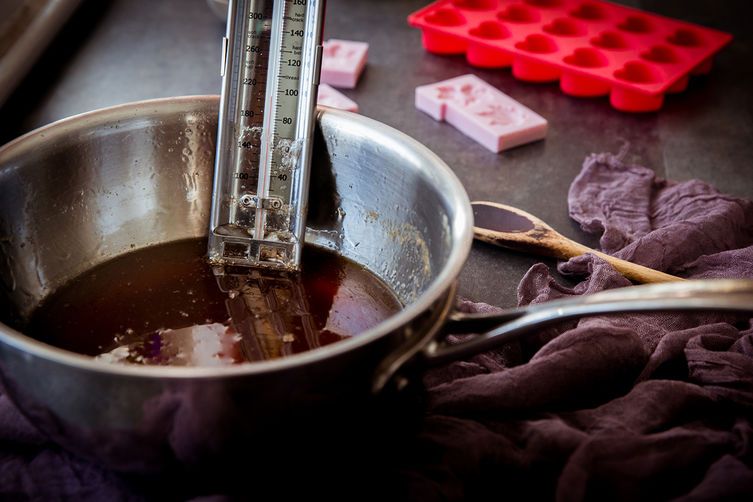
To make the candies, pour the syrup into a heavy saucepan with high sides. (The syrup will bubble and rise as it boils, so choose a pan that holds at least 2 quarts so it doesn't boil over.) Clip a thermometer to the side of the pan so it’s submerged in the syrup but not touching the bottom.
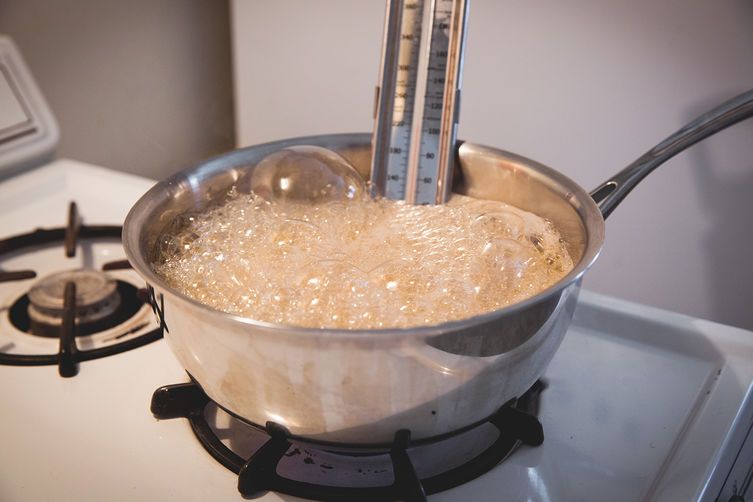
Without stirring, allow the syrup to heat to 235° F. When it begins to bubble up and come precariously close to the top of the pan, add the cream. Bring the mixture back to 235° F with the cream, then immediately remove it from the heat. Leave the syrup undisturbed until it has cooled to 190° F.
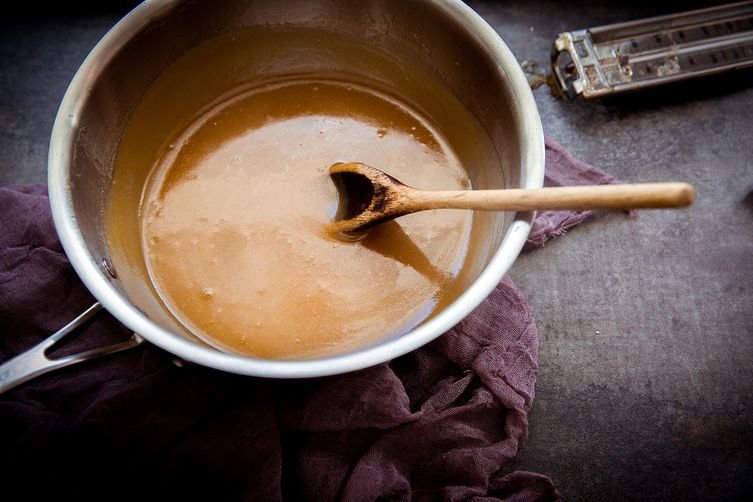
Remove the thermometer and begin stirring the cooler syrup slowly with a wooden spoon. After a minute or so, you’ll notice the syrup begin to lose its glossy look, and you should feel some crystallization on the bottom of the pan. Continue stirring until you can see crystallization throughout the syrup. As soon as it begins to turn a light, creamy color, as pictured above, start pouring it into your molds.
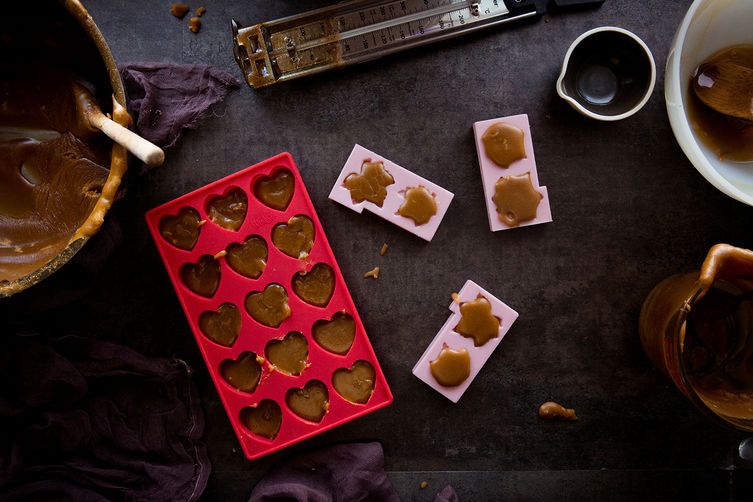
Let the sugar cool in the molds for at least 1 hour, then gently remove the pieces from the molds. The candy can be stored in an airtight container for several months, though they’re best when eaten within the first month.
See the full recipe (and save and print it) here.
Photos by Carey Nershi
See what other Food52 readers are saying.