Every week, a DIY expert spares us a trip to the grocery store and shows us how to make small batches of great foods at home.
Today, Alana Chernila of Eating From the Ground Up shows us how to make our own yogurt. Alana is the author of The Homemade Pantry: 101 Foods You Can Stop Buying & Start Making.
What is the food that everyone can, should, and wants to make at home? I get that question a lot, and my answer is yogurt. We all have our own preferences with tang, flavor, and consistency, and as soon as you jump into the enchanted world of home dairy culturing, the perfect yogurt can be yours. Even more? Homemade yogurt is fresher, better for you, easier to make than you might think, and an absolute money saver.
My hope here is to put everything I know about making yogurt at home in one place. First, I’ll lay out the basic process and science of the process, and then I’ll offer three different methods to make yogurt at home. I know there are many yogurt methods and people who make yogurt! So please, feel free to jump in and let us all know how you make yogurt at home or ask any questions that come up for you in your own kitchen.
In the interest of full disclosure here, I’ll tell you that yogurt tends to be a gateway for making other foods at home. Once those cultures work their magic in your own kitchen, I can’t predict what you might want to make next. Don’t say I didn’t warn you.
What you need:
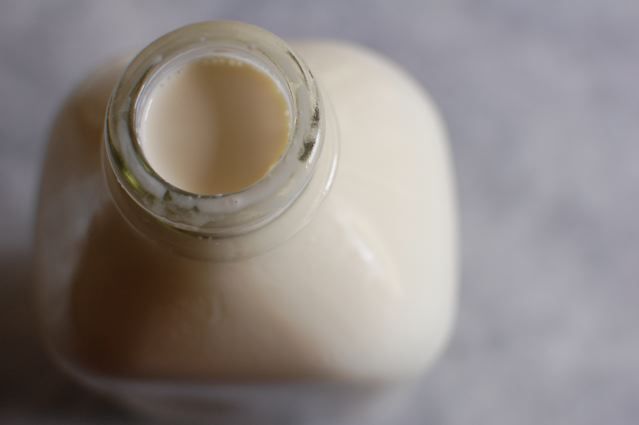
1. Milk: Good milk makes good yogurt. Ideally, use the freshest, most local milk you can find, but any milk (of any fat content) will work, as long as it is not labeled “ultra pasteurized.”
2. Culture: You can use either a dry powdered culture available online or you can just use plain store-bought yogurt. If you are using plain yogurt, make sure that it is not past its expiration date and that it has some long names of active cultures such as lactobacillus bulgaricus or lactobacillus acidophilis listed on the side of the tub. After you make your first batch of yogurt, you can use your own yogurt as a starter for several generations of yogurt before starting again with a new store-bought or powdered starter.
The Process:
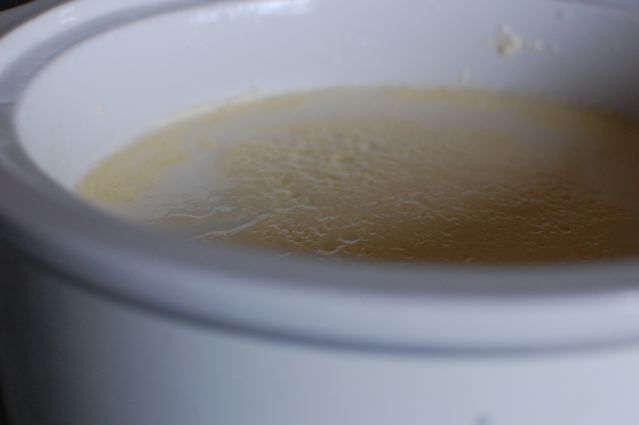
1. Heat the milk to 185 degrees F. You can measure this with a thermometer, or you can do the brave finger test: dip a finger in and it should be too hot to touch, but not boiling. This process of heating and cooling the milk helps the yogurt to firm up when it cultures.
2. Cool the milk back down to 110 degrees F (or comfortably warm on your finger). You can do this by just letting it sit, or you can place the pot into an ice bath.
3. Add the culture. Whisk either the store-bought yogurt or powdered culture with a bit of the warm milk — then whisk the culture mixture into the rest of the warm milk.
4. Pour the mixture into the container in which you’ll be culturing the milk (the container of the yogurt maker, the crockpot, or the jar). You want to keep this container warm so that the liquid inside can stay at about 110 degrees F for several hours.
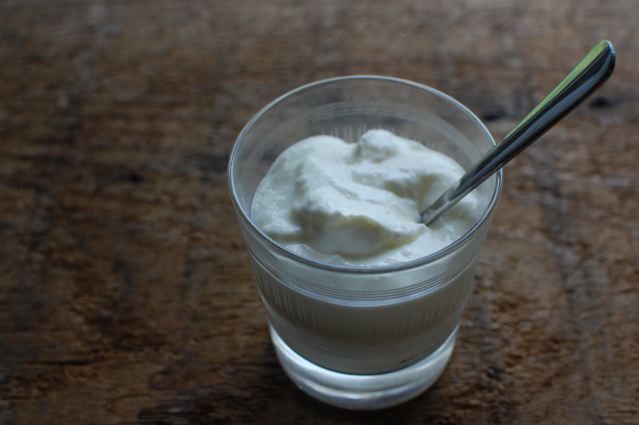
5. Let it sit for 5 to 7 hours, or until relatively firm. Then refrigerate for at least 2 hours before eating.
Three methods for home yogurt making:
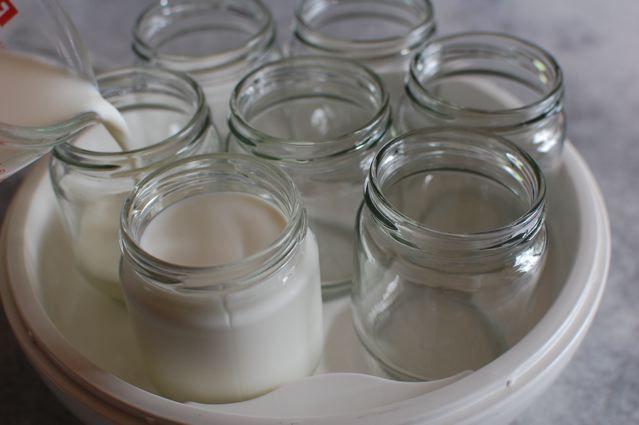
1. Yogurt maker: Most yogurt makers use electricity to do the job of keeping the milk at 110 degrees for you. Look for one like this that cultures the milk in glass containers. Heat 4 to 5 cups milk (for most yogurt makers) in a large saucepan to 185 degrees F. Allow to cool to 110 degrees F. Combine ½ cup plain yogurt OR 3 tablespoons powdered starter with a bit of the warm milk, and whisk the mixture into the rest of the milk. (Note: to see how much powdered starter you need, follow the directions of that particular starter.) Transfer small cups of the yogurt maker and let culture for 5 to 7 hours, or until set. Refrigerate for 2 hours before eating. This method is good for people who want to make smaller amounts of yogurt, or who want cute little cups of yogurt for lunch boxes.
2. Crockpot: This method takes longer, but with very little active time. It’s great for people who want to make a lot of yogurt at once. Heat the milk directly in the crockpot on the high setting until it reaches 185 degrees F. Depending on your crockpot, this will take 1 to 2 hours. Unplug the crockpot and shift the lid so that heat can escape, letting it sit until the mixture goes back down to 110 degrees F. This will take another 1 to 2 hours. Add the starter to the milk (first whisking powdered starter or plain yogurt into a bit of warm milk, then adding it to the crock pot). Keeping the crockpot unplugged, replace the cover and wrap the whole thing in a warm blanket. Let it sit for 5 to 7 hours, or until firm. Most crockpots will hold ½ gallon of milk, for which you should use about ¾ cup yogurt or 1 to 4 tablespoons powdered starter (again, following the directions on your starter when it comes to quantity).
3. Jar in a warm place: Follow the method for the yogurt maker. Pour the warm milk and culture into a large jar.
Place in an oven with the pilot light on, or in a spot near a burning wood stove. Or alternatively, wrap it in a towel, then put it into an insulated cooler.
Let sit for 5 to 7 hours, or until set.
Variations:
Make raw milk yogurt: (Note that raw milk can be used for any of these methods, but this is how to keep it raw by heating it to a lower temperature.) Instead of heating the milk to 185 degrees F, only heat the milk to 110 degrees F. Add the culture immediately and continue as above. Raw milk yogurt can be a bit runnier than yogurt made with milk heated to 185 degrees F, and if you prefer a firmer yogurt, add about ½ cup dry milk powder for every 4 cups milk when you add the culture.
Make flavored yogurt: Heat jam to 110 degrees, and spoon it into the bottom of the container before adding the milk mixture. You can also add maple syrup, vanilla, or a mixture of cocoa powder and sugar or instant coffee and sugar to the milk when you add the culture. (If you’re making flavored yogurt, it’s good to make a small bit of plain as well so that you have plain yogurt for your next batch.)
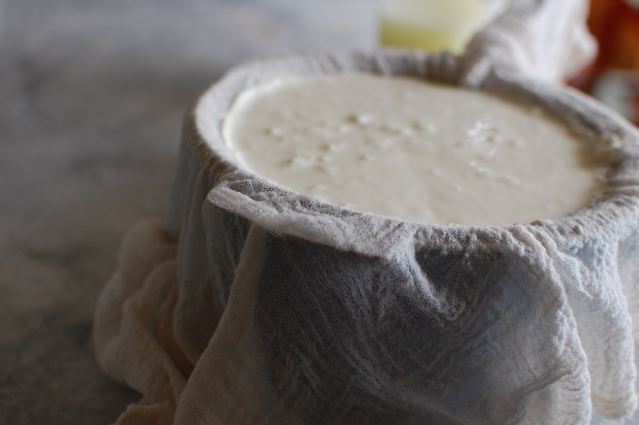
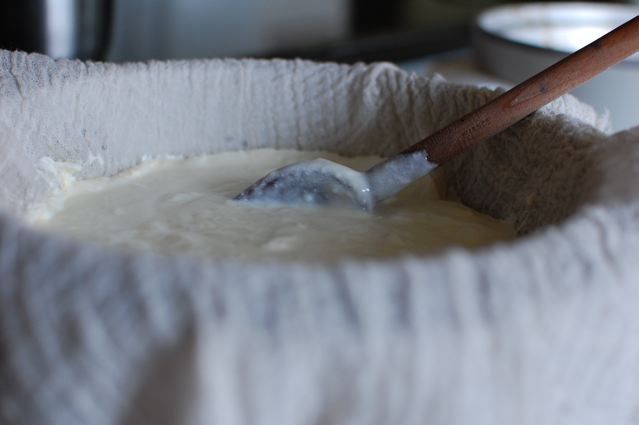
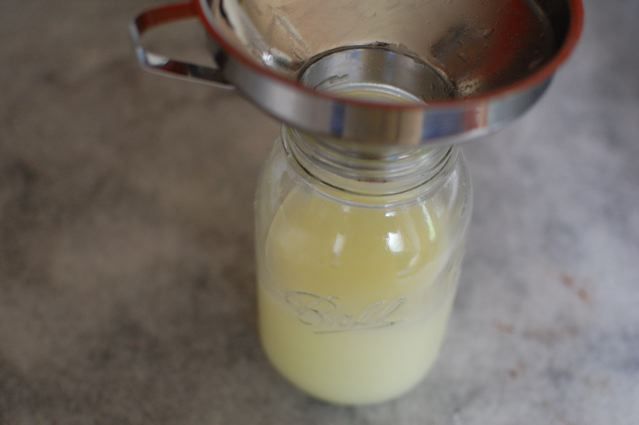
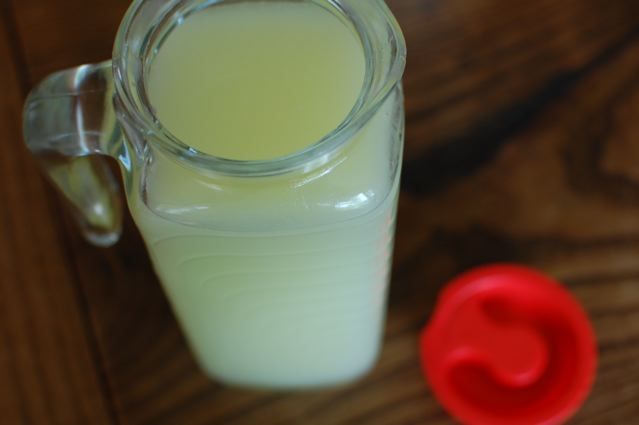
Make Greek yogurt: Line a colander with cheese cloth, and pour the finished yogurt through the cheese cloth, being sure to catch the whey in a bowl. Let drain for about 30 minutes, or until the yogurt is a good texture for you. (Be prepared to have much less yogurt than you started with!) Yogurt whey, the liquid that drains from the yogurt, is especially good to drink. I like to combine 3 cups cold whey with the juice of 1 lemon or lime, 1 tablespoon maple syrup, and ¼ teaspoon ground cardamom. This creates a delicious and refreshing drink with just enough cardamom to make it exotic.
Troubleshooting:
1. My yogurt didn’t set! Try a new kind of milk or culture. Your milk might have been ultra pasteurized, or your yogurt might not have active cultures anymore.
2. I don’t like the taste/texture of my yogurt! Try a different culture. Every combination of cultures creates a different kind of yogurt. My favorite store-bought yogurt to use as a culture is Fage Greek yogurt, but look around and you’ll find the right culture for you.
3. My yogurt got moldy within 10 days! Make sure that all your receptacles and utensils are very clean. Yogurt should stay good for 3 to 4 weeks, unless unwanted bacteria is introduced into the process through unclean materials.
Save and print the recipe here.
In next week's Small Batch, Marisa McClellan will help us get our pantry stocked with nut butters. Start shelling now, and set aside a few good jars!

Join The Sandwich Universe co-hosts (and longtime BFFs) Molly Baz and Declan Bond as they dive deep into beloved, iconic sandwiches.
Listen NowWritten by: alana_chernila
Popular on Food52
33 Comments
Thank you for sharing this wonderful recipe. I have been trying to make yogurt and once it was a success. But now it just does not happen. Can you please tell me more in detail how to maintain a constant temperature of 110 F when the yogurt in the process? I am in Rochester, MN and it is pretty cool outside, I tried keeping the jar in the wall oven so that it is shielded from the cool temperature.
Please advise.
sorry, but you can use ultra pasteurized milk (UHT).
as a matter of fact, it guarantees a firmer yogurt and does not require to heat the milk at 180 degrees (but you still have to warm the milk up to 100/110 for faster results).
the point is that milk contains (naturally) a bacteria that fights the lactobacillus. this bacteria is killed at 180-185, allowing the lactobacillus to thrive.
if u don't heat the milk up, you'll give the lactobacillus a tougher life. in the UHT process, that bacteria has been killed already.
i personally prefer to use whole organic milk, possibly non pasturized (difficult to find if u don't know a farmer), and do the whole thing myself, but i've used and occasionally still use UHT milk.
You can absolutely use goat's milk, but it has a harder time firming up, so most people add some sort of thickener to the mixture when they add the culture. You could use arrowroot powder or tapioca starch--I know that many commercial goat yogurts use tapioca starch. And yes, you can use rice milk, too! I don't have a lot of experience making yogurt with alternative milks, but I do know that it works, and that you have to use a new starter every time (as opposed to with dairy, when you can use some of your last batch for your new starter). But if anyone has any more guidance on this, that would be great!
Some days I'm too lazy to stir the milk continuously while heating it, and it will scorch on the bottom. Then I'll be foolish enough to start stirring, loosening all the brown bits. Doesn't matter. I just strain the milk into the pot before adding the culture, and it turns out fine.
I used to leave it overnight to set, and the yogurt would be a bit too sour for my taste. About 5 hours seems right these days.
I strain most of it overnight, in the fridge, covered, to get labneh, which I eat instead of cream cheese in the mornings.
By the way, calling this Greek yogurt is a somewhat annoying advertising gimmick, given how widespread strained yogurt is in the Middle East and the Caucasus. I think it reflects the prejudice that Europe, and therefore civiization, stops at the eastern border of Greece. Sigh.
See what other Food52 readers are saying.