We should all have a solid command of the ABCs of baking. Thankfully, Food52's Test Kitchen Manager Erin McDowell -- alongside photographer Sarah Stone, who both blog at The Shutter Oven -- is here, with tips and tricks to help you master the most essential desserts and the simplest breads.
Today: Add some DIY to your BBQ -- by making your own hamburger and hot dog buns.
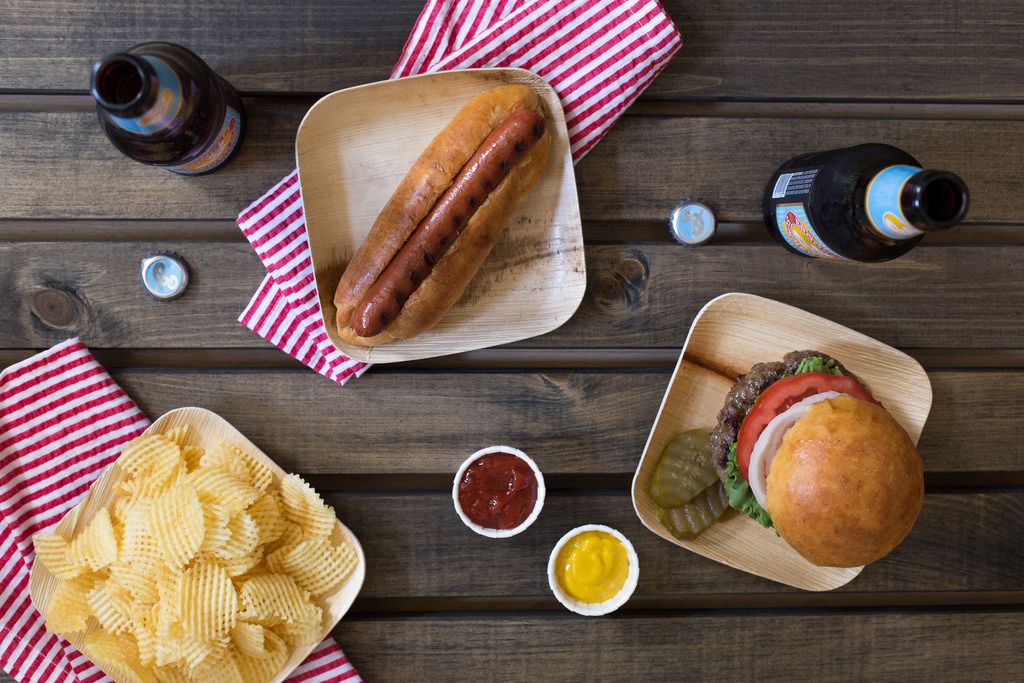
Grilling season is officially upon us, and while I'm sure you’ve got your summer routine down, there’s something I think you should add to your next backyard festivities: homemade hamburger and hot dog buns.
Everything is better homemade, and these buns are no exception: They’re light, fluffy, and super buttery (I brush on two layers of butter, for good measure). After a hearty lunch around the grill (well, grill pan -- I'm a city girl over here), I am now confident that no burger or hot dog should be consumed without them.
More: Round out your meal with these iconic summer desserts.
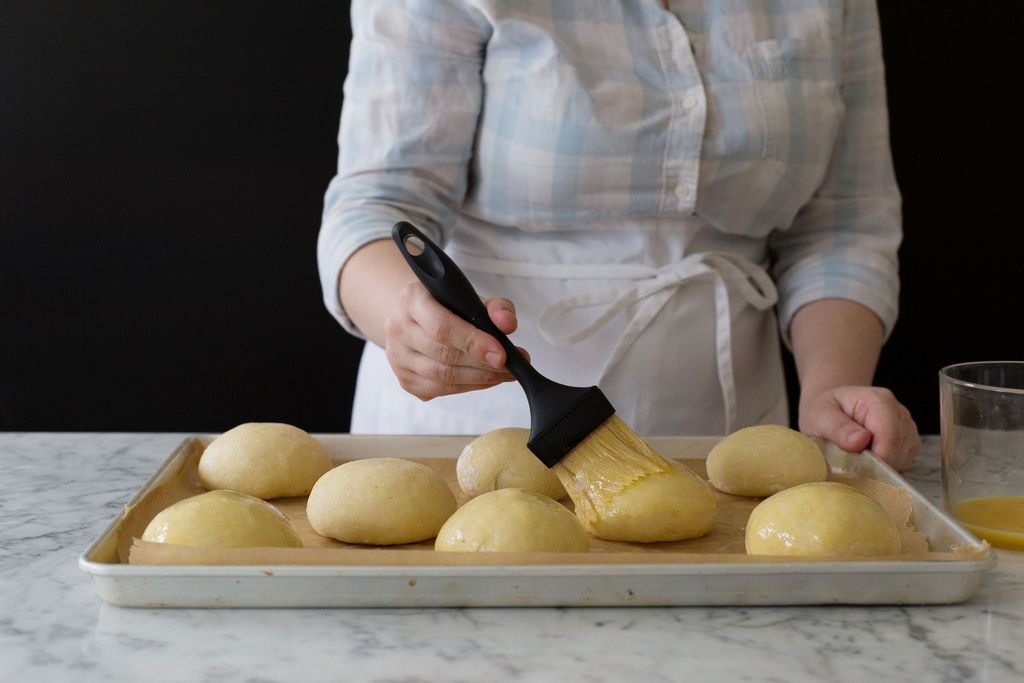
Best of all? This is one of those magical bread recipes that doesn’t need a lot of mixing (read: you can do it by hand), so the prep time is practically nill. Plus, they bake up super fast (under 20 minutes) and freeze beautifully, so you can make them ahead. They also stand up excellently to grilling, if you’re a toasty bun kind of person. In the hopes that I’ve convinced you to brave the path of the homemade bun, let’s break it down:
-
Make your mashed potatoes ahead of time; you don’t want to mix this bread with hot potatoes. Let them cool to room temperature so there’s no funny business with the yeast (or the natural starches in the 'taters). And yes, you can use instant potatoes (don’t tell my mother I said so), but they’ll be better with the real deal -- the starch level is better with fresh potatoes.
-
Whisk, whisk, whisk. This dough has a decent amount of salt and sugar added, so it’s important to whisk them into the flour thoroughly before you add any yeast. Salt and sugar are both hygroscopic, meaning that they draw moisture out of things. If you dump all your dry ingredients into the bowl at once, and the yeast lands atop the salt or the sugar, you can accidentally kill (or at least retard) the yeast’s activity.
-
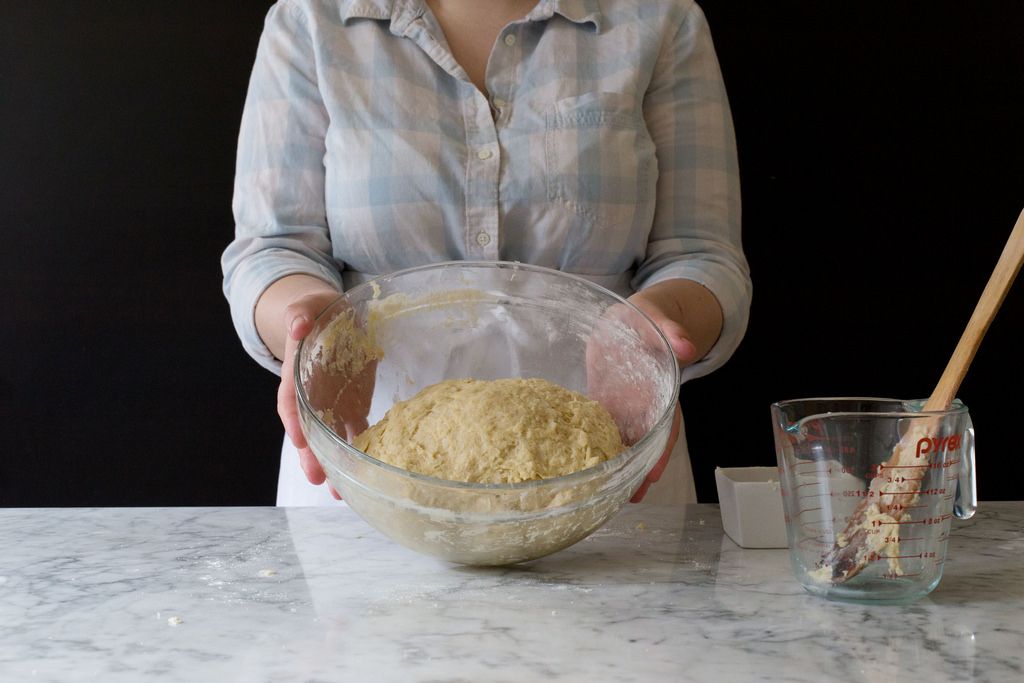
Just mix the dough until it comes together. It doesn’t need to develop a lot of gluten structure -- you want your buns to be super tender, right? -- and overmixing can lead to buns that are overly tough. The use of bread flour, which is high in protein, gives these rolls a healthy base structure without any intense mixing.
-
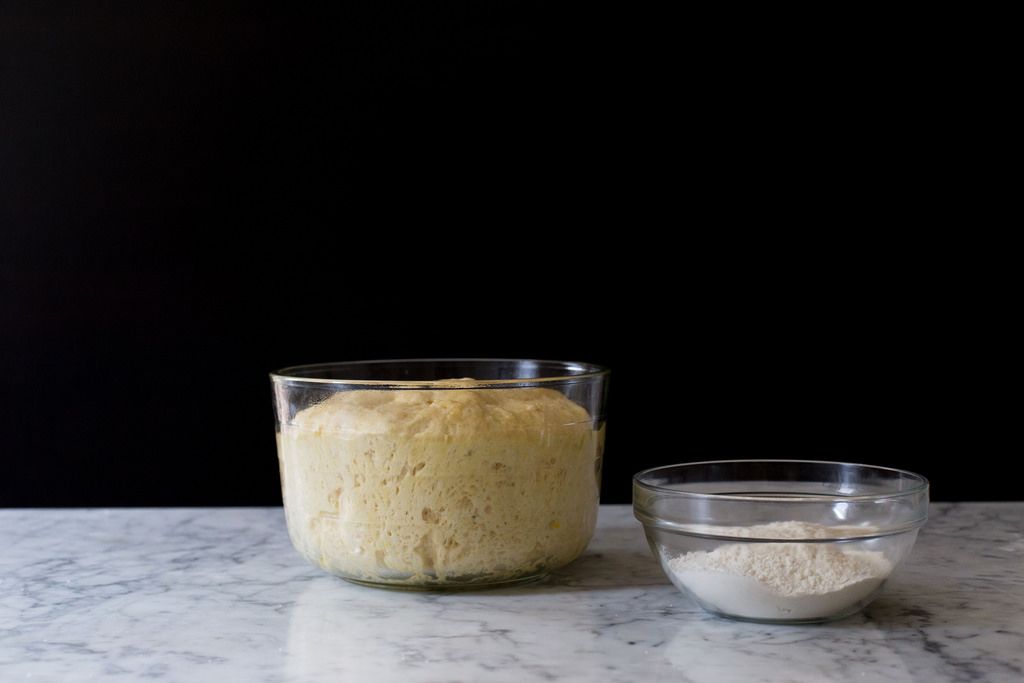
Give the dough time to rise properly. It needs at least one hour (two is ideal) of rise time before shaping, and another hour once the buns have been formed. The best way to tell if the finished buns are ready is to press one gently with your finger. This should leave a dent in the dough, but it should mostly “spring back” to shape.
-
Compensate for room temperature. If your kitchen is hot, you may want to let the dough spend some of its rise time in the refrigerator. How to tell? If it looks like it’s growing too fast (if it doubles in size in half the recommended rise time), you may want to slow the process down by letting it chill out. If your kitchen is cool, move your dough to a warm spot, or give it more time to rise.
-
Consider the size of your fillings and toppings. If you’re planning on making huge burgers, make sure the buns are big enough to fit them. Are your hot dogs on the shorter side? Feel free to adjust the bun length to compensate.
-
When shaping your buns, remember that they will nearly double in size. Don’t start out with huge mounds of dough! I found that 4 to 5 ounces of dough was an ideal size for hamburger buns, while hot dog buns should be 3 to 4 ounces.
-
During folding, it's okay to lightly flour your work surface to prevent the dough from sticking. During shaping, it's best to use as little flour as possible. Keeping the dough slightly tacky actually makes it easier to tightly shape it -- too much flour can prevent a nice, tight seal from forming (more on that coming up next).
-
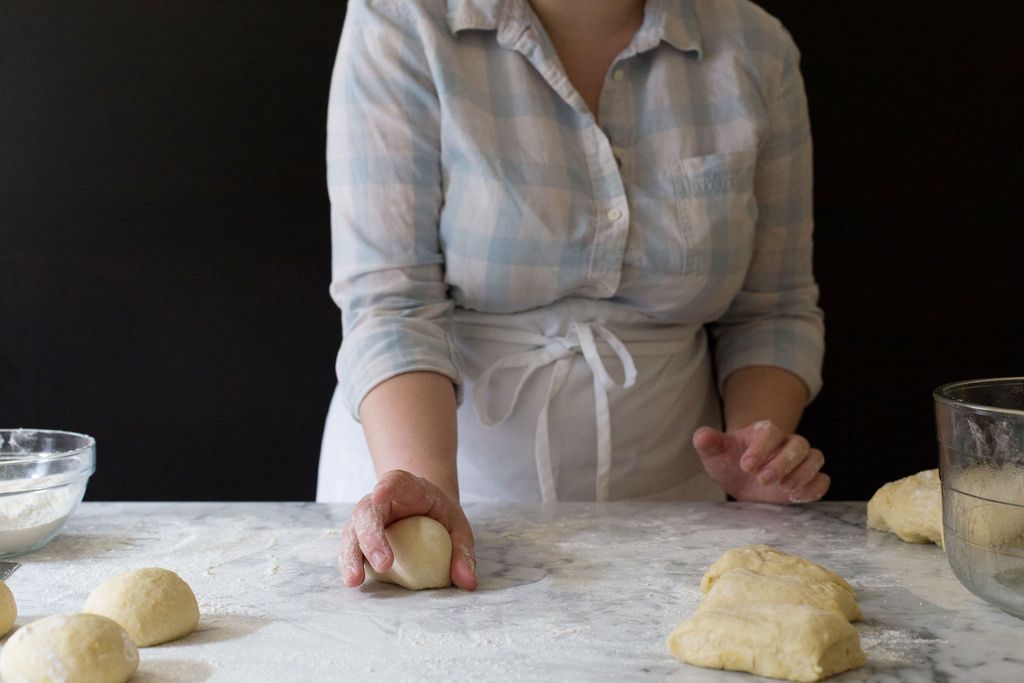
To make round rolls, place the folded dough on a work surface. Cup the dough ball in the palm of your hand (with your hand facing downward, toward the work surface). Begin moving your hand in a circular motion -- most of the pressure will come from the heel of your hand (don't squeeze with your fingers). You don't have to move quickly, just round the dough, pushing with the heel of your hand until a tight "skin" has formed and the dough is a nice, round ball. When you look at the bottom of the roll, it will look sealed -- it shouldn't look floppy or unclosed. Don't pinch the bottom with your fingers -- I know this urge can be hard to resist, but it doesn't create a tight "skin" like rolling does.
-
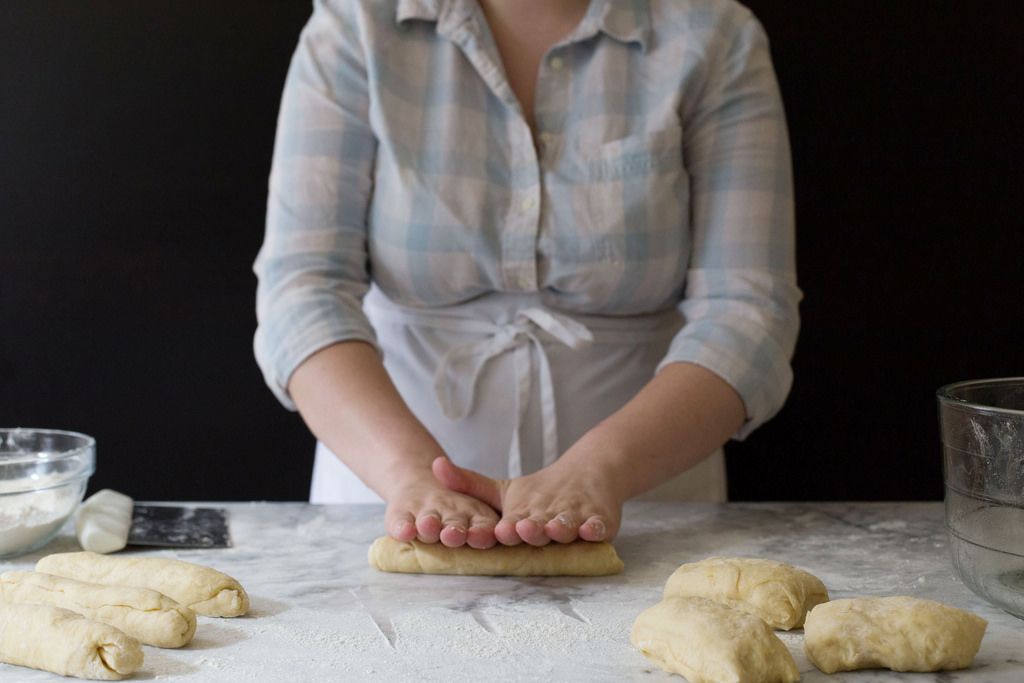
To make long rolls, place the folded dough on the work surface. Starting in the middle and working outwards, rub the dough into a log with your fingertips. Apply firm, even pressure, and lessen the pressure as you work outwards (we naturally tend to apply more pressure towards the end, which makes lopsided or very tapered buns). Place the finished rolls seal side-down on your baking sheet.
-
Don’t overbake your buns! You want them to get nice and golden brown, but don’t let them get overly crisp -- their beauty is in their pillowy soft interior.
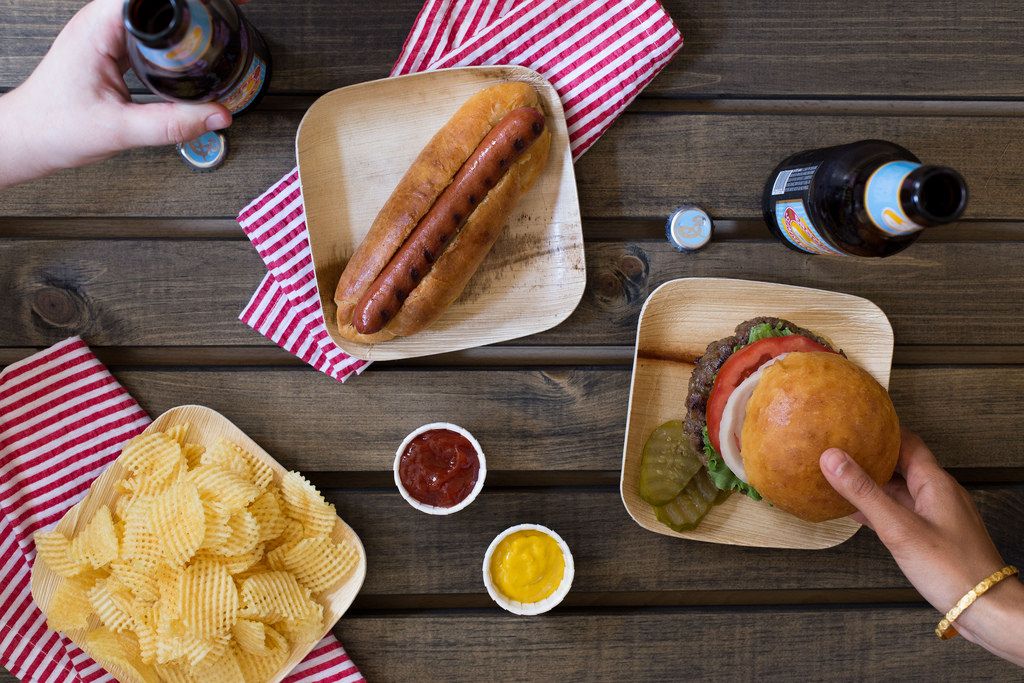
More: Pick up everything you need for your next barbecue -- like the compostable plates pictured below -- on Provisions.
Hot Dog and Hamburger Potato Buns
Makes about 18 medium rolls
6 cups bread flour
1/2 cup sugar
1 tablespoon salt
1 1/2 teaspoons yeast
1 1/3 cups warm water (around 105-110 degrees F)
1/4 cup honey
1 cup mashed potatoes
4 ounces (1 stick) unsalted butter, cut into small pieces and softened
2 eggs, gently whipped
1 egg
1 egg yolk
2 tablespoons water or milk
Pinch salt
4 ounces (1 stick) unsalted butter, melted
See the full recipe (and save and print it) here.
Photos by Sarah Stone


See what other Food52 readers are saying.