Chicken

How to Break Down a Chicken ( + How to Make Chicken Stock)

October 24, 2014

Each week this summer, Cara Nicoletti of The Meat Hook is helping us get to know our favorite cuts a little bit better – and introducing you to a few new ones, too. Read on, study up, then hightail it to your nearest butcher.

Today: Breaking down a chicken isn't as hard as it seems -- Cara is here to show us how.

Shop the Story

Along with learning how to perfectly soft-boil an egg and slice an onion into see-through wisps, learning how to break down a chicken was a major kitchen milestone for me. Handling meat in a home kitchen can be really intimidating -- meat is not only expensive, it also comes with the added pressure of being the main event. This makes it tempting to leave all of the hard work for your butcher. While we butchers certainly won’t complain, we think you should take this task into your own hands -- if only to boost your kitchen confidence tremendously.   

More: Here are 8 ways to turn that chicken into lunch.

The number one most important rule in breaking down a chicken is to get a good boning knife (I like to use a non-flexible 8-inch boning knife for poultry) and keep it sharp -- seriously. There is nothing more frustrating than trying to break down a chicken with a dull knife. Hone your knife on a steel before, during, and after your chicken breakdown. (Note: If you happen to "misplace" your boning knife, a strong chef's knife will work too -- that's what we used here.)

Another tip: An air-chilled chicken means less slippage and cleaner cuts (plus crispier skin and better flavor!).


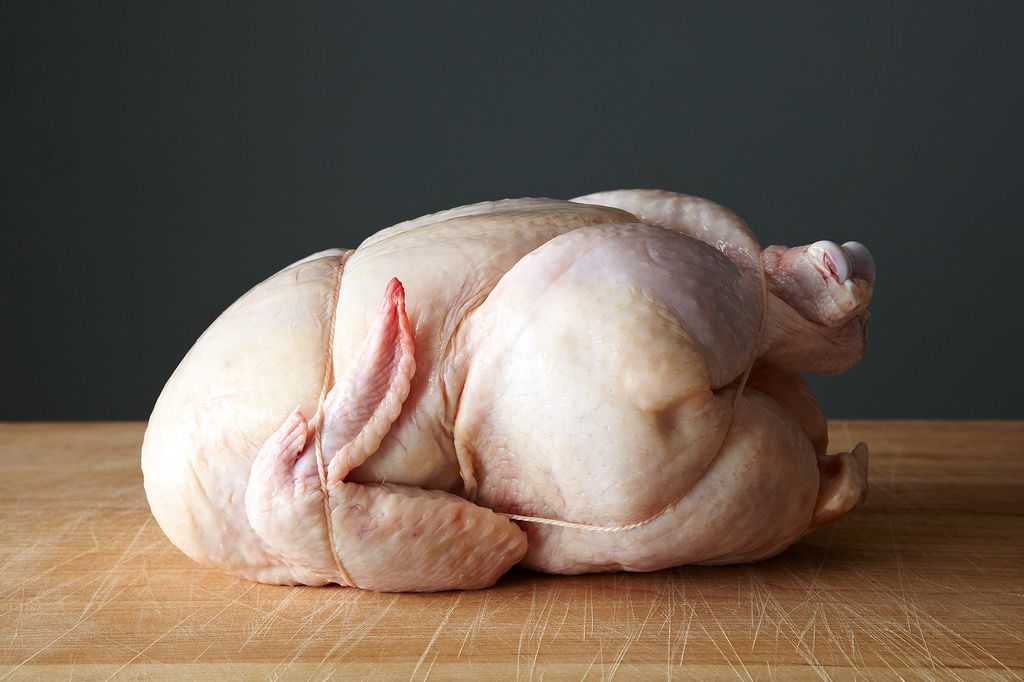
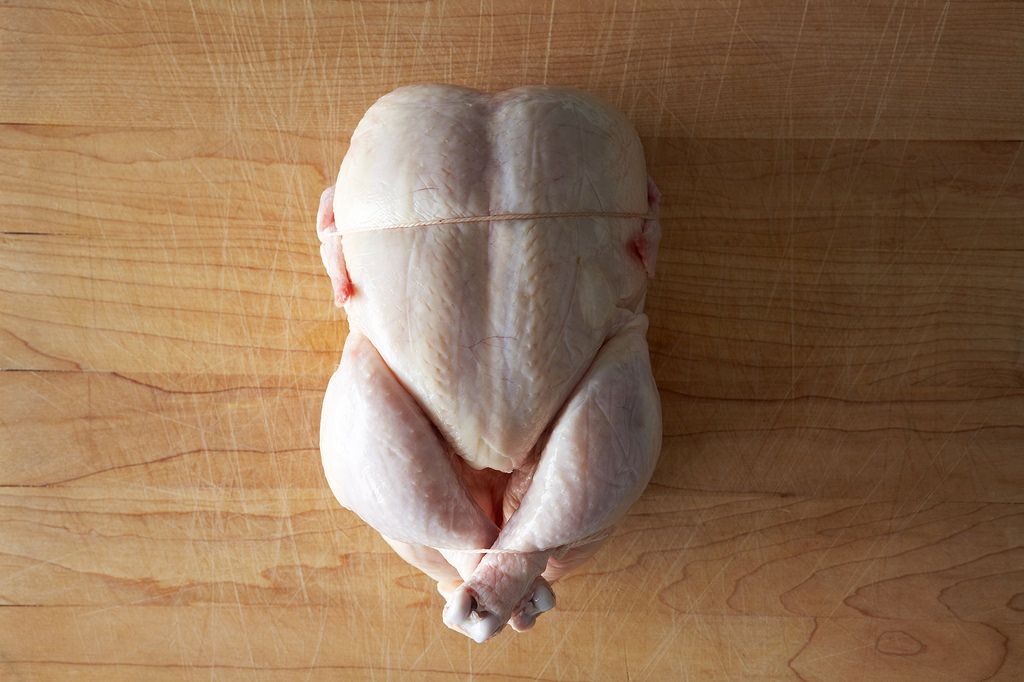
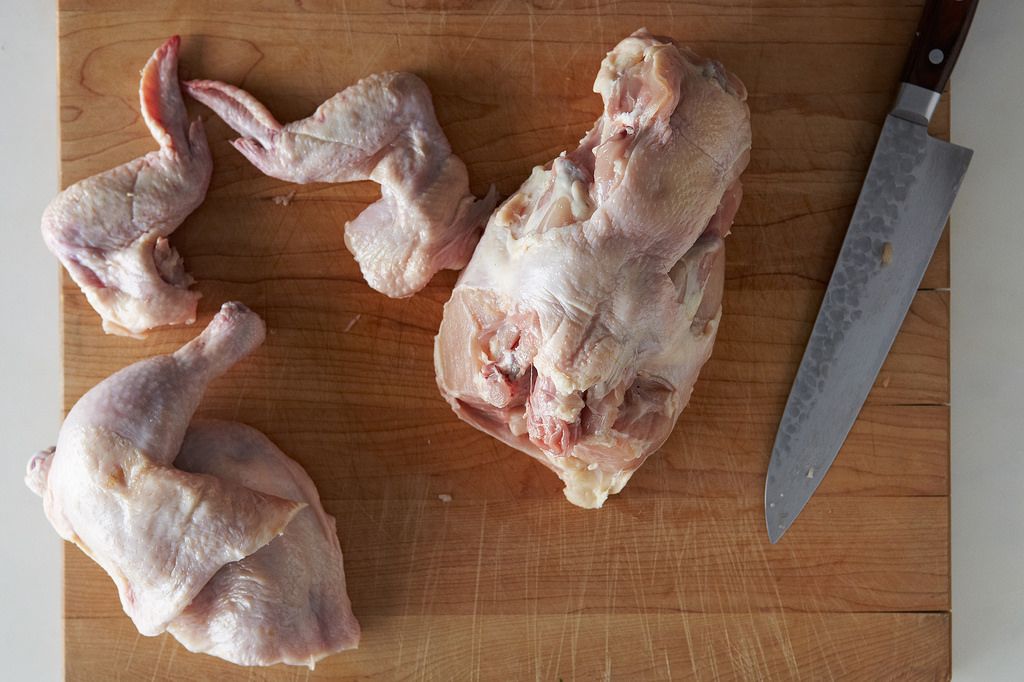
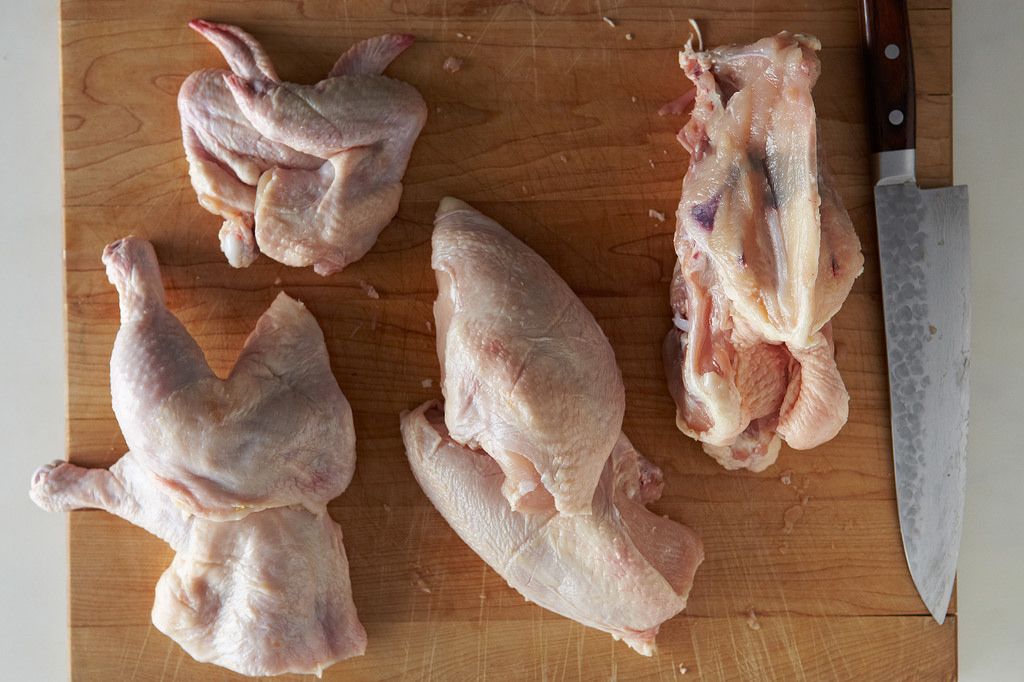
This is my favorite way to break down a chicken because it leaves you with a carcass and wings to make stock with (putting every last bit of that chicken to good use will also make you feel like a kitchen whiz). This method gives you two bone-in legs and thighs, two full wings, and two boneless breasts.  

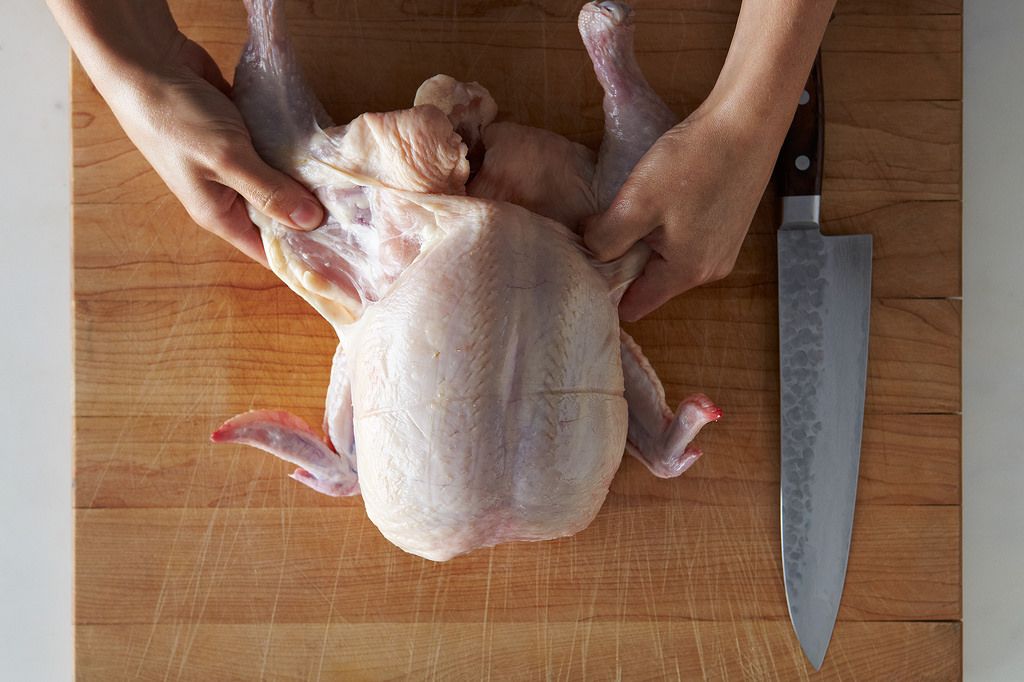
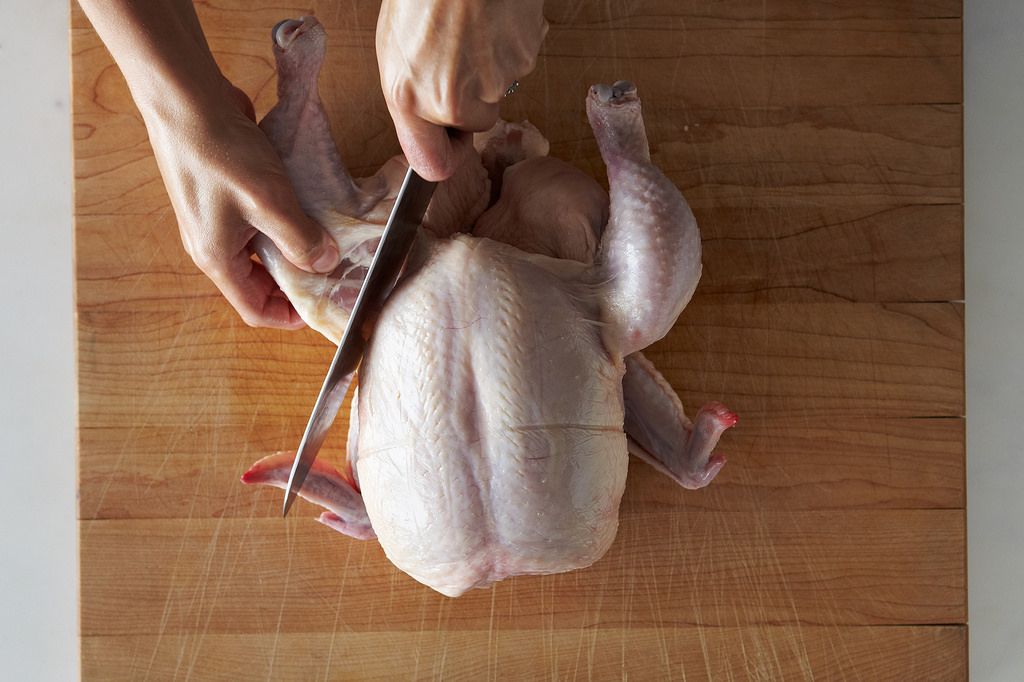
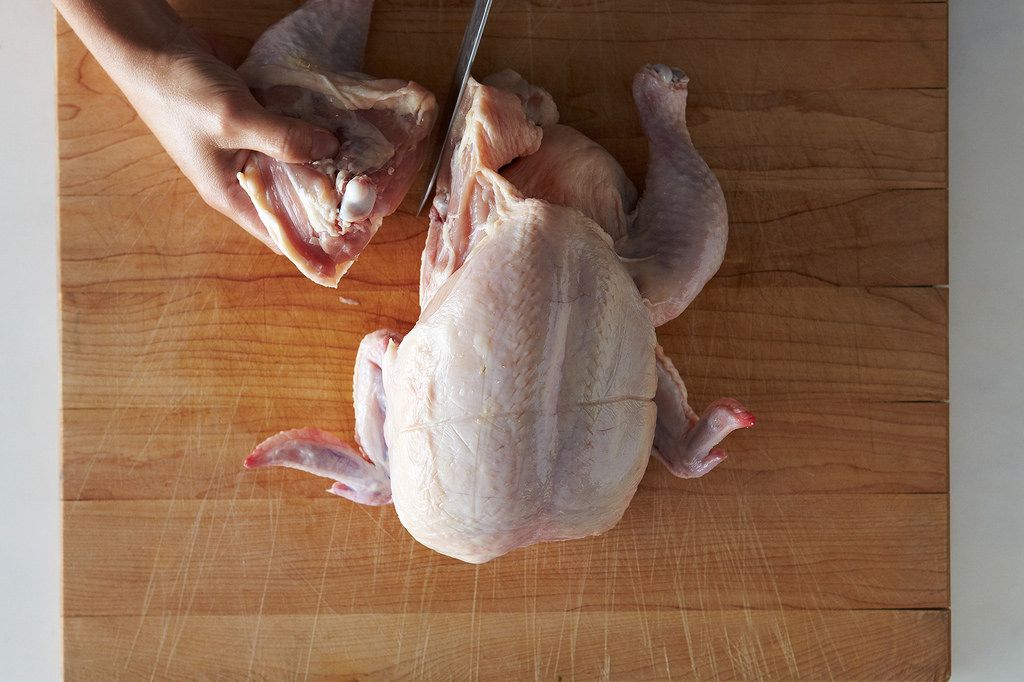
Lay your chicken, breast-side up, on a clean cutting board. Locate the natural seam where the thigh separates from the body cavity and make a slit -- do this on both sides of the chicken.

More: Yes, it's okay to cut meat on wood -- here's why.


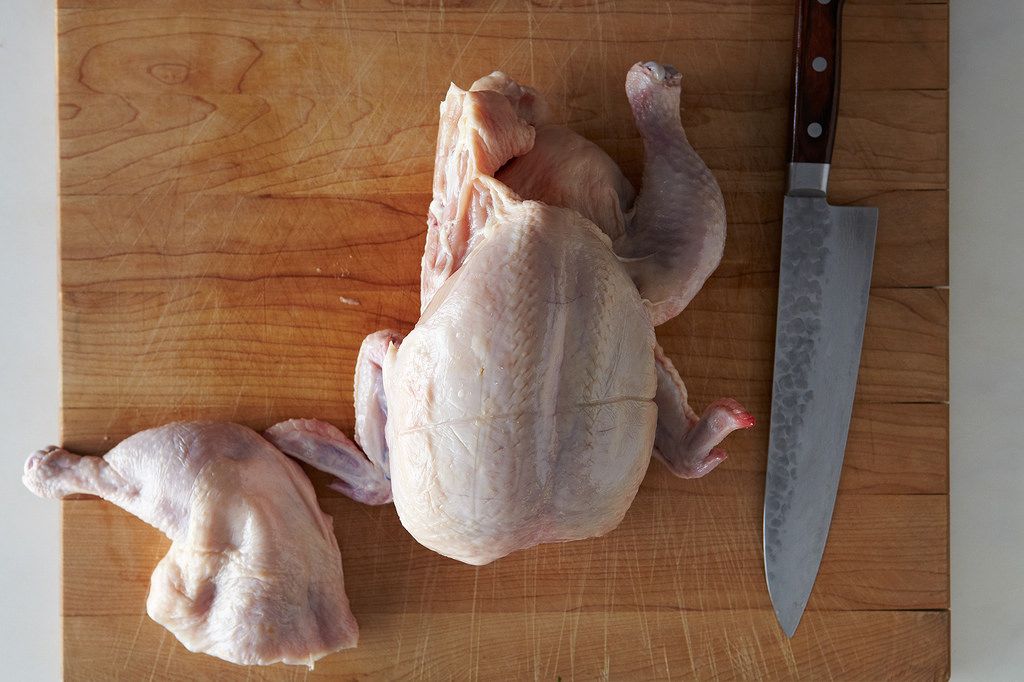
Reach underneath the thigh and pop the joint where the thigh meets the body. Flip the chicken over and cut through that joint, being sure to angle your knife towards the body cavity, and scoop underneath so that you get the chicken oyster (this is a little gem found on either side of the bird's backbone, and it’s delicious). Repeat this on the other side. 

You can stop at leg-and-thigh quarters, as we've done here, or you can go a step further and easily separate the legs and thighs: There is a natural seam of fat the runs in between the leg and the thigh bone -- it’s thin, but it’s there. Simply run your knife along that line of fat and down through the joint to separate the leg from the thigh. 


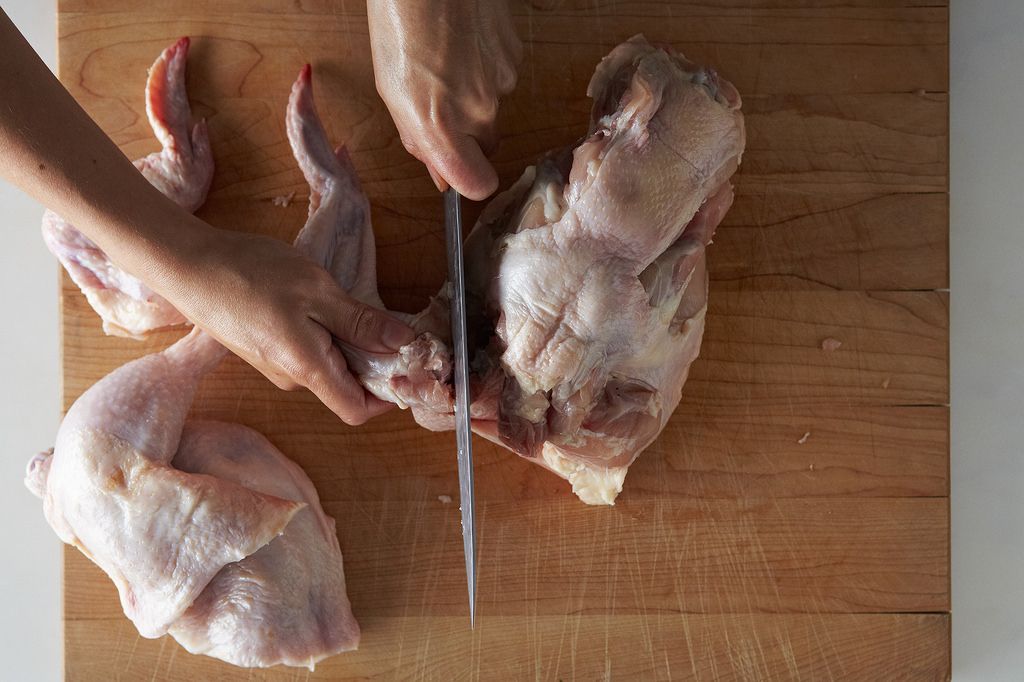
With the chicken still laying breast-side down, locate the joint where the wing meets the body cavity, and pop the joint, just like you did with the thigh bone. Cut through to release the wing. Repeat this on the other side. 

More: Learn how to make chicken salad without a recipe.


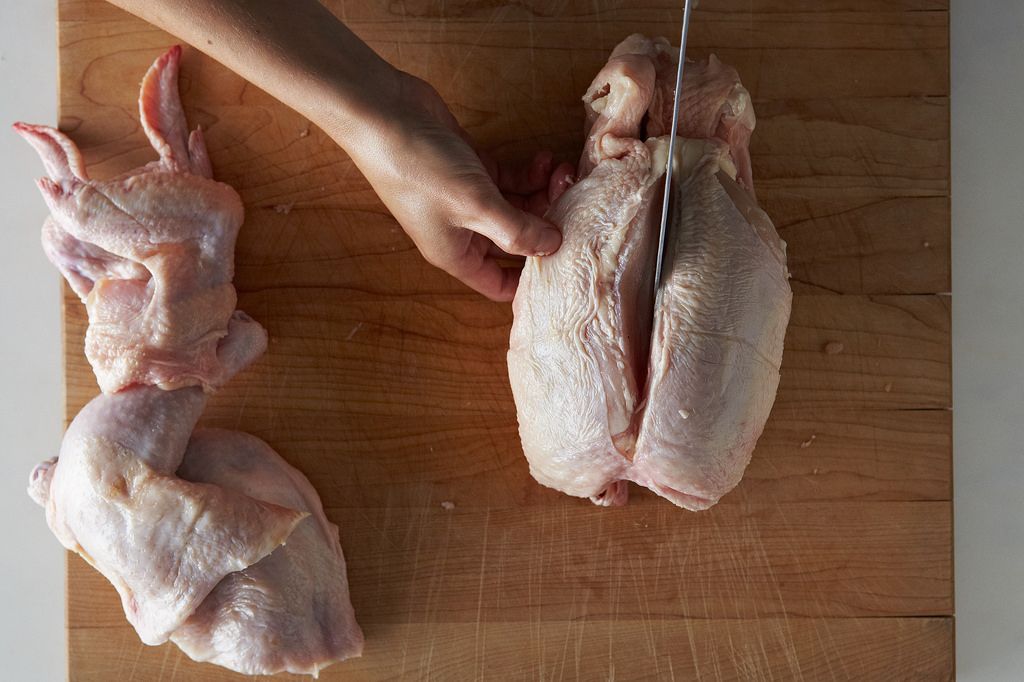
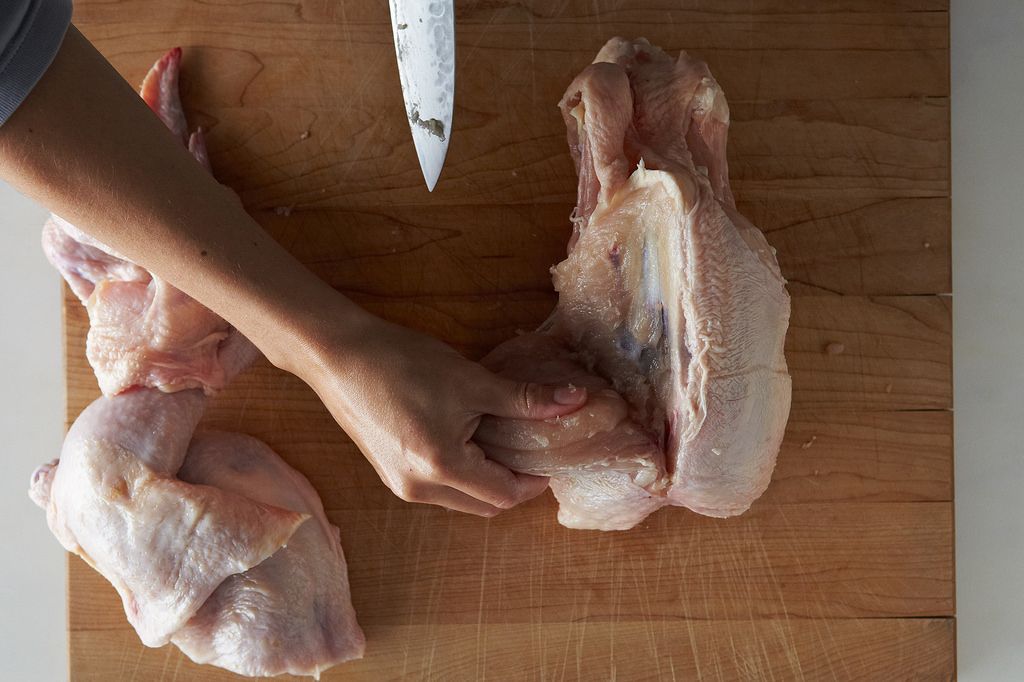
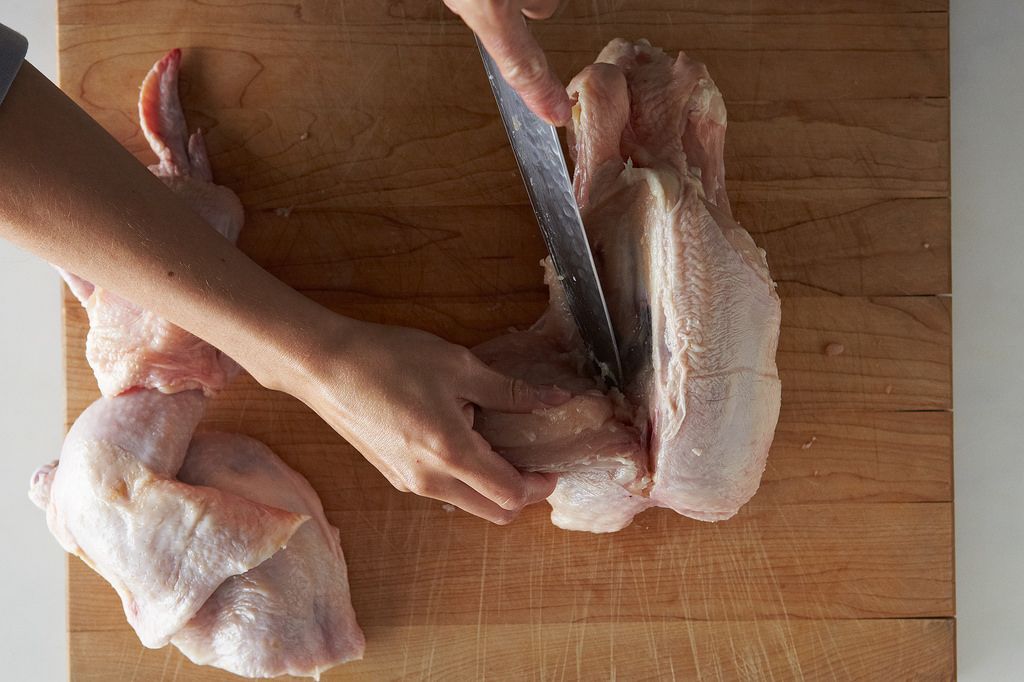
Flip your chicken back over and run your finger along the center of the breast -- you will feel a line of collagen separating the breast into two halves. Run your knife along either side of this collagen, keeping the knife as close to it as possible, and peel the breast back, sliding your knife underneath it and along the body cavity as you go, until the breast is free. Repeat this on the other side. 

More: We think you should add spatchcocking a chicken to your skill set, too.

Set the wings aside, along with the carcass, the fat, and the giblets (we’ll get to those next week). 

If you’re looking for the simplest way possible to prepare these chicken pieces, here it is: Salt and pepper them liberally and let them sit out at room temp while your oven preheats to 400° F (about 15 minutes). Loosen the skin and slip a tiny pat of butter underneath. Heat a cast-iron skillet over medium heat with a little bit of olive oil, pat the skin dry, and place the chicken parts, skin-side down, in the pan. Do not touch them for 4 minutes. Transfer the pan to the oven and roast until the internal temperature reaches 170° F, about 15 to 20 minutes. 

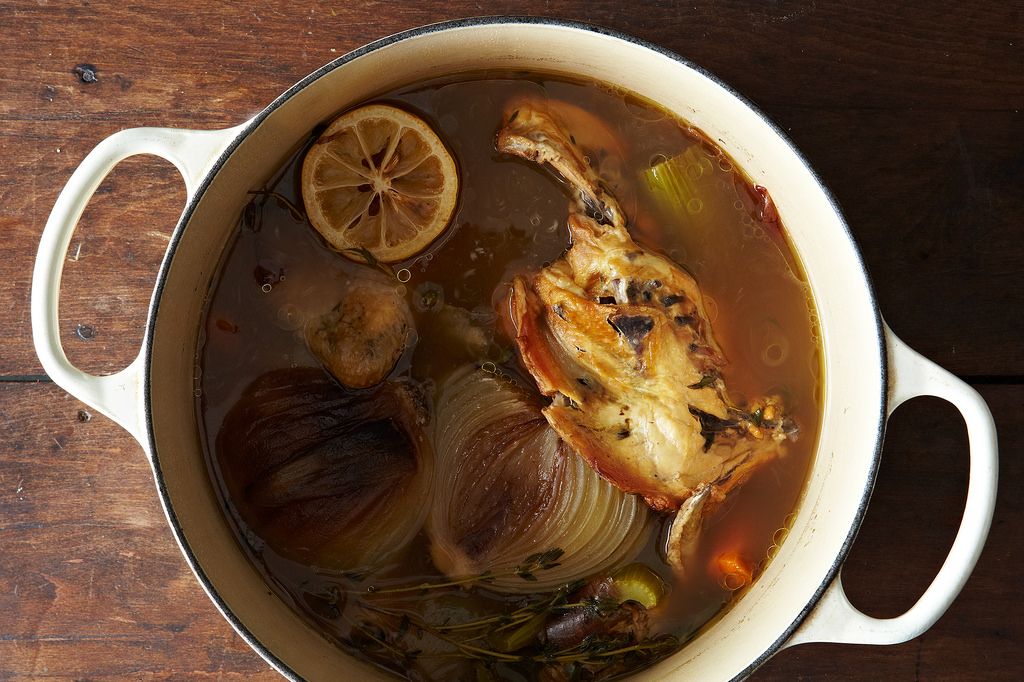
Now for stock! There is much debate over what makes a stock vs. what makes a broth -- some people say there are no vegetables in stock, just bones and water; Some say that if there are vegetables, they should go in at the very end to avoid stock cloudiness; some say yes to salt and some say definitely no.

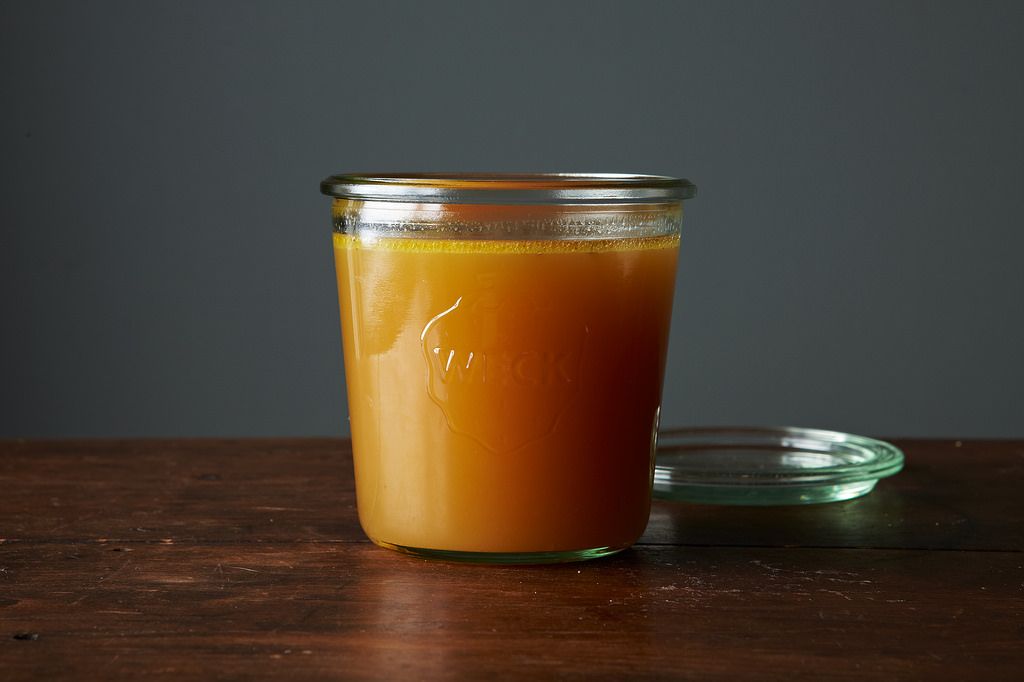
I’m not here to argue, I’m just here to tell you how I like to make stock when I’ve got a chicken carcass left over. Heads up: There are vegetables and salt involved. It’s not the clearest stock, but it’s dark and hearty and full of flavor -- it will boost any recipe you add it to. 

Chicken Stock

Makes 5 cups

1 chicken carcass, wings, and feet (if the chicken comes with feet)
1 large yellow onion, unpeeled and cut in half
Half a head of garlic, unpeeled
2 medium carrots, peeled and cut into chunks
2 celery stalks, cut into chunks
2 thyme sprigs
1 bay leaf
1 tablespoon black peppercorns
Half a lemon

See the full recipe (and save and print it) here.

Photos by Alpha Smoot 

Order Now

The Dynamite Chicken cookbook is here! Get ready for 60 brand-new ways to love your favorite bird. Inside this clever collection by Food52 and chef Tyler Kord, you'll find everything from lightning-quick weeknight dinners to the coziest of comfort foods.

Order Now

See what other Food52 readers are saying.

  • MARINNA
    MARINNA
  • Trenaye Youngblood
    Trenaye Youngblood
  • Anne
    Anne
  • Fran Mason
    Fran Mason
  • Charlotte Sometimes
    Charlotte Sometimes
Cara Nicoletti is a butcher and writer living in Brooklyn, New York. Cara started working in restaurants when she moved to New York in 2004, and was a baker and pastry chef for several years before following in her grandfather and great-grandfathers' footsteps and becoming a butcher. She is the writer behind the literary recipe blog, Yummy-Books.com, and author of Voracious, which will be published by Little, Brown in 2015. She is currently a whole-animal butcher and sausage-making teacher at The Meat Hook in Williamsburg.

10 Comments

MARINNA February 11, 2015
first time i roasted a whole chicken AND broke it down like this, and it was easy!! I'll be buying whole chickens from now thanks to this tip lol
 
Trenaye Y. October 29, 2014
What do you mean by "air-chilled" chicken?
 
Drew C. February 29, 2016
Let the chicken cool, uncovered, in the fridge, so the skin of the bird dries out.
 
Anne October 27, 2014
I did it! And it was easy. First time I ever broke down a chicken. Now on to the stock.
 
Fran M. October 26, 2014
What do you mean by unpeeled? Do you mean don't peel them?
 
Cara N. October 26, 2014
yup! just leave the skins right on there. This will give you a darker stock, so if you prefer one that's clearer/lighter in color, feel free to peel them.
 
Cara N. October 26, 2014
also forgot to mention--onion skins are good for you! They've got anti-inflammatory properties and have been shown to prevent the arteries from clogging.
 
Fran M. October 26, 2014
Sounds great. Thanks!
 
Charlotte S. October 24, 2014
This is awesome.. seriously! When was the last time someone showed you how to ACTUALLY do this the right way. Um, never LOL. Thank you sooo much!!! :)

Sarah

P.S. If you're looking for really cute and awesome Halloween recipes for next week, I found a great collection here.. http://entertaining.idailyinfo.com
 
Catherine L. October 24, 2014
This is so helpful! The last time I broke down a chicken, I was like "this won't be so hard!" and just went at it. Yes, it was that hard. But this makes it look easy! Another win for Cara.