Here at Food52, we love recipes -- but do we always use them? Of course not. Because once you realize you don't always need a recipe, you'll make your favorite dishes a lot more often.
Today: Make breakfast, or brunch, or dessert, or your life so much better with a pastry that allows you to be effortlessly French.
Welcome to the end of February -- also known as the beginning of March -- when spring should arrive but is actually holding out and the world hasn’t woken up yet even though you feel like you've made it through a very long winter. I mean jeez. And at least in pastry land, we're still stuck with fall's apples.
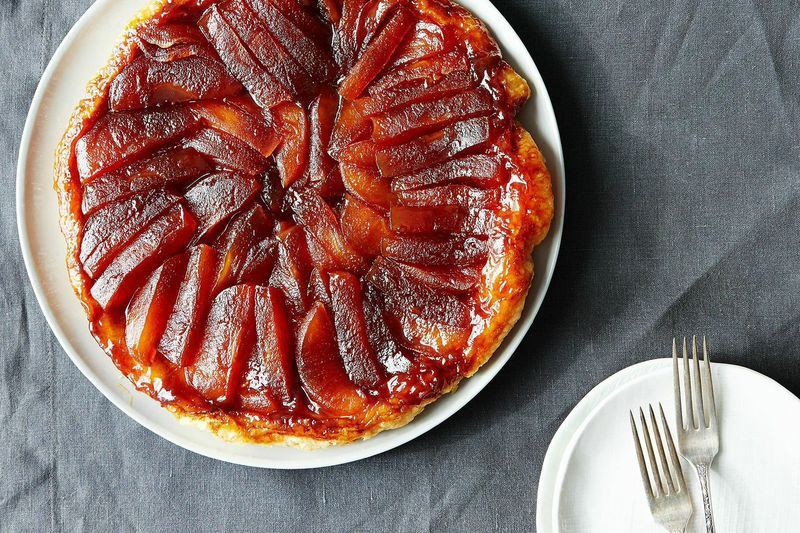
I am chomping at the bit for summer fruit: I’m ready for strawberries. And peaches. And sour cherries. But while we might be sick of apples, that's our tough luck (and we'll be craving them once August rolls around). On the upside, though, I haven’t had my fill of apples baked into a Tarte Tatin -- not yet, not ever. Made famous by the Tatin Sisters, this luscious pastry is attributed to a kitchen mistake -- a delicious, delicious mistake.
More: Not interested in apples? Try quince.
Tarte Tatin -- that buttery French pastry that is the perfect end to the perfect dinner, or, better, the perfect breakfast to wake up to -- also has the honor of being one of the easiest pastries to make. Unfortunately, it has unfairly received an intimidating reputation: You have to make a caramel, work with puff pastry, and flip over a hot pan. These steps are actually not too difficult at all -- as long as you pay attention and work with finesse.
Tarte Tatin is a gentle reminder that winter didn’t treat us too poorly, not if there are caramel-smothered apples in buttery, flaky puff pastry to be had. Here’s how to do it:
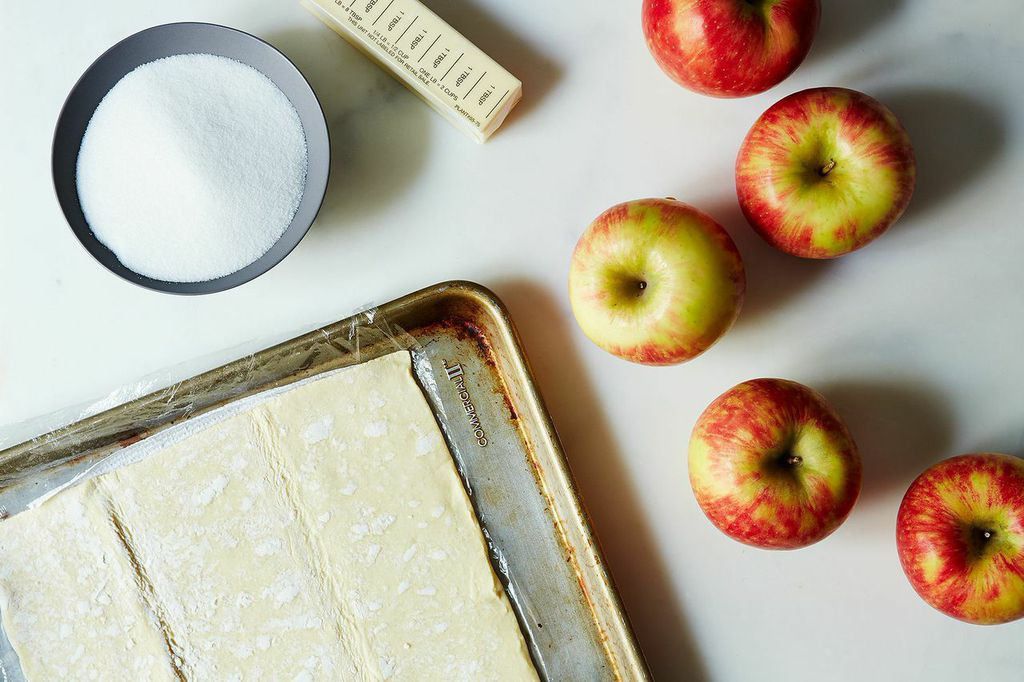
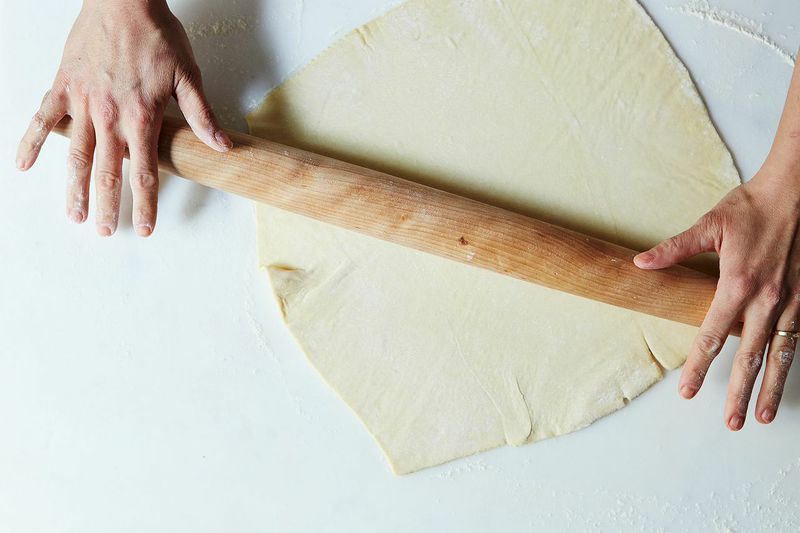
1. Gather your ingredients and your pan. You'll need puff pastry, either your own or a frozen variety. Defrost it in the refrigerator, then roll to anywhere between 1/4- and 1/2-inch thick. You'll also need apples (4 to 6 depending on the size of the fruit and your pan), sugar, and butter. As for equipment, a 10- to 12-inch oven-proof skillet will be your baking vessel.
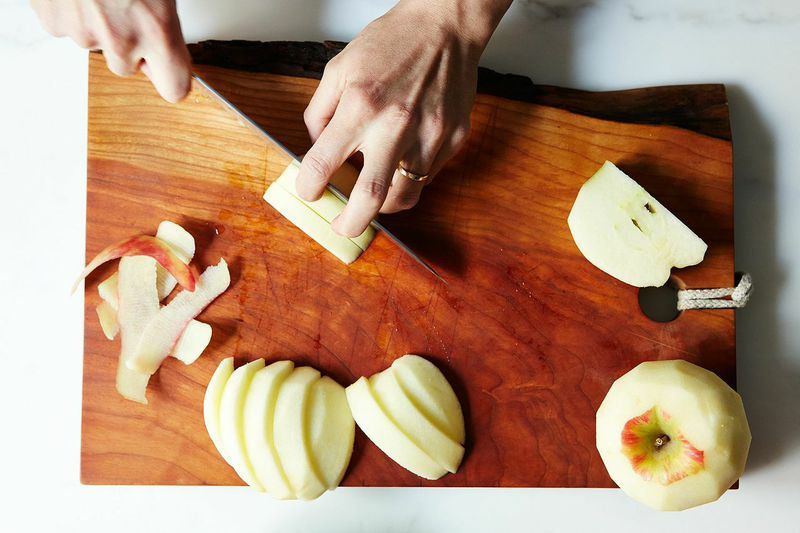
2. Preheat your oven to 425° F and prepare your apples. Pick a firm, baking variety, like Granny Smiths, Honeycrisps, Winesaps, or, my favorites, Crimson Crisps. (Anything that's soft or mealy will mush out.) Peel them and then cut around the core so the apples fall into quarters. Thickly slice each quarter to about the width of one and a half fingers. Set the pieces aside.
More: Unsure of which apple to choose? Here’s a primer.
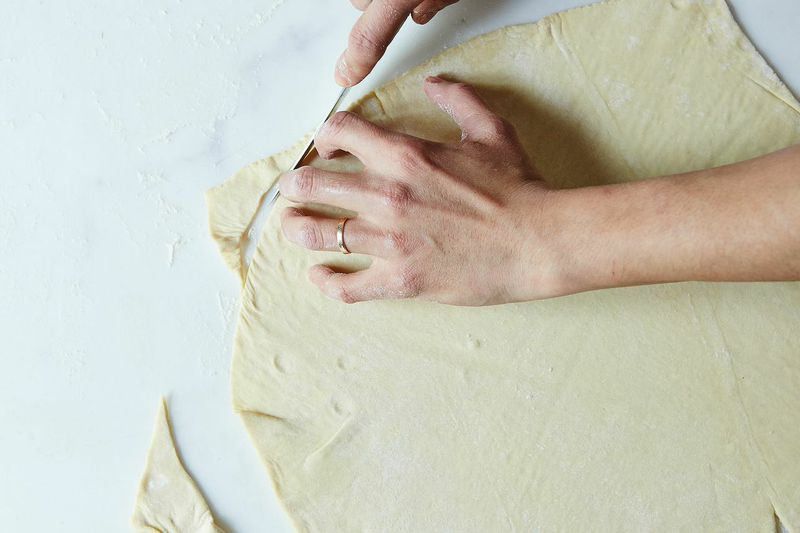
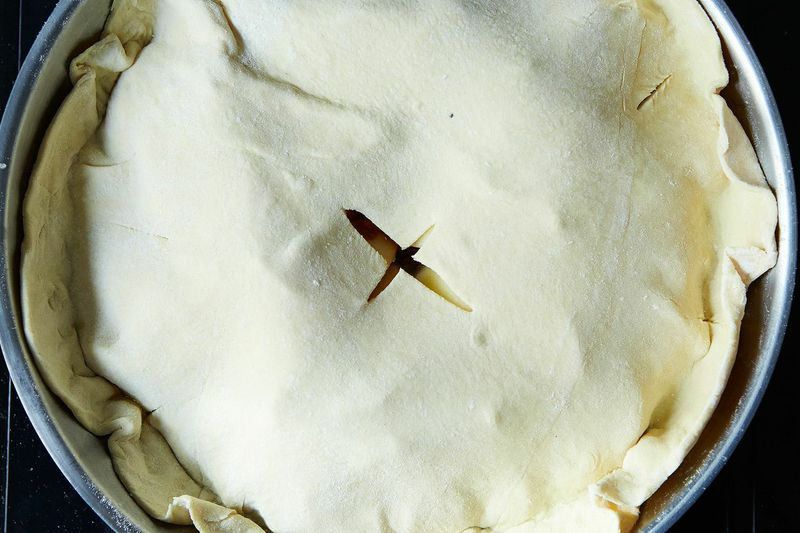
3. Prep your puff pastry. Roll it into a circle the same size as your pan, or just a little smaller. Cut a small cross in the middle and make slits around the sides (you can see this clearly in the image below step 6). This will allow steam to escape and make it possible to see whether or not your pastry is cooked all the way through. Place your puff pastry round in the fridge until you’re ready to use it.
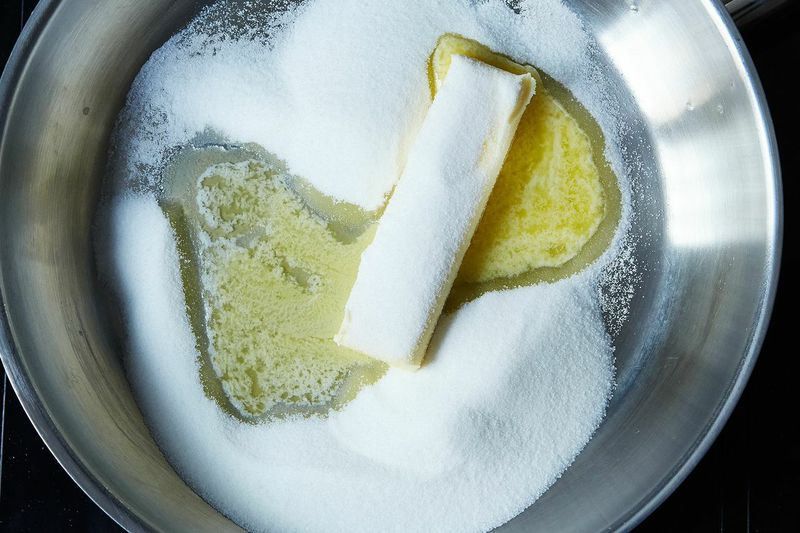
4. Melt a good chunk of butter and a bunch of sugar over medium-high heat. Depending on the size of the pan, I generally use about 1 stick of butter. While it’s melting, stir in enough sugar to absorb all of the butter, a little under 2 cups or so. There should be enough to have a fairly thick buttery sugar coating on the bottom of the pan. One way to see if you have enough is to make sure there are no butter puddles pooling around the sugar. It’s okay if it seems like a lot -- just make sure that there’s very little butter seeping around the mix.
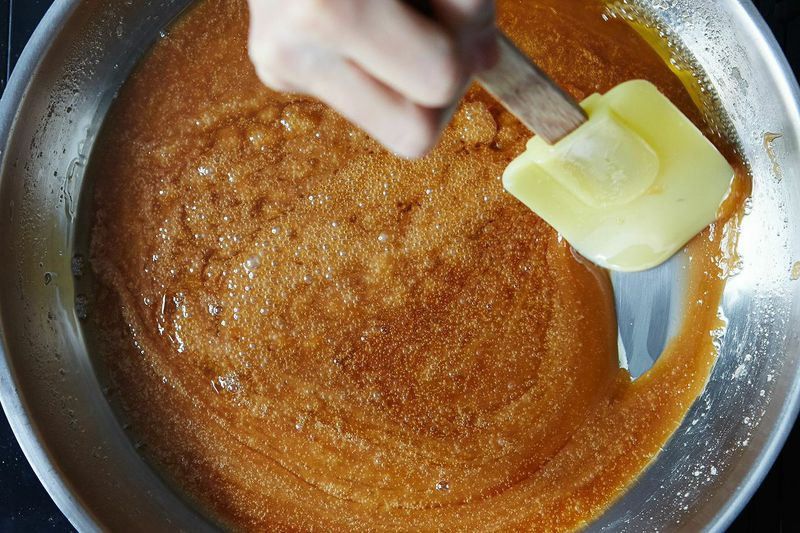
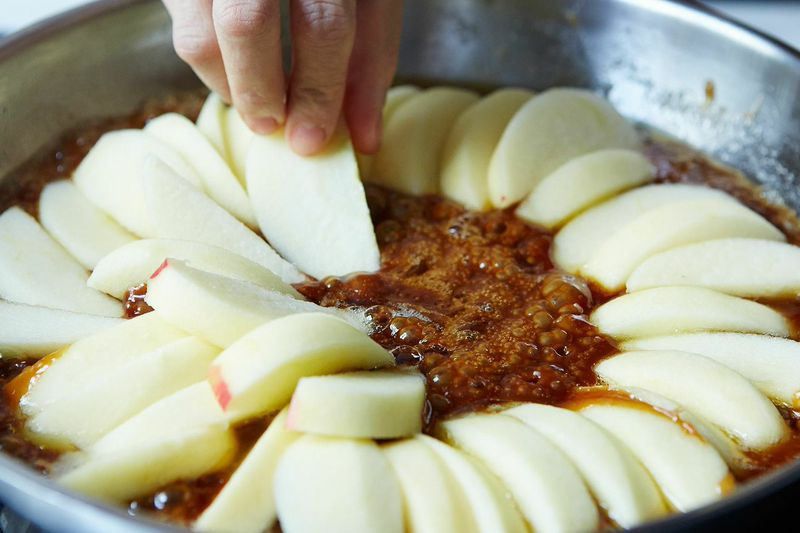
5. Make caramel. Gently stir the butter-sugar mixture until it's all one slushy mass. Let it sit without stirring, until you can see little brown spots. Once you start to get color in the mixture, gently stir the mix back and forth until it’s a dark golden brown. The caramel should spread evenly over the surface of the pan. Depending on how hot your stove gets, this should take about 10 to 15 minutes. When the caramel starts to form tiny bubbles in the hot spot (every burner has one), cut the heat and start to layer in the apples in concentric circles around the pan, starting at the outermost edge. They should overlap slightly at the edges -- both horizontally and then at the inner layers.
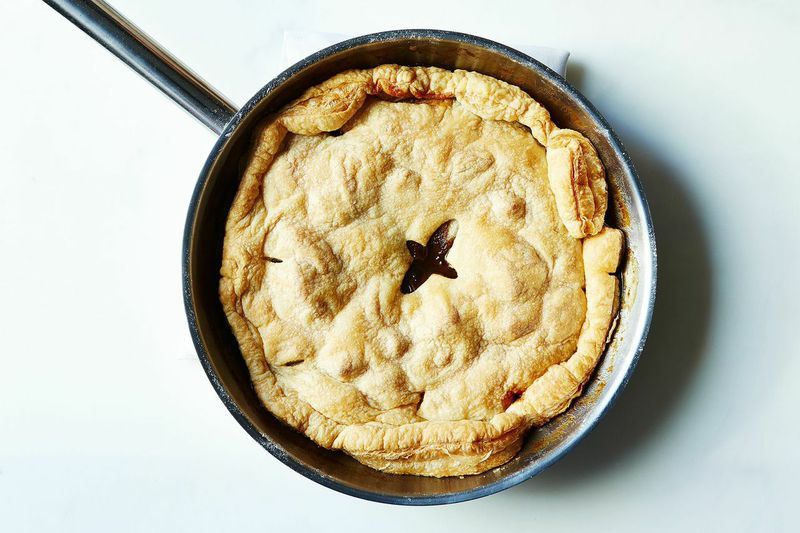
6. Tuck the puff pastry on top of the apples and slide the pan into the oven. Bake for 25 minutes, then reduce the oven temperature to 350° F. Rotate your pan in oven, then bake for another 35 minutes or so, or until the puff pastry is golden and baked through -- you should be able to see the puff pastry baked into layers around the edge and in the center where you cut the cross.
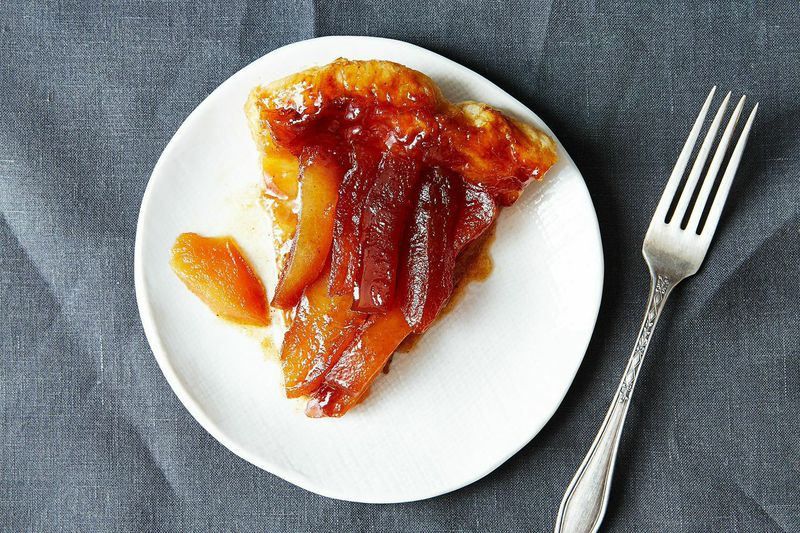
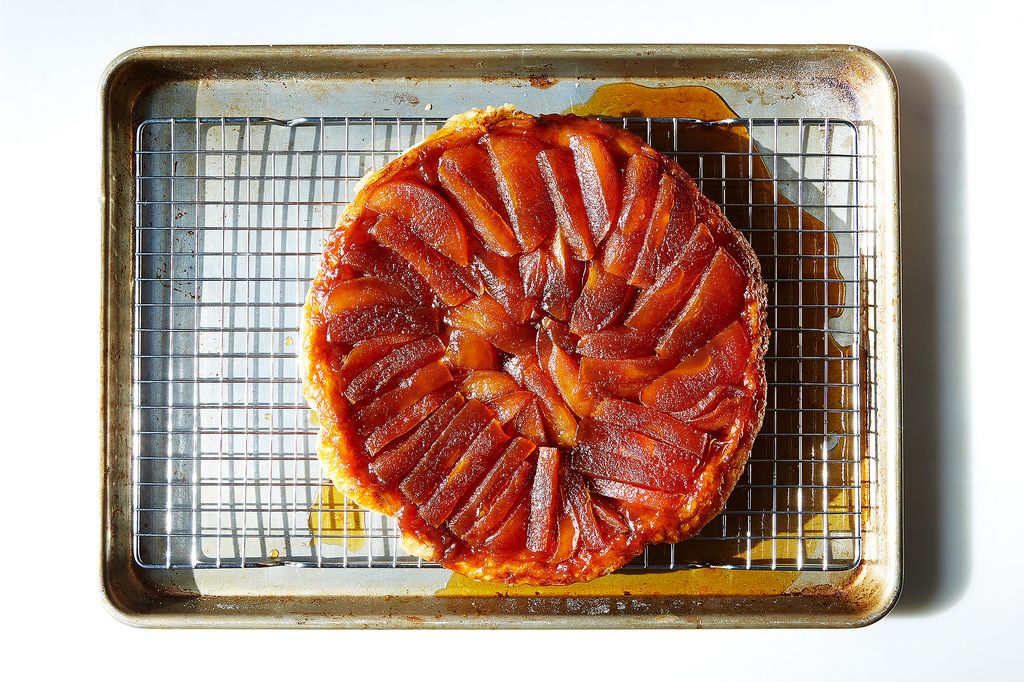
7. Take the tatin out of the oven and let it sit for 5 to 10 minutes. Then, working quickly, invert the tart onto a surface; I like to use a cooling rack stacked on top of a baking sheet, so the sheet catches the drips. Be very careful -- the pan really is quite hot and there may be caramel leaks. You do not want this to leak onto you.
8. Serve. Let cool just a touch, then cut into slices. Top with crème fraîche or whipped cream (or the glorious mix of the two).
Photos by Mark Weinberg
What is your favorite French pastry? Share with us in the comments below!
Written by: Mei Chin
Popular on Food52
5 Comments
Oh! And I'm making it with gluten free puff pastry!
See what other Food52 readers are saying.