As home cooks, we rely on our instincts, our knowledge, and our curiosities -- but we also have to rely on our tools. Which is why we're asking the experts about the essential tools we need to make our favorite foods attainable in our own kitchens.
Today: Forget falling leaves and cable-knit sweaters; the best part about autumn is roasting. Molly Stevens, author of All About Roasting: A New Approach to the Classic, shares the 9 tools you need to roast like a professional.
Few menu adjectives whet our appetites more than "roasted." Just the mention of the word evokes images of juicy, tender morsels combined with crunchy end bits. Luckily, roasting is one of the most straightforward methods for any home cook’s repertoire; all you really need to get started is a working oven and something to roast.
The word roast comes from the French term rôtir (as in rotisserie) and refers to cooking on a turnspit in front of an open flame. Even though some restaurants and enthusiasts adhere to this definition, I relate more to those of us who cook in our home kitchens with everyday equipment. So I am going to skip over the turnspit and open flame and get down to what it takes to get roasting at home.
I’ve listed tools that relate directly to roasting -- from a good meat thermometer to a carving board -- but there are other non-specific tools that are useful as well. For instance, any well-equipped kitchen should have a flat-edged wooden spoon for deglazing, a Windsor pan for making gravies and sauces, a pair of locking tongs, plenty of clean, dry kitchen towels, and, of course, a couple of good sharp knives. Aside from those standard must-haves, here are the 9 roasting-specific tools to have around as the season approaches:
1. A reliable meat thermometer
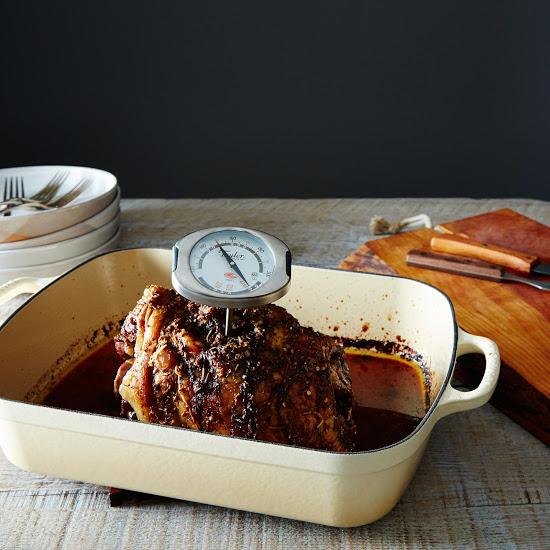
Without a doubt, the trickiest thing about roasting meat -- the only tricky part, really -- is knowing when to stop. While some roasting virtuosos may judge doneness by feel, I recommend outfitting yourself with a reliable meat thermometer to ensure a perfectly cooked roast every time.
The most convenient meat thermometers are thin-stemmed instant-read models, and my personal favorite is this one by Thermapen because it registers the temperature in no time and the digital readout is easy to see. It’s splashproof, too.
"Without a doubt, the trickiest thing about roasting meat -- the only tricky part, really -- is knowing when to stop."
Because every oven cooks a little differently, it’s always a good idea to check the progress of a roast before the suggested cooking time is up. Insert the thermometer into the thickest part of the roast, being careful not to touch any bone. Once the roast is near your target temperature, check it in a few spots -- not so many as to make a pincushion out of it, but just in two or three places to account for any hot or cool spots.
After using the thermometer, clean and dry it before stashing it in a dry spot where it won’t get banged around. I recommend checking its accuracy from time to time by immersing it in an ice bath (32° F) or a pot of boiling water (212° F, depending on the altitude).
2. Heavy-duty rimmed baking sheets
When I started work on my roasting cookbook, I envisioned myself investing in an arsenal of expensive pans to accommodate the various meat, poultry, seafood, and vegetables that I’d be roasting. As it turned out, the pans that I most frequently pulled out were heavy-duty rimmed baking sheets (referred to as half-sheet pans in professional kitchens). The greatest advantage of these workhorse pans is that their low sides allow maximum exposure to the hot, dry air circulating around the oven, which means that food browns more readily than it would if it were tucked into a standard high-sided roasting pan.
"I envisioned myself investing in an arsenal of expensive pans to accommodate the various meat, poultry, seafood, and vegetables that I’d be roasting. As it turned out, the pans that I most frequently pulled out were heavy-duty rimmed baking sheets."
The best sheets are restaurant-grade weight with a sturdy 1-inch rim (this captures pan drippings and prevents foods from sliding off). Save your non-stick or insulated baking sheets for making cookies. The standard size (around 18 x 12 inches) works well for roasted vegetables and chicken pieces, and I also like to have smaller sizes (16 x 11 and 13 x 9) to accommodate a couple of chops or fish fillets.
The downside of roasting on baking sheets is that it can be awkward to turn the drippings into a pan sauce, as the metal is not designed for stovetop heating. I solve this by scraping the drippings into a small saucepan. I don’t recommend using baking sheets for larger roasts, as they are neither deep enough to contain all the drippings nor stable enough to be safe.
More: Deglaze your pan and your on your way to a delicious pan sauce.
3. A sturdy roasting pan
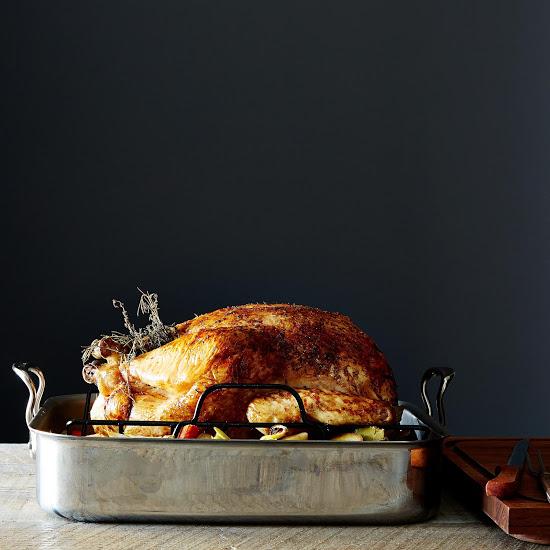
"If you are planning on tackling any of the iconic roasts, such as the holiday turkey, crown roast, leg of lamb, or prime rib, you will need a serious roasting pan."
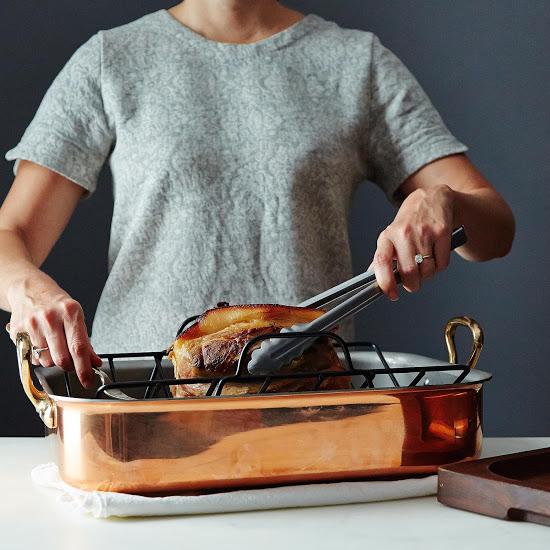
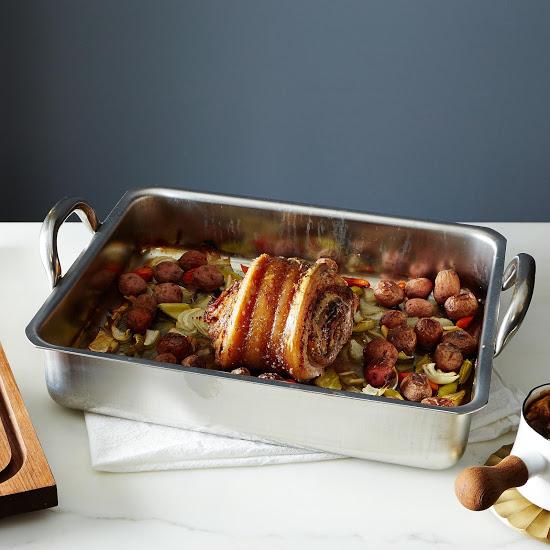
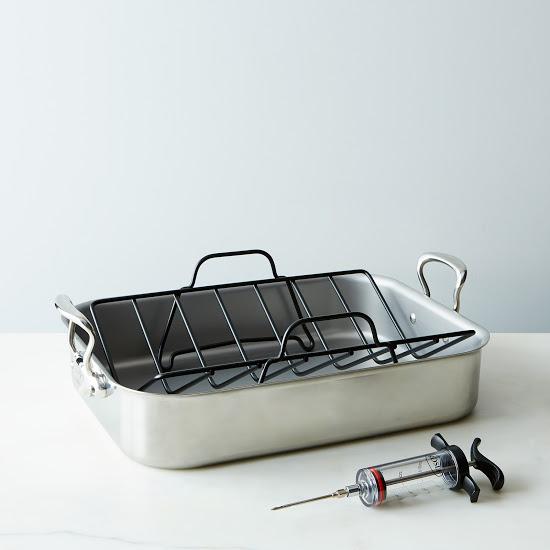
If you are planning on tackling any of the iconic roasts, such as the holiday turkey, crown roast leg of lamb, or prime rib, you will need a serious roasting pan. The best have fixed handles (not the thin wire bale-type handles) and sides that are about 3 inches high. In terms of material, I like the bright surface of a stainless-steel pan because it makes it easier to see the drippings. The best pans will have a layer of highly conductive metal (copper or aluminum) sandwiched into the metal. This adds to the cost, but luckily, a good roasting pan will last a lifetime.
The size depends on your lifestyle: Do you host big gatherings and want to be able to roast a whole turkey or a prime rib, or do your dinner parties never exceed 6 people? Ideally, the pan should accommodate the roast so that the meat neither touches the pan sides nor leaves a vast amount of exposed surface. If the pan is too large for the roast, a good trick to avoid scorching the drippings is to chop up some vegetables (carrots, onions, and potatoes, for example), coat them with a bit of oil, season, and scatter them around the roast. The vegetables will prevent the pan from drying out and give you a built-in side dish.
More: Learn how to roast any vegetable in only 4 steps.
4. Cast-iron skillet
I am a big fan of using low to moderate oven heat to produce remarkably tender roasts. The problem with this method is that you don’t get a lot of surface browning. One easy solution is to begin by searing the surface of the roast in a cast-iron skillet on top of the stove. Once the top and sides are handsomely browned, set the roast right side-up in the skillet, slide it into the heated oven, and let it do its thing.
I also like to use my favorite cast-iron skillet for making roast chicken. I preheat the skillet in the oven until it's good and hot, and then I plunk the chicken down into it. This ensures crispy skin on the back and thighs without having to fuss with flipping the chicken, and it shaves about 15 minutes off the roasting time.
Never use soap to clean cast-iron, and be sure to dry it thoroughly (I like to heat the cleaned pan over a low burner to ensure it’s dry) before putting it away.
A couple of cast-iron tips: "Never use soap to clean cast-iron, and be sure to dry it thoroughly (I like to heat the cleaned pan over a low burner to ensure it’s dry) before putting it away."
5. Carving board with a channel
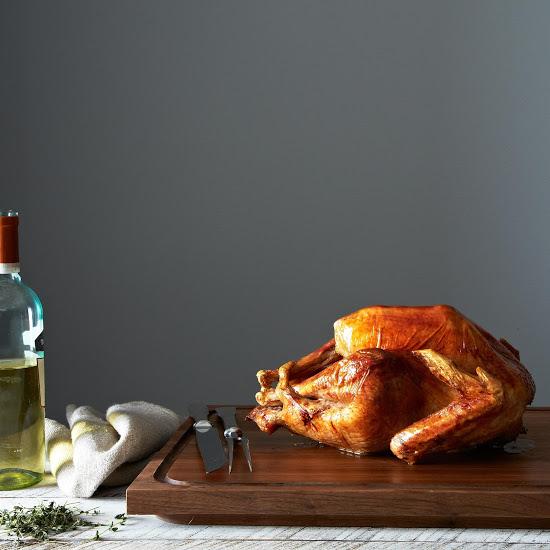
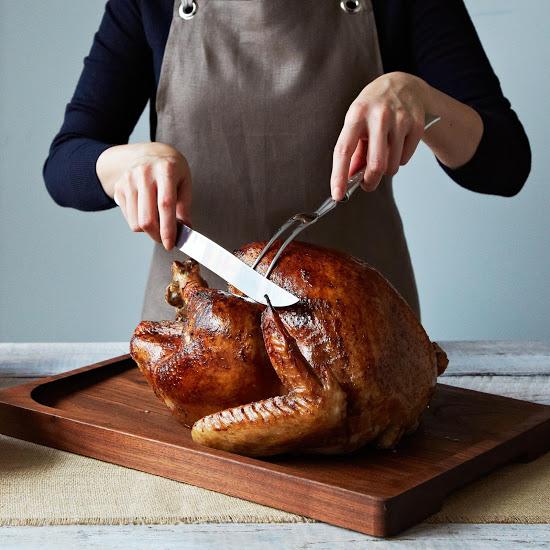
When it comes time to carve, it’s helpful to have a large carving board with a channel around the outside to catch any juices before they run onto the counter. If you’ve let the meat rest properly after roasting (anywhere from 5 to 40 minutes, depending on its size), the juices won’t be gushing out of the meat, but there will still be some; you want to capture them to add to a gravy or to simply spoon over the carved roast.
Wooden boards are easier on your knives and more pleasing to the eye. A good board will be heavy enough to stay in place without shifting as you carve. After using a wooden board, wash it with soapy water, then let it dry thoroughly before putting it away in order to avoid warping. Occasionally scour the surface with steel wool to remove any build up and then treat it with a food-grade mineral oil.
If you don’t have a carving board, you can improvise by setting a cutting board on top of a rimmed baking sheet to catch any juices.
More: Vegetable expert Deborah Madison gives her two cents on cutting boards.
6. Roasting rack
You don’t need a roasting rack for every roast, but they do come in handy. Elevating the roast off the surface of the pan allows the hot oven air to circulate more freely in order to cook the roast more evenly. It also prevents poultry skin from sticking to the surface of the pan. My main caution when using a roasting rack is that the pan drippings often evaporate -- or, in the worst case, burn -- because the drippings fall onto the dry, hot pan and immediately sizzle and evaporate. The hotter the oven, the more likely the drippings are to burn, so be sure to monitor the roast carefully anytime you use a rack. If you do notice the drippings getting too dark, add liquid (wine, broth, or water) to the pan.
A roasting rack can be any sort of ovenproof rack that fits in your roasting pan and holds food at least 1 inch off the surface. A U- or V-shaped rack is especially helpful to cradle a roast turkey but not as versatile as a flat rack. The best racks are sturdy without too much intricate grid work, and a nonstick surface is helpful for easy clean-up. If you don’t have a proper rack, you can fashion one by crumpling a 2- to 3-foot sheet of foil into a thick rope. Then shape the rope into a spiral to set the roast on.
7. Parchment paper
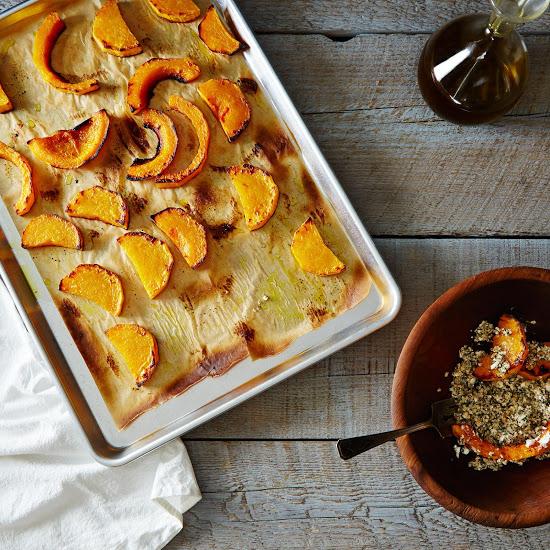
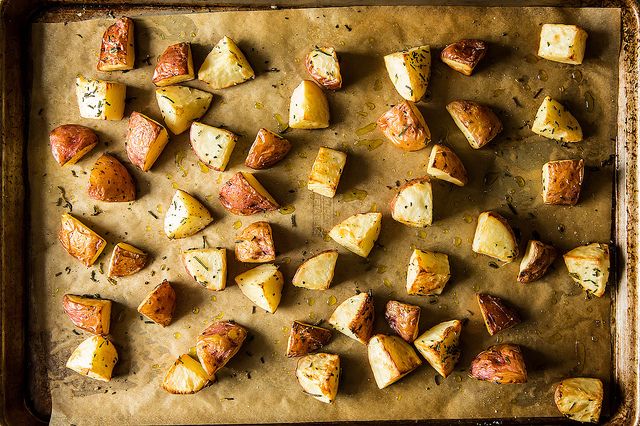
What’s the best part of roasted vegetables? The crunchy outside bits, of course. Lining the baking sheet with parchment paper is the best way to ensure that these crunchy bits stay on the vegetables themselves and don’t end up stuck to the baking sheet. Using parchment paper also makes cleanup much easier.
"Lining the baking sheet with parchment paper is the best way to ensure that the crunchy bits stay on the vegetables and don’t end up stuck to the baking sheet."
Start by tearing a sheet of parchment to fit the pan you’re using. It’s okay if the sheet is a little large; merely press it into the corners so that it lines the entire sheet. Never crowd the vegetables -- you’re better off using 2 pans if needed. Parchment is also helpful for preventing delicate fish from sticking. Remember that parchment is not a good choice for meats and poultry because you want to capture drippings.
More: If Molly Stevens teamed up with Alice Medrich, they could start a Parchment Paper Fan Club.
8. An oven thermometer
Even the most best ovens can run hot or cool, so it’s helpful to set an oven thermometer inside the oven to give you an idea of the true temperature of your oven.
9. Butcher twine
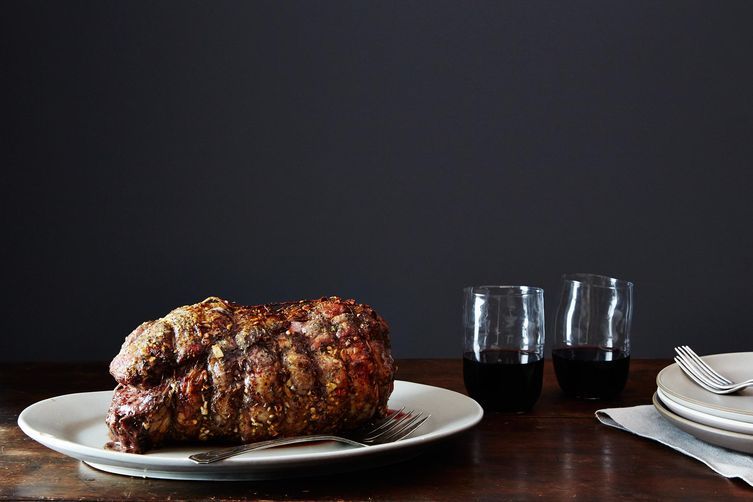
Not every roast needs to be trussed and tied, but it’s helpful to have a spool of good butcher twine for when you do need to secure something like a stuffed leg of lamb or a boneless pork shoulder. Make sure the twine is 100% cotton (synthetics risk melting and tainting your food). I prefer a thicker, 24-ply twine because it’s less likely to cut into the meat. Most well supplied kitchen stores sell twine, and in a pinch, you can ask for a length from the person behind the meat counter or your butcher.
What roasts are you planning to make, and what tools will you use to do it? Share with us in the comments!

The Dynamite Chicken cookbook is here! Get ready for 60 brand-new ways to love your favorite bird. Inside this clever collection by Food52 and chef Tyler Kord, you'll find everything from lightning-quick weeknight dinners to the coziest of comfort foods.
Order Now

See what other Food52 readers are saying.