Cleaning
Amanda Hesser's One-Stop Guide to Organizing Your Pantry
It shouldn’t be a storage unit, but rather, a tool kit.

Welcome to Spring Clean Your Life, your one-stop shop for gotta-try-those tips & bookmark-me inspiration to spruce up your kitchen and home this season—and well beyond.
________
Every spring since the beginning of your cooking life, you’ve heard the same chipper siren call: IT’S TIME TO REORGANIZE YOUR PANTRY! And if you’re like most cooks, you either drown it out with NPR so as to avoid this chore, or see it as your deluded pathway to life happiness—if your pantry were more organized, your life would be so. much. better.
But here’s the problem with this domestic charade: It’s based on cooks seeing their pantry as a place to store ingredients. And if you see your pantry in this way, you’ll forever be in a losing battle (with occasional wins) trying to straighten it up in order to feel better about its clutter.
Your pantry shouldn’t be a storage unit—it should be a tool kit. It’s not where you put things to keep them off your counter. It’s where you have all of your best culinary weapons at the ready to help you in the kitchen. How you design your pantry and arrange your tools should be focused on making your cooking more efficient and inspiring.
Here are a few tips, rules, and designs from our Shop to get you started:
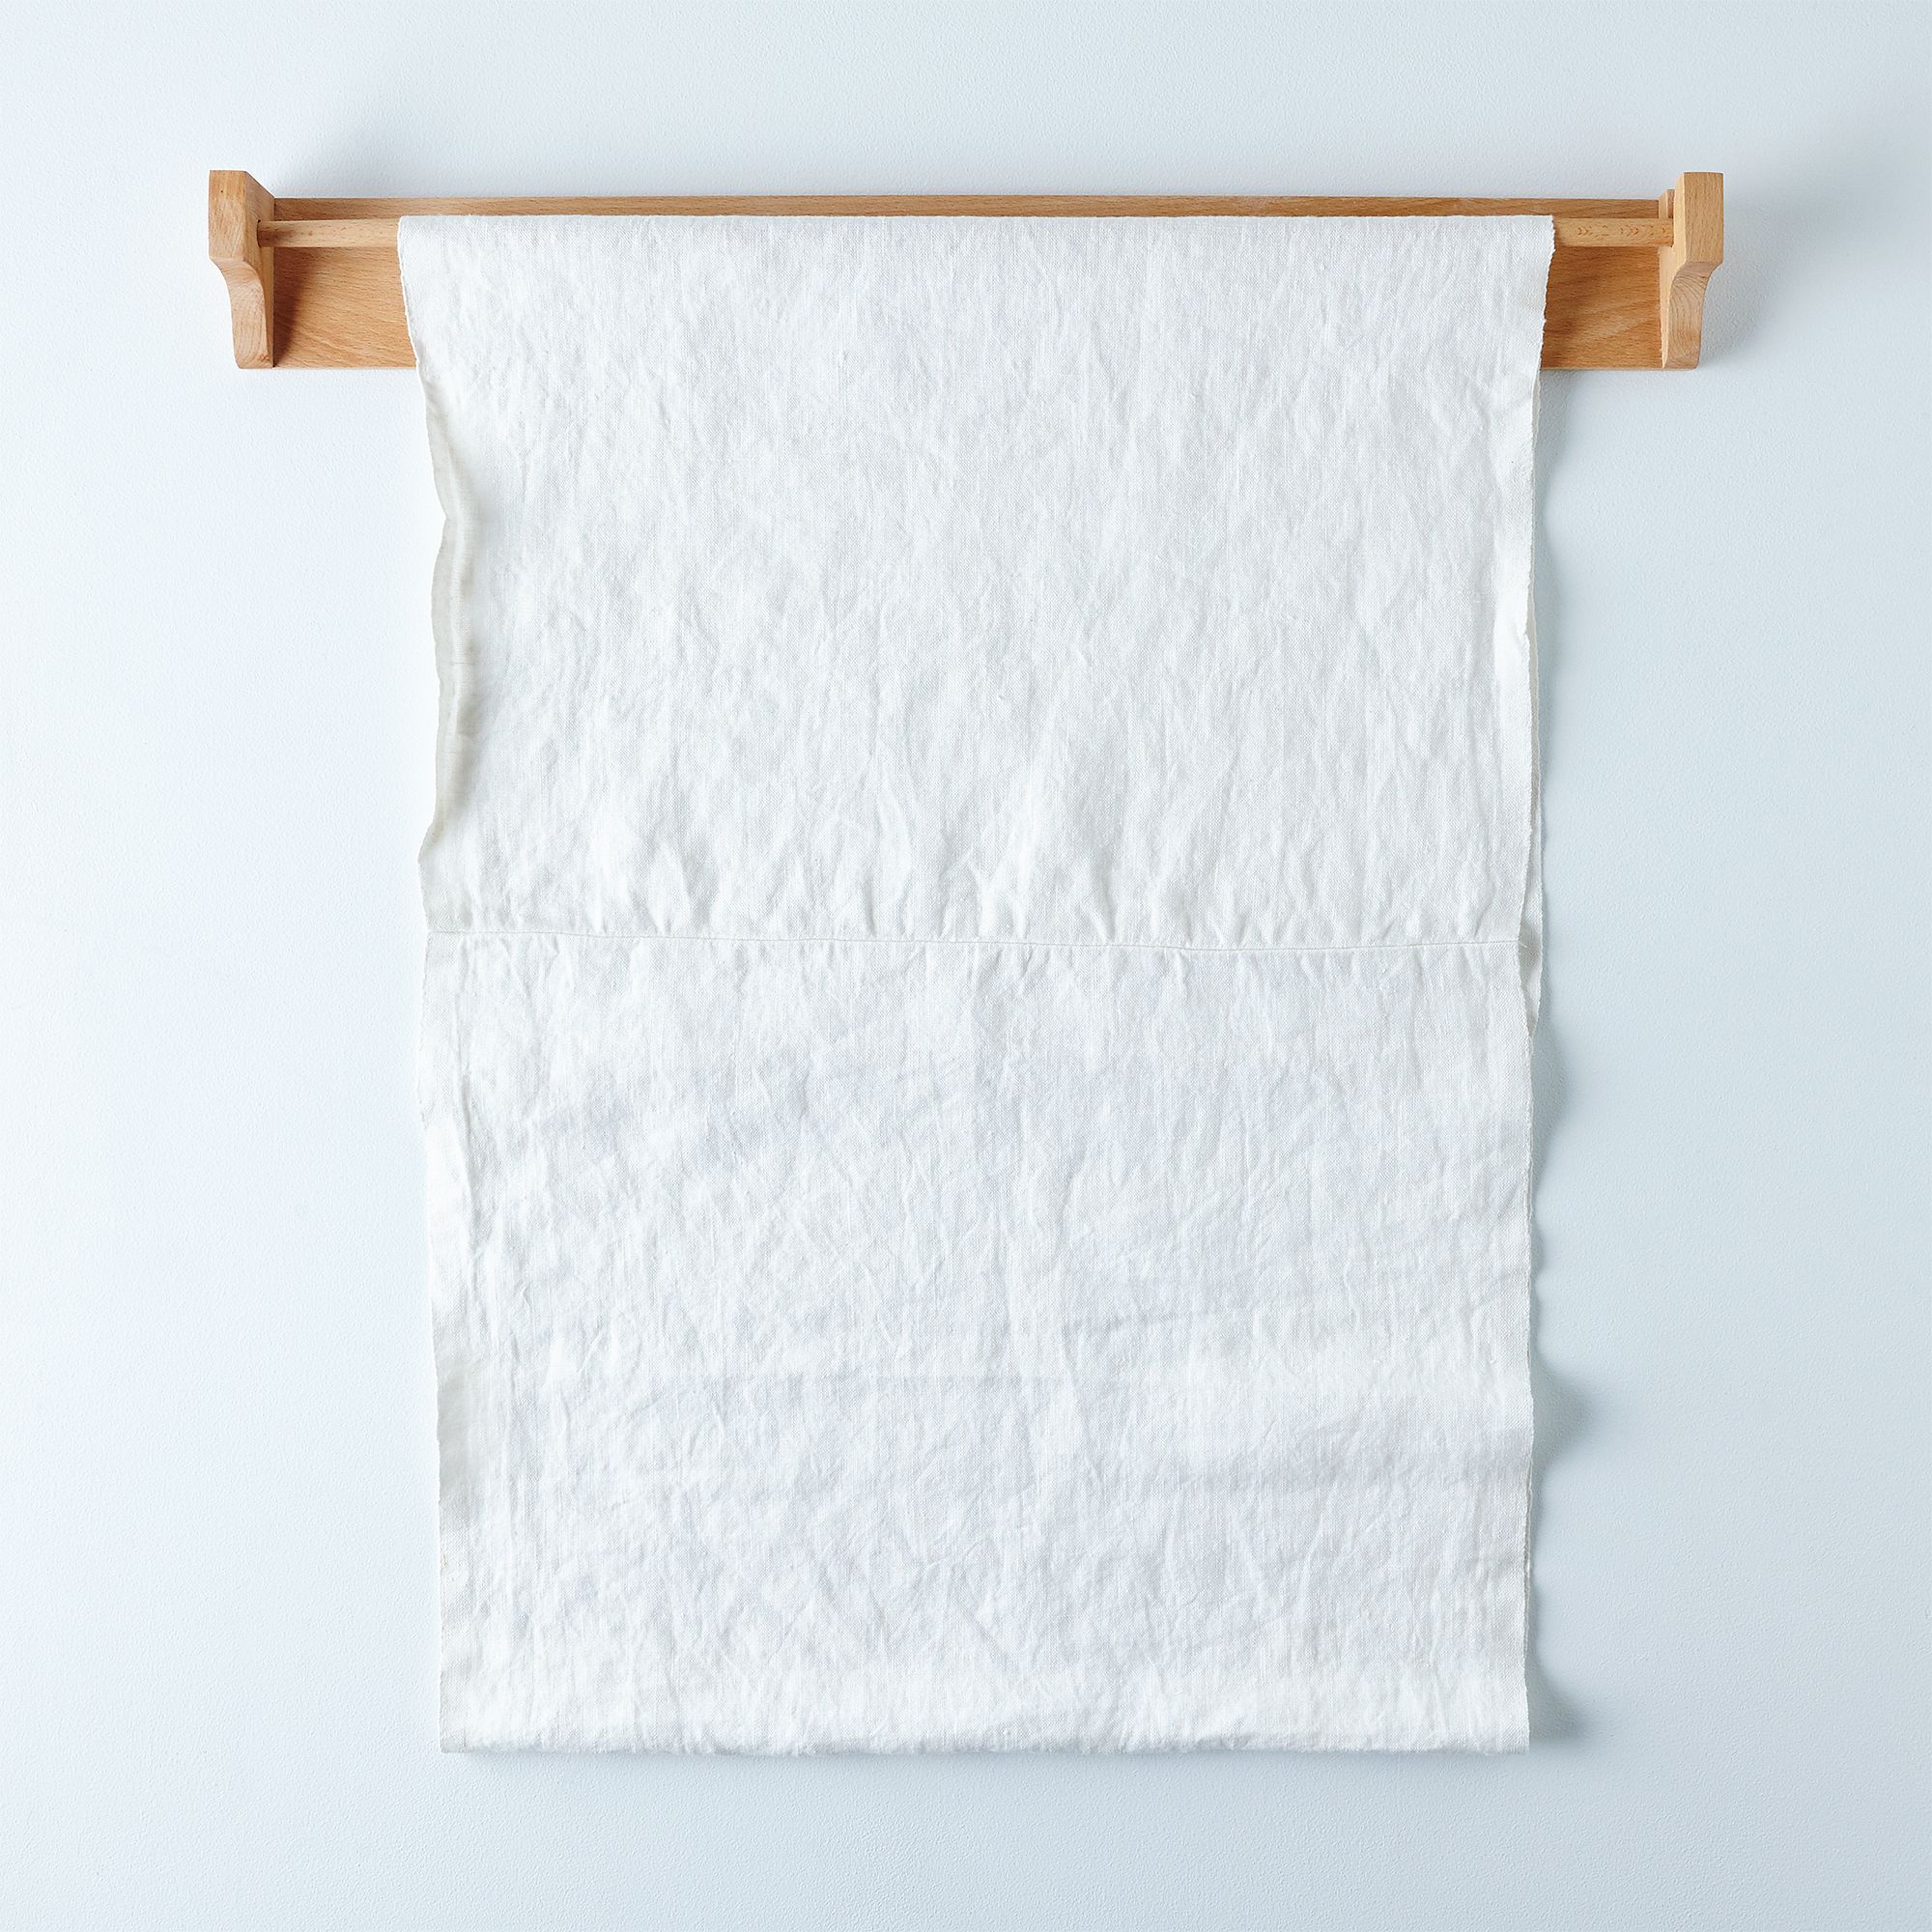
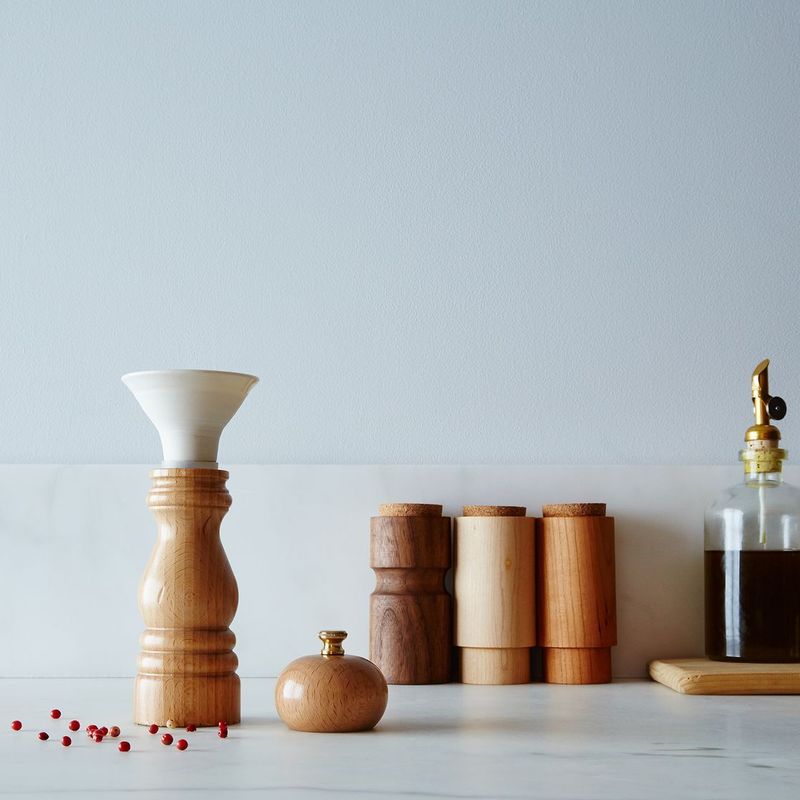
Left: Towel Rack & Infinity Linen / Right: Porcelain Spice Funnel
1. The ideal pantry has adjustable shelves.
Many contractors will put holes in every few inches, but I like more flexible storage with shelf holes drilled every 1 1/2 inches (vertically from the top to the bottom) and lots more shelves than most contractors will plan for (ask for extra!). If you have a shelf that you’re going to fill with 1-quart containers (see next tip), you should arrange the next shelf up just an inch or two above the tops of the containers.
Add the shelves as you stock your pantry, not the other way around. This way you maximize your space. If you already have a pantry, you can always have more holes drilled and more shelves made—this can be a fairly low-cost upgrade.
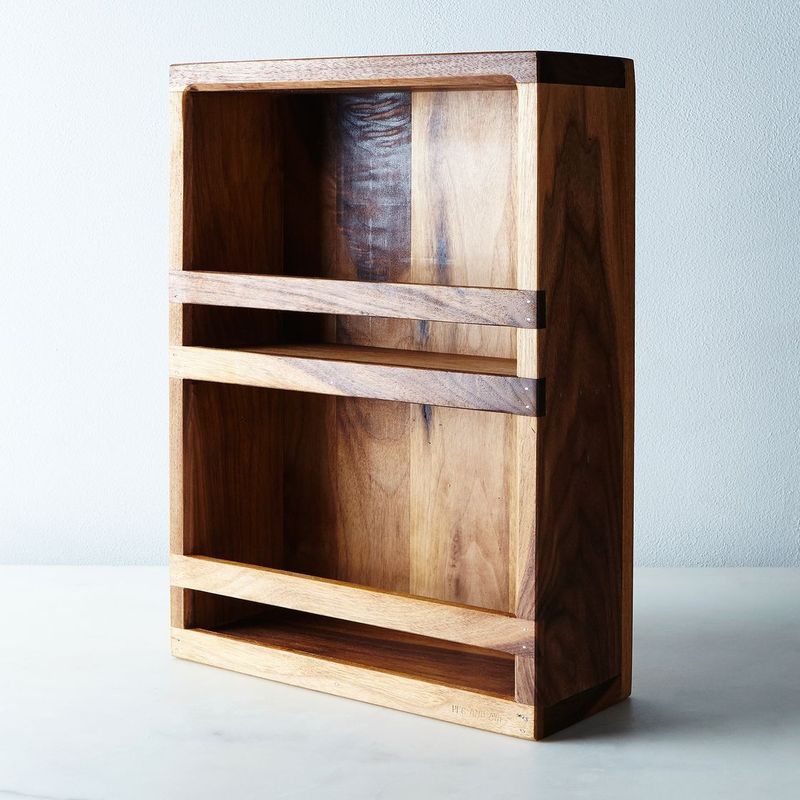
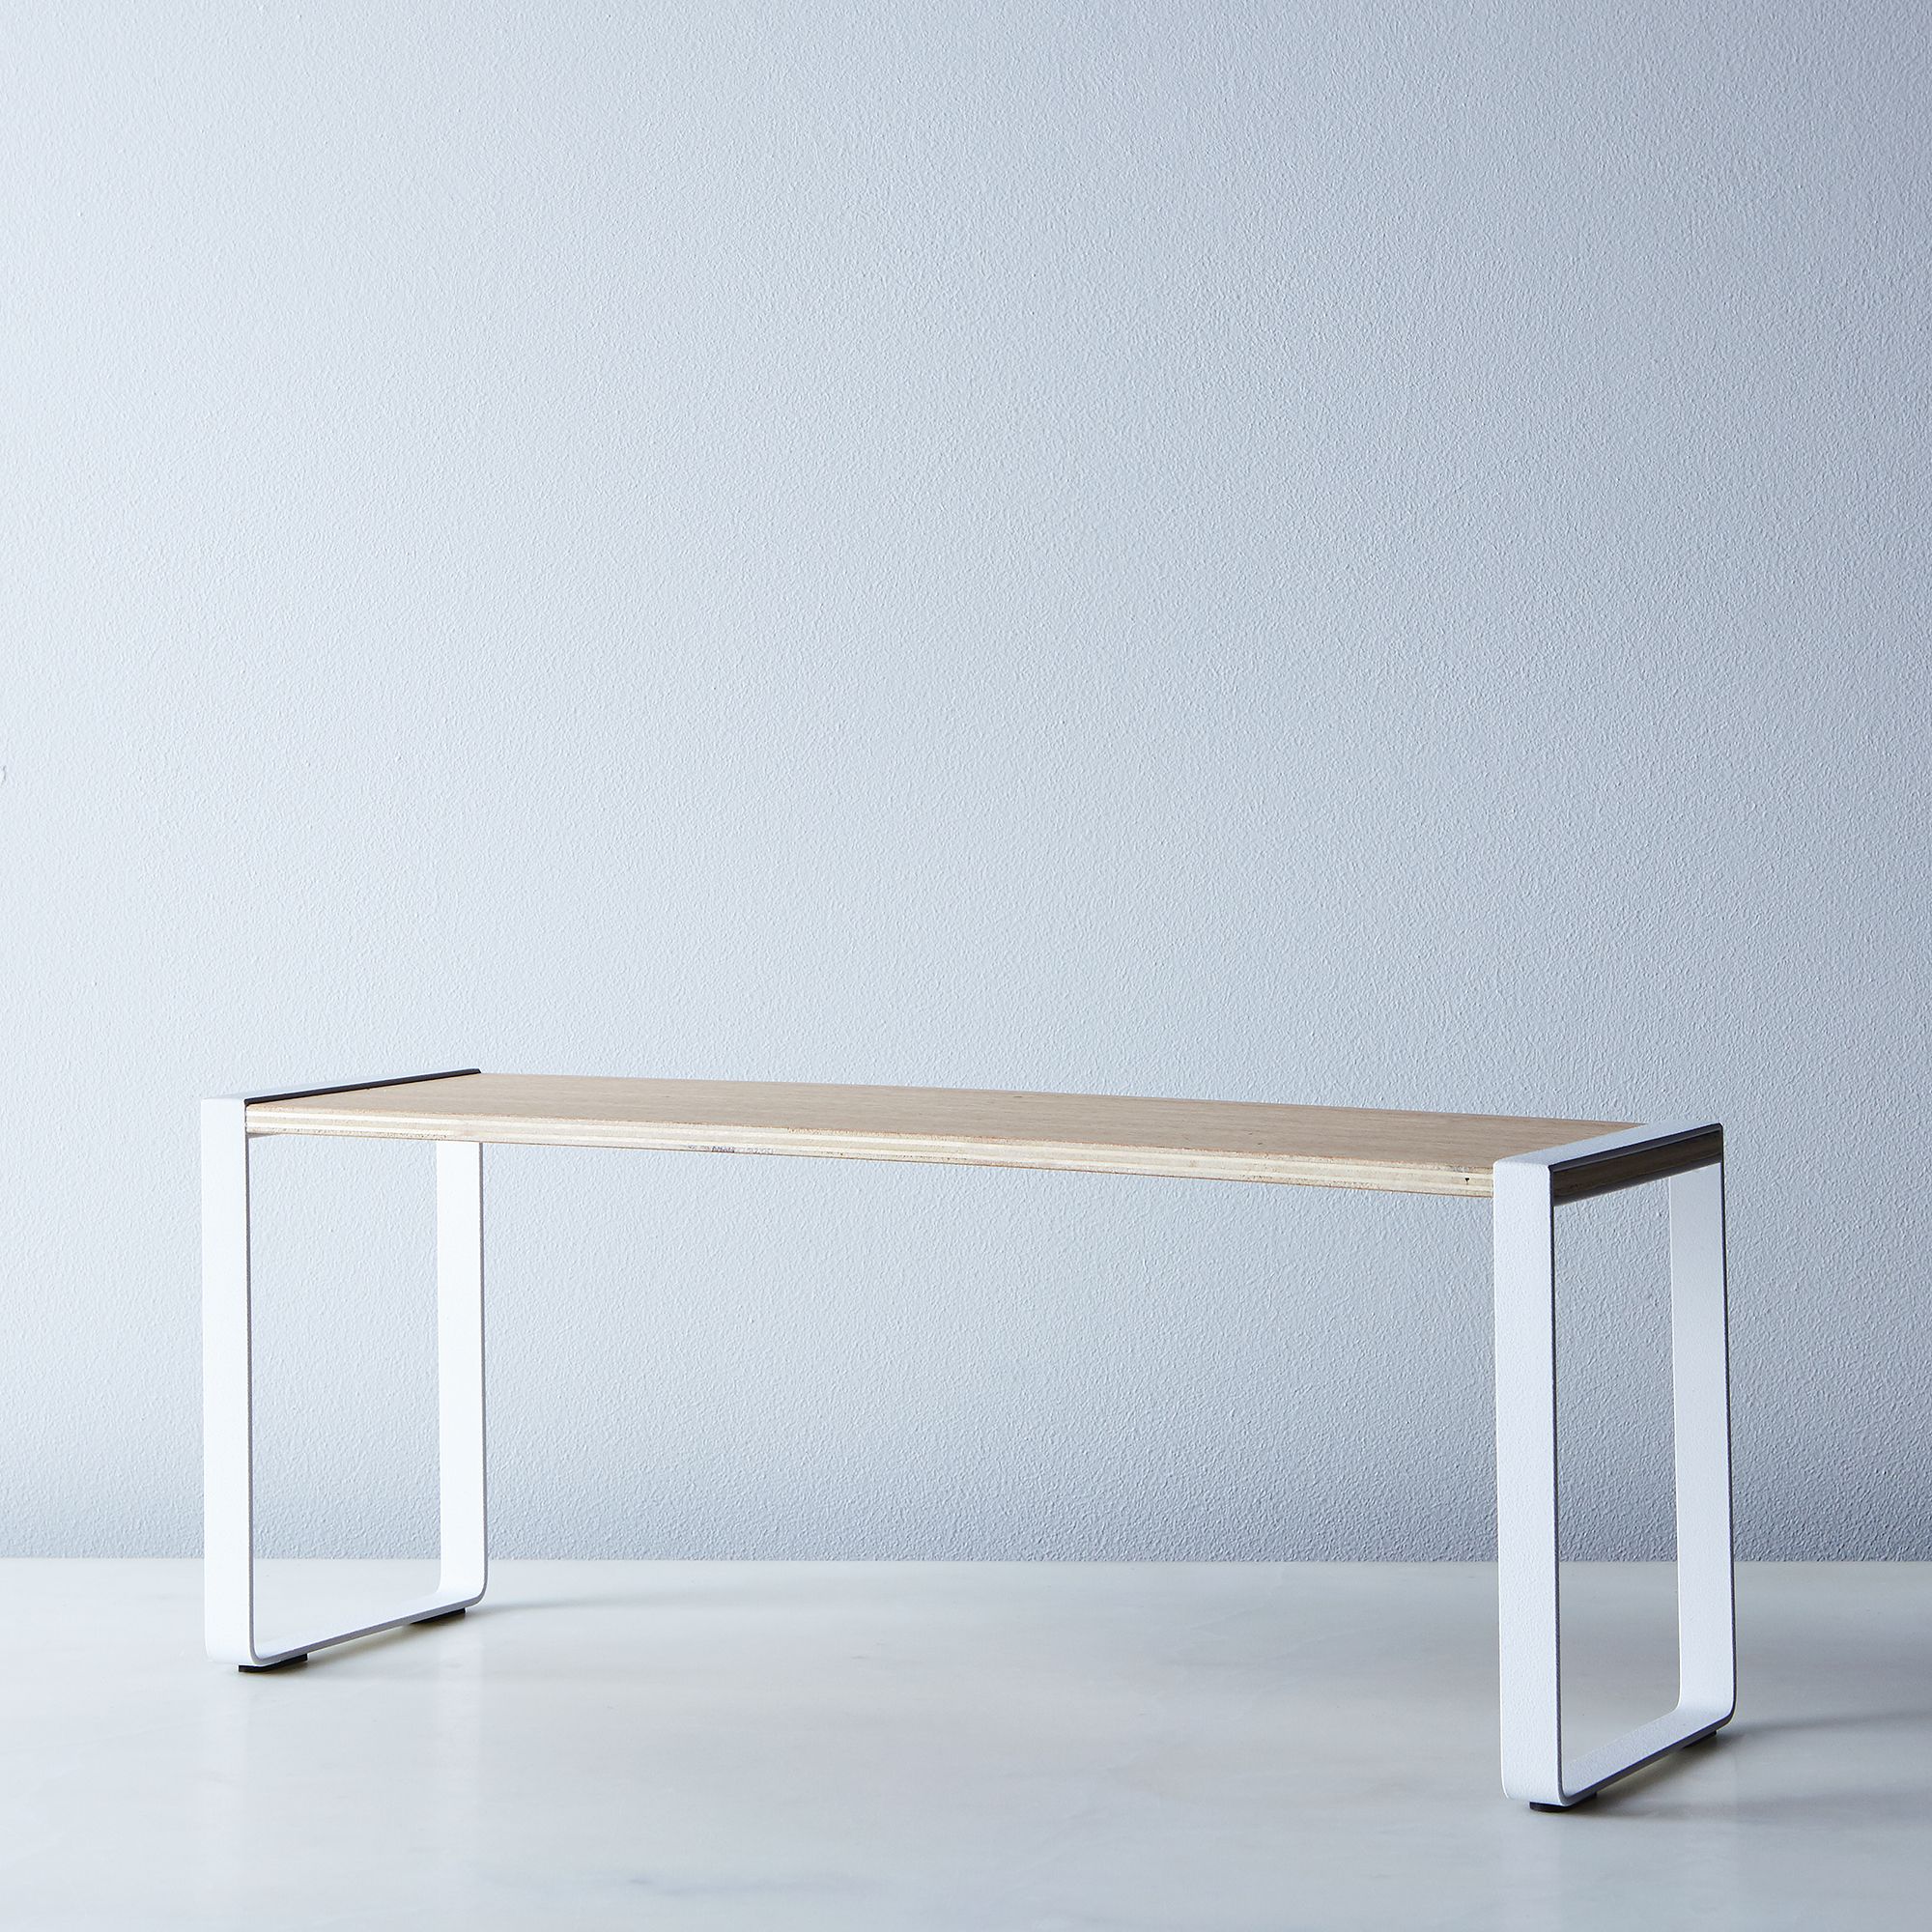
Left: Reclaimed Wood Kitchen or Bath Cubby / Right: Steel & Wood Kitchen Storage Rack
2. Buy lots of tins, containers, jars, and a set of wet-erase markers.
These are your friends. I buy the following:
- 4-ounce and 8-ounce round tins with clear tops for spices
- 16-ounce tins for dried chiles and dried mushrooms
- 1 quart containers for dried beans, grains, sugars, salts, and small amounts of flours
- 2-quart, 4-quart, and 8-quart containers for flours and larger amounts of grains.
Transfer all ingredients in bags into containers before they go into your tool kit. Once you get into the habit of doing this with groceries, you won’t see it as a task. Here are some tools to get you started:
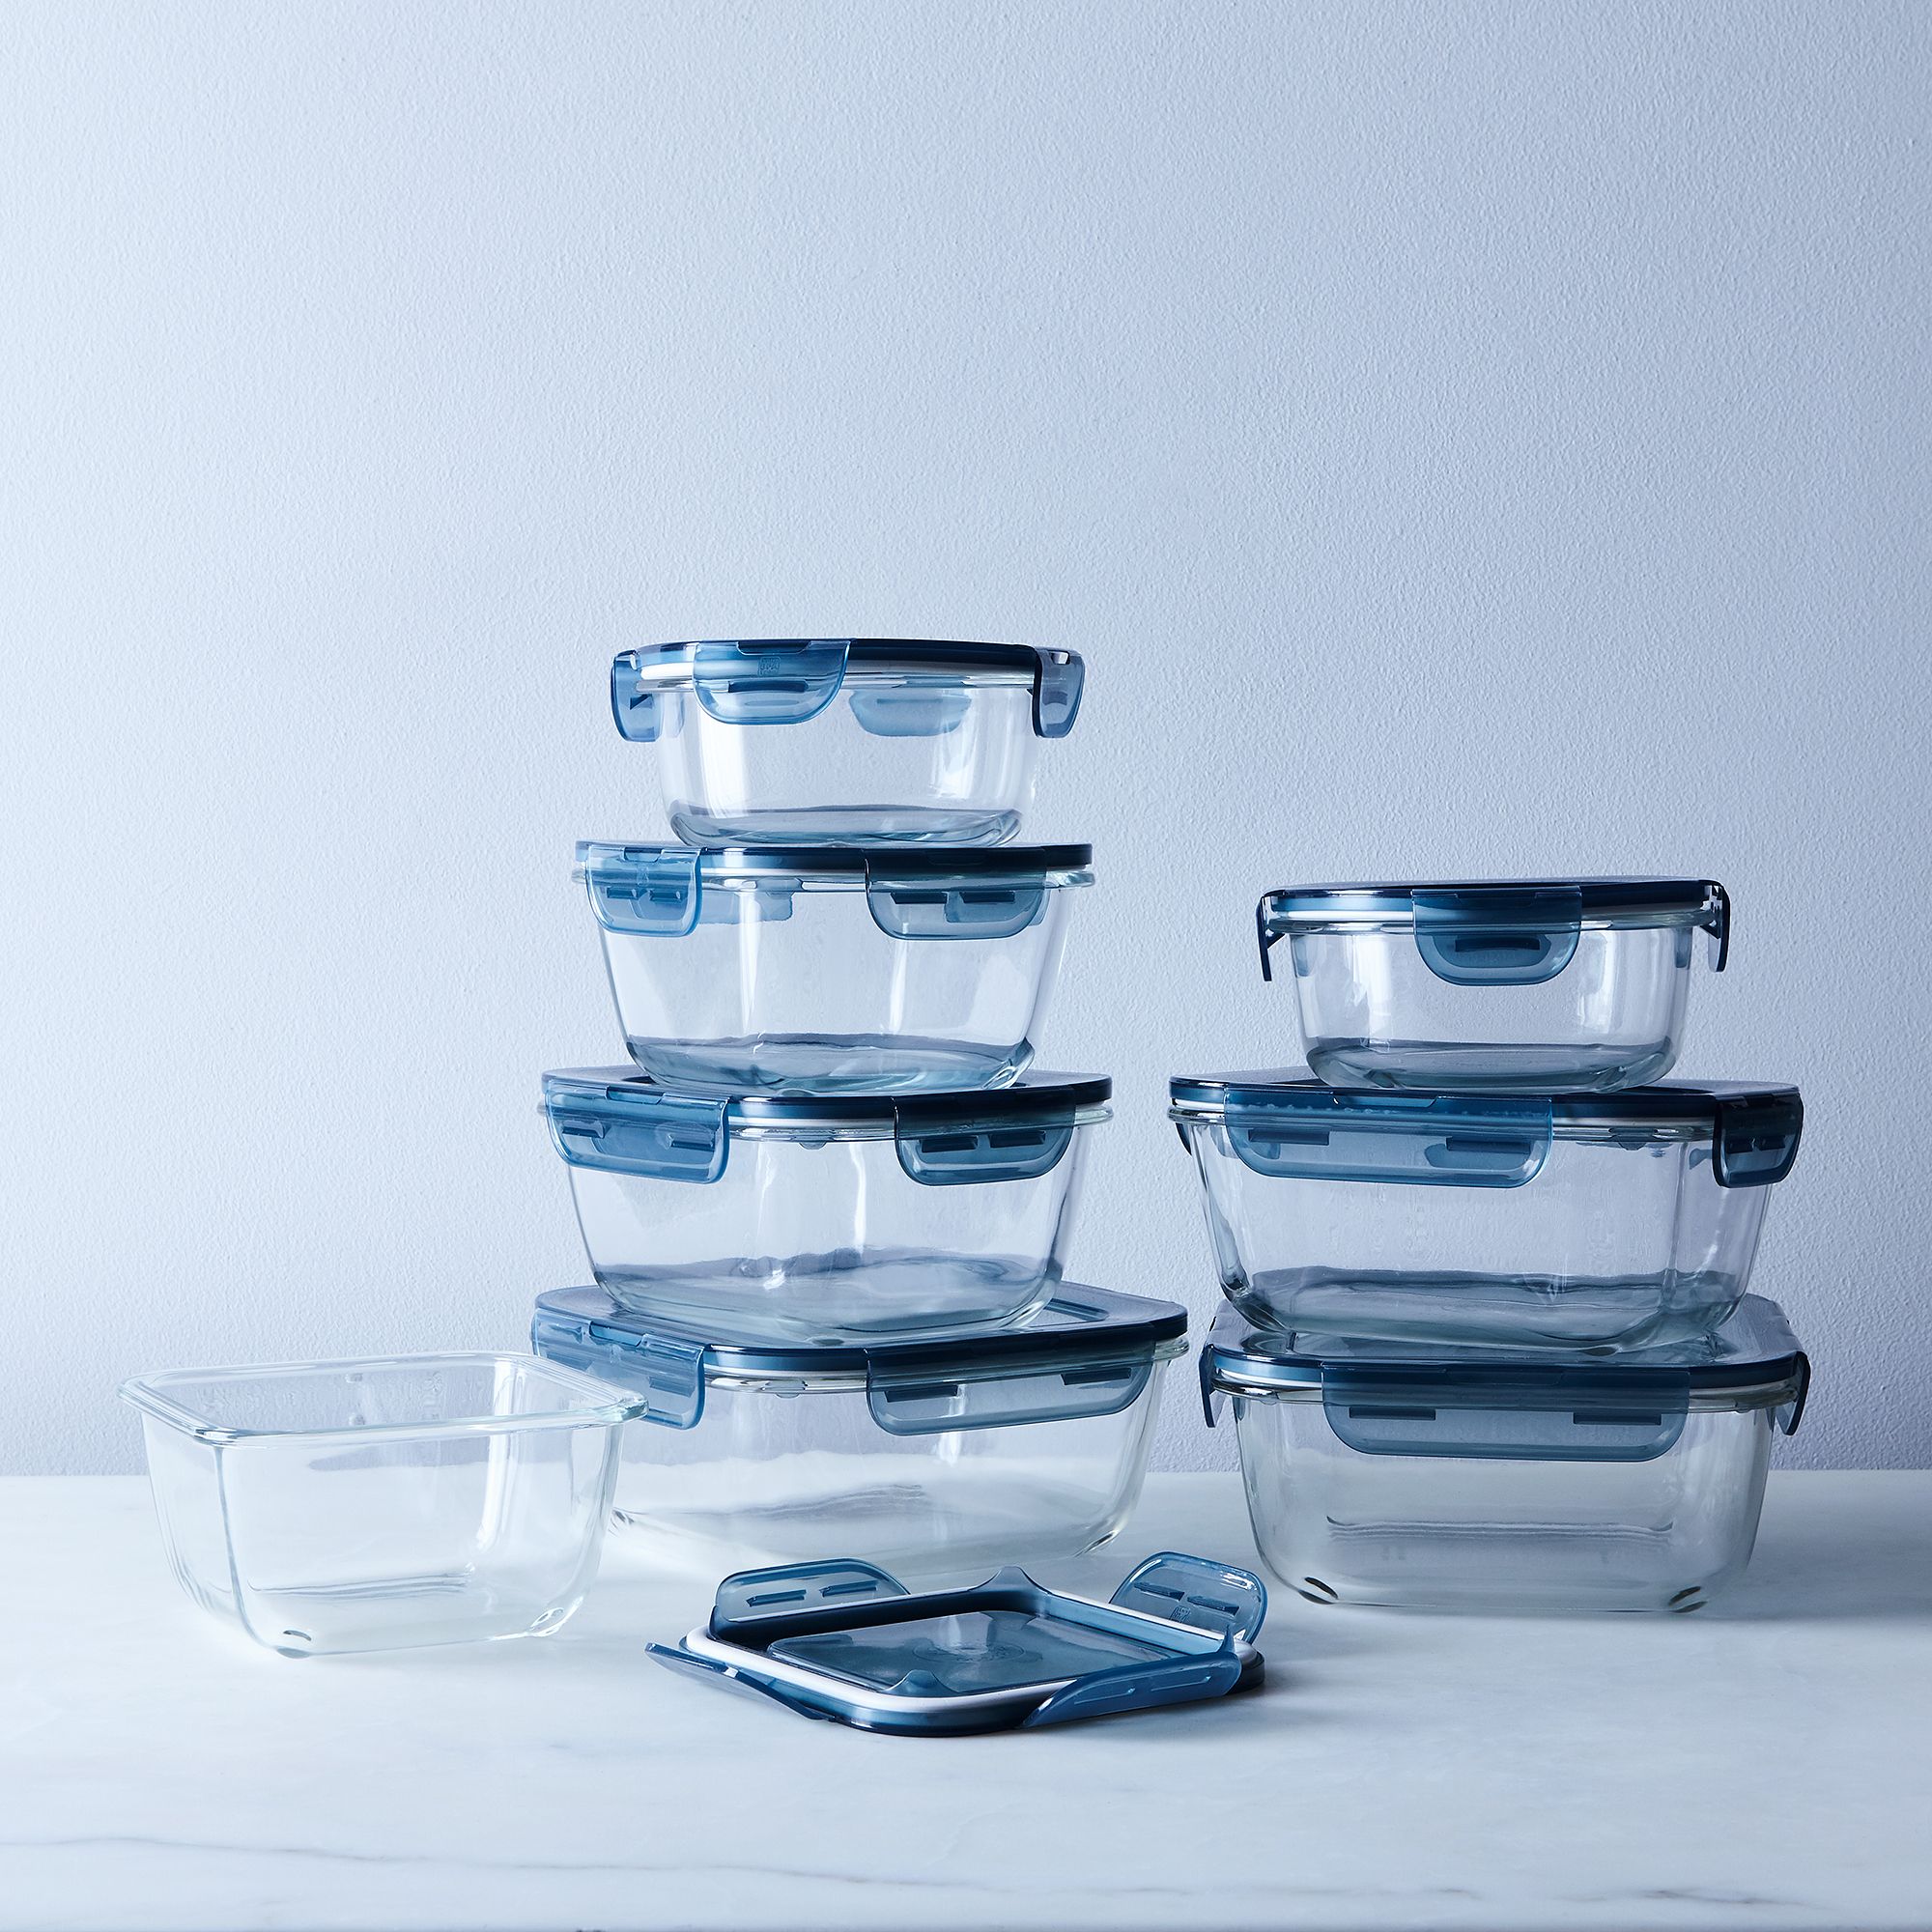
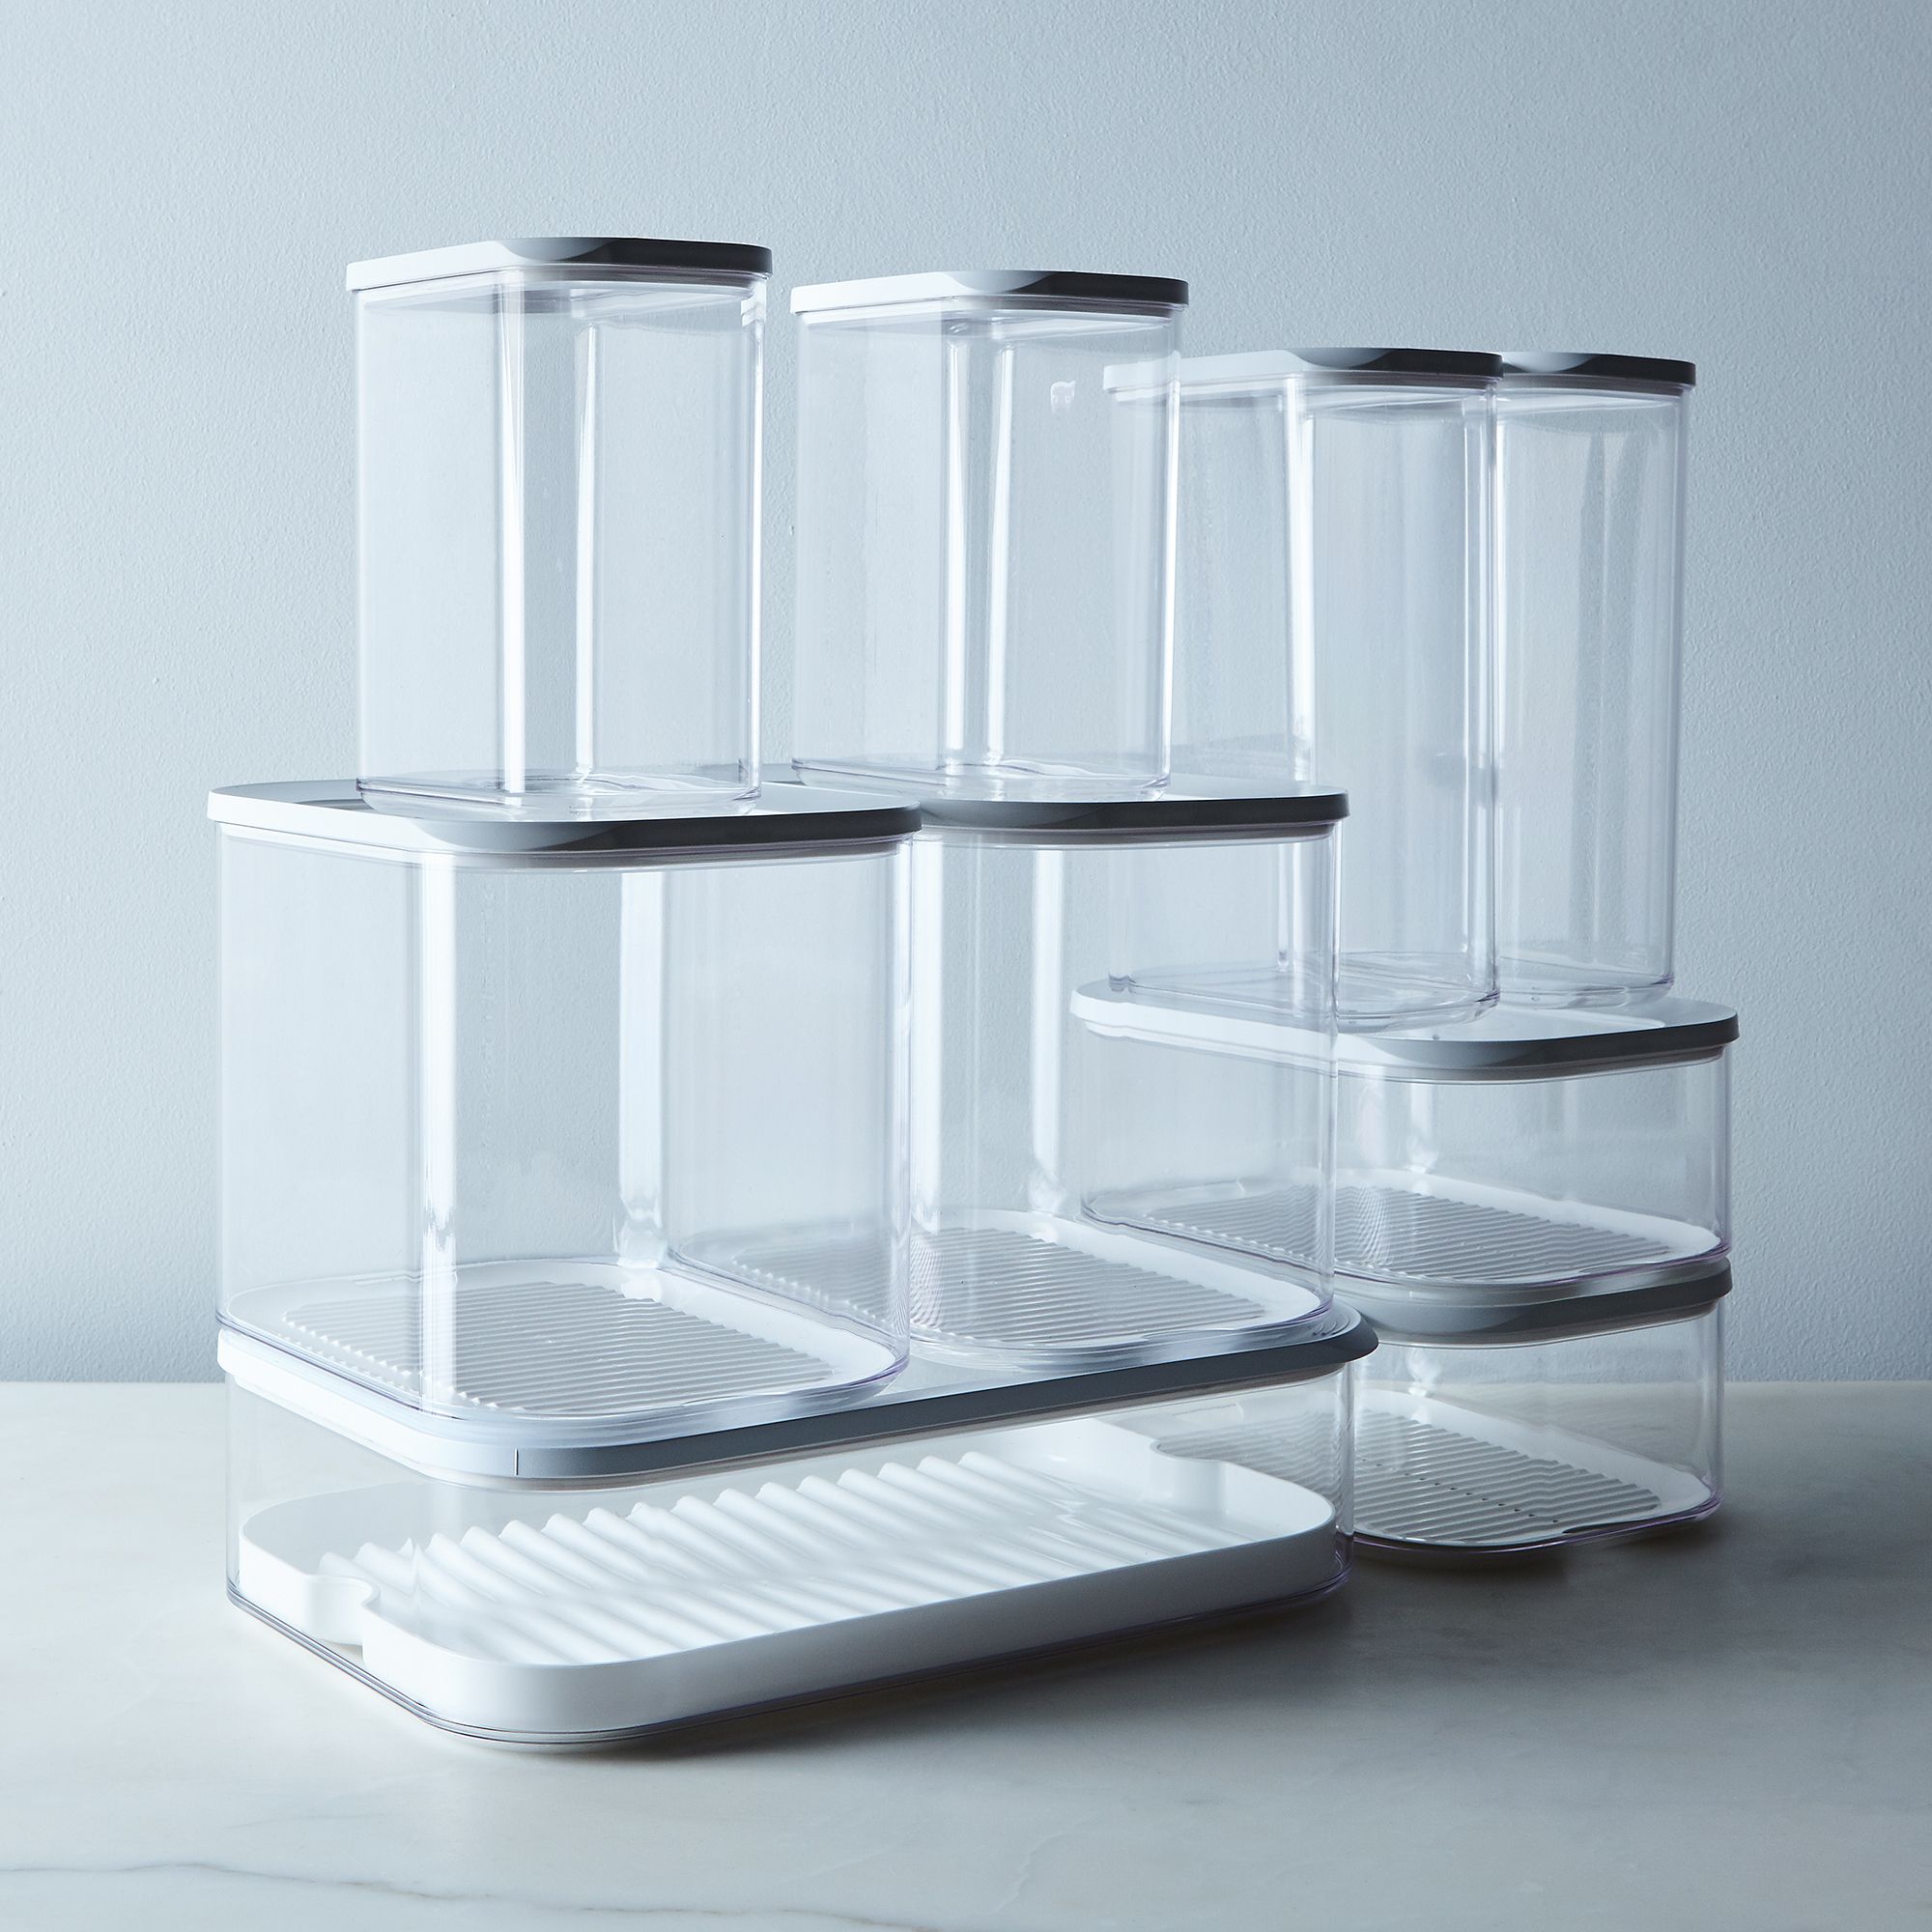
Left: Glass Oven & Freezer Safe Storage Containers (Set of 8) / Right: Modula Stackable Storage Containers (Set of 2)
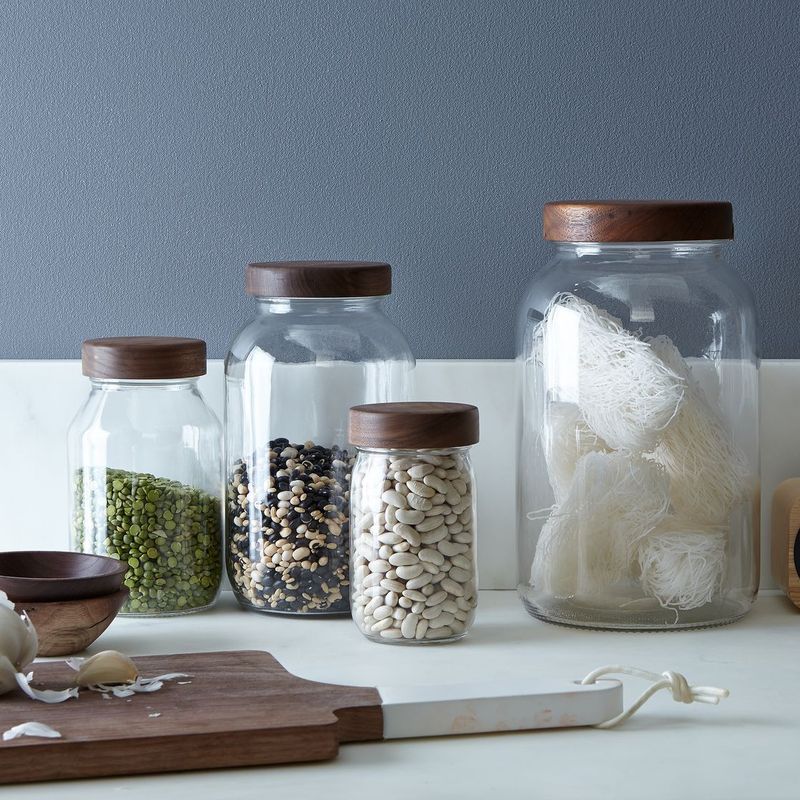
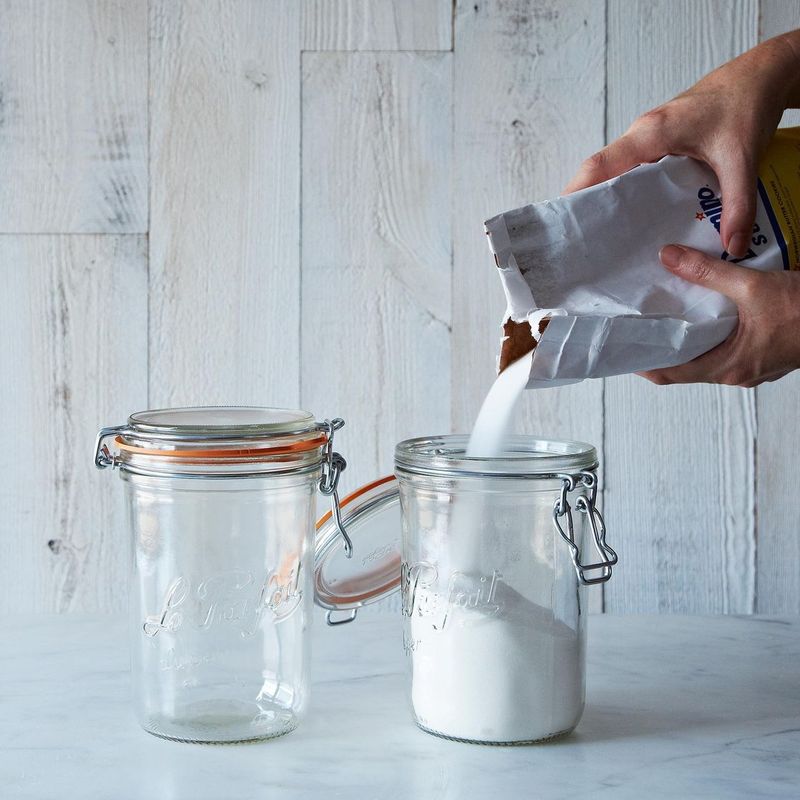
Left: Hand-Turned Mason Jar and Lid / Right: Le Parfait 35-Ounce Bail Closure Canning Jar (Set of 2)
3. Arrange by frequency of use.
While you’ll want to arrange ingredients by type—beans, nuts, baking needs, cereals, canned goods, etc.—you should arrange these sections by how frequently you use them.
Think of your ingredients in 3 levels of use frequency: Level 1 are the ingredients you use most; level 2 are those you use frequently but not daily; and level 3 are those you use now and then. If you have a level 4, put these ingredients in the garbage. (Just kidding, but not really.) Arrange level 1 at eye level and chest height so you can reach for them effortlessly. Put level 2 on your lower shelves, and level 3 on your upper shelves (if you need a ladder for something, it should be an ingredient you don’t need often).
I’m a strong advocate for uniform, well-labeled, and clear storage containers.
This brings me to another important consideration: ladders. Having a step ladder that’s handy and easy to open and close, or a good step stool, is key to making sure your level 3 ingredients in Ingredient Siberia don’t get neglected.
4. On each shelf, apply a similar level-to-use system.
On my baking shelf, for instance, I have my all-purpose flour and sugar positioned together on the left, so when I’m baking, I can easily grab both in one fell swoop—no digging around or rearranging required. In my spice drawers, I keep all baking extracts, baking powder, and baking soda together because you often need two or three of these for a recipe, and I can efficiently gather them. This may sound minor, but it really speeds up your cooking.
While you're cleaning out the pantry, check for expired items, toss whatever's gone bad, and refresh your supply.
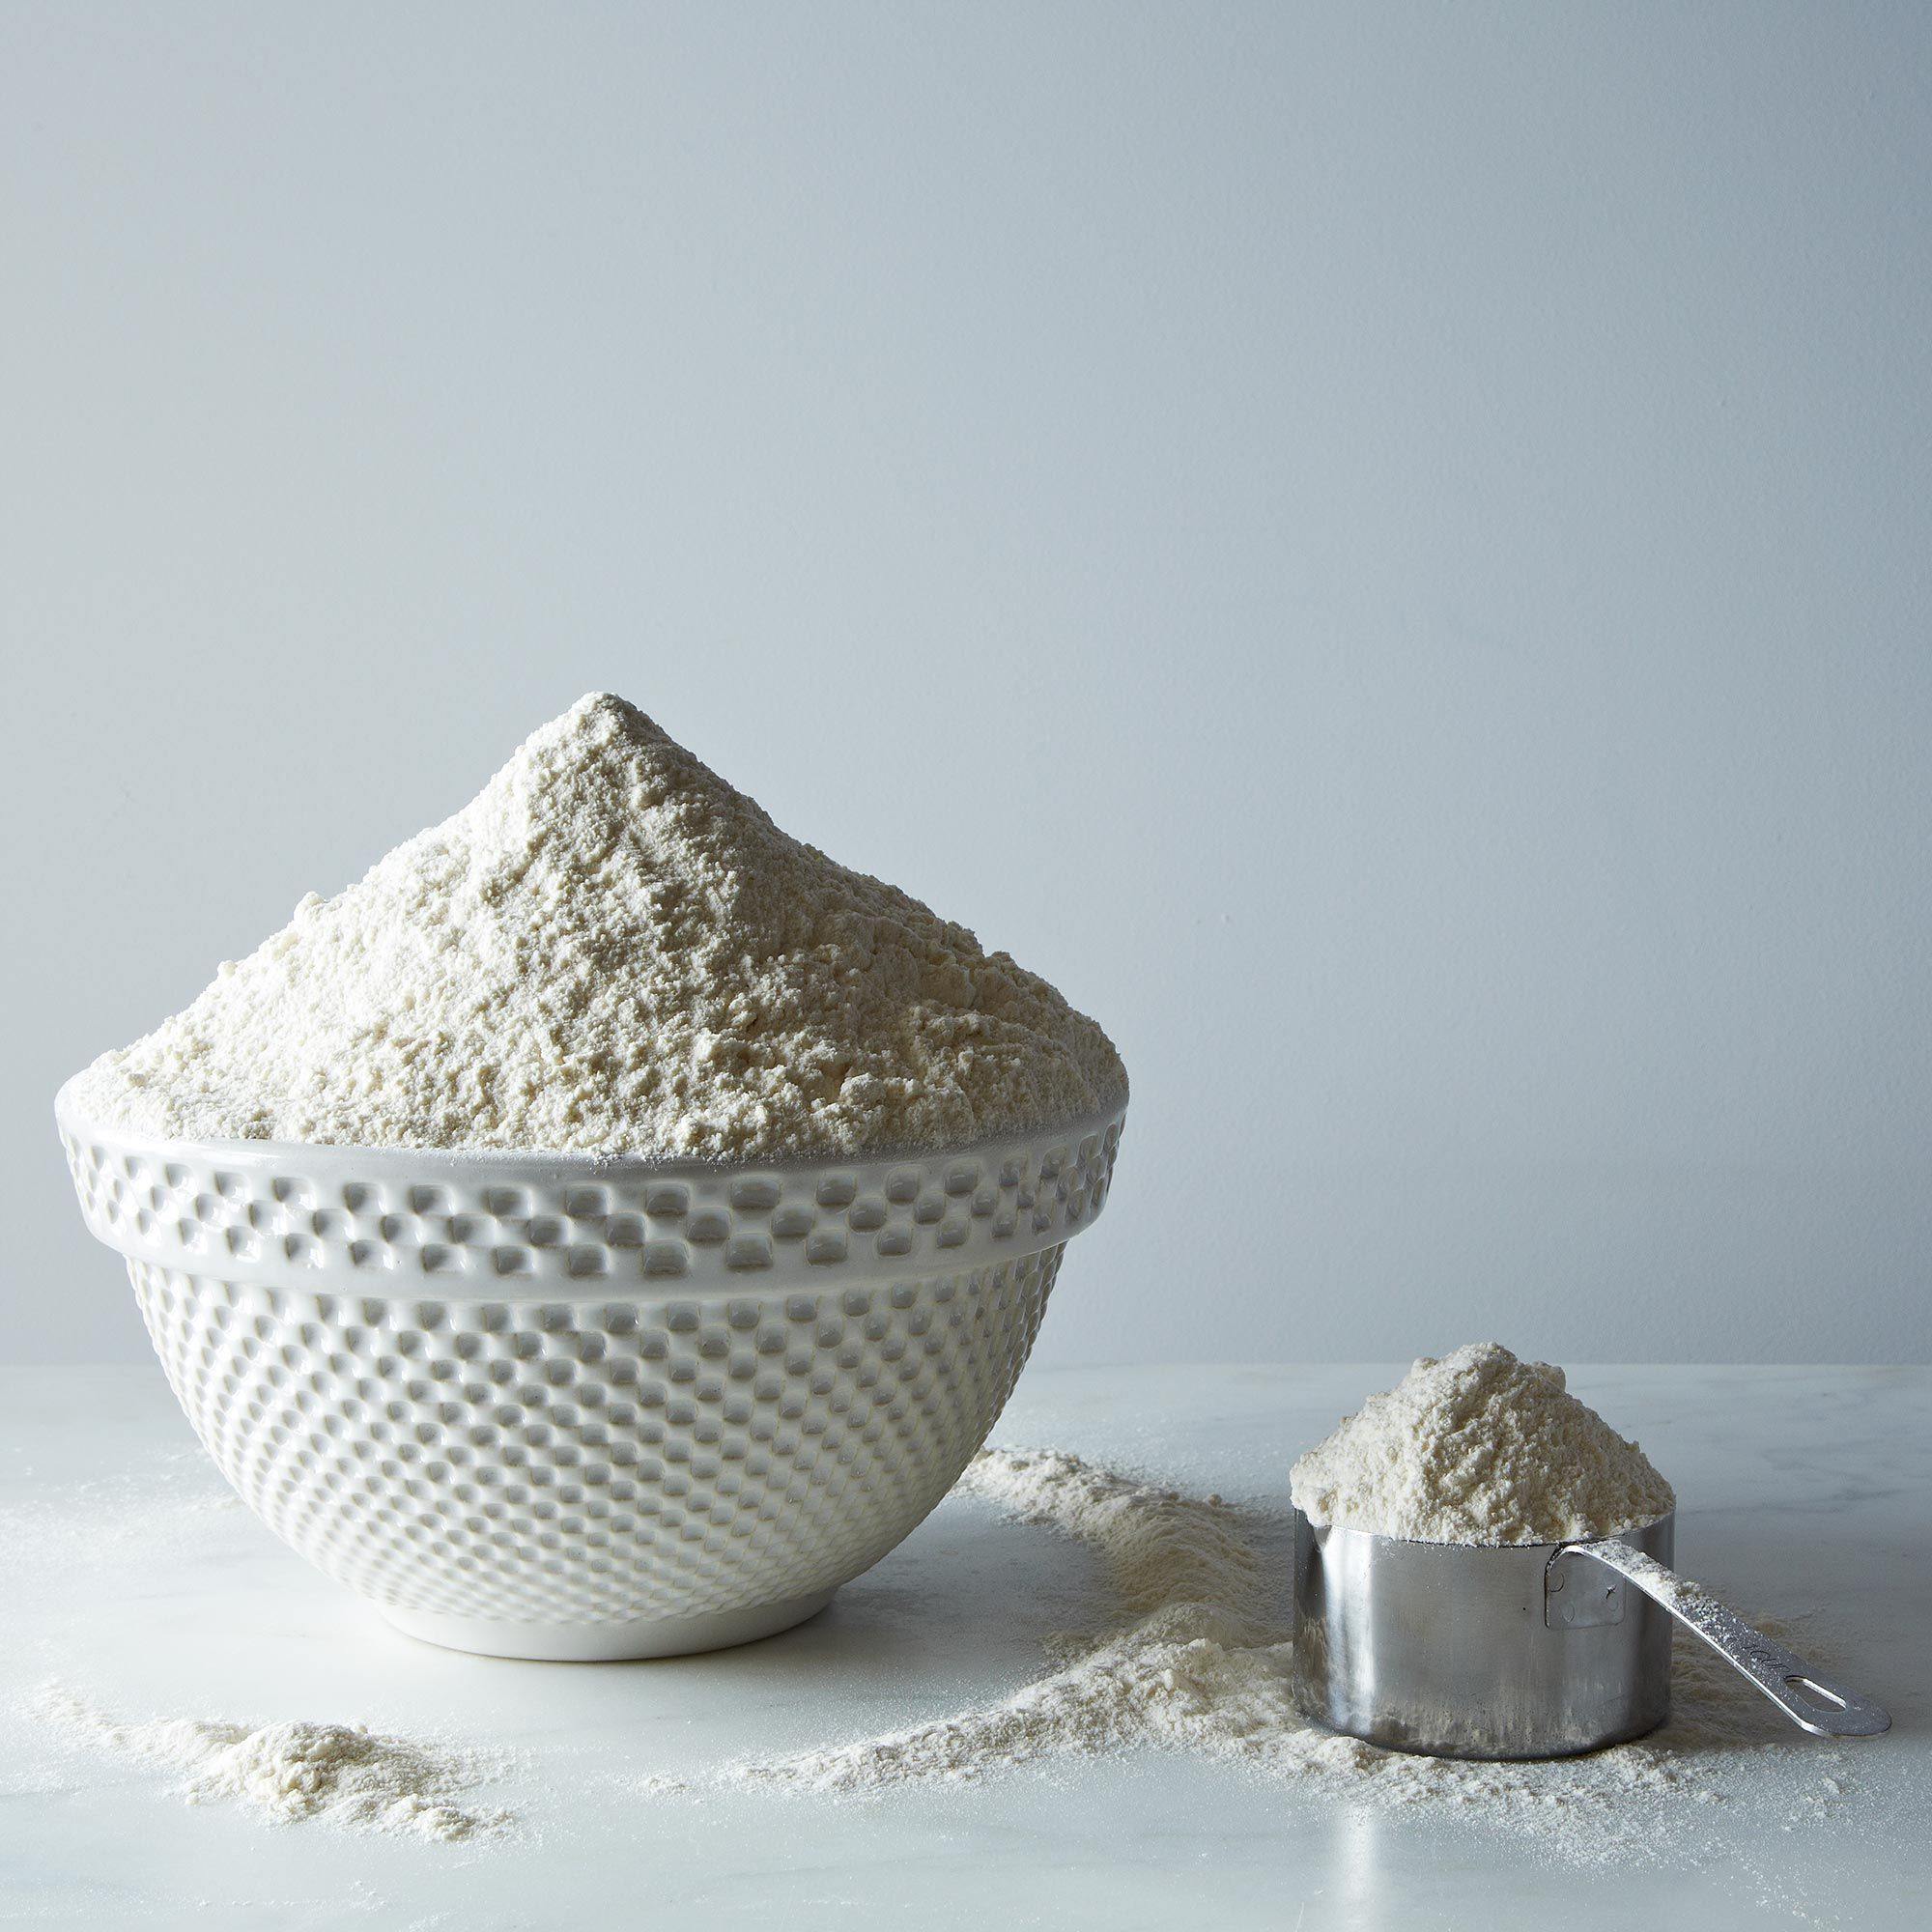
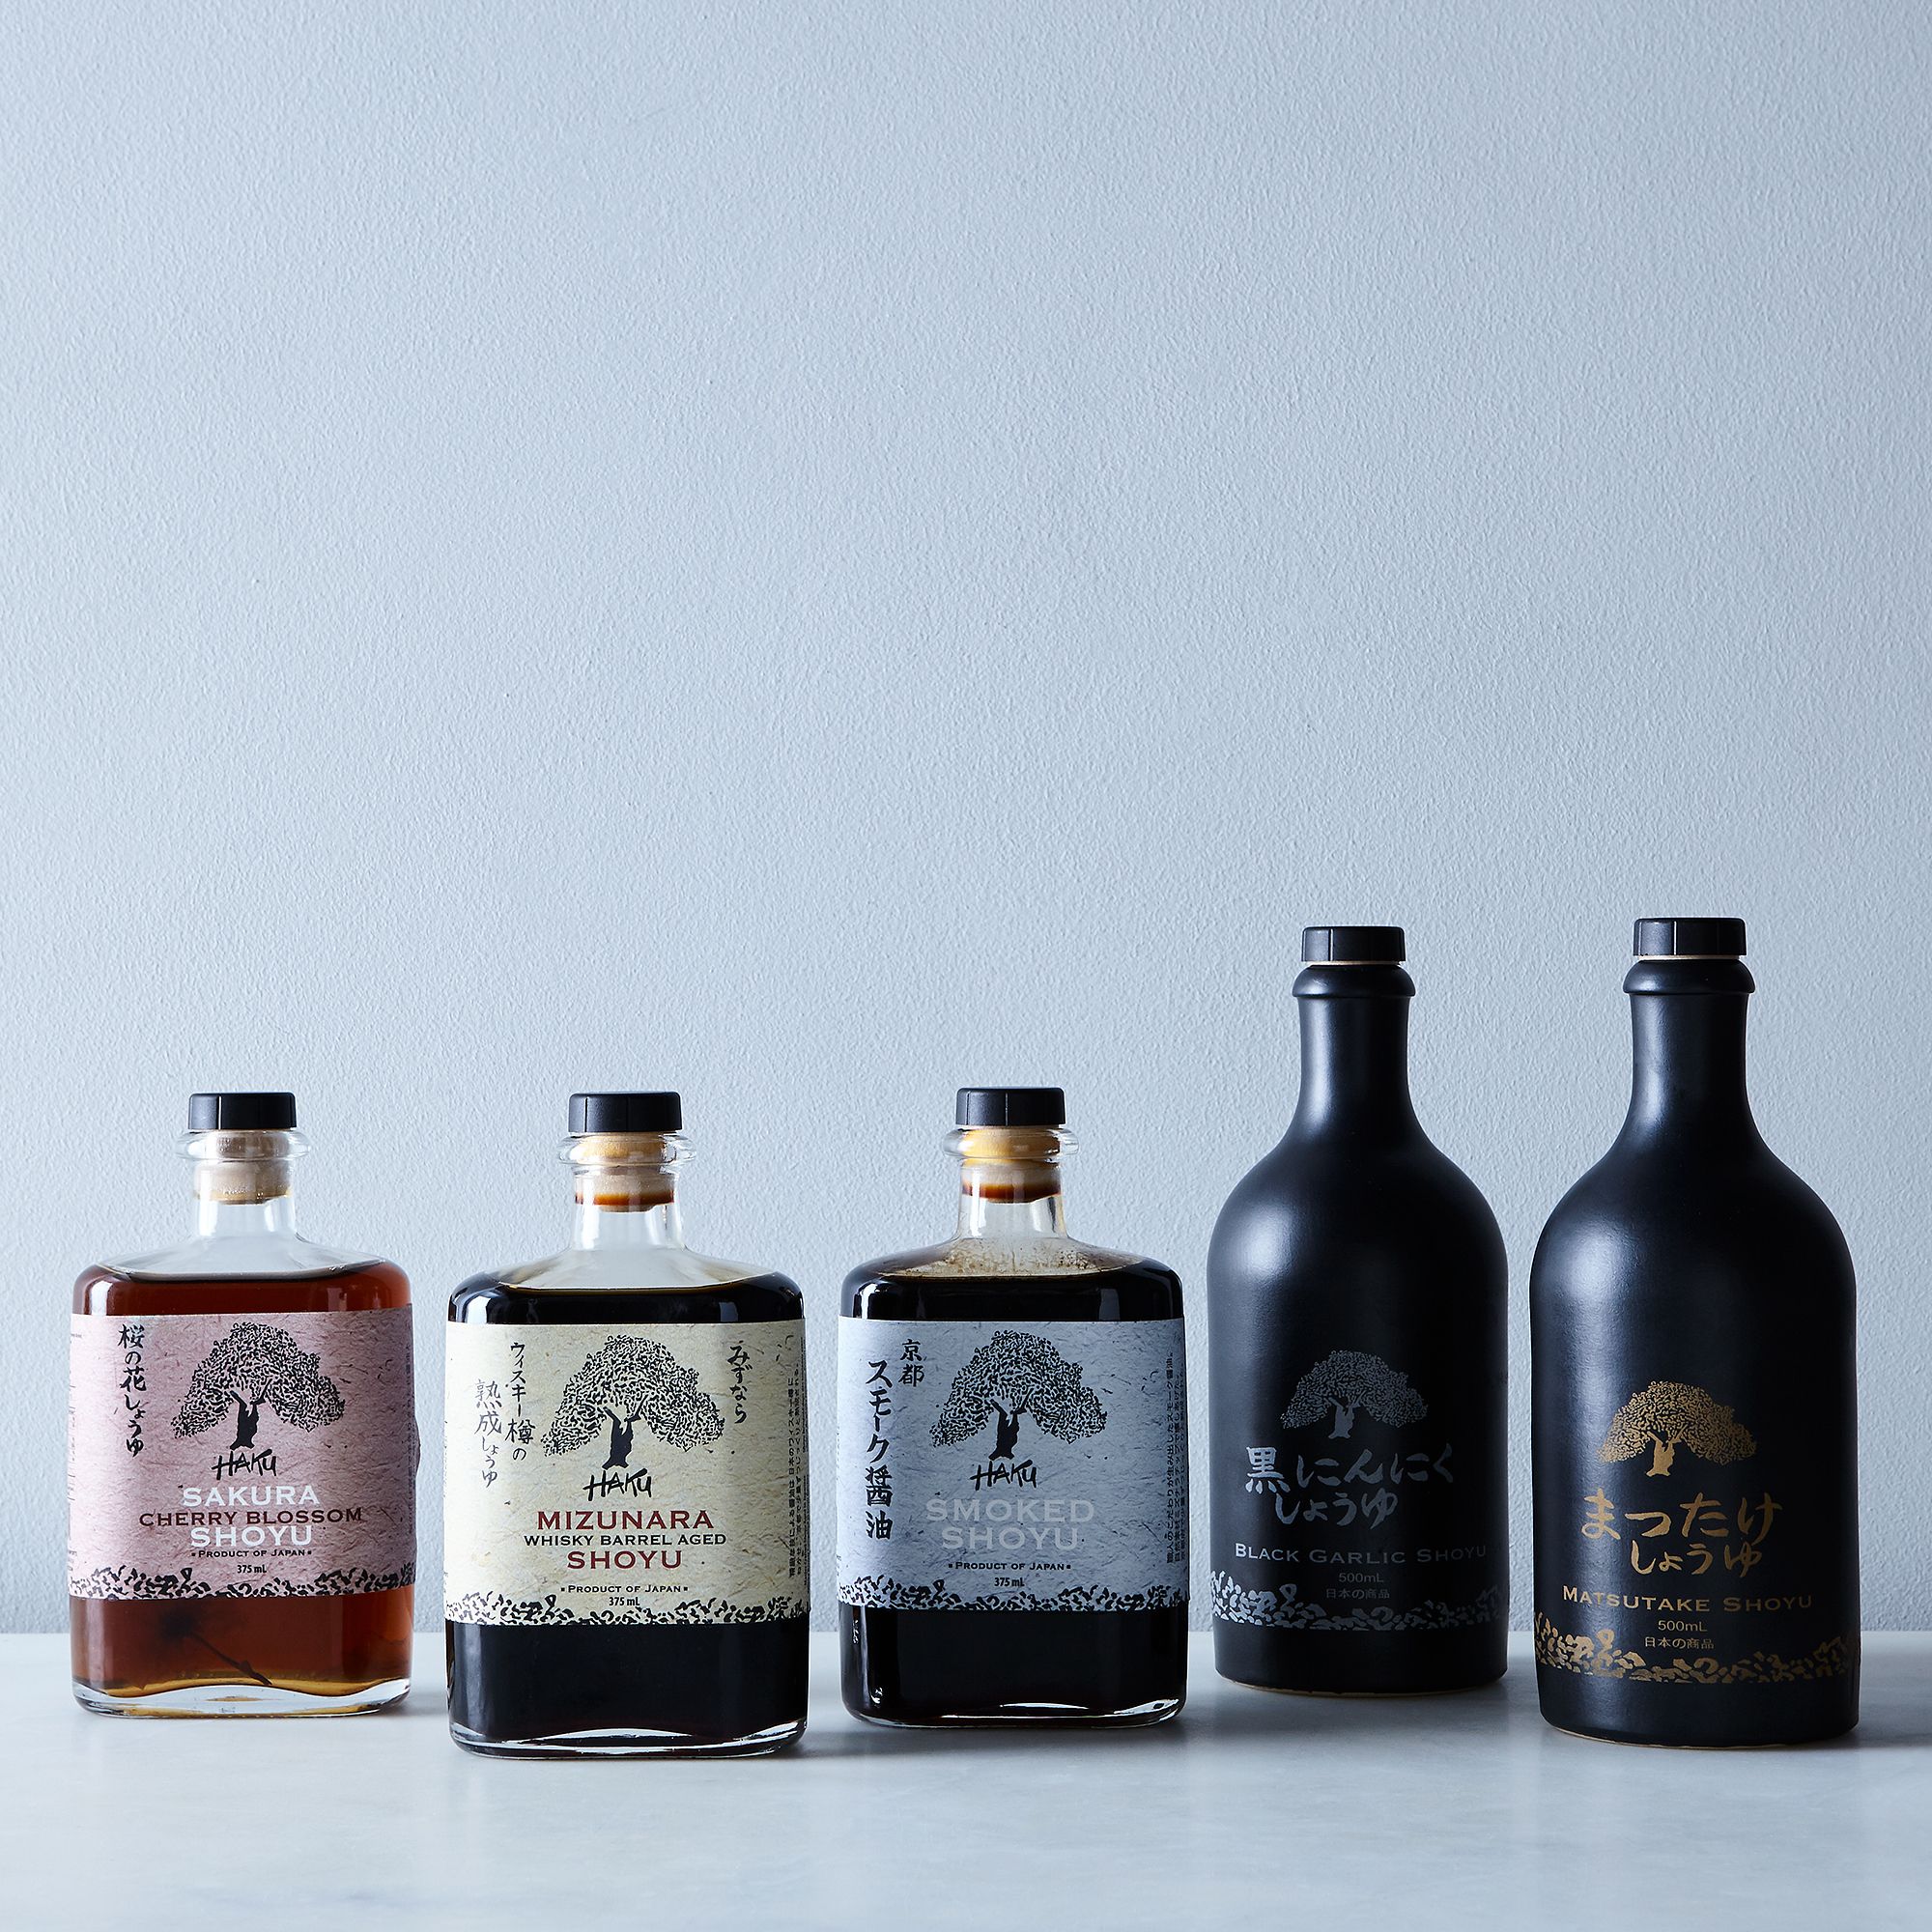
Left: Cup4Cup Gluten Free Flour / Right: Haku Japanese Shoyu

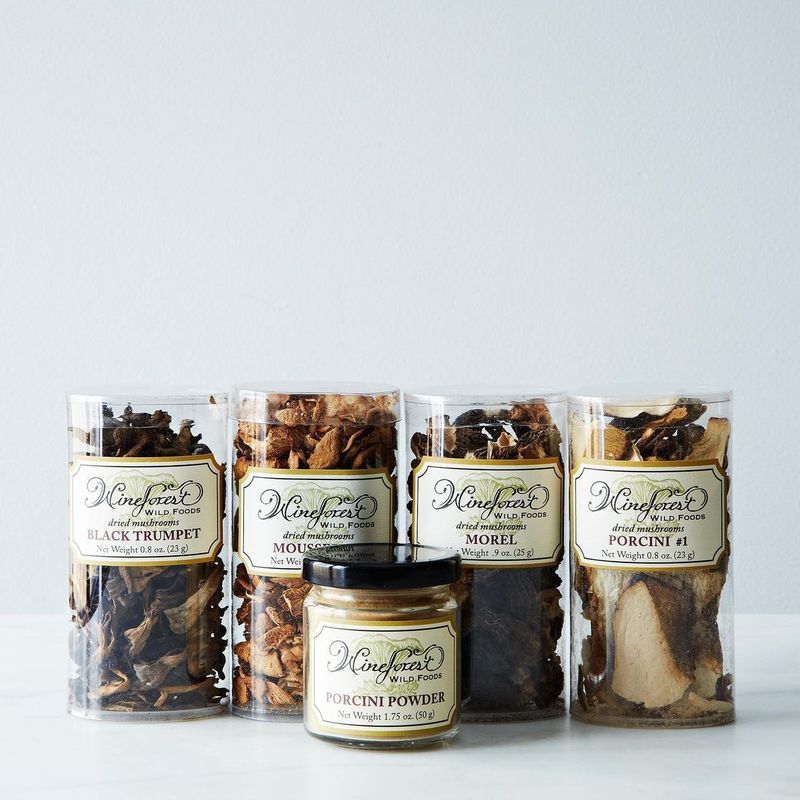
Left: Unfiltered Greek Extra Virgin Olive Oil Set / Right: Porcini Powder and Dried Wild Mushrooms Collection
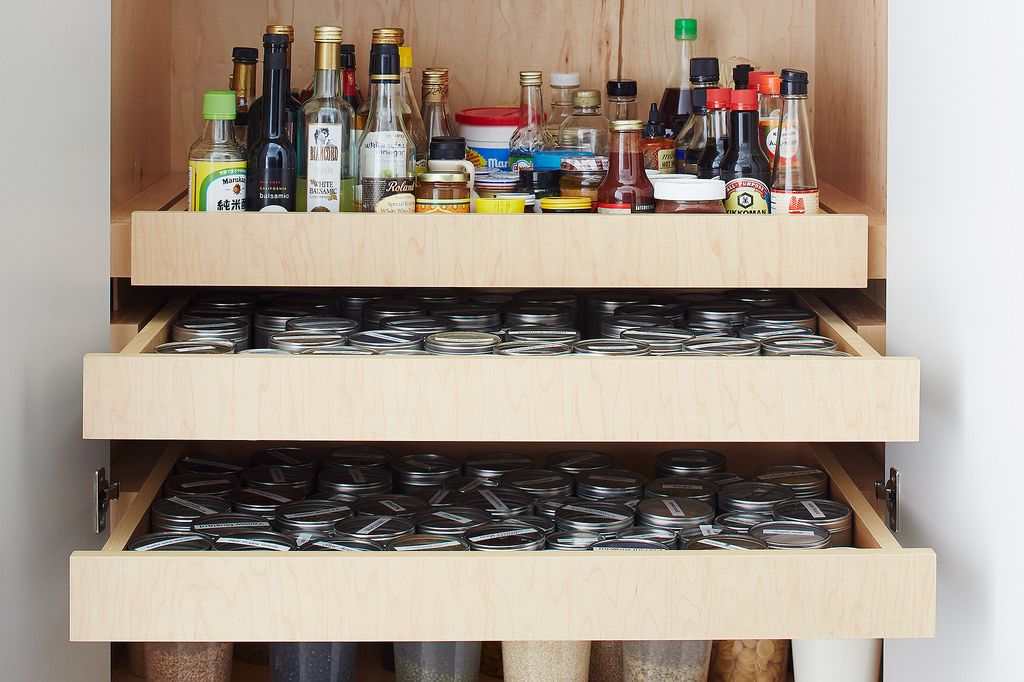
- Spices: I find that putting spices in drawers or on pull-out shelves works best. If you’re designing a pantry, shallow pull-out shelves—the pantry equivalent of architect drawers—are great, because you can fill them with spice tins which are easy to read. In the Food52 kitchen, we planned for two spice shelves, with one that was deep enough to hold extracts.
- Oils and Vinegars: If you have the space, a pull-out shelf for oils and vinegars is helpful so you don’t have to dig around among easy-to-tip bottles. One note of caution about pull-out shelves is that you lose at least 4 inches of space on either side, where the drawer mechanisms reside—do account for this when designing your pantry.
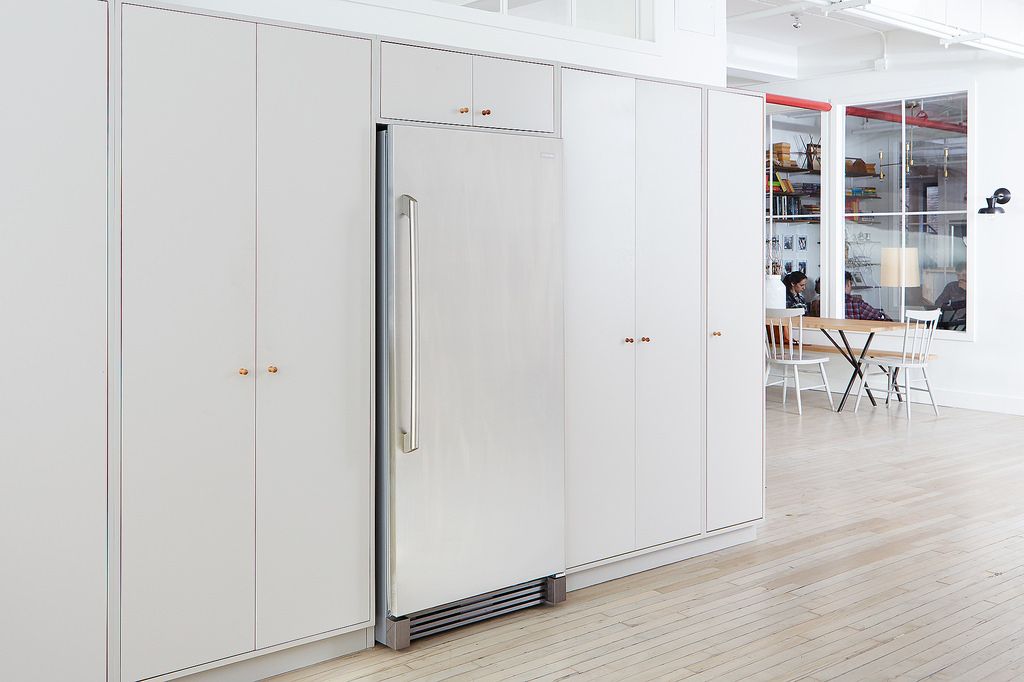 The pantry in our office has tall cabinets with adjustable shelves and a roomy freezer—and right around the corner is the test kitchen.
5. Try to avoid stacking where possible.
Stacking leads to spills and it also means you have to UN-stack in order to access ingredients. This is where having lots of adjustable shelves (see above) really transforms your pantry into a tool kit.
6. Keep dwindling supplies towards the front.
When you buy something like a new jam or mayonnaise, don’t place it at the front of the shelf—first see if there’s already jam on the shelf, and if there is, place the new jam behind the older jam. It’s a good habit and keeps your tool kit ecosystem healthy and up to date.
Here are a few more helping hands:
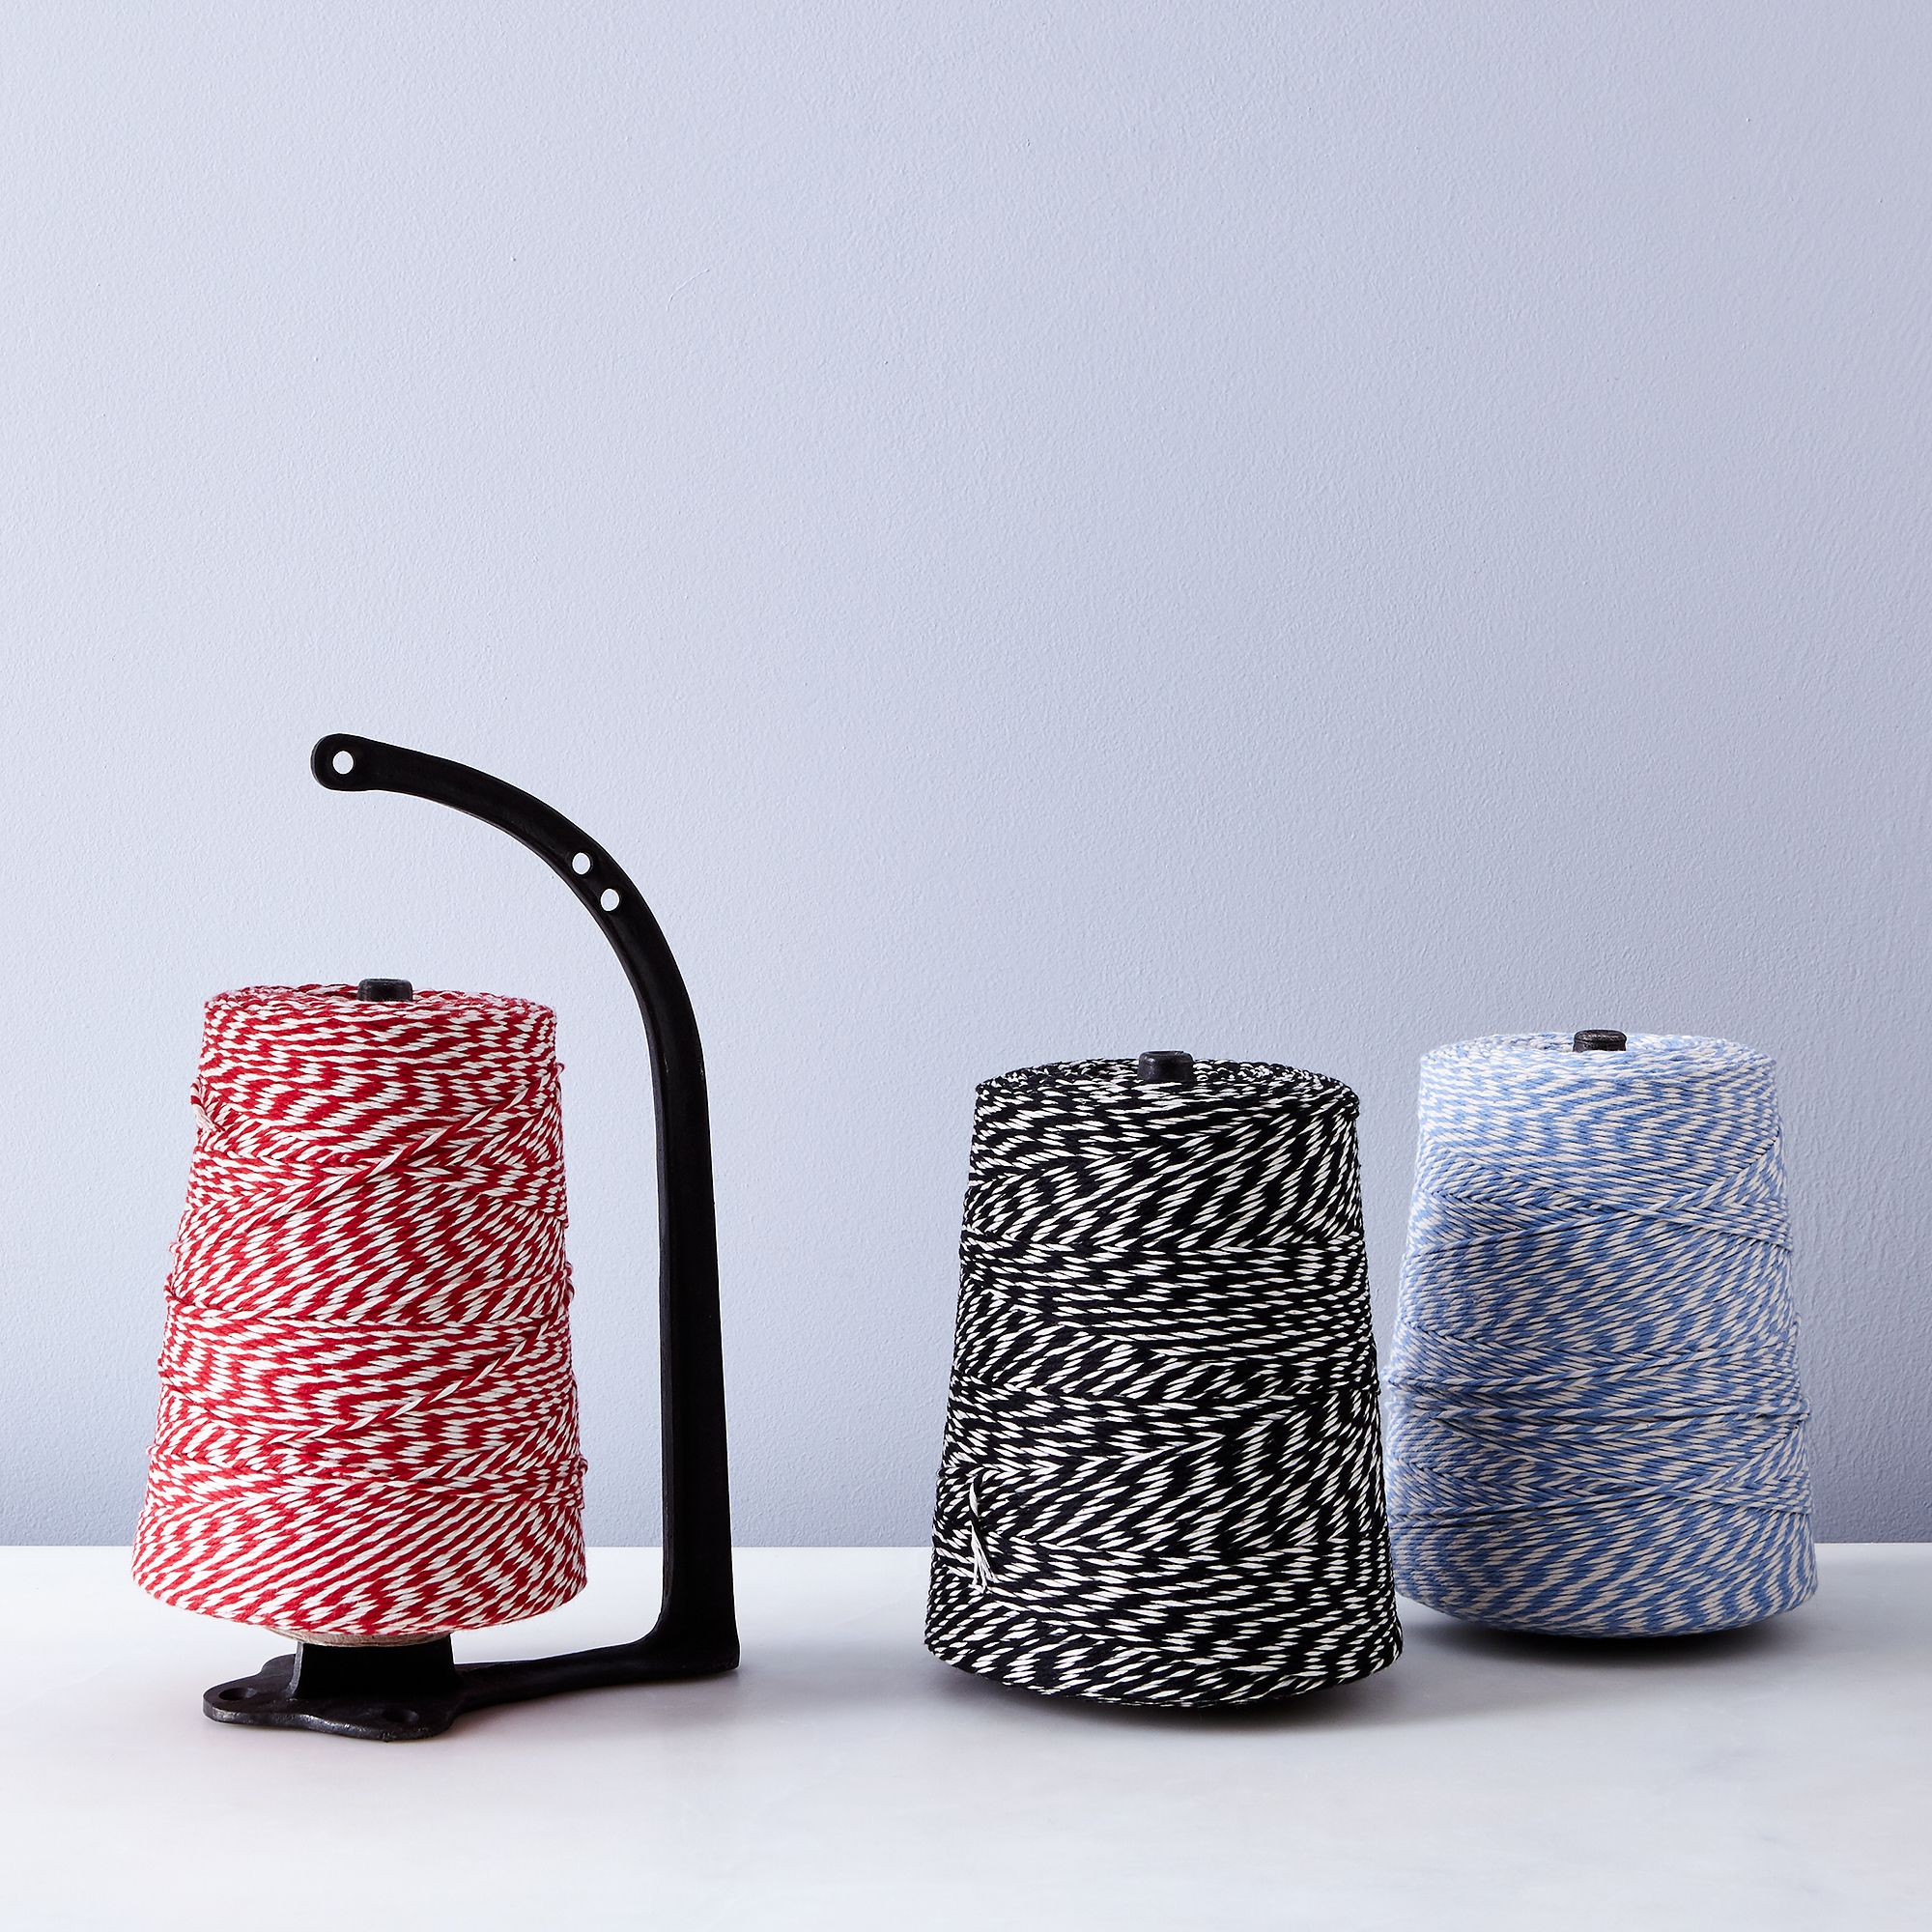
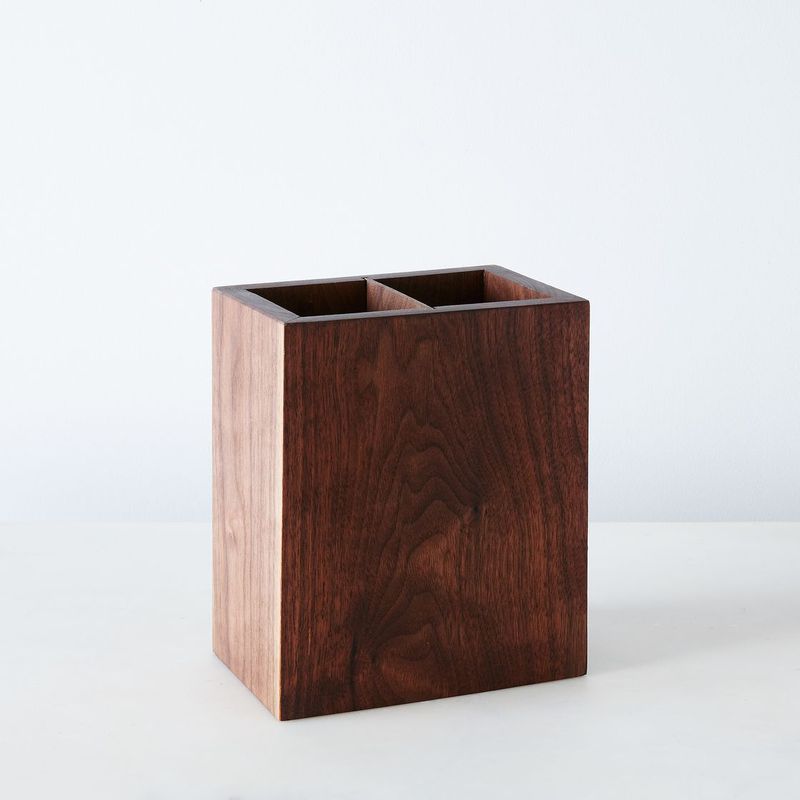
Left: Cast Iron Twine Holder & Baker's Twine / Right: Walnut Utensil Holder
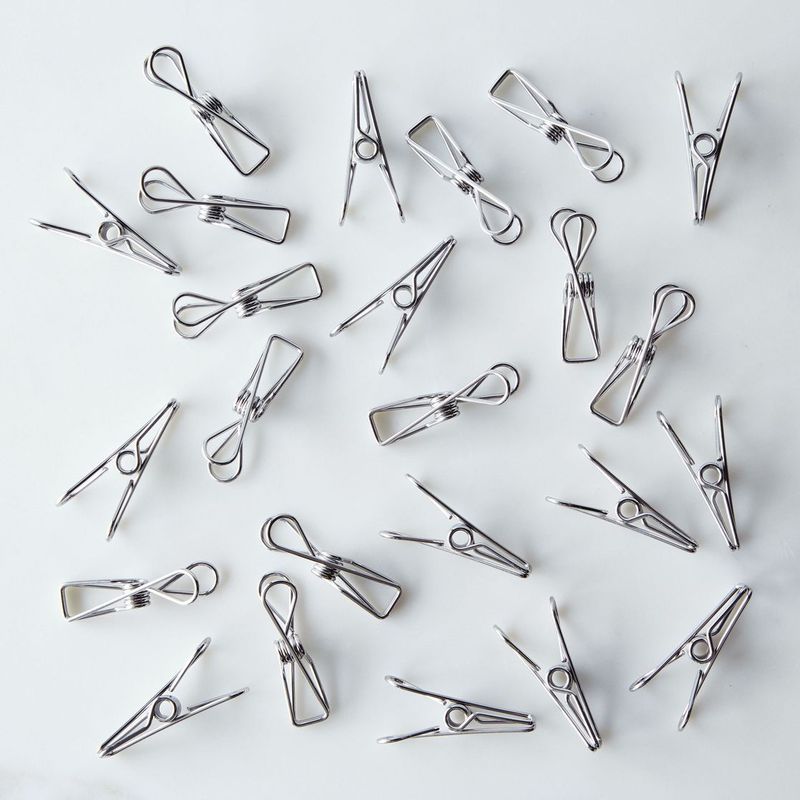
Left: Clips (Set of 24) / Right: Reclaimed Wood Knife Grabber
Extra Credit: Read The Life-Changing Art of Tidying Up. Marie Kondo’s global movement to get people to do away with everything but the objects that make them most happy applies to your kitchen and ingredients as well. If an ingredient doesn’t give you joy or the possibility of future joy, it doesn’t need to weigh down your newly refreshed tool kit. Toss it, and allow the stash of cocoa that you love so much shine brighter, beckoning you to make cookies.
This post originally ran last summer but we brought it back to help with this year's spring cleaning—enjoy!
Office photos by Mark Weinberg

It's here: Our game-changing guide to everyone's favorite room in the house. Your Do-Anything Kitchen gathers the smartest ideas and savviest tricks—from our community, test kitchen, and cooks we love—to help transform your space into its best self.
Grab your copyWritten by: Amanda Hesser
Popular on Food52
57 Comments
I love your ideas and tips. I have a question: my kitchen has deep narrow shelving. I try to put tall items at the back and then I put a round cake mold with marbles with a second mold one inside, to make a rotating tray. It works, but I feel I loose space. Any suggestions?
I wonder just how many rows of jars/containers one can move out of the way to reach something before it becomes an inefficient and cumbersome effort?
Let us know.
I only wish one could find more square/rectangular jars - round is so space-wasting, as the cabinets are square, thus more space if square is used! Just like dishes. However, your principles are spot-on!
www.CatherinePond.com
Regarding stepladders -- the recommended footstool type would be a poor choice for anyone unloading a box or jar from an upper shelf. For those with even the slightest balance problem, who has nothing to hold on to, the footstool, while easy to carry around, can be a fall in the making . For anyone my choice is a small stepladder with a bar to hold on to, that folds to a width of 3 to 4 inches for easy storing.
See what other Food52 readers are saying.