I’ve always had a thing for dough. Bread dough, pie dough, biscuit dough...I love diving into a big bowl of ingredients and coming out of it with floury hands and something delicious to show for my efforts. This is why, despite being one of the more complicated recipes on my long list of doughy loves, I adore making puff pastry.
Puff pastry is made using a method known as lamination, where a block of butter is wrapped fully and sealed inside a dough. The dough then goes through a series of folds, where it is rolled out to a certain thickness and folded over onto itself. The first fold creates a series of layers (thin, alternating layers of dough and butter). The subsequent folds increase these layers, ultimately creating a versatile dough that can be used to make a huge variety of impressive desserts. (The dough for puff pastry can also be yeasted, which is then used to make things like croissants and Danish, and while the method is similar, this article focuses on a non-yeasted puff.) When the dough hits the heat of the oven, the moisture inside the thin layers of butter evaporate, creating steam, which creates the crisp, insanely flaky dough that is puff pastry.
I know that I’ve already lost some folks with that last paragraph. Maybe you’re wondering if you can just use the stuff from the freezer section for the recipes I include below—and yes, frozen puff pastry exists, is an easy option, and some brands are pretty good (Dufour brand is the finest I’ve found). But making your own puff pastry is more achievable that you might think, and in addition to being a satisfying process for those who love a baking project, it allows a few different benefits:
My favorite: You can get creative by adding your own flavors, like cocoa powder, spices, extracts, and more to the base dough and/or to the butter block. You can play with substituting other ingredients, like alternative flours (such as whole-wheat, buckwheat, or spelt). Homemade puff pastry will rise higher and have a better variance in texture than frozen varieties (aka crisper on the outside, and softer/flakier in the center). Hand-laminated pastry will hold decorative effects like scoring better, allowing them to show more clearly after baking.
Ready to make your own puff pastry? (Yeah you are!) Here’s what you need to know.
3 Keys to Puff Pastry Success
-
Temperature is everything. The entire method of lamination is based on the butter and dough being a similar texture (firm but pliable), which requires maintaining a certain temperature throughout the process. It’s easier to control the temperature of the dough, because the majority of it is on the outside (letting it sit at room temperature can soften a too-chilled dough)—but the temperature of the interior is trickier to manage if things go awry. When the butter is too cold, it can shatter inside the dough, ultimately producing inconsistent layers. When the butter is too warm, it can mush down into the dough, incorporating rather than forming its own unique layers. Ideally, the butter and the dough should always be between 65 to70 degrees Fahrenheit—malleable, but still more firm than soft.
-
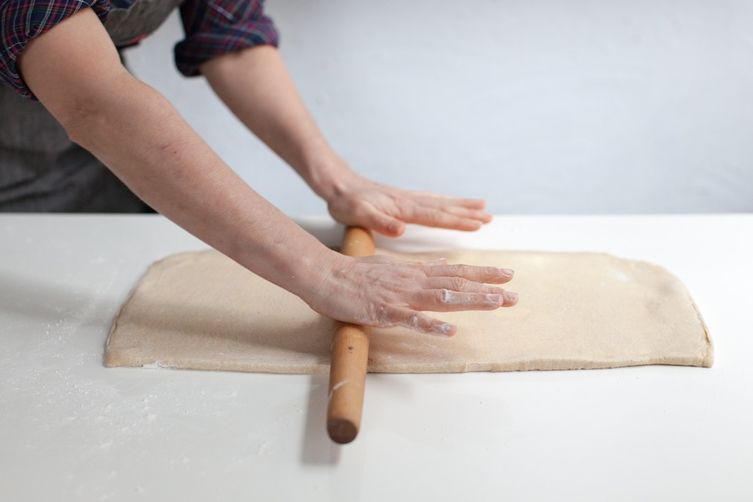
Brush away excess flour. This may sound simple, but it can make a huge difference in the process! Puff pastry does require the use of “bench” flour, or flour used to dust your work surface, rolling pin, and dough, to prevent things from sticking. After the dough has been rolled out to the appropriate thickness, it’s best to use a pastry brush to sweep any excess flour away. Too much flour can make the folded dough harder to roll out, because it’s dry and inherently wants to separate. This can also result in an overly tough dough as that additional flour is worked into it.
-
Let the dough take it easy. Between folds, the dough requires resting in the refrigerator. The cold environment helps to maintain the ideal temperature for both the dough and butter, while the rest time also allows the gluten inside the dough to relax, making it easier to roll out, fold, and handle. When the dough isn’t rested properly, it can spring back when you go to roll it out.
How to Make Puff Pastry
Mixing the Dough
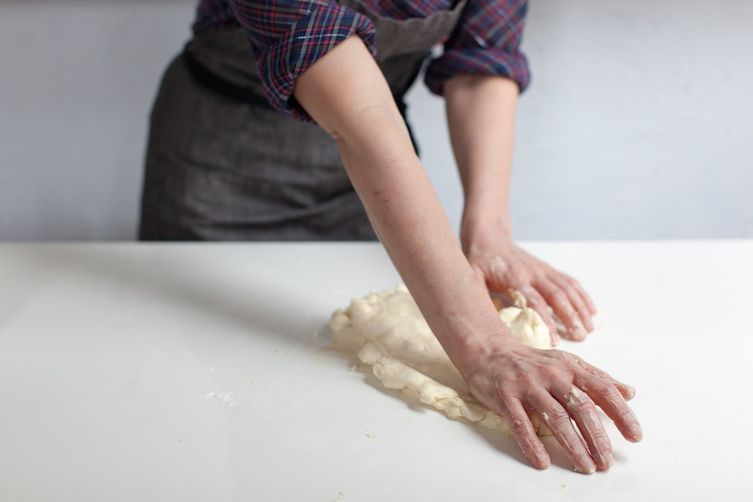
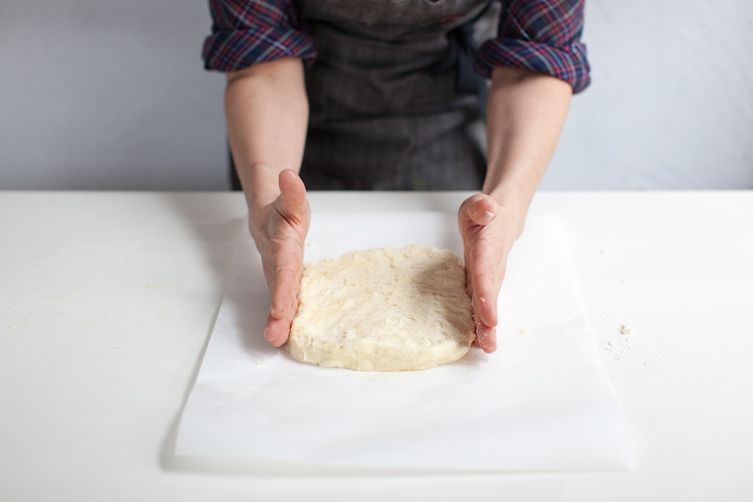
The dough comes together easily in the stand mixer, and she’s a beaut. Now, I know I’m already a self-proclaimed dough lover, but this one is delightful—very smooth, and it gets even smoother as you work with it. The dough is mixed in a stand mixer using a dough hook, because it takes a decent amount of kneading. A mixture of bread flour and all-purpose flour keeps it strong enough to handle all the rolling and folding, while still staying tender. A small amount of butter adds flavor and pliability, salt provides seasoning, and water binds the dough. Mix until smooth, then form into a small rectangle, wrap in plastic wrap, and chill before the butter lock-in.
Making the Butter Block
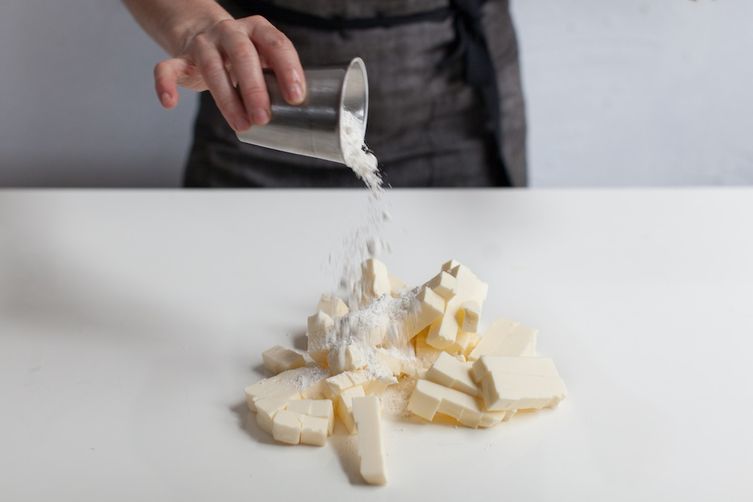
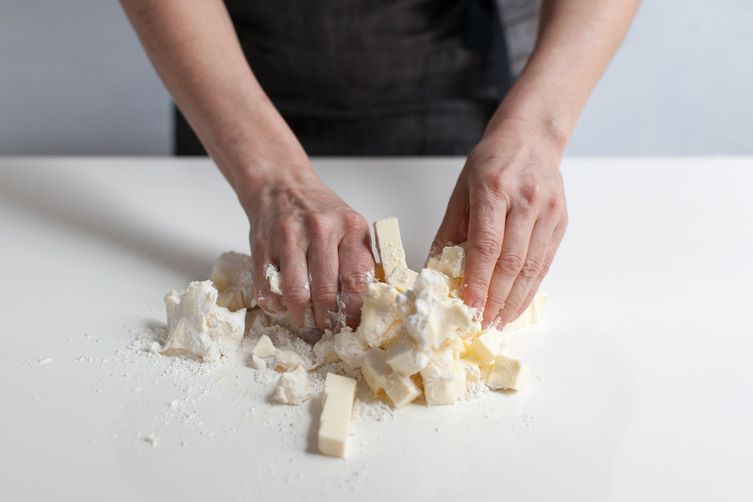
Some methods use only butter for the butter block, but I like to add flour to mine because I think it makes it more pliable and easier to work with throughout the process. Start with room-temperature butter, mix it with the flour, then spread into a rectangle about ½-inch thick on parchment paper. Take care to square-off the edges as best you can, then cover the butter block and refrigerate until it is firm but pliable (65 to 70 degrees Fahrenheit)—it should be able to gently bend without breaking.
The Lock-In
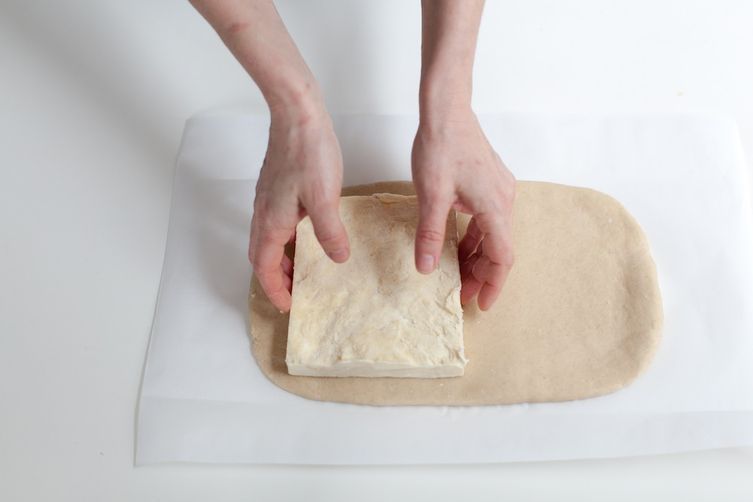
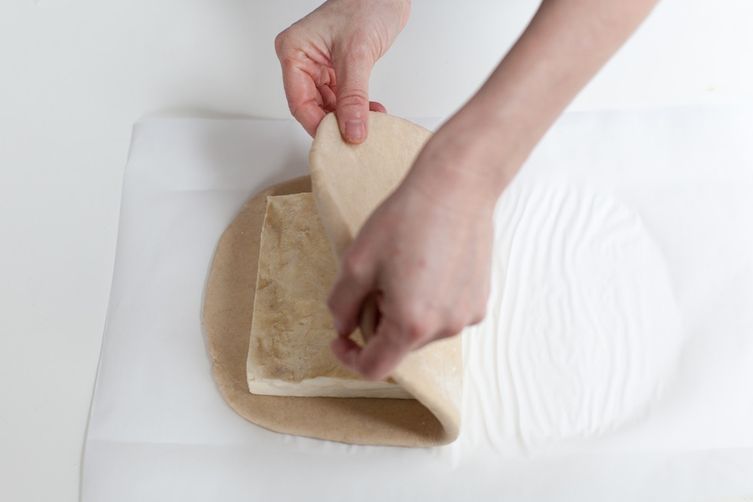
Sealing the butter inside the dough is called “the lock-in.” There are different methods of this—and there’s no one “right” way—but my method makes it easy to see if the butter really is sealed inside. Remember to use as little flour as possible to roll out the dough—this will make it easier to seal the dough later. On a lightly floured surface, roll out the dough to slightly larger than the width of the butter block, and twice the length. Be sure to keep the edges straight and squared off (you can use your bench knife to help with this). With one of the shorter sides facing you, place the butter block on one end of the dough, using the parchment to guide the placement, then peeling the parchment away. Fold the dough over the butter, pressing firmly to seal the edges all the way around. Tuck the excess dough at the edges under, pressing firmly to seal the dough back onto itself. Tightly wrap the dough, and chill for 15 to 30 minutes, or until firm but pliable.
Fold A
The initial fold is called a “four fold.” On a lightly floured surface, roll out the dough into a rectangle ½-inch thick. Face the dough so that one of the shorter sides of the rectangle is facing you, if it isn’t already. Fold the top portion of the dough about three-quarters of the way over the dough. Fold the bottom portion one-quarter of the way over the dough, so it meets the left edge (it should look like an open book with an off-center spine). Fold the larger side over the smaller side (essentially folding in half), then wrap and refrigerate for 20 to 30 minutes.
Fold B
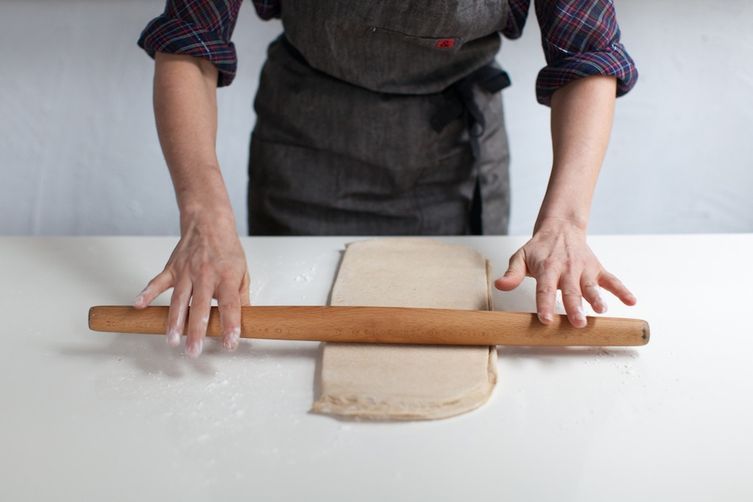
The next fold is called a “three fold.” On a lightly floured surface, roll out the dough into a rectangle ½-inch thick. Face the dough so that one of the shorter sides of the rectangle is facing you, if it isn’t already. Fold the top portion of the dough about on third of the way over the dough. Do the same with the right edge, folding it one third of the way over, resting it on top of the other piece just folded (like the way you’d fold a standard piece of paper to fit into an envelope). Wrap and refrigerate for 20 to 30 minutes.
Fold C
The next fold is a repeat of Fold A, a four fold.
Fold D
The next fold is a repeat of Fold B, a three fold. After the final fold, the dough should be tightly wrapped in plastic wrap and refrigerated for at least 12 hours (and up to 2 days) before using. For longer storage, it can be frozen for up to 3 months (just thaw overnight in the refrigerator before using).
Puff Pastry Recipes
Puff Pastry
Rough Puff Pastry
Put Your Homemade Puff Pastry to Good Use
Baked Brie With Cranberries, Sumac & Pistachios
Everything Pigs in a Blanket
Mini Beet Wellingtons
Onion Tarte Tatin
Butternut Squash Wellington
Palmiers
Raspberry & Blackberry Puff Pastry Tart
What would you make with homemade puff pastry? Let us know in the comments!


See what other Food52 readers are saying.