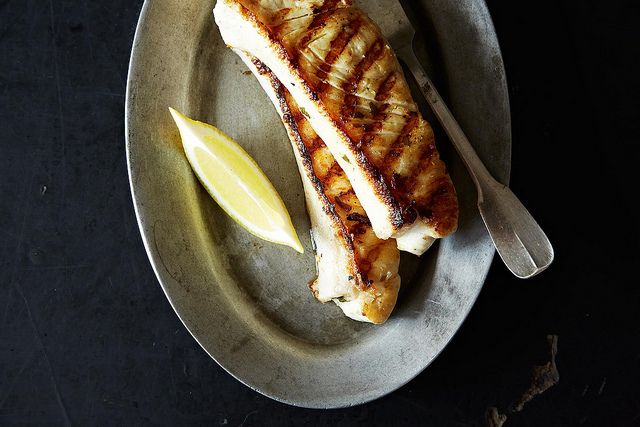
This summer, Christine Burns Rudalevige of The Family Fish Project is on a mission to help us cook and eat more seafood at home.
Today: Move over, lobster roll -- grilled fish wants a turn.

Lobster rolls get all the seasonal seafood sandwich love. I’m not here to debate the merits of their moment in the sun; after all, I live in Maine and enjoy them often. But I would lobby a little for grilled fish heroes, subs, and grinders as a suitable change of pace at summer’s end.
Grilled fish is a fresh, interesting base upon which to build any number of sweet, spicy, and salty sandwich combinations. As a matter of convenience, fish needs very little prep and cooks quickly. Picky eaters at your picnics? These sandwiches are very adaptable, since the flavor profile gets built as part of the assembly process.
If you’re swayed, keep in mind these five tenets to achieve the perfect grilled fish sandwich:
1. Catch your fish wisely. These sandwiches work best with sturdy, firm-fleshed fish like grouper, halibut, striped bass, swordfish, or tilapia -- these fish can withstand the rigors of grilling, without falling apart. They also hold their own when you layer in other flavors and textures to build the sandwich.

2. Cold fish; hot, hot, hot grill grates. Keep the fish in the fridge until seconds before they hit the grill. When you do take them off ice, pat them dry and keep them naked -- you'll season them when the fish is hot off the grill and will absorb the flavors of herb and spice mixes that might otherwise be charred by the heat.
To prep the grill to receive the fish, you need clean it really well. Crank up the heat, cover the grill so the grates get very, very hot. Use a steel brush (or some tongs and a ball of foil) and serious elbow grease to get every last bit of charred grit from the grates. Cover the grill again for two minutes, liberally dampen a wad of paper towels with canola oil, and rub the towels along the grates. If using a grill pan on the stove, complete the same process -- just make sure the exhaust fan is on high.

More: Want to glaze your fish before throwing it on the grill? Here's how.
3. Place fish on the hot grates, skin-side down (there will be no skin on these fillets, but I am referring to the side of the fillet that used to have the skin on here). After about 2 to 3 minutes, the lower half of the fillets closest to the heat will start to become opaque. It’s time to flip. Use a metal fish spatula (one that is wide and has a thin edge) to gently loosen the underside of the fillet from the grill and flip quickly. Cook for another 2 to 4 minutes, depending on the thickness of the fish. To test if the fillet is done, gently use a fish spatula to pry open the middle flakes of the fillet. If they are just opaque, you’re good to go.
4. Consider the roll. Fish sandwiches are best served on a crusty roll with a pillowy center. Look for one that's shaped similarly to the cut of fish you’re using.
5. Assembly matters. I have a standard assembly that runs like this: bottom roll; crisp lettuce that curves upward; crunchy, briny mixture (like the carrot, jicama, and cilantro quick pickle below); then the hot fish. The top bun gets a slather of flavored mayo, which holds it in place and doubles as a lubricant if the fish mistakenly got a little overcooked.

Grilled Fish Hoagies with Za’atar, Harissa Aioli, and Carrot Cilantro Pickle
Makes 4 sandwiches
For the pickle:
1/4 cup sugar
1/2 teaspoon salt
1/4 cup distilled white vinegar
1 cup julienned or shredded carrots
1/4 cup julienned or shredded jicama
15 sprigs of cilantro
For the aioli:
3 garlic cloves, peeled and minced
1/2 teaspoon kosher salt
2 egg yolks, room temperature
1 teaspoon Dijon mustard
1 teaspoon lemon juice
1/4 cup olive oil
1/2 cup canola oil
1 teaspoon harissa paste
1 teaspoon minced preserved lemon
For the sandwich:
1 tablespoon za’atar
1 teaspoon coarse sea salt
Four 6-ounce fillets of firm-fleshed fish such as halibut, striped bass, or grouper, kept very cold
4 crusty rolls that mimic the shape of the fish you choose
8 pieces of crisp red leaf lettuce
See the full recipe (and save and print it) here.
Photos by James Ransom


See what other Food52 readers are saying.