Here at Food52, we love recipes -- but do we always use them? Of course not. Because once you realize you don't always need a recipe, you'll make your favorite dishes a lot more often.
Today: Discover your signature summer slaw, just in time for Memorial Day. Jessica Foung, a.k.a. Sodium Girl, is here to show you how -- no recipe required.
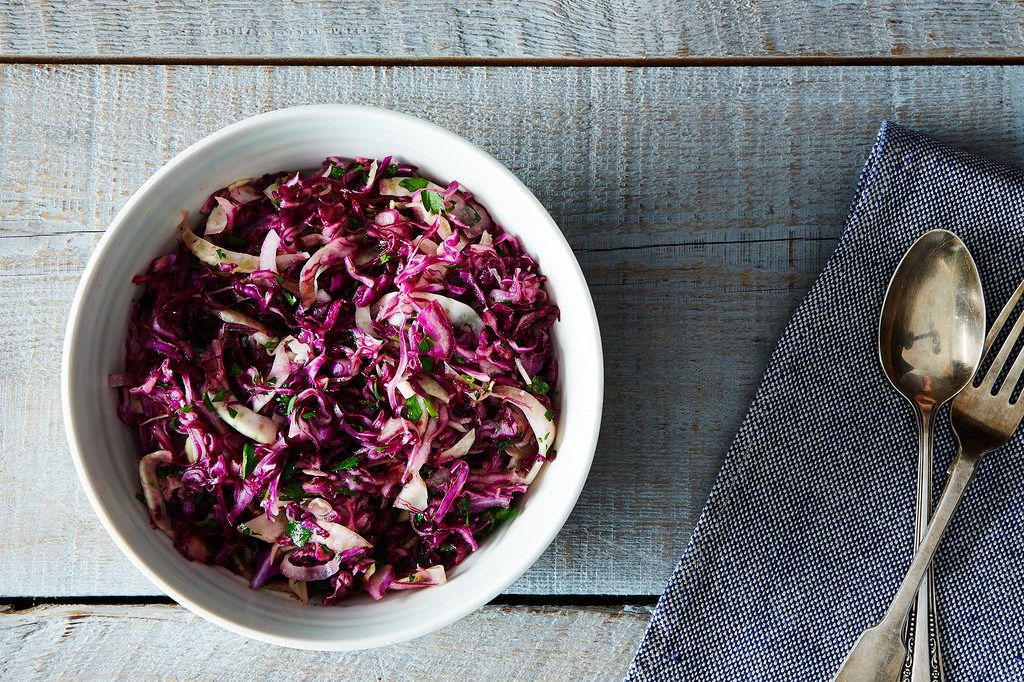
We’re almost there. And by there, I’m talking barbecue season. Which is great news for you and your shorts, but bad news for vegetables. Because when it comes to grill-based gatherings, let’s face the facts: Meat dishes reign supreme.
With the right recipe, though, coleslaw can be the David to those burger Goliaths. It can become the dish that everyone talks about -- with their mouths full. Thanks to some tips from my friends at Austin’s Odd Duck Restaurant (a.k.a. Texans, a.k.a. they know slaw), I’ve come up with the perfect method, one that will help you avoid a mushy, mayonnaise-y disaster. All you need is the right ratio of crunchiness to creaminess.
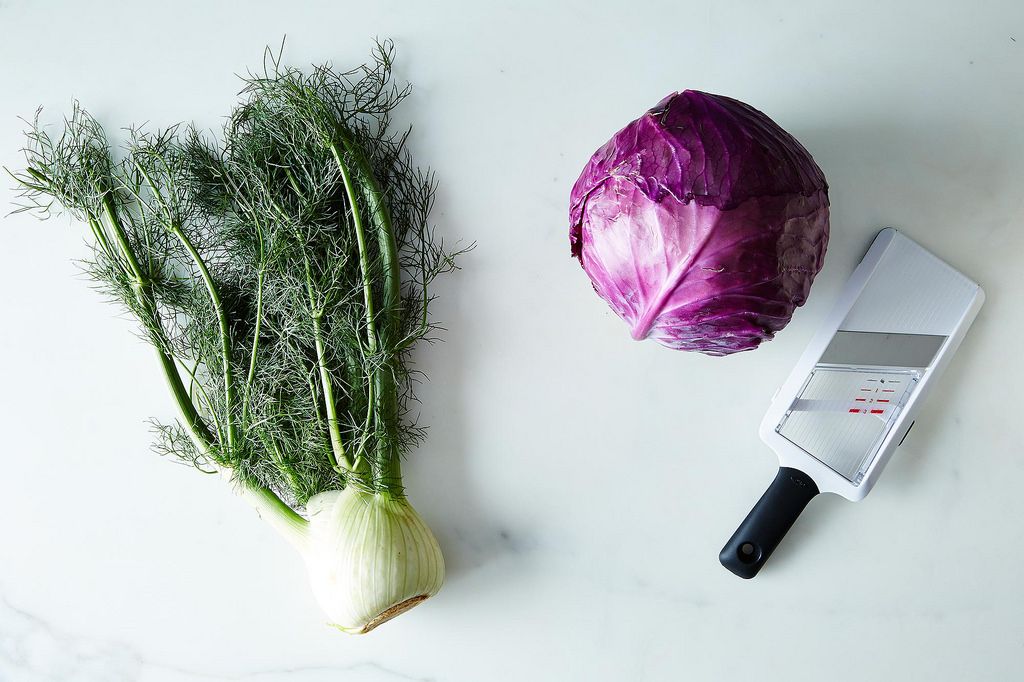
Here's how to piece together a signature slaw, without a recipe, with whatever is in season:
1. Choose a vegetable. Odd Duck's chef and owner Mark Buley says it’s best to let mother nature do the shopping and use what’s ripe and ready at the market. Remember: The sturdier the vegetable, the better it will stand up to dressing. Which is key when it comes to slaw.
Need seasonal suggestions? Start here:
Spring: fennel, radishes, artichokes, kohlrabi, turnips
Summer: cucumber, zucchini, yellow squash
Fall: broccoli stems, celery root, apple, parsnips
Winter: Brussels sprouts, cabbage, celery root
Year-round: carrots!
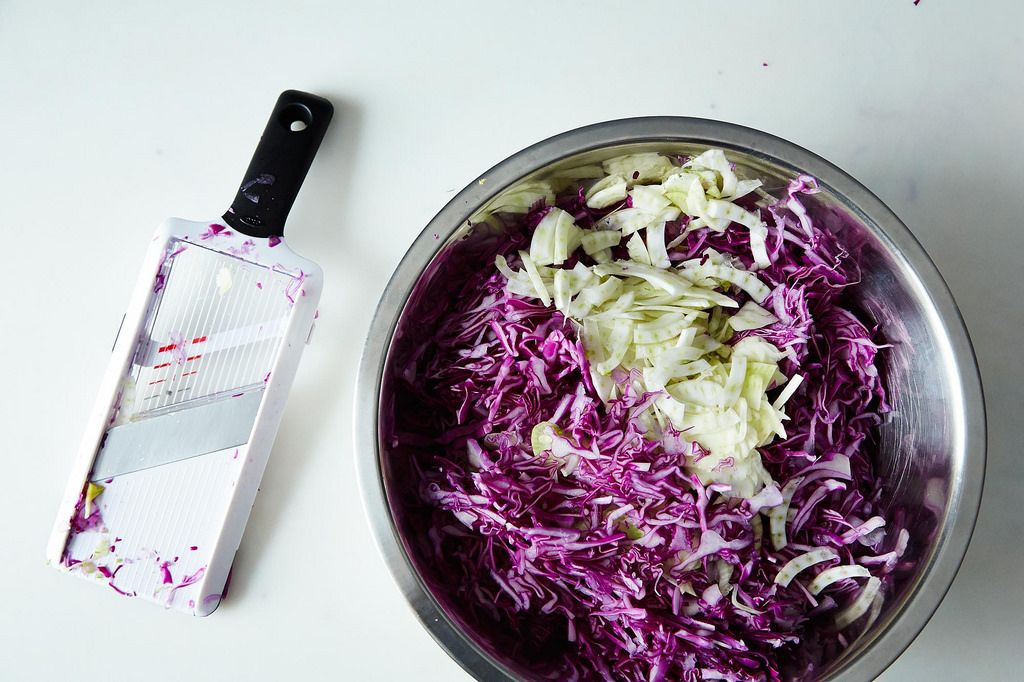
2. Shred your vegetables. To get super-thin slaw, a mandoline is best. When using kale or Brussels sprouts, a sharp chef's knife will work, too. And for things like carrots and kohlrabi, Buley says a large-hole grater (or a food processor with a grater attachment) will get the job done. If you're using fruit, grab a julienne peeler.
More: Here's our favorite mandoline for slaw season.
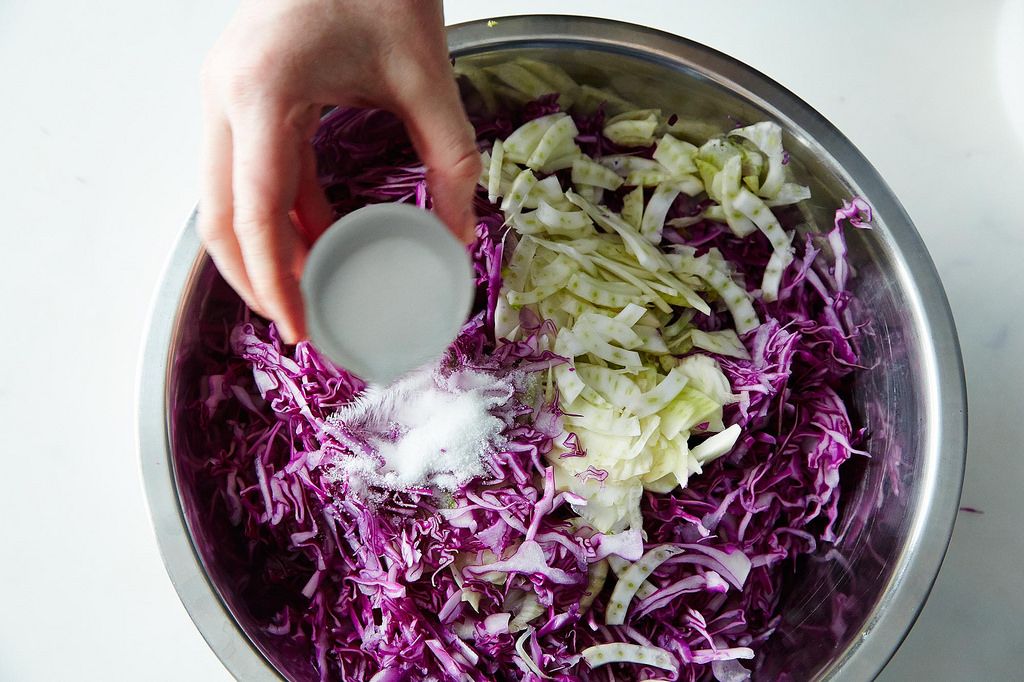
3. If you plan to serve your slaw immediately, like in Amanda’s recipe, go ahead and move to the next step. But remember: The one thing that makes good slaw go bad is too much liquid. Extra liquid equals mushy slaw. And mushy slaw means sad faces.
To avoid this, add two tablespoons of salt and one tablespoon of sugar per pound of vegetables (Buley says to taste and adjust depending on the ingredients). Then mix it all together and let it sit for 15 minutes. At this point, some folks use a colander or fine mesh sieve to rinse off the vegetables. But Buley simply wraps them up in a thin towel and wrings out the leftover juices. For a gentler option, pat everything dry with paper towels, or use a salad spinner.
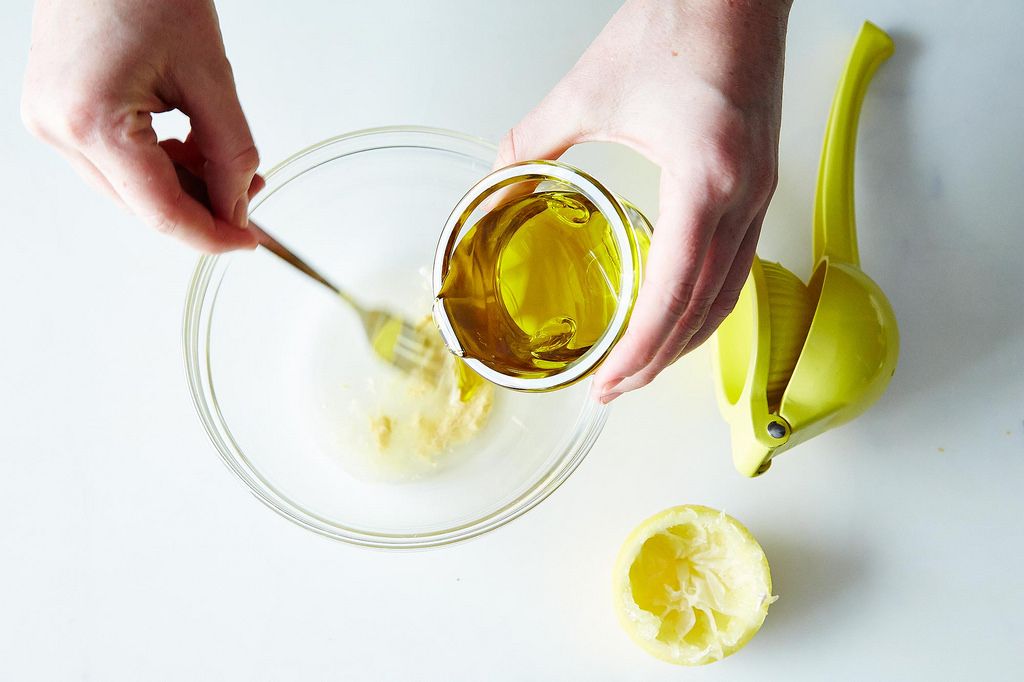
4. Make the dressing -- you can either go the vinaigrette route, or make something mayo-based. Either way, start with the simple equation of 1 part oil or mayo to 1 part acid. Then add salt, pepper, and spices. Add in some personal flair, like tahini, mustard, or miso.
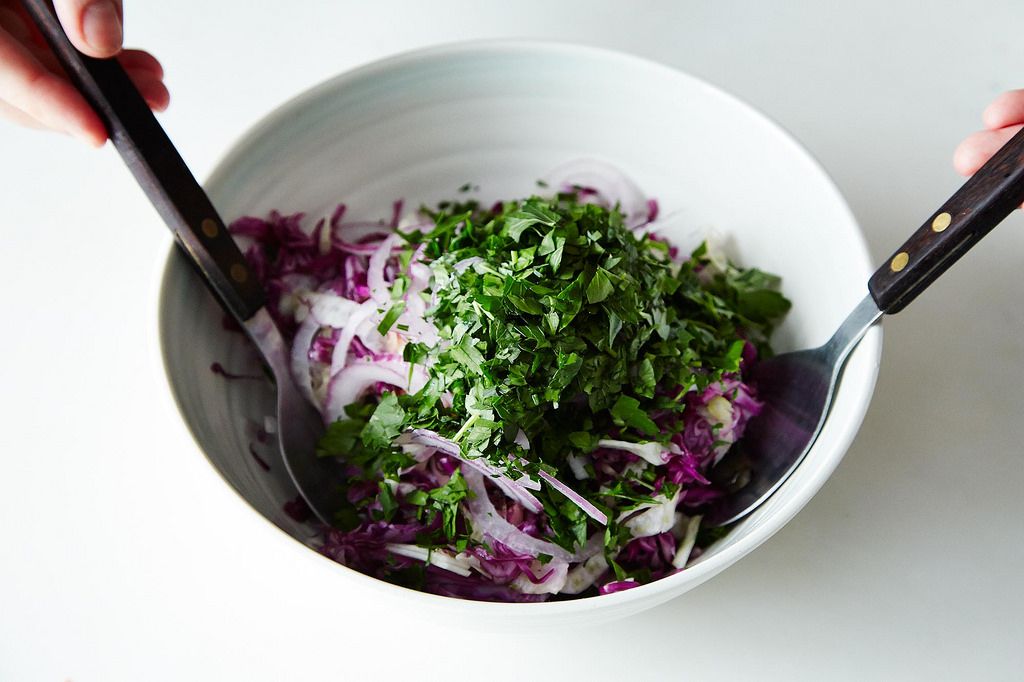
5. Now it's time to get dressed. To avoid drenching, use 1 to 2 tablespoons of dressing per cup of shredded vegetables, or just add a little at a time. Then use your hands, salad tongs, or a salad spinner to distribute it evenly.
This is also a great time to go rogue and add extra texture and color. Try toasted nuts and seeds or whole spices. Toss in chopped pickles, chunks of blue cheese, or pancetta (what!?!). And experiment with fresh herbs, thinly sliced red onions, and maybe a little apple.

Because we’re talking slaw and not salad, go ahead and get dressed ahead of time; you can refrigerate it for a few hours to a day before serving. But note that the longer it sits, the more it wilts. And remember: Wilting equals liquid, which equals sad slaw.
Photos by James Ransom


See what other Food52 readers are saying.