Inspired by conversations on the Food52 Hotline, we're sharing tips and tricks that make navigating all of our kitchens easier and more fun.
Today: We're taking the heat and staying in the kitchen -- here's how to work with cold dough in the peak of summer.
In the peak of July, with an abundance of plump, juicy fruits ready to be baked between flaky crusts and under clumps of buttery crumble, summer seems to trick us into turning on our ovens for every occasion. With visions of bubbling, syrupy pie, we give in and quickly realize our mistake: The oven has heated up our already-hot kitchens, melting the butter in our pastry dough and turning it into a greasy, shapeless blob. Sweating profusely, we fumble to shape it into something that at least resembles a dessert while temperatures climb to hellish levels.
Luckily, with a bit of planning, a few tricks, and a powerhouse of a freezer, you can bake springy breads and flaky pastries, even in the most sweltering kitchen. Bake your goods in the morning, and you can even keep your kitchen at a reasonable temperature for the rest of the day.
Bread
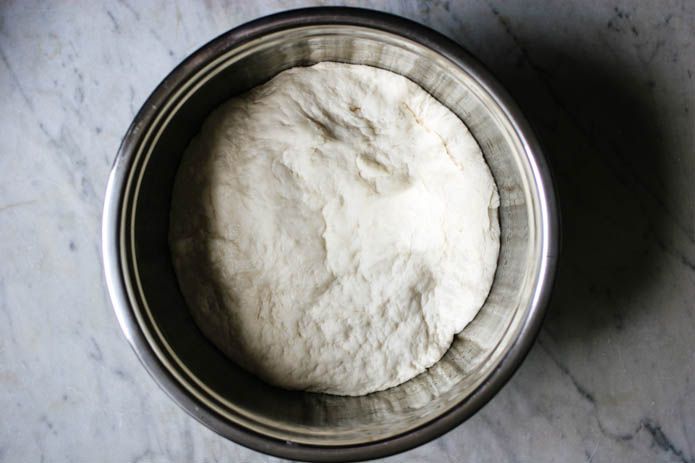
Temperature greatly affects bread dough: If the rising environment is too cold, the dough won't rise.; too hot, and you'll be left with a sour, yeasty loaf. For optimum rise and flavor, the dough's temperature needs to stay somewhere near the mid-70s after it's been mixed. To achieve some control in this process, vary the temperature of the water you use when mixing the dough based on the temperature of your kitchen: If it's sweltering, use cooler water to bring the temperature of the dough down to the right temperature.
More: Get down to the basics of bread with Tartine's Chad Robertson.
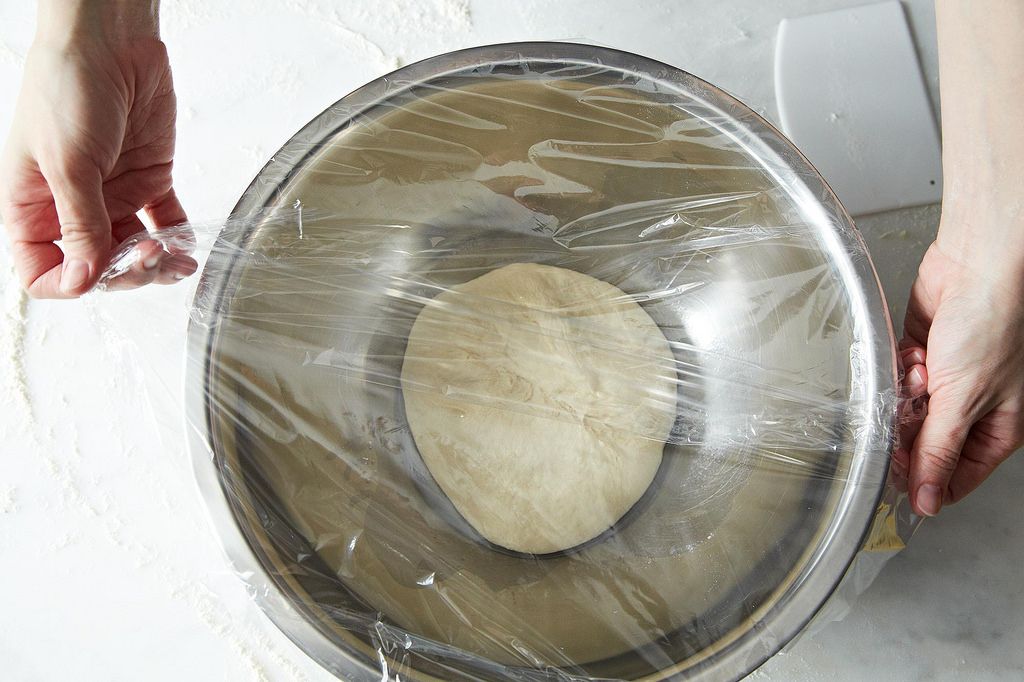
To minimize the amount of guesswork in the baking process, go for a dough that rises in the fridge, like Saltie's Focaccia or Beth Kirby's No-Knead Country Loaf. You won't have to worry about keeping the dough at the right temperature, and a longer rise time will help the dough develop a deeper flavor. Mix the dough in the evening, let it rise in the fridge overnight, then bake it in the morning and enjoy fresh bread for lunch and dinner.
Pastry
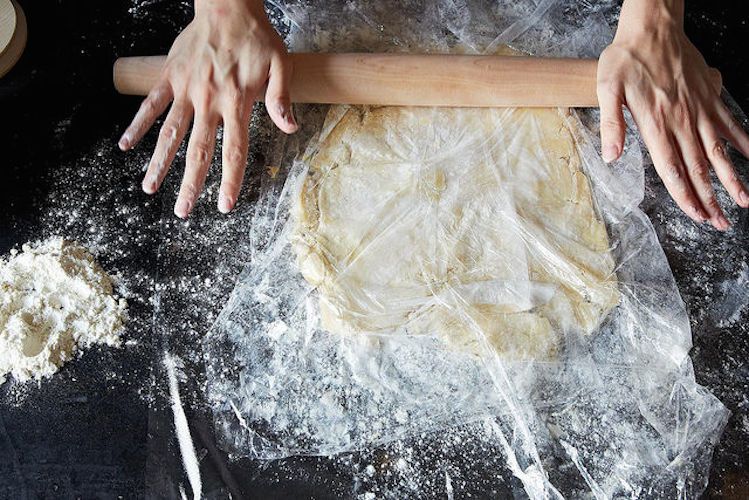
Yes, you can pull off buttery pastries and crisp galettes in a hot kitchen. The one thing to remember is to keep everything as cold as possible, which requires a little bit of planning. An hour before you begin, put your utensils -- rolling pin, bowl, mixing paddles, and any other specialty tools -- in the freezer to chill. If you ever fear that your dough is getting too soft while you work, pop it in the freezer for a few minutes.
And if you're one of those lucky cooks who own a marble pastry board, use it. Marble keeps dough cool and prevents it from sticking.
Pie Crust
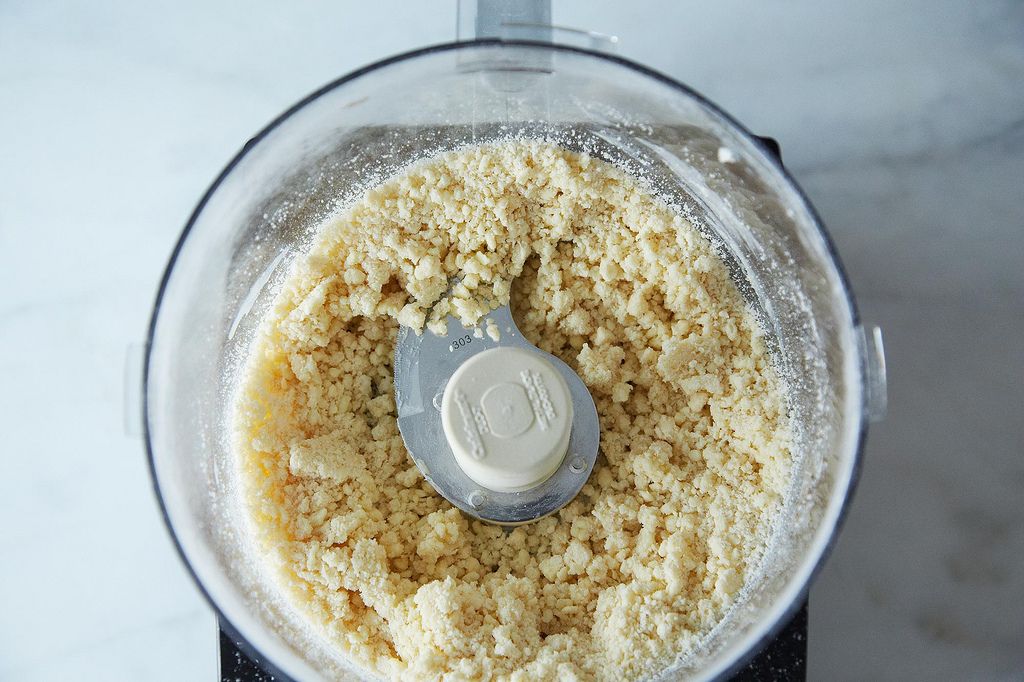
To mix pie dough, use a food processor or pastry cutter. These tools keep your ingredients cold and save you time, too. Chill your food processor blade or pastry cutter along with the rest of your tools, and if you're using a food processor, use the pulse feature to blend the cold ingredients together. But be sure not to overprocess your dough -- after adding your liquid gradually, stop right when a lump of dough forms.
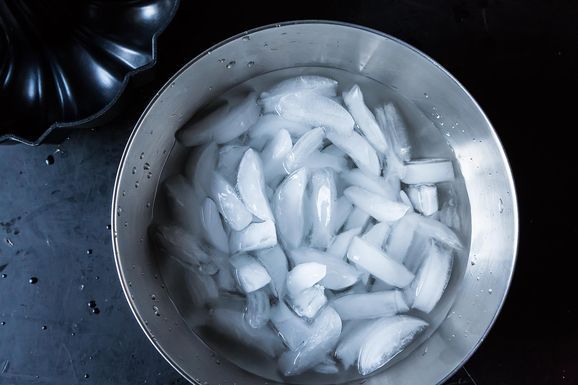
You'll also want to keep a bowl of ice water near your work surface. As you shape your pastry or form your pie crust, occasionally dip your fingers in the water to cool them down and prevent the warmth of your hands from melting the butter in the dough. Just be sure to dry your fingers after cooling them so you don't add extra liquid to the pastry!
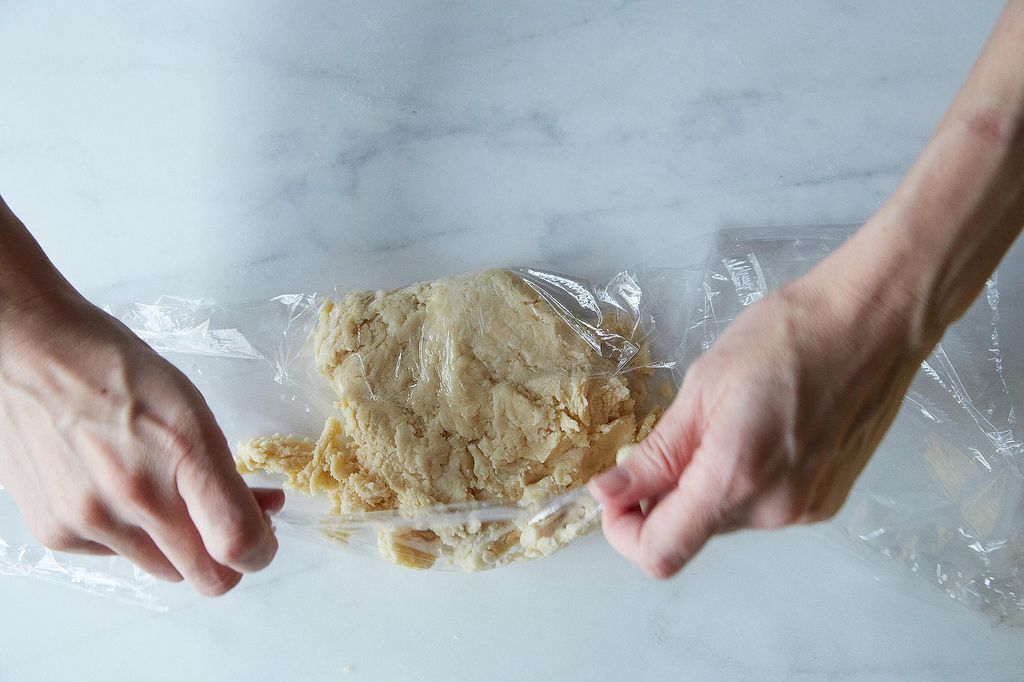
Once your dough is formed, let it chill in the fridge for half an hour to firm the butter and relax the gluten in the flour. If at any point the dough you are working with becomes difficult to manage, pop it back in the fridge for a few minutes to firm up.
More: A foolproof, no-nonsense pie crust that works every time.
Biscuits, Scones, and Shortcakes
Just as you would when making pastry dough, chill every utensil you plan on working with. This time, you'll want to chill a bowl, cheese grater, and pastry cutter, if you have one. Pop your butter (or your preferred fat) in the freezer with the utensils.
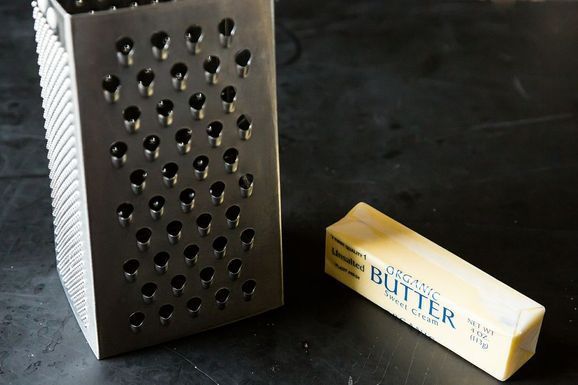
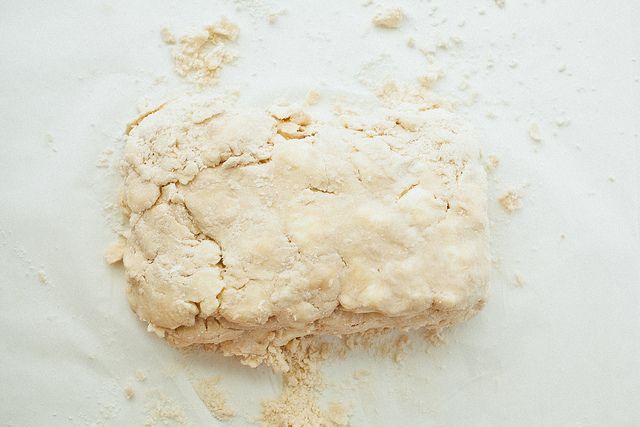
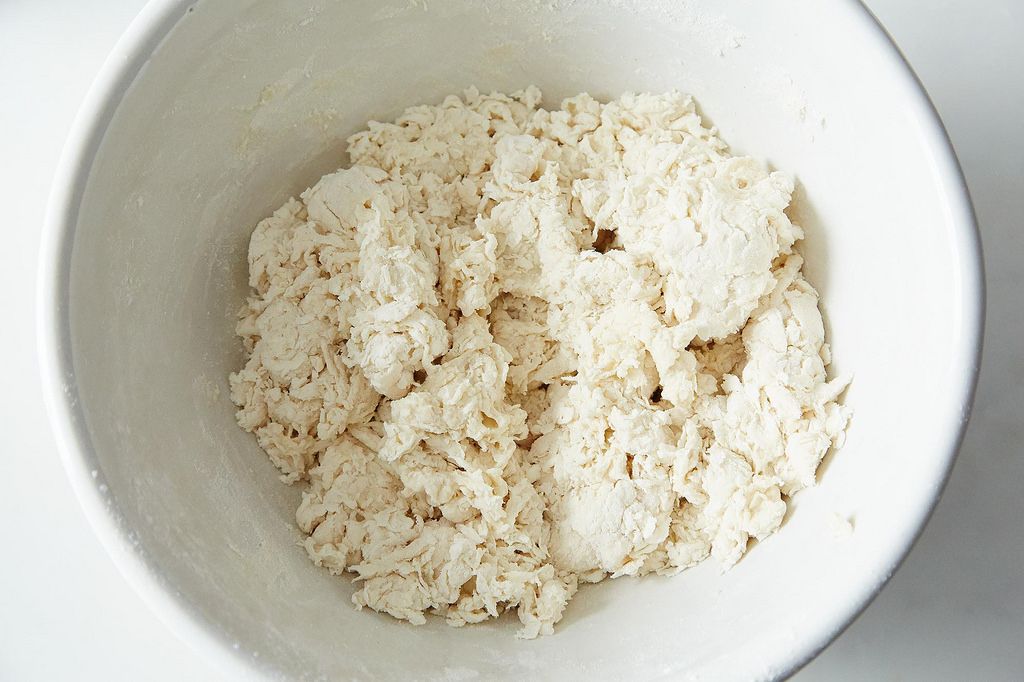
When it's time to cut the fat into the dry ingredients, follow Amanda's lead and grate your solid, cold butter into your mixing bowl using the chilled cheese grater. Then, instead of using your hands to blend the mixture, use the cold pastry blender to cut the fat into the flour. Stop blending once you reach pea-sized chunks. Add cold liquid to the dough, and turn the mixture out onto a floured surface. Then, working quickly, gather the dough into a cohesive lump and shape it into individual biscuits or scones. Chill the cut dough pieces in the fridge for a few minutes just before baking to ensure tender, light baked goods.
More: Avoid a botched biscuit -- use yogurt instead of butter.
How do you avoid hot kitchen mishaps? Tell us in the comments!
See what other Food52 readers are saying.